How to Install a Schlage Deadbolt: A Step-by-Step Guide
A Schlage deadbolt installs in under 30 minutes with a tape measure, drill, hole saw, and Phillips screwdriver, but the backset — 2-3/8 or 2-3/4 inches — must match your door’s existing prep exactly. Using a power drill on the final mounting screws is the most common mistake — it strips the soft brass threads. This guide covers marking the holes, boring the cross and latch bores, and testing the bolt before you rely on it.
Insert your Affiliate Disclosure reusable block here.
Quick Answer
To install a Schlage deadbolt: measure your door’s backset (2-3/8″ or 2-3/4″), mark the bore holes with the paper template, drill a 2-1/8″ cross hole and 1″ latch hole, install the latch and strike plate, then mount the lock body and test it with the door open before closing it. The whole job takes most homeowners 20–30 minutes with basic hand tools.
Quick Steps: Installing a Schlage Deadbolt
- Measure the door: Confirm door thickness (1-3/8″ to 1-3/4″) and backset (2-3/8″ or 2-3/4″) before prepping.
- Mark the holes: Tape the paper template to the door edge and face, then mark the cross bore and latch bore centers with a pencil.
- Drill the cross bore: Use a 2-1/8″ hole saw, boring halfway through from each side to prevent splintering.
- Drill the latch bore: Use a 1″ spade bit through the door edge until it meets the cross bore.
- Install the latch: Insert the latch with the angled side facing the strike plate, then secure it with the included screws.
- Attach the strike plate: Mortise the door frame if needed, then screw the strike plate flush.
- Mount the lock body: Fit the exterior and interior halves through the latch, then hand-tighten the mounting screws with a Phillips screwdriver — never a power drill.
- Test the bolt: With the door open, turn the key or thumb-turn several times to confirm smooth extension before closing the door.
Tools And Materials Needed
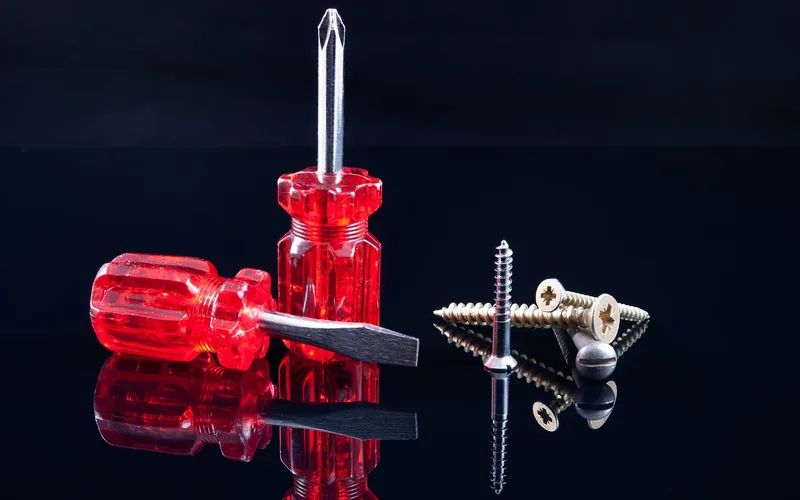
Gather a Phillips screwdriver, a drill with a hole saw and spade bit, and a tape measure. A pencil marks the drill points from the paper template that ships with the lock. The Schlage deadbolt kit contains the latch, strike plate, and mounting screws you need — no extra hardware to buy.
If you’re installing a smart or keypad model, install fresh batteries before testing, and once it’s in, see how to change the factory code to your own. Lay parts out on a flat surface so nothing gets lost, and wear protective glasses while drilling.
Choosing The Right Deadbolt
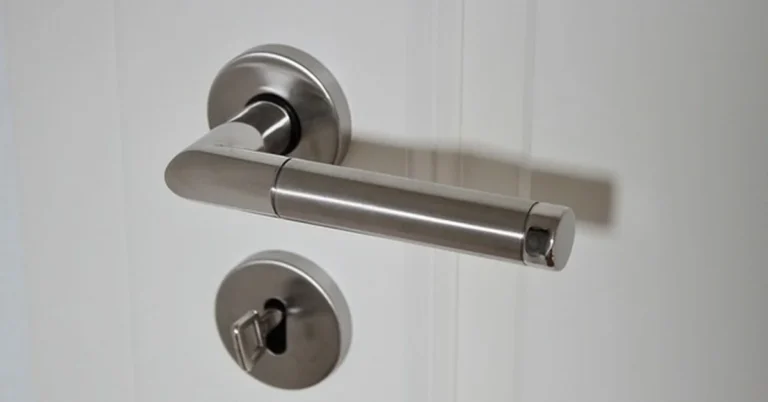
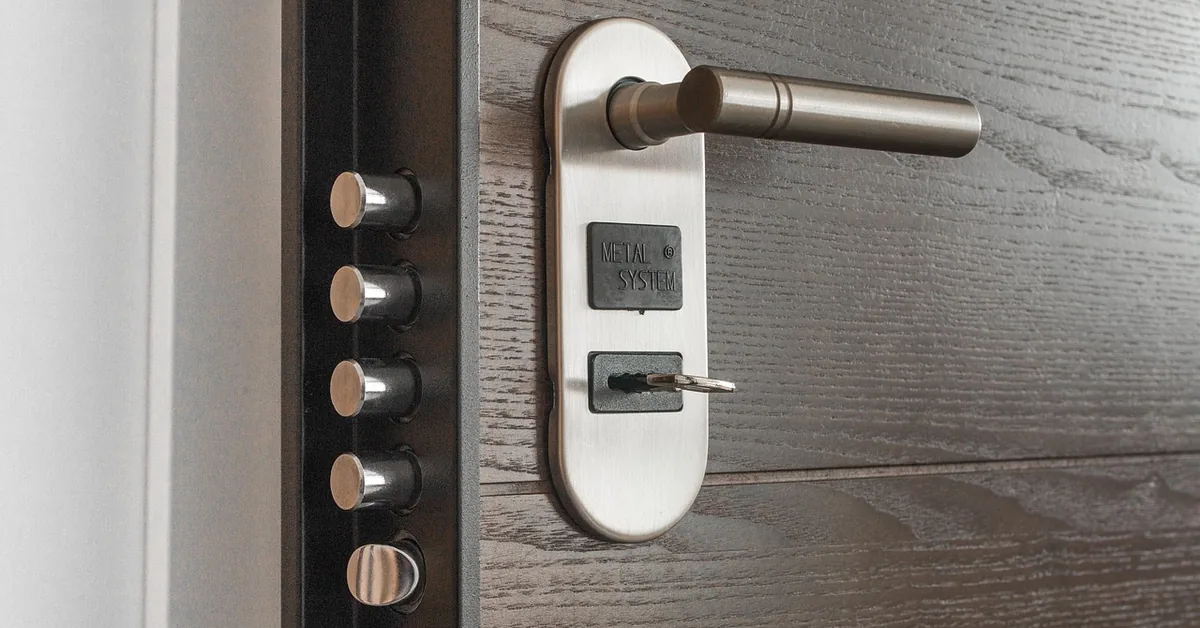
A deadbolt is a locking mechanism that extends a solid, spring-free metal bolt at least one inch into the door frame, unlike a spring latch that retracts under pressure. Schlage deadbolts come in single-cylinder (thumb-turn inside), double-cylinder (keyed both sides), and keypad or smart versions — all use the same backset and bore-hole prep.
First, check your door’s thickness — most doors run 1-3/8 to 1-3/4 inches. Next, decide on a key type: some deadbolts key both sides, others use a key outside and a thumb-turn inside. Color and finish matter too — brass, chrome, or bronze are the most common finishes. Choose a smart/keypad version if you want phone or code access, but confirm it still fits your existing backset.
Best Deadbolt Install Kit Pick
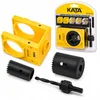
KATA 1-3/8″–1-3/4″ Door Lock Installation Kit – $9.99
Matches the 1-3/8″ to 1-3/4″ door thickness and 2-1/8″ cross-bore spec this guide covers, so you don’t have to buy a hole saw and jig separately.
- Best for: installing a new deadbolt on a standard-thickness wood door
- Why we picked it: matches the exact bore and backset spec covered above
- Main drawback: bushings fit common backsets only — very old doors may need adapters
Compare more deadbolt install kit options
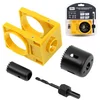 Option 1 RKK Deadbolt Install Kit – $9.99
|
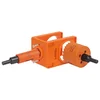 Option 2 VIKITON Multi-Lock Kit – $15.99
|
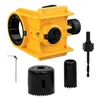 Option 3 C-Clamp Install Kit – $28.59
|
As an Amazon Associate we earn from qualifying purchases.
Preparing The Door
Use a tape measure to check the door’s thickness — most doors run 1-3/8 to 1-3/4 inches. Next, measure the backset: the distance from the edge of the door to the center of the lock hole. Common backsets are 2-3/8 inches or 2-3/4 inches. Write these numbers down before you buy or drill anything.
Tape the paper template that ships with the lock to the door, lining it up with any existing lock hole. Use a pencil to mark the drill points clearly. You’ll use these marks to drill holes in the next step — double-check them before drilling, since the marks must be exact for the lock to seat correctly.
Drilling The Holes
Use a 2-1/8 inch hole saw for the cross bore — the large hole that houses the lock body. If you’re unsure which size fits your specific model, this hole saw sizing guide covers every common deadbolt spec. Keep the drill straight and bore halfway through from one side, then finish from the other side to prevent splintering the wood.
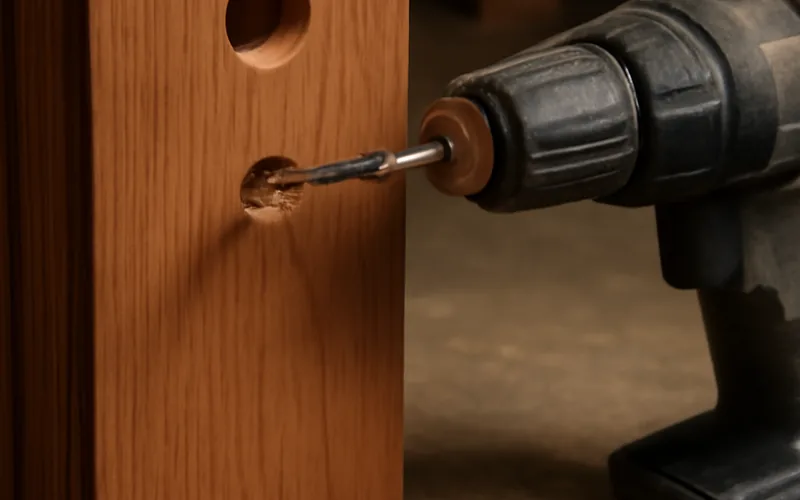
The latch hole is smaller than the cross bore — use a 1 inch spade bit at the door’s edge, drilling straight in until it meets the cross bore. Insert the latch to check the fit; the hole should match the latch body exactly, so adjust if it’s loose or tight.
Installing The Latch
Ensure the door edge is clean, then insert the latch into the hole with the curved side facing the door frame. Check that it sits flush — if not, adjust the position until it moves smoothly.
Use the screws provided in the package to hold the latch firmly, tightening them with a screwdriver — not a power drill, which can strip the shallow screw holes. Test the latch by turning it; it should move easily. If it sticks, loosen and re-adjust before continuing.
Attaching The Strike Plate
Secure the strike plate by aligning it with the door frame, then fasten it tightly with screws so it sits flush for proper deadbolt function.
Aligning The Strike Plate
Find the spot for the strike plate on the door frame by holding the plate in place so the hole matches the deadbolt. Mark the screw spots with a pencil, keeping the plate straight — this alignment is what makes the deadbolt work smoothly later.
Fastening The Strike Plate
Use a screwdriver to fix the plate, starting with one screw tightened but not fully. Add the second screw, confirm the plate stays straight, then test the deadbolt — it should slide smoothly. If not, loosen and adjust the plate slightly before tightening both screws fully.
Installing The Deadbolt
Hold the deadbolt against the door and confirm the bolt fits into the hole, moving smoothly. Check that it aligns with the strike plate — if not, adjust with a screwdriver until the bolt slides easily.
Place the mechanism inside the hole and hold it steady while you secure it with the included screws, hand-tightened with a screwdriver until firm. Test the lock with the key or thumb-turn — it should turn smoothly. If it doesn’t, recheck the alignment before finishing.
“An electric drill is not recommended for installation as it can easily strip the screws and damage your lock.”
📊 Standard deadbolt prep: a 2-1/8″ cross bore, a 1″ latch bore, and a backset of 2-3/8″ (most interior/residential doors) or 2-3/4″ (many exterior doors) — Source: Schlage door prep checklist, 2026
Testing The Lock
Correct alignment matters most here. Check that the bolt slides smoothly without catching, and confirm the door frame and strike plate line up. If they don’t, a small shift in the strike plate often solves it — double-check everything before calling the install done.
Turn the key or thumb-turn several times and feel for resistance. If it feels stiff, lubricate with graphite powder — never oil or grease, which attracts dust and gums up the mechanism over time. Test several times to confirm both the lock and bolt operate correctly.
Troubleshooting Common Issues
Installing a Schlage deadbolt can sometimes be tricky. Misaligned holes or loose screws are the most common causes of a sticking or non-functioning bolt.
Misalignment Problems
If the deadbolt won’t fit into the strike plate hole, loosen the strike plate screws and shift the plate slightly up or down until it lines up with the bolt, then retighten. Sometimes the door itself is the problem — tightening the hinges can help it hang straighter and shut more smoothly.
Difficulty Turning The Key
A stiff key usually means the lock needs lubrication — add a little graphite powder into the keyhole rather than oil or grease, which attract grit and make things worse. If the key is old and worn, replace it; if the problem continues after lubrication, the lock cylinder itself may need service.
Maintenance Tips
A properly installed Schlage deadbolt needs very little upkeep, but a few minutes twice a year keeps it working smoothly for years.
Lubricating The Lock
Apply a small amount of graphite powder into the keyway every six months and spread it evenly by turning the key a few times. This reduces wear on the internal pins without attracting the dust that oil-based lubricants do.
Regular Inspection
Check the lock periodically for loose screws and examine the strike plate alignment. Inspect the deadbolt itself for rust, especially on exterior doors, and clean it promptly if you spot any — rust buildup is what eventually stops a bolt from extending fully.
Frequently Asked Questions
How To Install A Deadbolt On An Exterior Door?
Mark the deadbolt position on the door. Drill holes for the bolt and lock cylinder. Insert the deadbolt assembly. Secure with screws. Test the lock function.
Can I Install A Deadbolt Myself?
Yes, you can install a deadbolt yourself. Follow the manufacturer’s instructions carefully. Use basic tools like a drill and screwdriver. Ensure the deadbolt fits your door type. Consider watching tutorial videos for guidance. If unsure, hiring a professional can ensure proper installation and security.
How To Reset Schlage Connect?
To reset Schlage Connect, disconnect the battery and press the Schlage button until it beeps. Reconnect the battery, then press the Schlage button again. Enter your programming code followed by “0” to complete the reset process. Ensure the door is open while resetting for safety.
How To Connect Schlage Lock To Ring?
Connect your Schlage lock to Ring by opening the Ring app. Navigate to “Devices,” then “Set Up a Device.” Choose “Locks,” and follow the on-screen instructions to pair your Schlage lock with Ring. Ensure both devices are compatible and connected to the same network for seamless integration.
What Is The Standard Backset For A Schlage Deadbolt?
Most Schlage deadbolts ship adjustable for both 2-3/8 inch and 2-3/4 inch backsets, but you still need to confirm which one matches your door’s existing bore holes before installing. Interior and older residential doors typically use 2-3/8 inches, while many exterior doors use 2-3/4 inches for extra frame clearance.
Can I Use A Power Drill To Install A Schlage Deadbolt?
Use a power drill only for boring the cross and latch holes. For the final mounting screws, hand-tighten with a Phillips screwdriver — a power drill spins too fast and easily strips the soft screw threads or over-drives the lock body, according to Schlage’s own installation guidance.
Conclusion
Installing a Schlage deadbolt is a straightforward weekend task once the backset and bore holes match your door’s prep. Measure twice, drill carefully, and hand-tighten the final screws with a screwdriver rather than a drill to avoid stripping the lock body. Test the bolt with the door open before you rely on it to secure your home.
Sponsored / affiliate links. As an Amazon Associate I earn from qualifying purchases. I may earn additional commission from eligible campaigns.