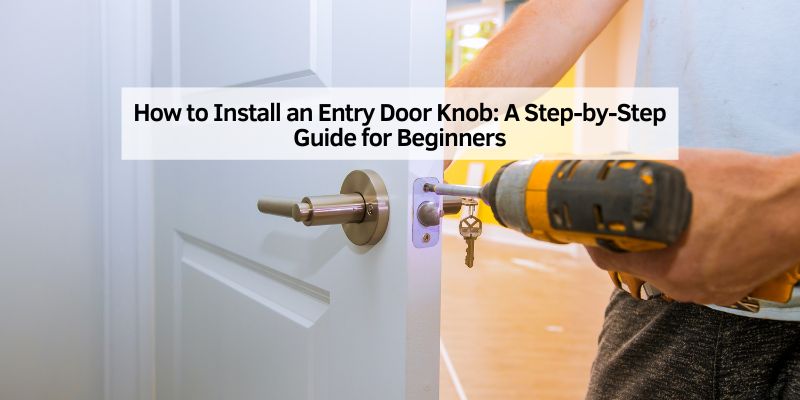
How to Install an Entry Door Knob: A Step-by-Step Guide for Beginners
Hey there! If you’re looking to spruce up your home or replace a wobbly old door knob, you’ve landed in the right place. Installing an entry door knob might sound like a job for a pro, but trust me, I’ve been there, and it’s totally doable for anyone with a bit of patience and a screwdriver. I remember the first time I tackled this project—my front door knob was sticking, and I was tired of jiggling it every time I came home. After some trial and error, I figured it out, and now I’m excited to share everything I’ve learned with you.
This guide is packed with clear steps, handy tips, and all the info you need to install an entry door knob like a seasoned DIYer. Whether you’re upgrading for style, security, or just fixing a broken knob, I’ve got you covered. Let’s dive in and get that door looking and working great!
Why Install a New Entry Door Knob?
When I decided to replace my entry door knob, it wasn’t just about looks. A new knob can make a big difference in how your home feels and functions. Maybe your current knob is outdated, or it’s not locking properly. Sometimes, it’s about boosting curb appeal with a sleek, modern design. For me, it was a mix of wanting better security and a fresh look for my front door. A good entry door knob keeps your home safe, adds style, and makes coming and going a breeze. Plus, installing it yourself saves money and feels incredibly rewarding. There’s nothing like the satisfaction of turning that shiny new knob for the first time!
Tools and Materials You’ll Need
Before we get started, let’s gather everything you need. I learned the hard way that having the right tools makes the job so much easier. When I first tried this, I was scrambling to find a screwdriver that fit, so let’s save you that hassle. Here’s what you’ll need:
| Item | Purpose |
|---|---|
| New entry door knob set | The main component, including the knob, lock, and hardware. |
| Phillips screwdriver | For removing and tightening screws. |
| Flathead screwdriver | For prying off old parts or adjusting components. |
| Measuring tape | To check door thickness and ensure the knob fits. |
| Drill (optional) | For creating new holes if your door isn’t pre-drilled. |
| Chisel (optional) | For carving out space for the latch or strike plate. |
| Pencil | For marking spots on the door. |
| Level | To make sure everything is aligned properly. |
| Safety glasses | To protect your eyes if you’re drilling or chiseling. |
Most entry door knob sets come with a template and instructions, so double-check the box. I usually keep a small toolbox handy for projects like this, and it’s worth investing in one if you plan to do more home improvements.
Choosing the Right Entry Door Knob
Picking the right knob is half the fun! When I was shopping for mine, I was amazed at all the options—brushed nickel, matte black, classic brass, you name it. But it’s not just about looks. You need to think about function, too. Here’s what I learned to consider:
- Security: Look for a knob with a sturdy lock. I chose one with a deadbolt for extra protection.
- Style: Match the knob to your home’s vibe. My craftsman-style house looks great with a vintage-inspired knob.
- Finish: Choose a finish that resists tarnish, especially for outdoor doors. I went with brushed nickel because it’s low-maintenance.
- Door thickness: Most knobs fit standard doors (1-3/8 to 1-3/4 inches thick), but measure your door to be sure.
- Handing: Some knobs are specific to left- or right-handed doors. Check the packaging to avoid mix-ups.
I spent about an hour at the hardware store comparing options. If you’re unsure, ask a store employee—they’re usually super helpful. Once you’ve got your knob, you’re ready to start the installation.
Preparing Your Door
Before you start unscrewing anything, take a moment to prep. I made the mistake of diving right in once and ended up with a scratched door and a frustrated mindset. Here’s how to set yourself up for success:
First, open the door and secure it so it doesn’t swing while you’re working. I use a doorstop or a heavy book. Next, inspect your door. If you’re replacing an old knob, check for damage or worn-out holes. My old knob left some splintered wood, so I had to sand it down for a smooth fit. If you’re installing a knob on a new door, make sure it has the right pre-drilled holes. Most modern doors come with standard bore holes (2-1/8 inches for the knob and 1 inch for the latch), but older doors might need some extra work.
Grab your measuring tape and confirm your door’s thickness. The knob set I bought had adjustable parts, but it’s good to double-check. Finally, lay out all your tools and the knob’s parts. The instructions usually include a diagram, so keep it handy. I like to spread everything out on a table so I’m not hunting for tiny screws mid-project.
Removing the Old Door Knob
If you’re replacing an existing knob, this is where the fun begins. I remember feeling like a detective, figuring out how to take the old knob apart. Most entry door knobs are held together with a few screws, but they can be tricky to spot. Here’s how to do it:
Start by looking for screws on the interior side of the knob. Mine had two Phillips screws on the plate around the knob. Unscrew them carefully and set them aside—you might need them if your new knob doesn’t come with spares. Once the screws are out, the interior and exterior knobs should pull apart. If they don’t budge, check for a small slot or button on the knob’s shaft. I had to press a tiny release button with a flathead screwdriver to free mine.
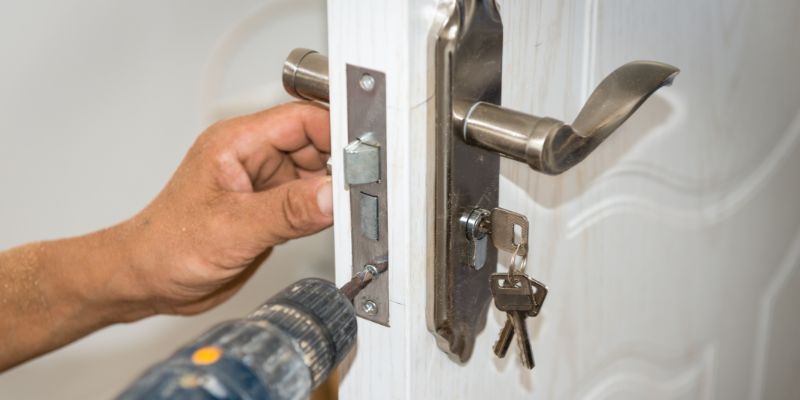
Next, remove the latch assembly. This is the part that slides into the door’s edge to keep it closed. Unscrew the two screws holding the latch in place and pull it out. If it’s stuck, wiggle it gently. My old latch was a bit rusty, so I had to give it a tug. Clean up any dust or debris in the hole to make way for the new hardware.
Installing the New Latch
Now that the old knob is out, it’s time to install the new latch. This part felt like a puzzle at first, but it’s straightforward once you get the hang of it. The latch is the piece that goes into the edge of the door and catches the strike plate to keep the door closed.
Take the new latch and slide it into the 1-inch hole on the door’s edge. Make sure the curved side of the latch faces the direction the door closes. For example, if your door swings inward, the curve should face the outside. I got this wrong the first time and had to flip it around. Line up the latch plate with the screw holes on the door. If the holes don’t match, you might need to drill new ones or use a chisel to adjust the recess for the plate.
Secure the latch with the provided screws. I used a level to make sure it was straight—it’s a small detail, but it makes the door look polished. Tighten the screws, but don’t overdo it; you don’t want to strip the wood.
Installing the New Knob
With the latch in place, you’re ready to install the knob itself. This was the part I was most excited about because I could finally see my new knob coming together. Most entry door knob sets have two main parts: the exterior knob (with the keyhole) and the interior knob.
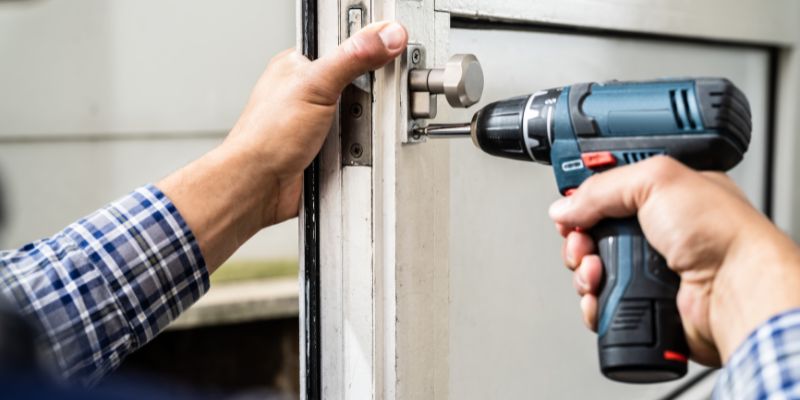
Start by inserting the exterior knob into the 2-1/8-inch hole on the outside of the door. The spindle (the rod that connects the knobs) should slide through the latch mechanism. I had to wiggle it a bit to get it to catch properly. Once it’s in, hold it in place and go to the interior side of the door.
Take the interior knob and align it with the spindle. The screws from the interior side usually go through the mounting plate and into the exterior knob to hold everything together. Tighten them evenly with your Phillips screwdriver. I learned to alternate between screws to keep the knob level. Test the knob by turning it—it should move smoothly and engage the latch. If it feels stiff, loosen the screws slightly and adjust the alignment.
Installing the Strike Plate
The strike plate is the metal piece that goes on the door frame to catch the latch. This step is often overlooked, but it’s crucial for a secure fit. My old strike plate was misaligned, which made the door hard to close, so I was careful to get this right.
Take the strike plate and place it on the door frame where the latch hits. Close the door to test the alignment—the latch should fit snugly into the plate’s hole. Mark the screw holes with a pencil. If the old holes don’t line up, you might need to drill new ones or chisel out a small recess for the plate.
Secure the strike plate with the provided screws. I used longer screws here for extra strength, especially since this is an entry door. Test the door again to make sure it closes smoothly and the latch catches properly.
Testing and Adjusting the Knob
You’re almost done! Before you celebrate, test everything. I was so eager to finish my first installation that I skipped this step and ended up with a knob that didn’t lock properly. Close the door and turn the knob to make sure it opens and closes smoothly. Then, test the lock with the key from the outside and the thumb turn (if included) from the inside.
If the knob feels loose or the latch doesn’t catch, check the screws. Tighten them if needed, but be careful not to overtighten. If the latch doesn’t align with the strike plate, you may need to adjust the plate’s position slightly. I had to file down my strike plate a bit to get a perfect fit, but it was worth it for a door that locks securely.
Adding the Finishing Touches
Once everything is working, take a step back and admire your work. I like to clean up the area—wipe down the knob to remove fingerprints and vacuum up any sawdust or debris. If your new knob has a different finish than the old one, you might notice some paint or wear marks on the door. I touched up my door with a bit of paint to make it look brand new.
If you’re feeling extra, consider adding a doorstop to prevent the knob from banging into the wall. It’s a small detail, but it protects your walls and keeps your knob looking good.
Common Mistakes to Avoid
I’ve made my fair share of mistakes, so let me save you some trouble. Here are a few things to watch out for:
- Wrong size knob: Double-check that the knob fits your door’s thickness and bore holes.
- Misaligned latch: Make sure the latch faces the right direction and sits flush with the door.
- Over-tightening screws: This can strip the wood or damage the knob. Tighten just enough to secure it.
- Skipping the test: Always test the knob and lock before calling it done.
Taking your time and double-checking each step will make the process smoother.
Maintaining Your New Door Knob
To keep your knob looking and working great, a little maintenance goes a long way. I clean mine every few months with a damp cloth and mild soap to remove dirt and smudges. Avoid harsh chemicals, as they can damage the finish. If the knob starts to feel loose over time, tighten the screws gently. For the lock, I use a graphite lubricant (available at hardware stores) to keep it moving smoothly. A quick spray once a year does the trick.
Conclusion
Installing an entry door knob is one of those projects that feels daunting at first but is so rewarding once you’re done. I still smile every time I unlock my front door and see that shiny new knob I installed myself. It’s not just about saving money—it’s about the pride of tackling a home improvement project and making your space feel more like you. With the right tools, a bit of patience, and this guide, you’ve got everything you need to get it done. So grab that screwdriver, pick out a knob you love, and transform your entryway. You’ll be amazed at how simple it is and how great it feels to walk through a door that’s both stylish and secure. Happy DIYing!
Frequently Asked Questions
How long does it take to install an entry door knob?
It depends on your experience, but for me, it took about 30-45 minutes the first time. If you’re replacing an old knob and the holes are already aligned, it can be quicker—maybe 20 minutes. New doors or misaligned holes might take an hour if you need to drill or chisel.
Do I need a professional to install an entry door knob?
Not at all! I did it myself with no prior experience, and you can too. As long as you have the right tools and follow the instructions, it’s a beginner-friendly project. If you’re dealing with a tricky door or don’t have a drill, a pro might be worth considering.
Can I install a smart lock instead of a traditional entry door knob?
Yes, you can! I’ve installed a smart lock before, and the process is similar, though some models require extra steps like wiring or app setup. Check the smart lock’s instructions and make sure your door is compatible.
What if my door doesn’t have pre-drilled holes?
No worries—it’s a bit more work, but doable. You’ll need a drill, a hole saw (usually 2-1/8 inches for the knob and 1 inch for the latch), and a chisel. Most knob sets come with a template to guide you. I’d recommend watching a quick video online for extra confidence if it’s your first time drilling.
How do I know if my new knob will fit my door?
Measure your door’s thickness and the size of any existing holes. Most knobs fit standard doors (1-3/8 to 1-3/4 inches thick) with a 2-1/8-inch bore hole. The packaging usually lists compatibility, so check before buying. I always bring my measurements to the store to be sure.