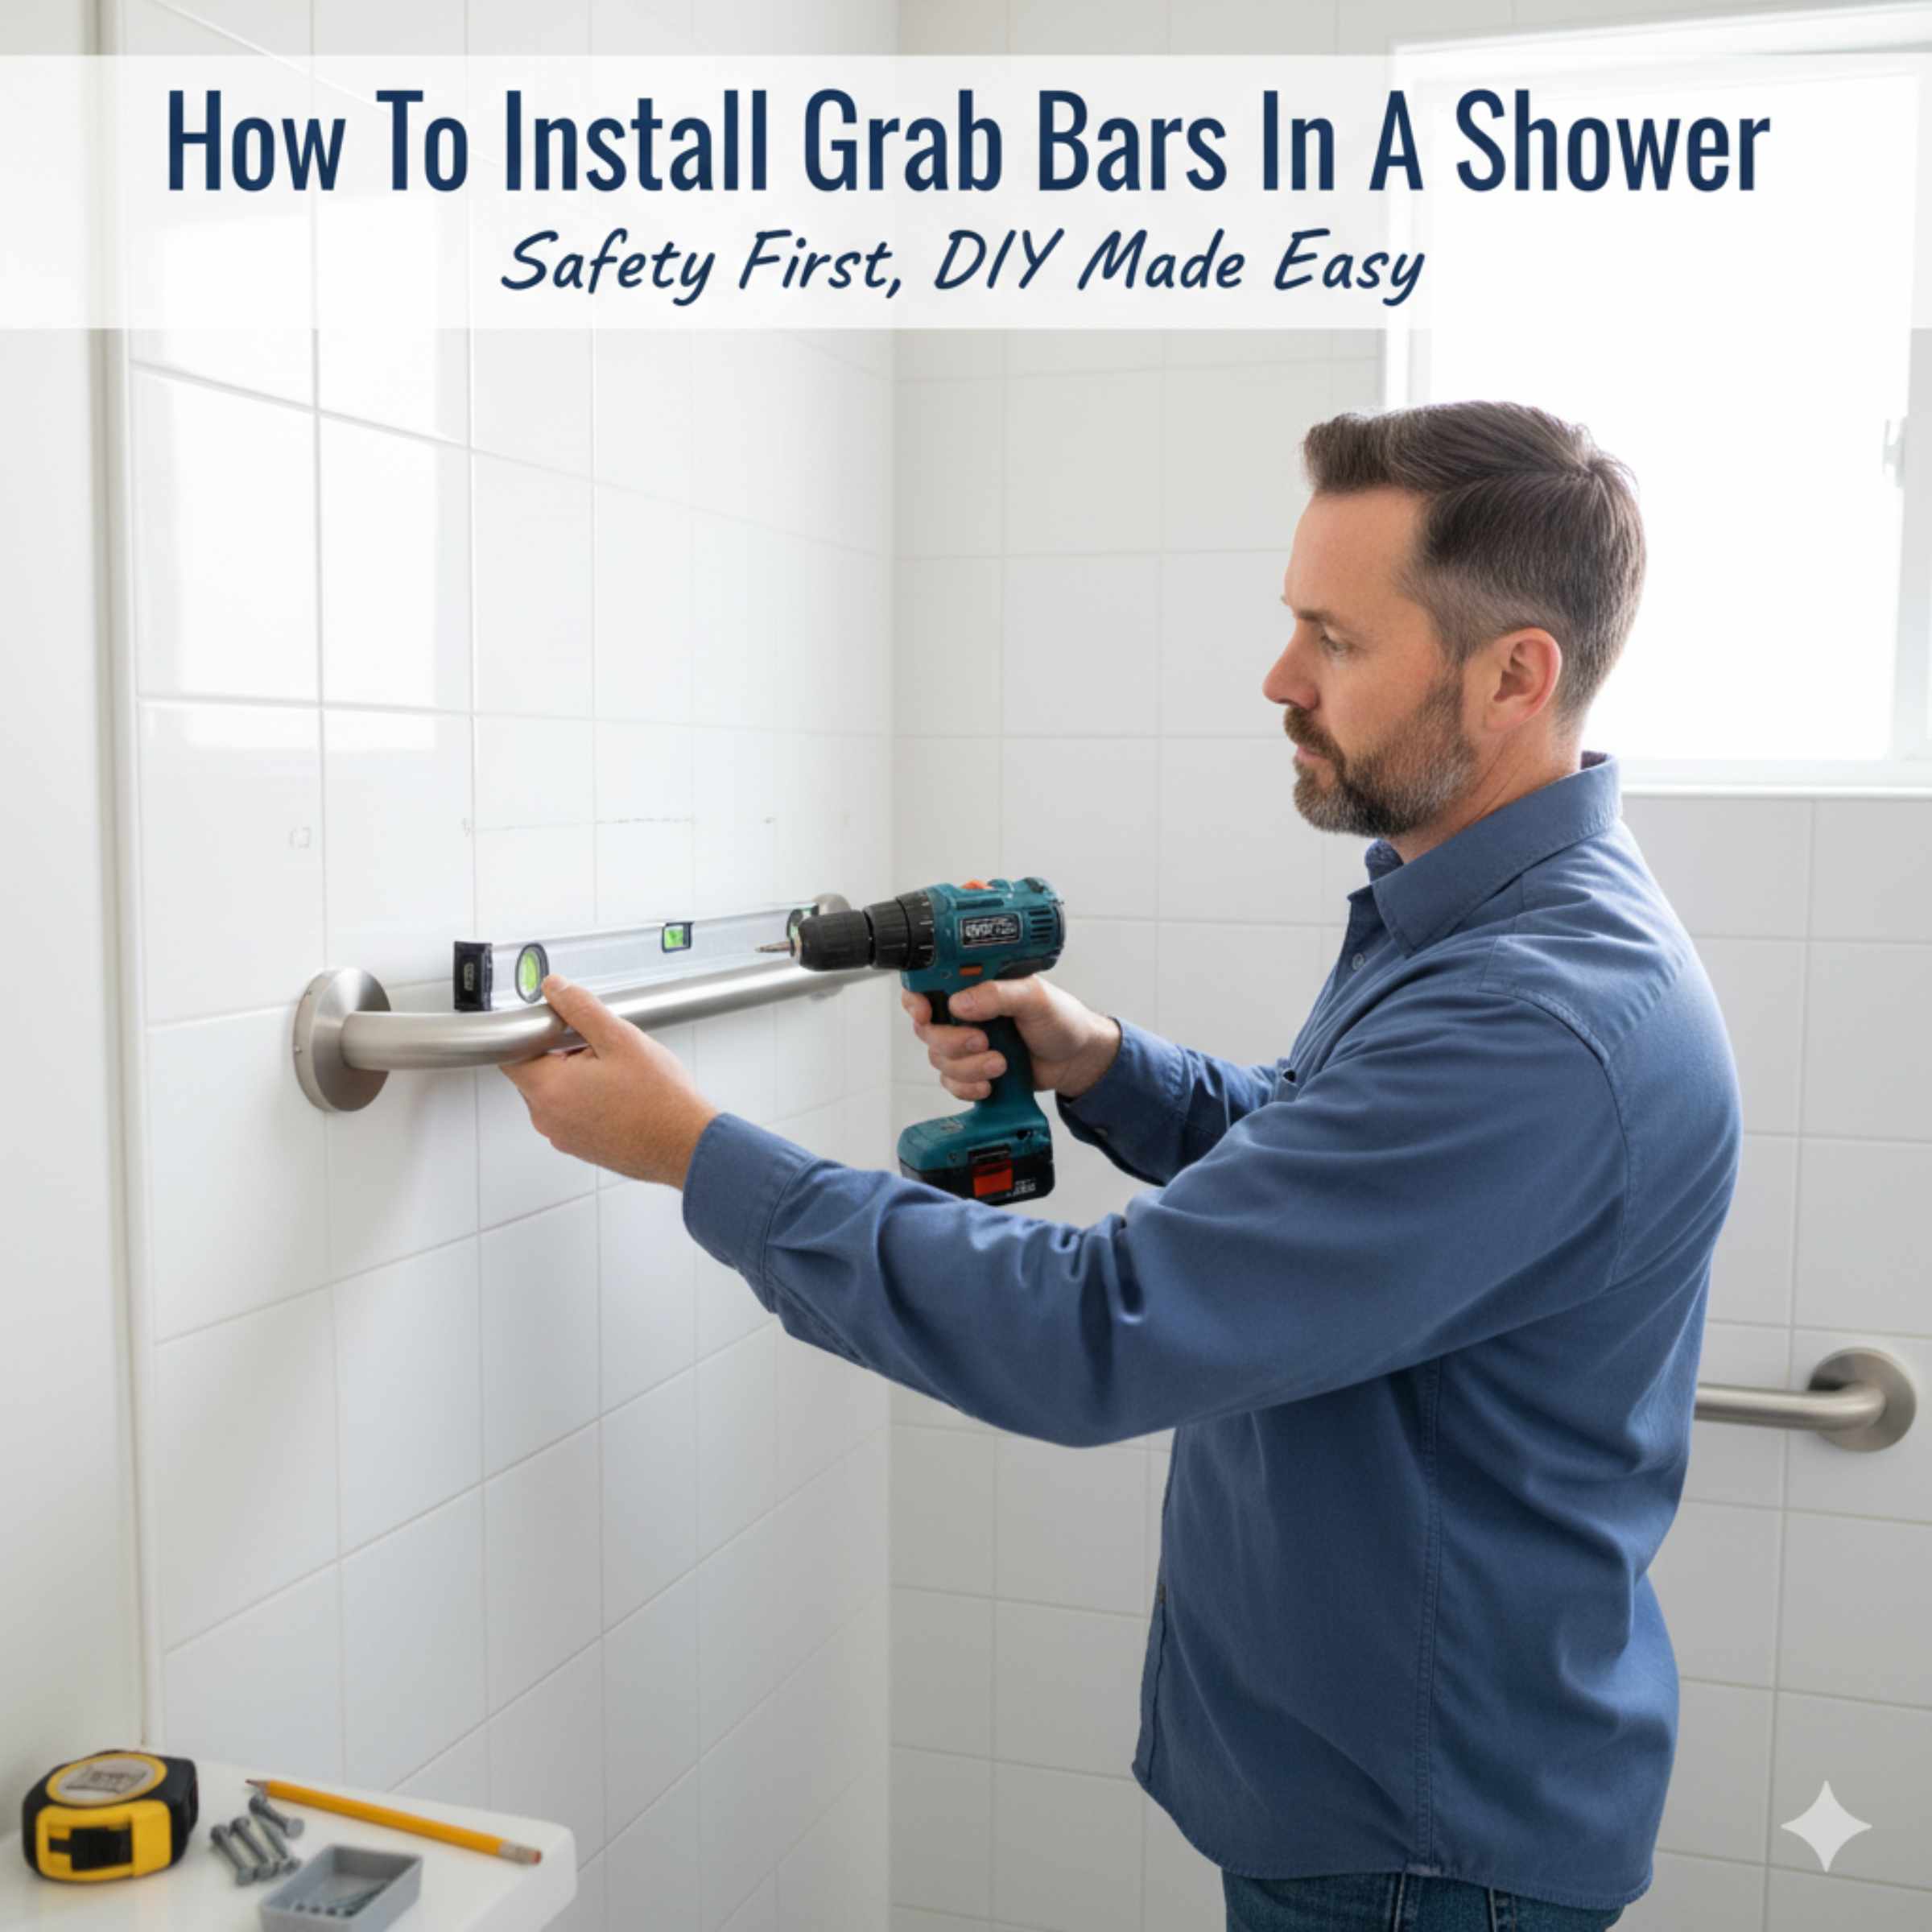
How To Install Grab Bars In A Shower: Proven Essential
Installing grab bars in your shower is an easy DIY task that dramatically improves bathroom safety. Use a stud finder to locate wall studs, drill pilot holes, and secure heavy-duty, ADA-compliant bars with long screws directly into the structural wood for a reliable, rock-solid hold.
Feeling a little unsteady when stepping into the shower? You are not alone. Bathrooms can become slippery hazards, especially as we age or if we have mobility challenges. Installing grab bars seems like a big job, but I promise you, it is one of the most rewarding and simple safety upgrades you can tackle this weekend. Forget worrying about expensive contractors; with a few basic tools and these clear steps, you’ll have sturdy, reliable support exactly where you need it.
We are going to walk through every stage, from choosing the right bar to securing it firmly into the wall studs. Let’s get started on making your shower completely safe and giving you back your peace of mind!
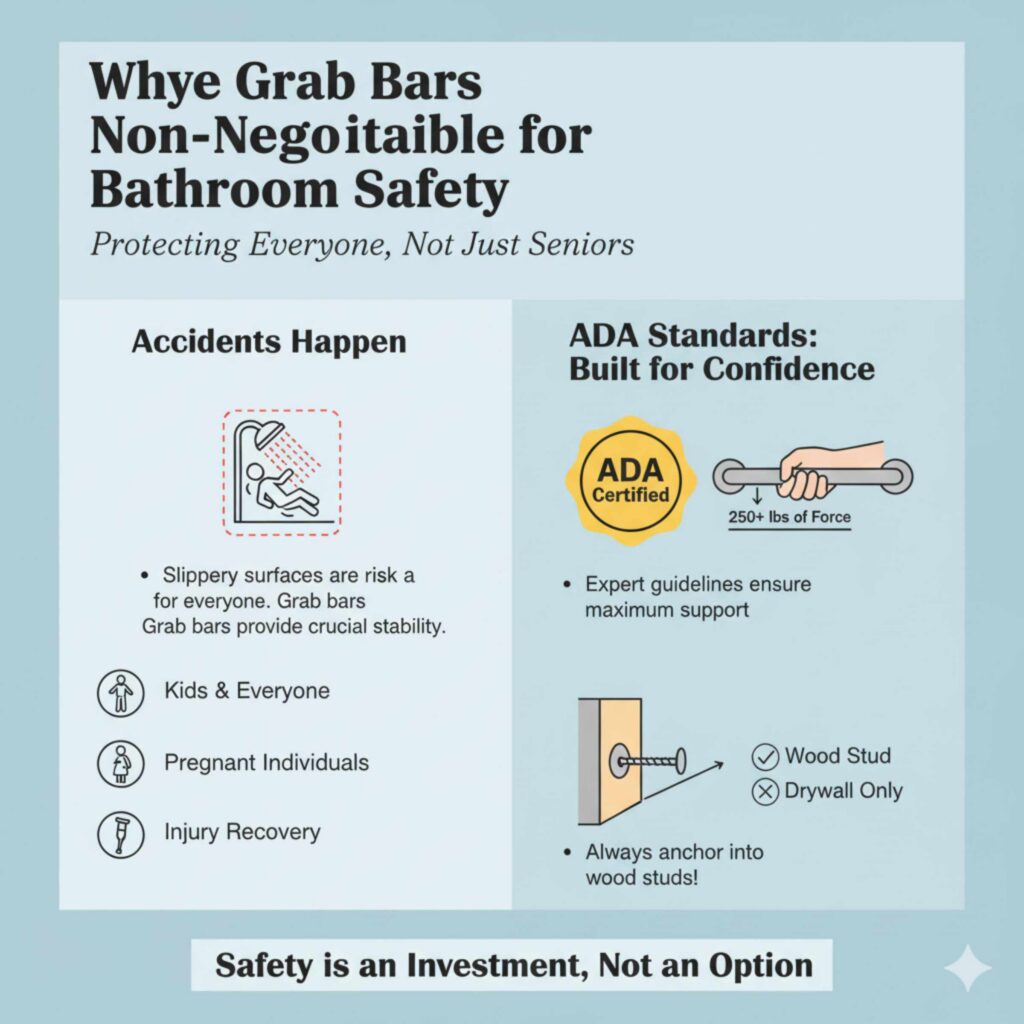
Why Grab Bars Are Non-Negotiable for Bathroom Safety
When we talk about home safety, the bathroom often tops the list of accident-prone areas. A simple slip on wet tile can lead to serious injury. Grab bars are not just for the elderly; they help everyone—kids, pregnant individuals, or anyone recovering from a sprain. They provide crucial points of leverage and stability.
Understanding ADA Standards for Confidence
To ensure your bars offer maximum support, it helps to look at what the experts recommend. The Americans with Disabilities Act (ADA) sets high standards for accessibility, and while you may not be building a public space, these guidelines ensure your home installation is as safe as possible. Following these guidelines means your bar can handle serious weight and force.
According to the ADA guidelines (often referenced by organizations like the National Association of Home Builders), a grab bar must be able to support at least 250 pounds of force. This is why securing them directly into wood studs, rather than just drywall anchors, is absolutely essential.
Step 1: Gather Your Essential Tools and Materials
Preparation is the secret sauce to any successful DIY project. Before we drill a single hole, let’s make sure our workbench (or shower floor!) has everything we need. This list focuses on quality and safety.
Essential Materials List
- ADA-Compliant Grab Bars: Ensure they are stainless steel or heavy-duty plastic-coated metal, rated for 250 lbs or more.
- Long, Heavy-Duty Screws: Use screws at least 1.5 to 2 inches long (e.g., 1/4-inch diameter lag screws or heavy-duty wood screws) that match the material of your bar flanges.
- Soap/Crayons: For marking hole locations.
- Waterproof Silicone Caulk: To seal the screw holes against moisture.
The Right Tools for the Job
You don’t need a huge workshop full of power tools. These items are the backbone of a secure installation:
- Stud Finder (Crucial!): A reliable electronic stud finder is your best friend here. You must find the solid wood framing behind the tile or wall material.
- Power Drill and Drill Bits: You will need bits for marking (pilot holes) and potentially larger bits for driving screws, depending on your specific screws.
- Level: Absolutely mandatory. A grab bar that isn’t level looks terrible and might not bear weight correctly.
- Tape Measure and Pencil/Marker.
- Socket Wrench or Impact Driver: To drive the long screws deeply into the studs.
- Stud Finder Calibration Tool (Optional but helpful): Some advanced stud finders let you calibrate them directly on the wall surface.
Step 2: Planning the Perfect Placement
Where you put the bar is just as important as how you install it. Placement is driven by comfort, accessibility standards, and, most importantly, finding the solid wood studs.
Locating the Wall Studs
This is the most critical safety step. Drywall, backer board, or tile alone cannot hold the force exerted when someone pulls on a grab bar. You must anchor into the wood framing (studs) behind the wall.
Here is how we find that solid wood:
- Use Your Stud Finder: Turn on your electronic stud finder and calibrate it according to the instructions on a clear section of the wall away from any metal pipes or wiring.
- Scan Horizontally: Slowly slide the finder across the area where you plan to mount the bar. Mark the edges of the stud when the finder indicates a solid hit. Studs are typically spaced 16 inches apart on center.
- Confirm Depth: Once you find a promising spot, use the stud finder’s depth setting (if available) or tap lightly. A hollow sound means empty space; a solid thud means wood framing.
Pro Tip: If your desired mounting location falls between two studs, you will need to adjust your grab bar location slightly or consider using specialized heavy-duty toggle bolts designed for high load (though stud mounting is always superior). For this guide, we assume we can align with the studs.
Standard Mounting Heights and Locations
While you customize for your height, the standard installation involves bars in three key areas. We use a standard measurement reference for consistency:
| Location | Recommended Height (From Finished Floor) | Purpose |
|---|---|---|
| Horizontal Bar (Side Wall) | 33 to 36 inches | For steadying oneself while standing or sitting. |
| Horizontal Bar (Back Wall) | 33 to 36 inches | Used for transferring onto and off the toilet or bench. |
| Vertical Bar (Near Entry) | One side should be between 38 and 42 inches high. | For gripping while stepping over the threshold or lowering down. |
Always check the specific needs of the person who will be using the bar most often. A good rule of thumb, supported by universal design principles, is mounting the primary horizontal bars around 33 inches high.
Step 3: Marking and Drilling Pilot Holes
We have our location, we found the studs, and now it’s time to mark the spots where the screws will go. Accuracy here prevents crooked bars and unnecessary wall repairs.
Positioning the Bar Flange
Take your grab bar and hold it up against the wall exactly where you want it installed. Use your level on top of the bar to ensure it is perfectly horizontal (or vertical, if applicable).
- Mark the Center: Once level, use a light pencil or crayon to mark the center point of every mounting hole on the flange of the bar.
- Check Stud Alignment: Double-check that every single mark lines up directly over the center of the wood stud you located with your finder. If a hole is half on drywall and half on the stud edge, reposition the bar slightly.
- Check for Obstructions: If you are drilling through tile, be extremely careful, as tile can crack easily. If you suspect you might hit plumbing or electrical lines (especially behind a toilet area), use a lower-power drill setting or use a specialized tile/glass drill bit first. (For more information on safely drilling into various wall materials, resources like the International Residential Code standards often provide depth guidelines.)
Drilling the Pilot Holes
Drilling a pilot hole—a smaller hole first—ensures your large screw drives straight and doesn’t split the wood stud. The size of the pilot hole matters:
- If you are using a self-tapping wood screw, the pilot hole should be slightly smaller than the screw’s shaft (the non-threaded middle part).
- If you are using a lag bolt, you must use a drill bit sized correctly for the shaft of the bolt, leaving the threads clear to bite into the wood.
When drilling, especially through tile, use the slow speed setting on your drill and apply steady, light pressure. If you hear a crunching sound, stop immediately and reassess your technique. You want to drill through the tile, any backer board, and about 1.5 inches into the wood stud.
Step 4: Securing the Grab Bars Firmly
This is where the strength comes from! We are driving those long, heavy screws through the mounting holes and deep into the solid wood frame.
The Driving Process
It is often easier to start the screws by hand or with a low-speed drill just to get them started, then switch to the impact driver or a high-torque drill setting to sink them completely.
- Pre-Install Screws (Optional): Some folks prefer to start the screws a few turns into the pilot holes before holding the bar up.
- Position and Drive: Hold the bar firmly against the wall. Drive the first screw in until it is snug, but do not fully tighten it yet.
- Level Check Again: Use your level one last time to ensure the bar hasn’t shifted while driving the first screw.
- Secure All Screws: Drive the remaining screws until they are tight. The flange of the grab bar should be pressed flush against the wall surface, with no gap remaining.
Crucial Tightening Note: You need significant torque here, but be careful not to strip the screw head or over-tighten to the point where you crack the tile or damage the mounting flange. Tight and flush is the goal, not stripping the head.
Step 5: Sealing for Waterproofing and Longevity
If you are installing the bar inside the shower stall, waterproofing those screw holes is essential to prevent water from seeping behind the tile and rotting out your newly secured studs.
Silicone Application
Once the bar is rock solid, it’s time for the sealant.
- Clean the Area: Wipe away any dust or pencil marks around the bar flanges.
- Apply Caulk: Take your silicone caulk gun. Run a thin, continuous bead of waterproof silicone caulk completely around the outer edge of the grab bar flange where it meets the wall. You want to seal the gap completely.
- Tool the Bead: Use a damp finger or a dedicated caulking tool to smooth the bead of silicone. This forces the caulk down into any tiny gaps between the metal flange and the wall surface.
- Cure Time: Let the silicone cure completely according to the manufacturer’s instructions (usually 12–24 hours) before using the shower.
This step protects your wood framing investment and ensures your bar remains securely mounted for decades.
Troubleshooting Common DIY Installation Issues
Even with the best plans, things can go sideways. Here are a few common bumps in the road and how to fix them easily, just like we do in the workshop.
Problem 1: My Stud Finder Isn’t Working Reliably Over Tile
Tile is dense and can sometimes confuse electronic sensors. If your finder is inconsistent, try the old-fashioned “tap test.” Tap the wall lightly. A dull, solid sound indicates a stud. Also, look for existing fixtures (like faucet pipes or shower heads) which often have studs placed near them for structural support.
Problem 2: I Drilled and Hit Nothing But Air/Drywall Crumble
If you drilled your pilot hole and it feels hollow, you missed the stud. Do not proceed with the long screw. You must remove the drill bit, patch the small hole with waterproof caulk or spackle, and re-locate the stud area using the tapping method.
Problem 3: The Screw Won’t Go Deep Enough
This usually means your pilot hole is too small, or you are hitting a dense knot in the wood. Try using a slightly larger drill bit for the pilot hole, or switch to a heavy-duty impact driver rather than a standard drill, which delivers rotational force better for driving long screws into dense material.
Problem 4: The Bar Looks Level, But the Level Says It Isn’t
Trust your tool! A good carpenter always trusts the level over the eye. If the level shows an issue, reposition the bar slightly until the level reads true. It’s much easier to fix now than to live with a crooked bar.
Alternative Installation Methods (When Studs Aren’t Available)
Sometimes, layout constraints mean you simply cannot hit a stud at the perfect angle or height. While stud mounting is the gold standard, modern anchoring systems offer high-load alternatives for areas where wood framing isn’t accessible (like a fiberglass surround or an oddly framed wall).
Note: These methods are generally only recommended for bars supporting stability rather than heavy transfer weight, unless explicitly rated for 250+ lbs by the manufacturer.
The strongest non-stud option involves specialized heavy-duty wall anchors. These must go through the tile/surface and into the wall cavity.
| Anchor Type | Best For | Weight Rating (Approx.) |
|---|---|---|
| Toggle Bolts (Butterfly Anchors) | Areas where a stud cannot be hit; thicker drywall/backer board. | 100–150 lbs (Use caution) |
| Specialized Grab Bar Mounting Kits | Hollow walls, often used for retrofitting tubs/showers. | Manufacturer Rated (Check carefully) |
If you are installing a bar over a tiled wall without studs, consider a method that uses a special backing plate. This plate is screwed into the studs, and then the bar mounts onto the plate. This distributes the load over a wider area between studs, but it requires precise drilling and sealing across the plate.
Maintenance and Long-Term Safety Checks
Your project isn’t truly finished until you know it will last. A grab bar is a safety device, and like any piece of hardware, it needs occasional checks.
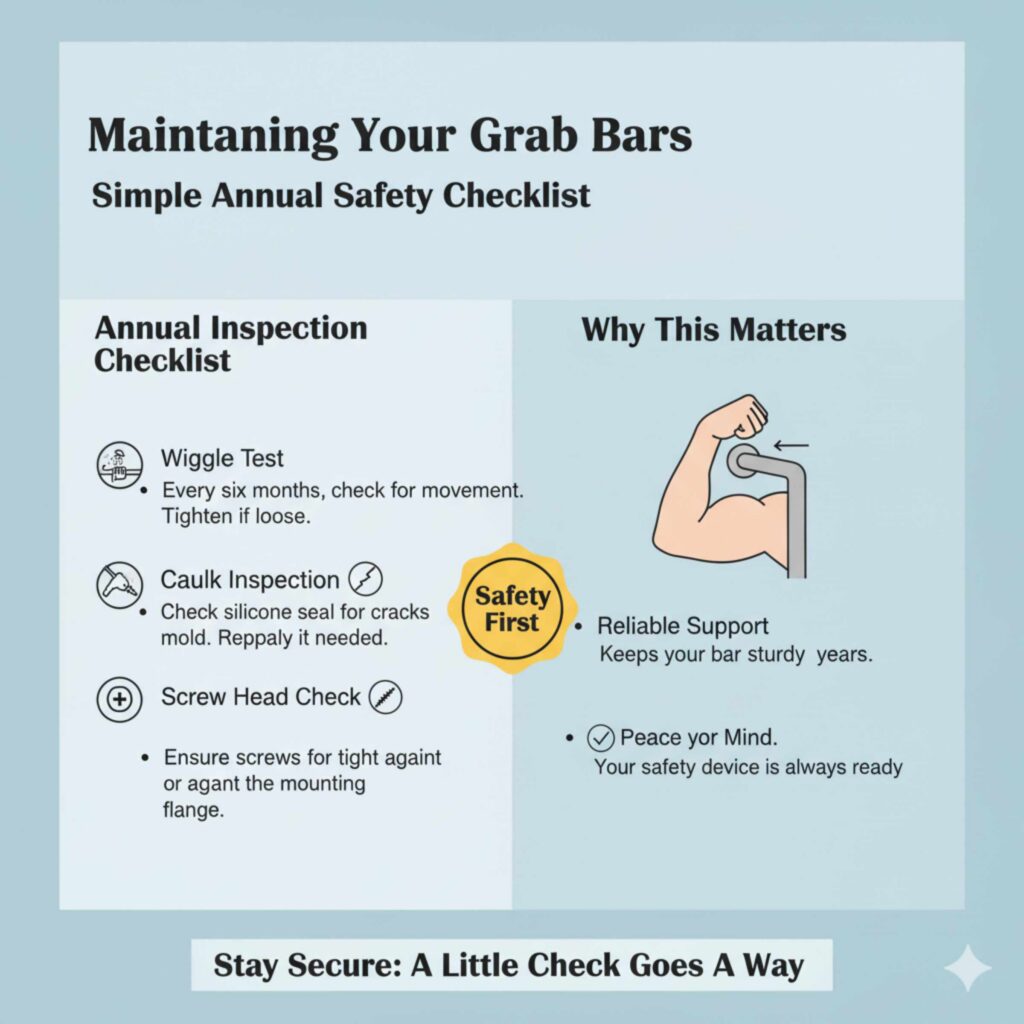
Annual Inspection Checklist
- Wiggle Test: Every six months, grab the bar firmly and try to wiggle it. If you feel any movement, it’s time to tighten the screws.
- Caulk Inspection: Check the silicone seal around the edges. If you see cracking, peeling, or mold growth, gently scrape out the old caulk and apply a fresh, waterproof bead.
- Screw Head Check: Ensure all screw heads are still firmly seated against the mounting flange and haven’t backed out even slightly.
Keeping up with these small checks ensures the bar remains as sturdy as the day you installed it, providing reliable support for years to come.
Frequently Asked Questions (FAQ) for Beginners
Q1: Can I install a grab bar directly onto drywall without studs?
A: No, not for safety. Drywall alone cannot support the weight. You must anchor the screws directly into the wooden wall studs behind the drywall or tile for reliable support, as recommended by safety guidelines.
Q2: Do I need a special drill bit to drill through shower tile?
A: Yes. Use a carbide-tipped masonry bit or, ideally, a diamond-tipped hole saw bit for ceramic or porcelain tile. Drill slowly with light pressure and keep the area wet to prevent overheating and cracking the tile.
Q3: Should grab bars be installed horizontally, vertically, or at an angle?
A: It depends on how the grab bar will be used. Horizontal grab bars are the most common and provide the best support for steadying yourself while standing or sitting. Vertical grab bars near the shower entrance are excellent for balance when stepping in or out. Angled grab bars (usually 30–45 degrees) combine both benefits and can be helpful for users who need support while transitioning from sitting to standing. Many bathrooms use a combination of all three for maximum safety.
Q4: Can grab bars be installed in fiberglass or acrylic shower surrounds?
A: Yes, grab bars can be installed in fiberglass or acrylic surrounds, but extra care is required. The safest method is still to anchor the grab bar screws directly into the wall studs behind the surround. If studs are not accessible, you must use a manufacturer-approved grab bar mounting kit designed specifically for hollow-wall installations. Standard plastic anchors are not strong enough and should never be used for grab bars.
Q5: How do I know if my grab bar installation is strong enough?
A: After installation, perform a controlled strength test. Firmly grip the bar with both hands and apply gradual body weight while keeping your feet on the ground. The bar should not flex, shift, or make cracking sounds. If there is any movement at all, the screws may not be fully embedded in the stud or may need tightening. A properly installed grab bar should feel completely solid and secure at all times.
Final Thoughts: A Small Upgrade That Makes a Big Difference
Installing grab bars in your shower is one of the simplest yet most impactful home safety upgrades you can make. With the right tools, proper planning, and secure mounting into wall studs, you can create a rock-solid support system that significantly reduces the risk of slips and falls. Best of all, it’s a project you can confidently complete yourself in just a few hours.
Grab bars aren’t only for aging adults—they provide stability, confidence, and peace of mind for everyone in the household. By following proven installation methods, respecting ADA safety standards, and sealing everything properly against moisture, you ensure your grab bars remain strong, safe, and reliable for years to come.
Take the time to do it right now, and you’ll enjoy a safer, more comfortable shower every single day. A little preparation today can prevent serious accidents tomorrow—and that’s a DIY win worth celebrating!