Recessed Lighting Layout: Spacing Formula for Any Room
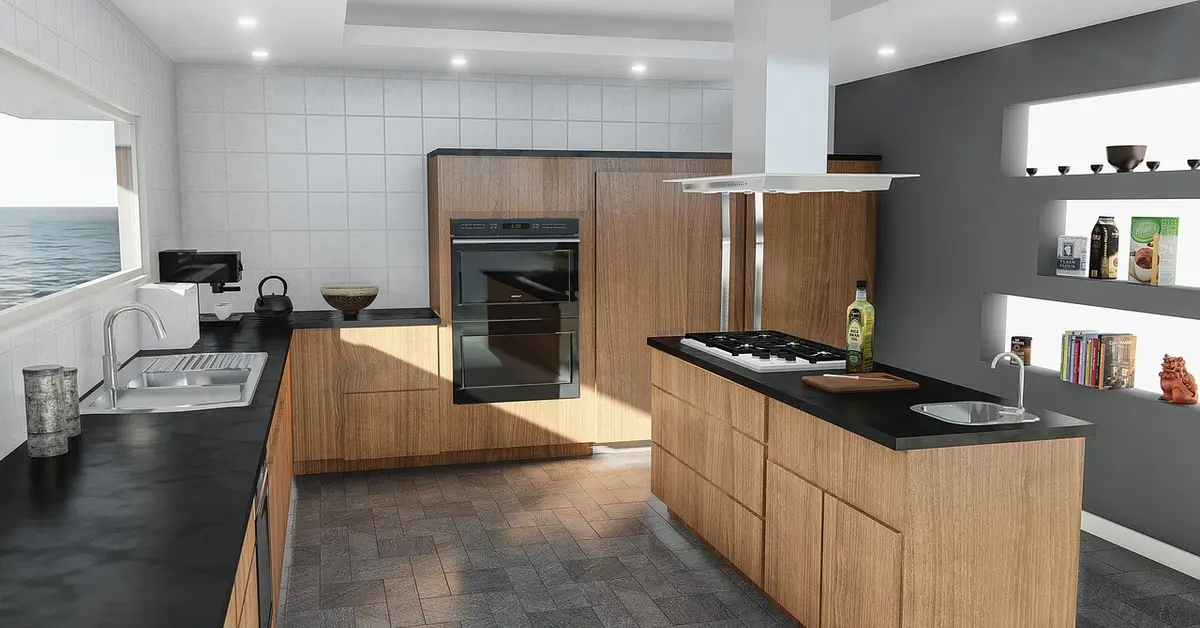
Space recessed lights by dividing your ceiling height by 2 – an 8-foot ceiling needs fixtures roughly 4 feet apart. Get the spacing wrong and you end up with dark corners or a cluttered, over-lit ceiling instead of even coverage. This guide walks through the spacing formula, wall clearance, and placement for recessed lighting in kitchens, living rooms, and kitchen islands.
What Is Recessed Lighting?
Best Recessed Lighting Pick
Amico 12 Pack 5/6 Inch LED Recessed Lighting, Retrofit Can Lights – $49.99
A 12-pack sized for spacing lights using the ceiling-height-divided-by-2 formula this guide covers across a standard living room or kitchen.
- Best for: Living rooms and kitchens needing 10-14 evenly spaced fixtures
- Why we picked it: 5/6-inch retrofit design fits standard housings without new wiring, matching this guide’s any-room approach
- Main drawback: 12-pack may be more lights than a small bedroom or single hallway needs
Compare more recessed lighting kits options
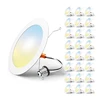
 Option 1 Amico 24 Pack 5/6 Inch LED Recessed Lighting – $75.98
|
 Option 2 FREELICHT 24 Pack Retrofit LED Recessed Lighting, 6 Inch – $89.99
|
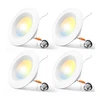 Option 3 Amico 4 Pack 5/6 Inch LED Recessed Lighting – $22.99
|
As an Amazon Associate we earn from qualifying purchases.
Recessed lighting, often called can or pot lights, sits flush with your ceiling. It’s sleek, modern, and perfect for any room.
These lights hide inside the ceiling, giving a clean look. They’re great for general lighting, task lighting, or highlighting a cool painting. I love how they make my kitchen feel bright without bulky fixtures. Recessed lighting comes in different sizes and styles, so you can pick what fits your vibe.
Why It Matters
A good layout makes your room feel cozy or bright, depending on your goal. Poor planning can leave dark corners or weird shadows. I once spaced lights too far apart, and my bedroom felt like a cave! Proper placement saves energy and boosts your home’s style.
Types of Recessed Lighting
Recessed lights serve three main purposes: general, task, and accent lighting. Each needs a different layout.
- General Lighting: Brightens the whole room evenly. Think living rooms or bedrooms.
- Task Lighting: Focuses light on work areas, like kitchen counters or desks.
- Accent Lighting: Highlights features, like artwork or a fireplace.
I used task lighting over my kitchen island, and it’s a game-changer for cooking. Knowing your purpose helps plan the layout.
Common Sizes and Styles
Recessed lights come in various sizes and trims. Here’s a quick table to compare:
| Size | Best For | Notes |
|---|---|---|
| 6-inch | All-purpose | Most common, fits most rooms |
| 4-inch | Small areas | Great for bathrooms or hallways |
| 3-inch | Accent lighting | Perfect for highlighting art |
Table 1: Common Recessed Light Sizes
Trim styles also matter. Baffle trims reduce glare, eyeball trims adjust direction, and lens trims diffuse light for soft glows. I used baffle trims in my living room for a cozy feel.
Tools and Materials You’ll Need
Planning recessed lighting is easy with the right tools. You don’t need much!
- Tape measure: To measure your room and ceiling height.
- Pencil and paper: For sketching your layout.
- Stud finder: To avoid ceiling joists during installation.
- Recessed lighting kit: Includes cans, trims, and bulbs (LEDs are energy-efficient).
- Ladder: To reach the ceiling safely.
I recommend LED bulbs – they last forever and save money. A basic kit from Home Depot costs about $50-$100 for four lights. Check out their guide for more details: Home Depot Recessed Lighting.
How To Layout Recessed Lighting: Step-by-Step Guide
Here’s a simple guide to plan your recessed lighting. Follow these steps, and you’ll nail it!
Step 1: Define Your Goal
Decide what you want the lights to do. General lighting? Task lighting? Accent lighting? In my dining room, I wanted general lighting to make the space feel open. Knowing your goal shapes the layout.
Step 2: Measure Your Room
Grab a tape measure and note your room’s length, width, and ceiling height. My living room is 12×12 feet with an 8-foot ceiling. This helps calculate light spacing.
Step 3: Sketch the Layout
Draw a rough sketch of your room. Mark furniture, focal points (like a TV), or work areas (like a kitchen counter). I started my kitchen layout by placing lights over the sink and island first.
Step 4: Calculate Light Spacing
For general lighting, divide your ceiling height by two to get the spacing between lights. For an 8-foot ceiling, space lights 4 feet apart. For accent lighting, place lights 4-6 feet apart. In my bedroom, I spaced 6-inch lights 4 feet apart for even light.
Here’s a handy table for spacing based on ceiling height:
| Ceiling Height | Spacing (General Lighting) | Spacing (Accent Lighting) |
|---|---|---|
| 8 feet | 4 feet | 4-6 feet |
| 10 feet | 5 feet | 4-6 feet |
| 12 feet | 6 feet | 4-6 feet |
Table 2: Recessed Light Spacing Guide
Step 5: Place Lights Strategically
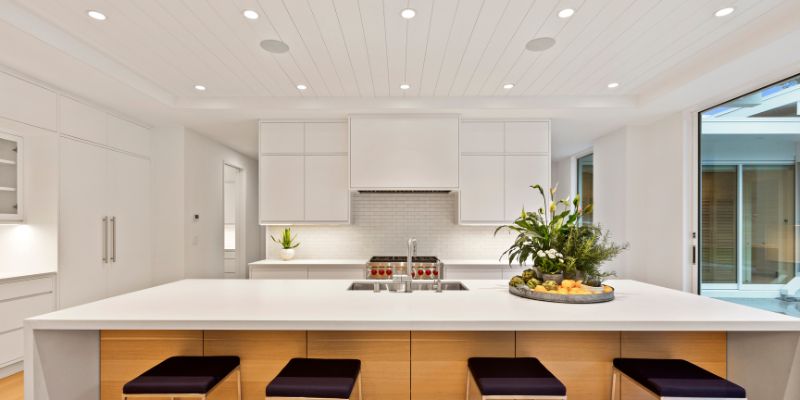
Start from the room’s center or a focal point. For kitchens, place lights over counters or islands. In bathrooms, aim lights at counter edges to avoid shadows. I placed lights 18 inches from my kitchen cabinets to prevent dark spots.
Step 6: Check for Obstacles
Use a stud finder to avoid ceiling joists or wiring. My first layout hit a joist, and I had to shift a light – lesson learned! Plan around obstacles early.
Step 7: Test Your Plan
Mark light spots on the ceiling with painter’s tape. Turn on a flashlight to mimic the light spread. Adjust if needed. This saved me from installing a light too close to a wall.
Room-Specific Tips
Every room has unique needs. Here are tips for common spaces:
- Kitchen: Place task lights over counters and islands. Use 4-inch lights for precision. I added dimmers for a cozy dinner vibe.
- Living Room: Use 6-inch lights for general lighting. Space them evenly to avoid shadows.
- Bathroom: Aim lights at counter edges, not directly overhead, to reduce shadows. Lens trims work great for showers.
- Bedroom: Go for soft, even lighting. I used 4-foot spacing for a calm feel.
For more room-specific ideas, check out This Old House: This Old House Lighting Guide.
Benefits and Drawbacks
Recessed lighting has tons of perks, but it’s not perfect.
Benefits
- Clean Look: No bulky fixtures cluttering your ceiling.
- Versatile: Works for general, task, or accent lighting.
- Energy-Saving: LED bulbs cut your electric bill.
Drawbacks
- Installation Cost: Kits cost $50-$200, plus electrician fees if you’re not DIY-savvy.
- Ceiling Damage: Cutting holes can be tricky. My first try left a wonky hole!
- Limited Flexibility: Once installed, moving lights is tough.
Alternatives to Recessed Lighting
If recessed lighting isn’t your thing, try these:
- Pendant Lights: Great for kitchens or dining rooms. They add style but can clutter small spaces.
- Track Lighting: Adjustable and easier to install. I used track lights in my office for flexibility.
- Wall Sconces: Perfect for accent lighting. They’re cheaper but less versatile.
Personal Tips to Shine
After years of DIY lighting projects, here are my top tips:
- Use Dimmers: They let you adjust brightness for any mood. My living room feels like a movie theater with dimmers!
- Test with Tape: Mark light spots with painter’s tape before cutting. It’s a lifesaver.
- Mix Light Types: Combine general and task lighting for a balanced look. My kitchen has both, and it’s perfect.
- Avoid Overlighting: Too many lights feel harsh. Stick to one light per 25 square feet for general lighting.
For more tips, visit LightUp’s guide: LightUp Recessed Lighting Tips.
Common Mistakes to Avoid
- Wrong Spacing: Too far apart, and you’ll get dark spots. Too close, and it’s too bright.
- Ignoring Obstacles: Always check for joists or pipes before cutting.
- Skipping Dimmers: Fixed brightness limits your options. I regretted not adding dimmers early on.
Visual Ideas
To make planning easier, consider these visuals (not included):
- Room Sketch: A simple diagram showing light placement in a 12×12 room.
- Spacing Guide: A chart showing light cones for 8-foot vs. 10-foot ceilings.
- Trim Comparison: A side-by-side of baffle vs. eyeball trims.
Conclusion
Laying out recessed lighting is super easy with a solid plan. Start by defining your goal, measure your room, and space lights based on ceiling height. Use my tips to avoid dark corners or costly mistakes. Whether it’s your kitchen or bedroom, you’ll love the modern vibe recessed lights bring. Try sketching a layout for your room today – it’s fun! Share your ideas or ask questions in the comments. Let’s light up your home!
Frequently Asked Questions
How Many Recessed Lights Do I Need?
Count one light per 25 square feet for general lighting. For a 100-square-foot room, use four 6-inch lights. Adjust for task or accent needs.
What’s the Best Spacing for Recessed Lights?
Divide your ceiling height by two. For an 8-foot ceiling, space lights 4 feet apart for even lighting. Closer for accent lighting.
Can I Install Recessed Lights Myself?
Yes, with basic tools and a kit, it’s DIY-friendly. Always check for joists and turn off power for safety.
What Size Recessed Lights Should I Use?
6-inch lights work for most rooms. Use 4-inch for small spaces or 3-inch for accent lighting.
How Do I Avoid Shadows in My Layout?
Place lights 14-18 inches from walls or cabinets. Aim task lights at counter edges, not directly overhead.
Are LED Bulbs Best for Recessed Lighting?
Yes, LEDs save energy and last longer. They’re pricier upfront but worth it for lower bills.
Can I Use Recessed Lights in a Bathroom?
Absolutely! Use lens trims for showers and place lights over counters to minimize shadows.
Sponsored / affiliate links. As an Amazon Associate I earn from qualifying purchases. I may earn additional commission from eligible campaigns.