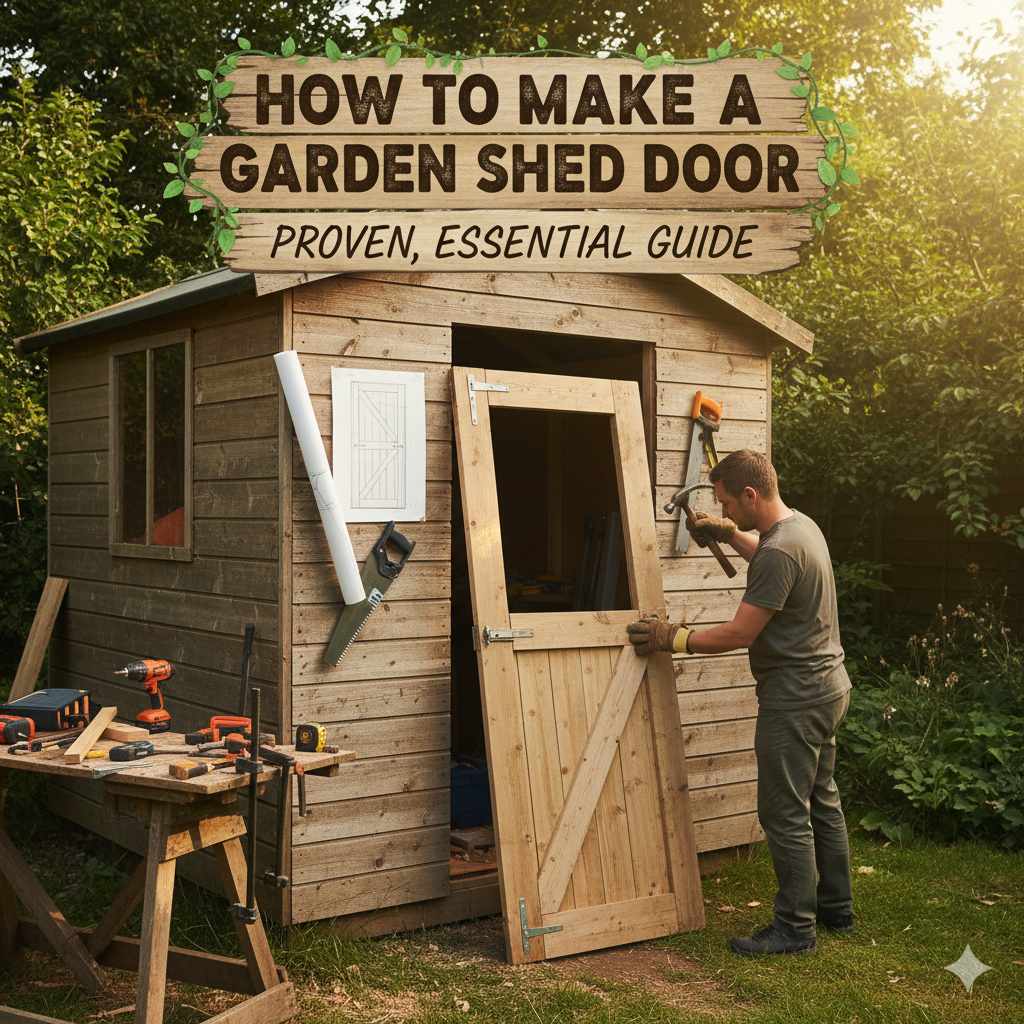
How to Make a Garden Shed Door: Proven, Essential Guide
Make a sturdy, custom garden shed door yourself with this easy-to-follow guide. We’ll cover simple steps, essential tools, and tips for a perfect fit, saving you money and giving you a rewarding DIY project.
Hey there, DIYers! Md Meraj here. Ever looked at your garden shed and thought, “That door just isn’t cutting it”? Maybe it’s warped, flimsy, or just plain doesn’t match your shed’s style. Building a new door might sound like a big job, but I’m here to tell you it’s totally doable, even if you’re new to woodworking. We’ll break it down into simple, manageable steps. You’ll get a door that fits perfectly, looks great, and is built to last. Ready to transform your shed with a door you made yourself? Let’s get started!
Why Build Your Own Garden Shed Door?
There are some fantastic reasons to consider building your own garden shed door instead of buying one. For starters, it’s often much more affordable. Pre-made shed doors can carry a hefty price tag, especially if you need a specific size or style. When you build it yourself, you control the costs by choosing your materials.
Customization is another huge plus. Your shed is unique, and a standard door might not fit perfectly or complement its aesthetic. Building your own means you can design a door that’s the exact size you need and matches the look of your shed, whether it’s rustic, modern, or anything in between. Plus, you get the satisfaction of creating something with your own two hands – a real confidence booster for any DIY project!
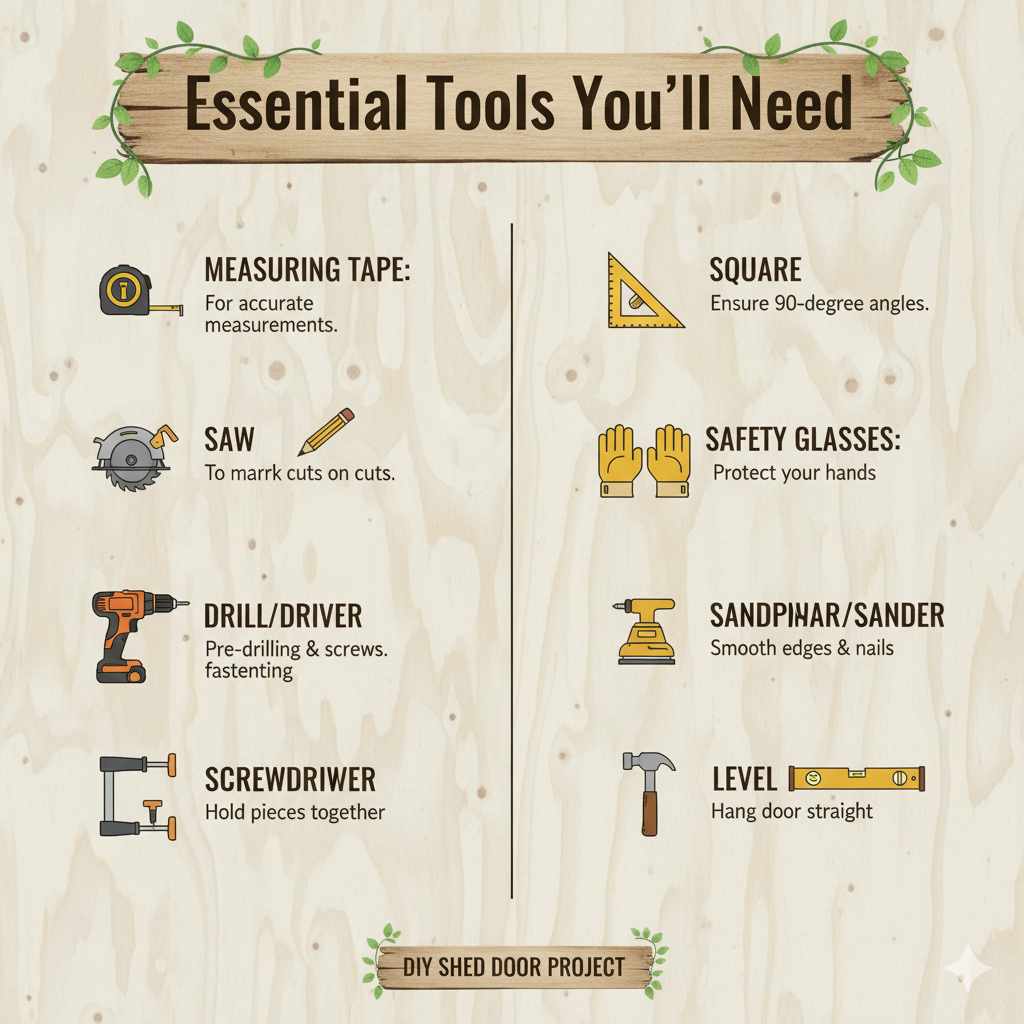
Essential Tools You’ll Need
Don’t worry if you don’t have a professional workshop! You can build a great shed door with a few common tools. Having the right tools makes the job easier, safer, and results in a much better finish. Here’s a list of what you’ll likely need:
- Measuring Tape: For accurate measurements.
- Pencil: To mark your cuts.
- Saw: A circular saw is great for straight cuts on plywood and lumber. A handsaw can work for smaller pieces, but it takes more effort.
- Drill/Driver: For pre-drilling holes and driving screws. Make sure you have a few drill bits.
- Screwdriver: If you prefer not to use a drill for all screws.
- Clamps: To hold pieces together while you work or glue dries.
- Square: A speed square or combination square to ensure your cuts and corners are perfectly 90 degrees.
- Safety Glasses: Absolutely crucial for protecting your eyes.
- Work Gloves: To protect your hands from splinters and rough edges.
- Sandpaper or Orbital Sander: To smooth out rough edges and surfaces.
- Hammer: For any minor adjustments or if you choose to use nails in some areas.
- Level: To ensure your door hangs straight.
Choosing Your Materials
The type of wood you choose will affect the look, durability, and cost of your shed door. For most garden sheds, durability and weather resistance are key. Here are some popular and practical options:
- Plywood: Exterior-grade plywood, like CDX or marine-grade, is a fantastic base. It’s strong, relatively inexpensive, and provides a stable surface. Look for plywood rated for outdoor use.
-
Lumber: For the frame and any bracing, you’ll want sturdy lumber. Common choices include:
- Pine or Fir: These are readily available and affordable. For outdoor projects, ensure they are pressure-treated or sealed well to resist rot and insects.
- Cedar or Redwood: These are naturally more resistant to rot and insects, making them excellent choices for exterior doors, though they are more expensive.
- Screws and Nails: Use exterior-grade screws (like galvanized or stainless steel) to prevent rust. They hold better than nails and make assembly easier.
- Wood Glue: An exterior-grade wood glue adds extra strength to your joints.
- Finishing Supplies: Exterior paint, stain, or sealant to protect your door from the elements.
For a simple, strong door, a common approach is to use a sheet of exterior plywood for the main panel and then build a simple rectangular frame around it using 1×4 or 1×6 lumber. This is a robust and beginner-friendly design.
Planning and Measuring Your Door
This is arguably the most important step! A door that’s too big won’t fit, and one that’s too small will leave gaps and drafts. Take your time here.
First, measure the opening of your shed where the door will hang. Measure the height, width, and depth of the opening. It’s best to measure in a few different spots (top, middle, and bottom for width; left, middle, and right for height) as openings aren’t always perfectly square.
Here’s how to determine your door size:
- Measure the Rough Opening: This is the actual hole in the shed wall.
- Subtract for Clearance: You need a small gap around the door so it can open and close freely. A common recommendation is to subtract about 1/4 inch from the width and 1/4 inch from the height of your rough opening. This creates a 1/8-inch gap on each side and at the top.
-
Door Size Calculation:
- Door Width = Rough Opening Width – 1/4 inch
- Door Height = Rough Opening Height – 1/4 inch
For example, if your rough opening is 36 inches wide and 78 inches high, your door should be 35 3/4 inches wide and 77 3/4 inches high. These measurements are for the door slab itself, not including any trim or overhangs.
Also, consider the thickness of your door. A common thickness is 1 1/2 inches, which can be achieved by layering materials or using thicker lumber for the frame.
Step-by-Step Guide to Making Your Garden Shed Door
Let’s get building! This guide outlines a simple yet sturdy door design. We’ll create a plywood panel with a solid wood frame for strength and stability.
Step 1: Cut Your Plywood Panel
Based on your measurements from the previous step, cut your exterior-grade plywood to the exact dimensions of your door slab. Use a circular saw for the cleanest, straightest cuts. Always measure twice and cut once!
Safety Tip: When using a circular saw, ensure the plywood is securely supported and you have a clear cutting line. Wear your safety glasses!
Step 2: Prepare Your Frame Lumber
You’ll need lumber for the frame. For a basic, strong door, a simple Z-brace or rectangular frame works well. Let’s aim for a rectangular frame with a diagonal brace for extra rigidity. You’ll typically use 1×4 or 1×6 lumber for this.
Measure and cut your lumber for the frame. You’ll need:
- Two pieces for the vertical sides (full height of the door).
- Two pieces for the top and bottom (width of the door minus the thickness of the two side pieces, so they fit between the sides).
- One or two diagonal braces (measure from corner to corner, accounting for how they’ll overlap or butt against the frame).
For example, if your door is 35 3/4 inches wide and 77 3/4 inches high, and you’re using 1×4 lumber (which is actually 3/4 inch thick and 3 1/2 inches wide), your cuts would be:
- Two vertical pieces: 77 3/4 inches long.
- Two horizontal pieces: 35 3/4 inches (door width) – (2 * 3/4 inch thickness of side pieces) = 34 1/4 inches long.
- Diagonal brace: Measure from the top corner where the side meets the top rail to the opposite bottom corner.
Step 3: Assemble the Door Frame
Lay out your frame pieces on a flat surface. You can assemble the frame in a couple of ways:
- Butt Joints: The ends of the horizontal pieces butt up against the inside faces of the vertical pieces. This is the simplest.
- Lap Joints or Mortise and Tenon: These are stronger but more complex. For a beginner, butt joints with good fastening and glue are sufficient.
Apply exterior wood glue to the ends of the horizontal pieces where they meet the vertical pieces. Then, pre-drill pilot holes through the vertical pieces into the ends of the horizontal pieces. This prevents the wood from splitting. Secure the frame with exterior-grade screws. Ensure your frame is perfectly square using your square tool. Measure the diagonals – they should be equal.
Now, attach your diagonal brace. This is crucial for preventing the door from sagging over time. You can either cut the ends of the brace at an angle to fit snugly against the frame, or simply screw it directly across the frame. A common method is to run it from the top hinge side corner down to the bottom handle side corner.
Step 4: Attach the Plywood Panel to the Frame
Lay your cut plywood panel flat. Place the assembled door frame on top of the plywood. Ensure the outer edges of the frame are flush with the edges of the plywood. This creates a clean, finished look and adds strength.
Apply a bead of exterior wood glue along the top of the frame where it will contact the plywood. Carefully position the frame onto the plywood. Then, pre-drill pilot holes through the frame and into the plywood every 6-8 inches. Secure the frame to the plywood with exterior screws. Drive the screws flush or slightly below the surface.
For extra strength, you can also pre-drill and screw through the plywood into the frame from the back side, though this might not look as clean unless you plan to cover the back with another panel.
Step 5: Sanding and Finishing
Once the glue is dry and the door is assembled, it’s time to smooth things out. Use sandpaper (starting with a coarser grit like 80 or 100, then moving to a finer grit like 150 or 220) or an orbital sander to smooth all the edges and surfaces. Pay special attention to any rough cuts or splintered areas.
After sanding, wipe down the door to remove all dust. Now it’s time to protect your work from the weather. Apply a good quality exterior paint, stain, or sealant. Follow the manufacturer’s instructions for application and drying times. Apply at least two coats for maximum protection. Consider painting or sealing the edges of the plywood especially well, as these are vulnerable to moisture.
Step 6: Install Hardware and Hang the Door
Once your door is fully finished and dried, it’s time to hang it. You’ll need hinges and a latch or handle.
- Hinges: Choose sturdy exterior-grade hinges. The number of hinges depends on the size and weight of your door, but two or three are typical for a shed door. Position them on the side of the door that will be hinged.
- Latch/Handle: Decide where you want your latch and handle. You can buy a simple gate latch, a barrel bolt, or a more decorative handle set.
Hanging the Door:
- Mark Hinge Placement: Hold the door up to the shed opening. Use shims to create your 1/8-inch gap on all sides. Mark the position of the hinges on the door and the shed frame.
- Attach Hinges to Door: Pre-drill pilot holes and attach the hinges to the door.
- Attach Hinges to Shed: Align the door (with shims in place) and attach the hinges to the shed frame.
- Test: Carefully open and close the door to ensure it swings freely without rubbing. Make any necessary adjustments.
For detailed information on hanging doors, you can check out resources from reputable building organizations like the Fine Homebuilding, which often share excellent carpentry techniques.
Door Design Variations
The simple Z-brace design is fantastic, but you might want to explore other options as your skills grow or your needs change.
The Classic Batten Door
This is a very common and robust design for sheds and outbuildings. It consists of vertical planks (battens) held together by horizontal or diagonal pieces of wood (cleats or battens). It’s simple to build and very strong.
How to make it:
- Cut your vertical planks to the desired door height.
- Lay them side-by-side on a flat surface.
- Cut horizontal or diagonal support pieces (cleats) that will span across the vertical planks. Typically, two horizontal cleats are used at the top and bottom, and a diagonal one from top to bottom for stability.
- Glue and screw the cleats to the vertical planks.
The Raised Panel Door
For a more traditional or decorative look, you can create a raised panel door. This involves building a frame (like a mortise and tenon frame) and then fitting thinner panels into grooves within the frame. The panels can be flat or have a “raised” profile for a more classic appearance.
Pros: Aesthetically pleasing, can look very high-end.
Cons: More complex joinery required, takes more time and precision.
The Plywood with Trim Door
This is a variation on the door we’ve detailed. Instead of having the frame sit on top of the plywood, you can create a frame and then attach the plywood to the back of it. You can then add decorative trim to the front of the plywood for a more finished look.
Pros: Can look very polished, offers flexibility in design.
Cons: Requires careful measurement for trim to fit precisely.
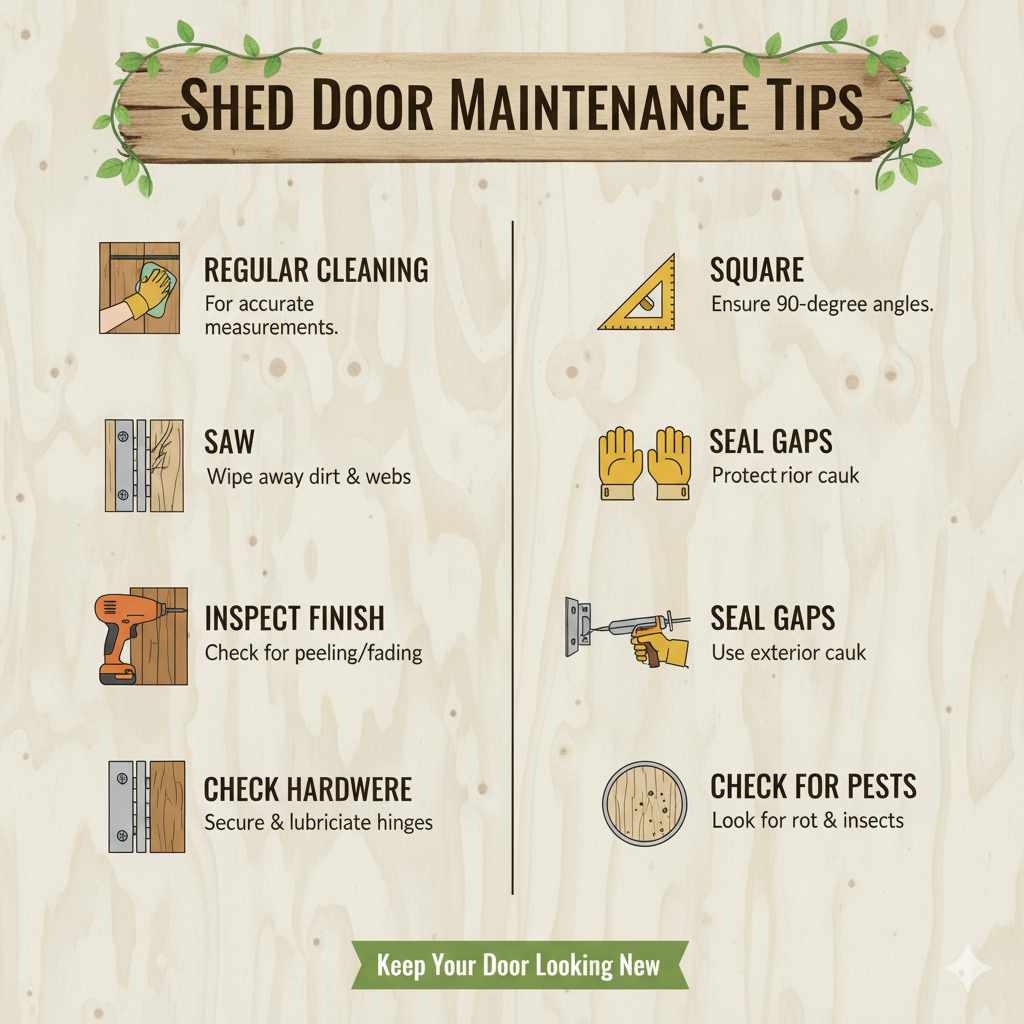
Maintenance Tips for Your New Shed Door
To ensure your new shed door lasts for years to come, a little bit of regular maintenance goes a long way. Your door is exposed to the elements, so protecting it is key.
- Regular Cleaning: Wipe down the door periodically to remove dirt, cobwebs, and any mildew that might start to form, especially in damp climates.
- Inspect Finish: Check the paint, stain, or sealant at least once a year. Look for any signs of peeling, chipping, or fading. Touch up or reapply the finish as needed.
- Check Hardware: Ensure hinges and latches are still secure and operating smoothly. Lubricate hinges if they start to squeak.
- Seal Gaps: If you notice any small gaps around the edges where water could get in, consider using an exterior-grade caulk to seal them.
- Check for Pests: Keep an eye out for any signs of insect damage or rot, especially around the bottom of the door. Address any issues promptly.
Properly finished and maintained, your DIY shed door will be a durable and attractive addition to your property.
Frequently Asked Questions (FAQ)
Q1: What’s the easiest way to make a shed door?
The easiest way for beginners is a simple frame made from 1×4 or 1×6 lumber with a sheet of exterior-grade plywood attached to the front. A diagonal brace adds significant strength.
Q2: What type of wood is best for an outdoor shed door?
Exterior-grade plywood for the panel and pressure-treated pine, cedar, or redwood for the frame are excellent choices. These woods are more resistant to rot and insects.
Q3: How much clearance do I need around a shed door?
You generally need about 1/4 inch of clearance on the top and sides, which translates to a 1/8-inch gap on each edge. This allows the door to swing freely without binding.
Q4: Do I need to treat the wood for outdoor use?
Yes, absolutely! If you’re not using naturally rot-resistant wood like cedar, you must seal, paint, or stain all wood surfaces with an exterior-grade product to protect them from moisture, UV rays, and insects.
Q5: Can I use a jigsaw to cut my door?
A jigsaw can make curves, but for straight, clean cuts needed for a door panel and frame, a circular saw or miter saw is much better. If you only have a jigsaw, use a guide to keep your cuts straight.
Q6: How do I make sure my door is square?
Use a carpenter’s square to check each corner as you assemble the frame. For the overall frame, measure the diagonals. If the measurements are equal, the frame is square.
Q7: What kind of hinges should I use for a shed door?
Use heavy-duty, exterior-grade hinges made from galvanized steel, stainless steel, or wrought iron to prevent rust and ensure they can support the weight of the door.
Conclusion
And there you have it! You’ve just learned how to make a robust, custom garden shed door. We’ve covered everything from choosing the right materials and tools to measuring, cutting, assembling, and finishing your project. Remember, taking your time, measuring carefully, and prioritizing safety will lead to the best results.
Building your own shed door is a fantastic way to save money, get exactly what you want, and gain a real sense of accomplishment. It’s a practical skill that enhances your home and your confidence. So, gather your tools, pick out your wood, and get ready to build a door you’ll be proud of for years to come. Happy building!