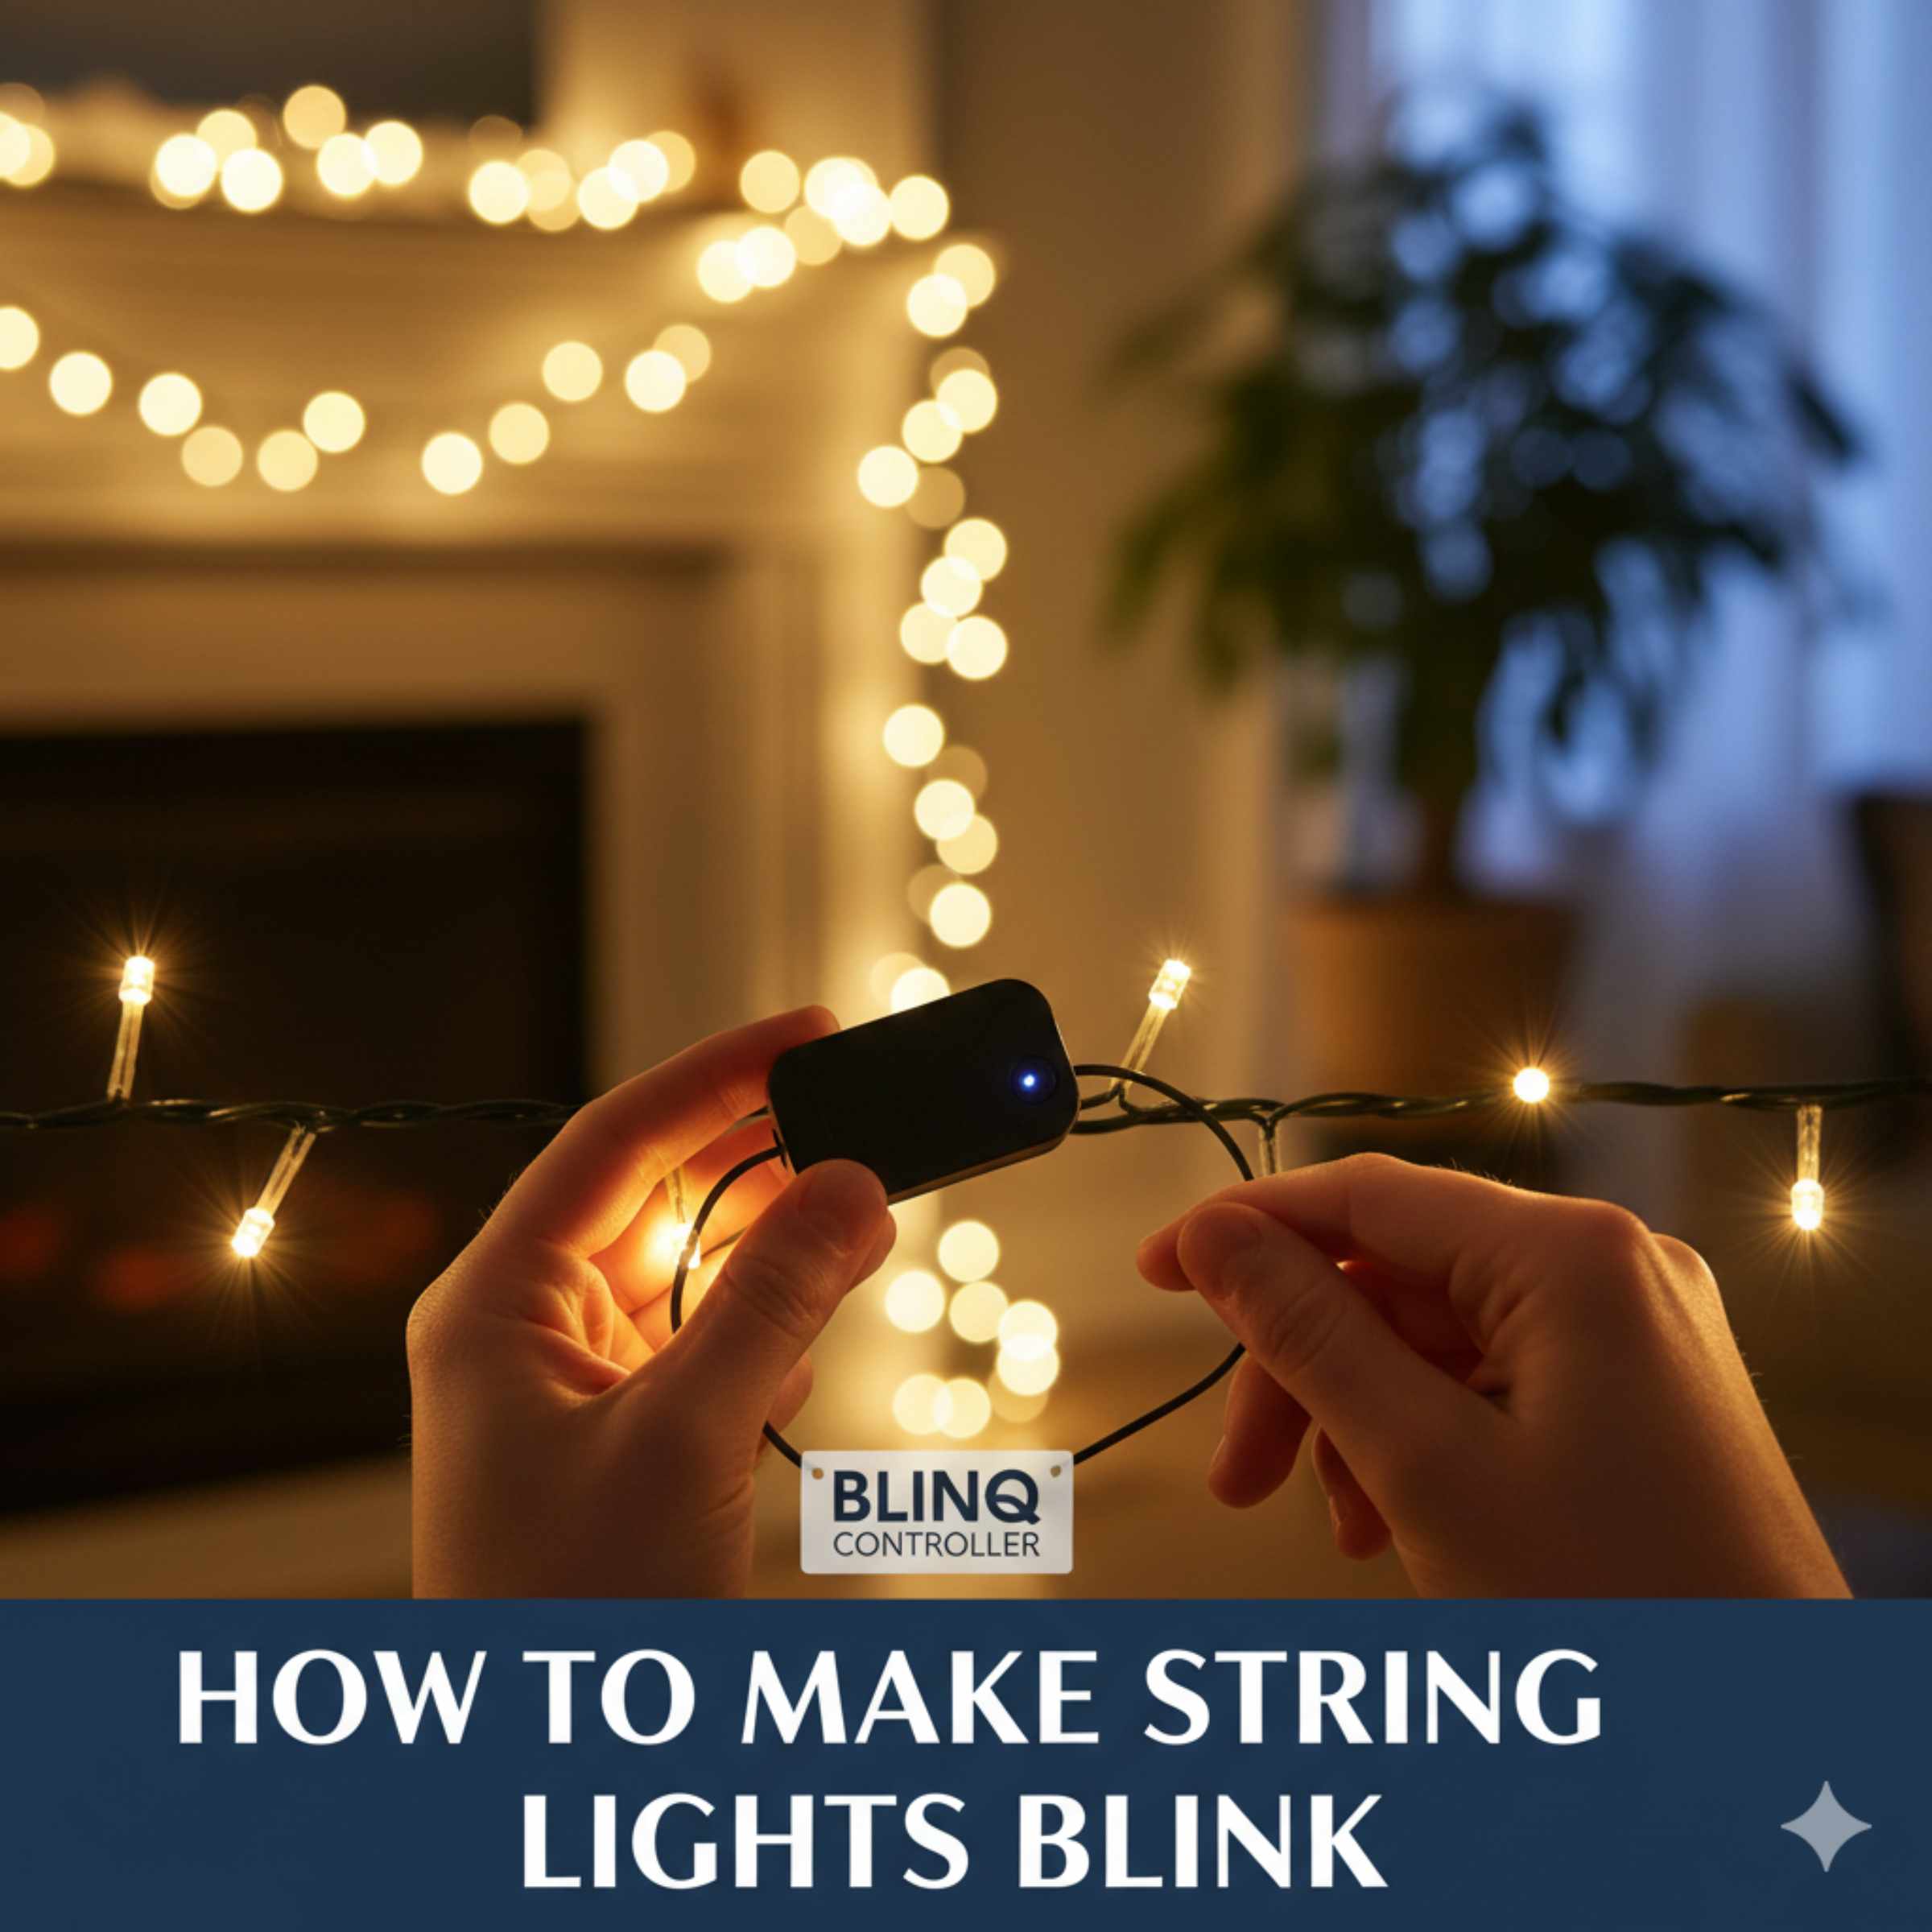
How To Make String Lights Blink: Proven Essential Guide
To make string lights blink, the easiest method is using lights with a built-in controller or purchasing an inexpensive blinking module that plugs between the outlet and your existing lights. Always ensure your lights are compatible (LED vs. Incandescent) before modifying anything for safe, long-lasting twinkling effects.
String lights are wonderful for setting a mood, whether you are decorating for a party or just enjoying a cozy evening on the porch. But sometimes, static light is a bit dull. You want that festive twinkle! If your lights aren’t blinking, it can feel like a small project is holding your whole setup hostage. Don’t worry; making string lights blink is much easier than you might think, and you don’t need to be an electrician to do it safely. We are going to walk through every simple, reliable way to add that exciting flash, step-by-step. You will have twinkling lights in no time!
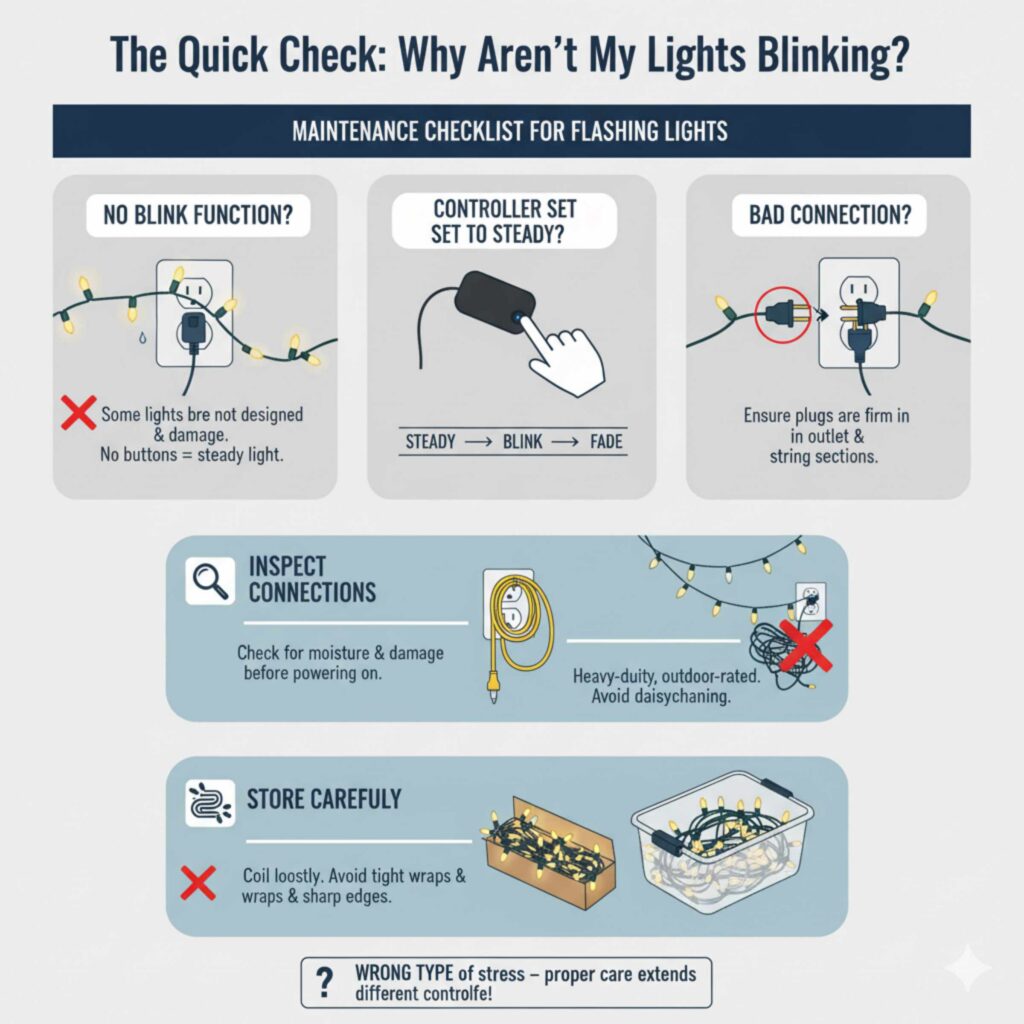
The Quick Check: Why Aren’t My Lights Blinking?
Before we dive into adding new features, let’s cover the most common reason people ask, “how to make string lights blink.” Many modern string lights, especially the cheaper or older sets, simply do not have a blinking function built-in. They are designed to stay on steadily. If your lights are plug-and-play and have no buttons or modes, they probably just aren’t designed to blink.
However, if you bought lights specifically labeled as “twinkle” or “multi-function,” the issue is often simpler:
- The Controller is Set to Steady: Look for a small box (the controller) near the plug. Press the button repeatedly until you cycle through all the modes, including the blinking setting.
- Bad Connection: Ensure the plug is firmly in the wall outlet and that all sections of the light string are properly connected to each other.
- Wrong Type of Light: Older incandescent lights require different control methods than modern LED lights. We will discuss this difference below.
Method 1: The Easiest Way—Buying Lights With Built-In Functions
For maximum simplicity, the absolute best way to get blinking lights is to buy a set that already does the job! Manufacturers know homeowners love options, so many new string lights come with a multi-function controller right out of the box. This is the most beginner-friendly route.
What to Look For When Shopping
When you are browsing the lighting aisle, look for packaging that clearly states the following features:
- Multi-Function Controller: This is the small plastic box near the wall plug. It should have a button that cycles through at least 3–8 settings (steady on, fading, chasing, and blinking/twinkling).
- “Timer” Feature: While not blinking, a timer feature is a huge convenience, often found on the same controllers that offer blinking modes.
- LED vs. Incandescent: For outdoor durability and energy savings, LEDs are generally superior. Make sure you know which type you are buying, as the power requirements differ slightly.
The Simple Operation Process
Once you have your multi-function lights, making them blink is easy:
- Plug the lights into a working GFCI-protected outlet.
- Locate the mode button on the controller box.
- Press the button repeatedly until the display shows the blinking pattern you desire. It might take three or four presses to cycle past “Steady On” and “Slow Fade” to hit the “Fast Blink” setting.
Method 2: Adding Blinking to Your Existing Steady Lights (The Blinking Module)
What if you have a beautiful, long string of lights that you love, but they only stay steadily on? You don’t need to throw them out! The secret weapon for customization is an external Blinking Controller Module (sometimes called a Flasher Box).
This device plugs directly into the wall, and you plug your steady light set into the other end. It acts as a smart intermediary, taking the constant power and converting it into a timed flashing sequence for your lights.
Understanding Compatibility: LED vs Incandescent
This is the most important safety step. You cannot just plug any blinking module into any light set. You must match the module type to the bulb type.
| Light Type | Characteristics | Module Requirement | Power Draw Notes |
|---|---|---|---|
| LED Lights | Small, plastic base, often very bright, low wattage. | Must use an LED-specific blinking module. | Use only if the module’s wattage rating meets or exceeds your string’s total wattage. |
| Incandescent Lights | Older C6, C7, C9 bulbs, glass filament, produce heat. | Must use a module rated for higher load (incandescent/AC). | These draw much more power; ensure the module can handle the total amperage/wattage. |
Safety Note: Overloading a module is a fire hazard. Always check the maximum wattage listed on the blinking module and compare it to the total wattage used by your string lights. You can usually find the wattage listed on the plug or the light tag. For guidance on electrical safety and understanding wattage, checking resources like the U.S. Consumer Product Safety Commission (CPSC) is always a smart move before plugging in new electronics.
Step-by-Step: Installing a Blinking Module
This process is simple and requires zero wiring skills. Think of it like plugging in an extension cord.
Tools and Materials Needed
- Existing steady string lights.
- A blinking controller module compatible with your light type (LED or Incandescent).
- A safe, accessible outdoor outlet (preferably GFCI).
Installation Guide
- Unplug Everything: Ensure your existing string lights are completely unplugged from the wall power source. Safety first!
- Identify the Ends: Locate the male plug (the part that goes into the wall) and the female receptacle (the part that connects to the next string or the controller) on your existing lights.
- Connect the Module: Plug the male end of your string lights directly into the female receptacle end of the new blinking module.
- Connect to Power: Plug the male end of the blinking module into your wall outlet.
- Test the Modes: Use the button on the blinking module to cycle through its settings. You should find various flash patterns, including a rapid blink.
By using an external module, you keep your original light strings intact while gaining all the fun blinking modes you desire. This is excellent for renters who cannot modify their existing fixtures!
Method 3: The Advanced (But Fun!) Approach—Using a Smart Plug or Wi-Fi Controller
If you are looking for the ultimate control—setting specific blink speeds via an app, integrating lights with voice commands, or scheduling complex patterns—a smart home solution is the way to go. This method requires a little setup but offers incredible flexibility.
What You Need for Smart Control
This method works best with LED lights because they draw low, consistent power. If you are using very old, high-wattage incandescent lights, a smart plug might overheat if the total load is too high. Always check the amperage rating on your smart plug.
- A Wi-Fi-enabled Smart Plug (e.g., Kasa, Wyze, or a dedicated lighting controller).
- Your steady string lights.
- A smartphone with the required control app installed.
Setting Up App-Based Blinking
The goal here is to use the smart plug’s scheduling or automation features to rapidly turn the power on and off, simulating a blink.
- Plug In: Plug your steady string lights directly into the smart plug.
- Connect the Plug: Follow the manufacturer’s instructions to connect the smart plug to your home Wi-Fi network using their dedicated app.
- Create an Automation Rule: This is where the magic happens. In the app, look for “Schedules” or “Automations.”
-
Define the Pattern: You need to set a rapid sequence. For example, to create a fast blink:
- Action 1: Turn Power ON (Wait 0.5 seconds)
- Action 2: Turn Power OFF (Wait 0.5 seconds)
- Loop the Rule: Set this sequence to repeat continuously until you manually turn the plug off via the app or voice command.
Pro Tip: While you can create simple ON/OFF patterns, creating a truly smooth, custom blink sequence (like chasing or fading) often requires buying a dedicated smart lighting controller (like those made for addressable LED strips, such as WS2812B or similar products). However, for simple, quick blinking using standard lights, the ON/OFF automation on a basic smart plug is very effective.
A Word on Safety: Working with Outdoor Lighting
As your friendly DIY guide, I cannot stress enough how important safety is when dealing with outdoor electrical setups. Whether you are just plugging in a new module or trying to build a custom setup, keeping safety in mind protects your home and your investment.
Essential Safety Checklist
| Safety Check | Why It Matters |
|---|---|
| Use GFCI Outlets | Ground Fault Circuit Interrupters automatically shut off power if they detect moisture or a short circuit, which is crucial outdoors. |
| Check Wire Integrity | Never use lights with frayed, cut, or cracked wires, especially before adding a power modifier like a flasher box. |
| Respect Wattage Limits | Ensure any module or smart plug can handle the total electrical load (wattage) of the lights connected to it. Overloading causes heat and potential fire. |
| Indoor vs. Outdoor Rating | Ensure all components (lights, modules, and extension cords) are rated for outdoor (wet or damp location) use. |
When working outdoors, it’s wise to review basic outdoor electrical guidelines. Organizations like the National Electrical Contractors Association (NECA) offer great resources on proper wiring and outdoor fixture installation to ensure your setup is robust.
Troubleshooting Common Blinking Issues
Even with the best instructions, sometimes things don’t go perfectly. Here are the most common hiccups homeowners face when trying to add a blink function and how to fix them quickly.
Problem 1: Only Half the Lights Blink
This is incredibly common when using extension plugs or daisy-chaining multiple strings together.
- Cause: The blinking module or controller is not designed to handle the total number of bulbs across all connected strings, or the voltage drop is too significant.
- Solution: Check the module’s maximum load capacity again. If you are using LED lights, sometimes a single string is fine, but adding a second one overloads the simple controller. If possible, use only one string per blinking module.
Problem 2: The Lights Blink Too Fast or Too Slow
If the module only offers one speed, or you want a specific rhythm, you need a more advanced controller.
- Cause: The built-in controller or module has fixed timing settings you cannot adjust.
- Solution: If you are using Method 3 (Smart Plug), adjust the ON/OFF timing sequence in your app. If you are using a dedicated external module, you will need to purchase a different module that explicitly states it has adjustable speed settings.
Problem 3: The Module Feels Hot to the Touch
This is a red flag and should be addressed immediately.
- Cause: You have exceeded the module’s rated wattage capacity, or the module itself is defective.
- Solution: Unplug immediately. Disconnect the lights from the module, check the wattage ratings one more time, and purchase a module rated for significantly higher wattage (a good buffer is always smart). Never use a hot electrical component outdoors.
Problem 4: The Lights Won’t Light Up At All (After Adding Module)
If you plug everything in and get nothing, the problem is likely incompatibility.
- Cause: You plugged LED lights into an Incandescent-only controller, or vice versa. LED lights require a certain type of low-voltage signaling that older AC controllers might not provide correctly.
- Solution: Verify that your module is specifically rated for the type of bulb you are using. If you are certain they match, try plugging the lights directly into the wall without the module to ensure the lights themselves still work.
DIY Project Spotlight: Customizing C9 Replacement Bulbs
Many homeowners love the big, bright C9-style bulbs for rooflines or large displays. While many C9 strings come with controllers, if yours doesn’t, you can still achieve blinking effects, but it requires slightly different thinking since these bulbs often have a separate socket system.
The Socket Difference
Standard mini-lights usually have the circuitry built into the wire or a small plastic controller box. C9 bulbs, however, often rely on the bulb itself having a built-in flasher mechanism, or they are designed to work with special flasher sockets.
Option A: Replaceable Flasher Bulbs
For C9 incandescent bulbs, you can often buy individual bulbs that are designed to flash when screwed into a standard socket. The flashing mechanism is inside the base of that specific bulb.
- Identify a socket on your string that has a flasher bulb installed.
- If you want that socket to stay steady, simply replace the flasher bulb with a standard, non-flasher C9 bulb of the exact same voltage rating.
- If you want a new socket to blink, replace the steady bulb in that socket with a new flasher bulb.
Option B: Using a High-Capacity Flasher Module
If your C9 set is all LED or you prefer to control the whole string at once, you must use a heavy-duty external flasher box rated for high amperage (since C9 sets draw significant power). Always consult the C9 string’s packaging for the total maximum wattage rating before purchasing an external module.
Keeping Your Lights Running: Maintenance Tips
Adding a blink function is great, but making sure those lights last through the season (and next year!) takes a little routine care. Since blinking involves rapid cycling of power, it can sometimes put slightly more strain on the components than a steady light.
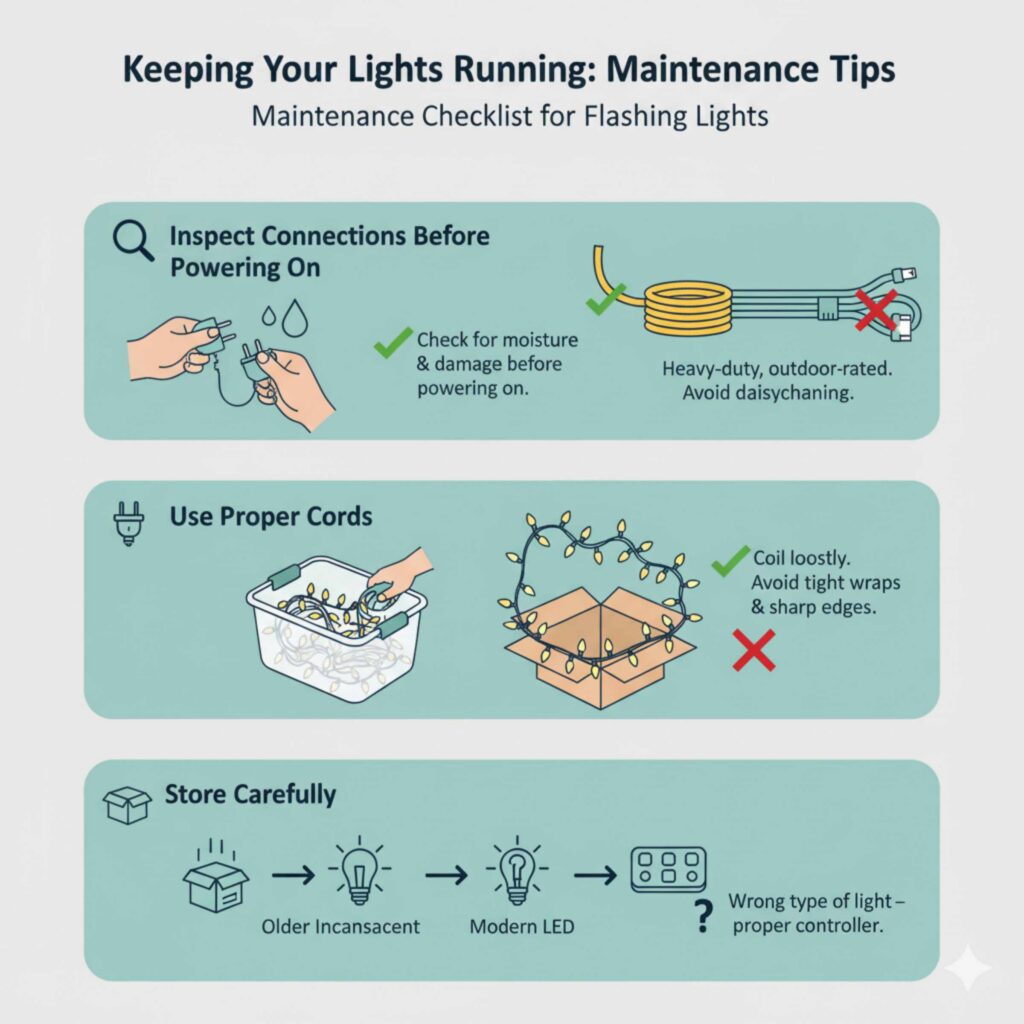
Maintenance Checklist for Flashing Lights
- Inspect Connections Before Powering On: Every time you set up your lights for the season, briefly inspect every connection point. Moisture intrusion is the enemy of electrical continuity.
- Use Proper Cords: If you need to run lights a long distance, use heavy-duty, outdoor-rated extension cords designed for the load. Do not “daisy-chain” too many extension cords together; this causes voltage drop and excessive heat.
- Store Carefully: When putting lights away, coil them loosely. Avoid wrapping them tightly around cardboard boxes or metal edges, which can nick the insulation—especially important if you are using blinking modules that add extra stress points.
Frequently Asked Questions (FAQ) About Making String Lights Blink
Q1: Can I make cheap, non-blinking fairy lights blink using just tape on the controller?
No—tape won’t make them blink, and it’s not safe to try.
Most cheap fairy lights either have no controller at all or use a simple steady-on circuit. Taping a button (if one exists) can only hold a mode that already exists—it cannot create a blinking function. Taping or pressing parts of the plug or wire can also trap heat or damage insulation, which is unsafe.
Q2: Will blinking damage my string lights faster?
Blinking can add slightly more wear than steady-on use, but with LED lights and proper controllers, the difference is minimal. Problems usually come from overloading modules, using the wrong controller type, or moisture exposure—not the blinking itself.
Q3: Can I make battery-powered string lights blink?
Only if they already have a built-in blinking mode. Battery packs usually can’t handle external blinking modules. If blinking is important, look for battery lights labeled “multi-function” or “twinkle” before buying.
Q4: What’s the safest option for beginners?
The safest and easiest option is buying string lights with a built-in multi-function controller. No extra devices, no compatibility guessing, and no risk of overload.
Conclusion
Making string lights blink doesn’t have to be complicated or unsafe. Whether you choose string lights with built-in blinking modes, add a plug-in blinking controller module, or use a smart plug for custom flashing patterns, there’s a simple solution for every setup and skill level. The key is always compatibility—matching LED or incandescent lights with the correct controller—and respecting wattage limits to ensure safe, long-lasting performance.
From fairy lights on a balcony to C9 bulbs lining a roofline, blinking string lights instantly add energy, warmth, and festive appeal to any space. By following basic electrical safety practices, using outdoor-rated components, and choosing the right blinking method for your lights, you can create beautiful twinkling effects without rewiring or professional help.
If you’ve been wondering how to make string lights blink, the answer is clear: start simple, stay safe, and use the right tools. With the right approach, your outdoor or indoor lighting can go from ordinary to eye-catching in minutes—bringing that perfect twinkle to parties, holidays, and everyday evenings alike!