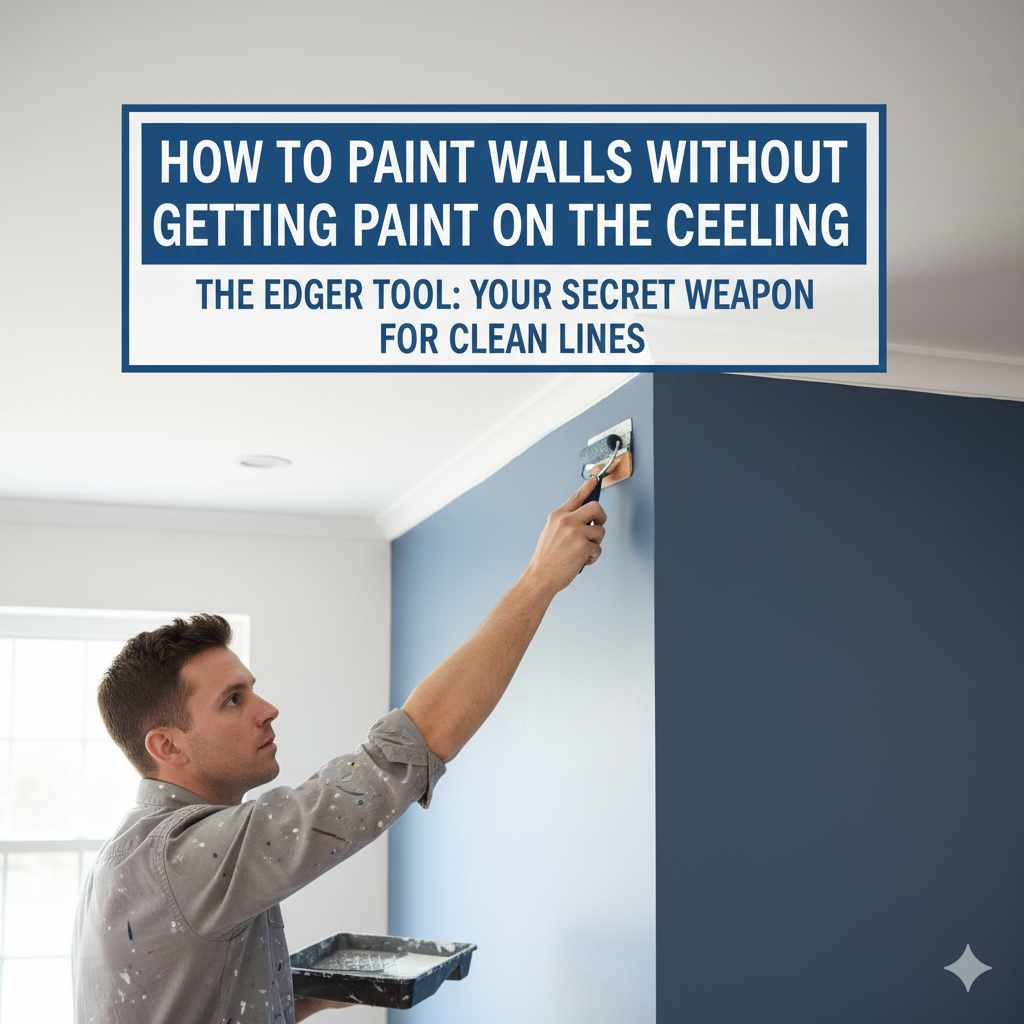
How to Paint Walls Without Getting Paint on the Ceiling: Genius Tips
Quick Summary:
Mastering how to paint walls without getting paint on the ceiling is achievable with simple prep and the right techniques. This guide offers genius tips, from precise taping to using specialized tools, ensuring a clean, professional finish every time.
Hey there, DIYers! Md Meraj here. Ever stared at a freshly painted wall, only to spot an accidental smudge of paint on your pristine ceiling? It’s a common frustration that can turn a satisfying DIY project into a headache. But don’t worry, I’ve been there, and I’ve learned a few tricks that make all the difference. Painting your walls a new color can totally transform a room, making it feel fresh and new. The last thing you want is to spend hours painting, only to have to go back and touch up the ceiling. This guide is packed with straightforward, beginner-friendly advice to help you achieve a crisp, clean line where your wall meets the ceiling. We’ll walk through everything, from the essential prep work to the best techniques for a flawless finish. Get ready to paint with confidence!
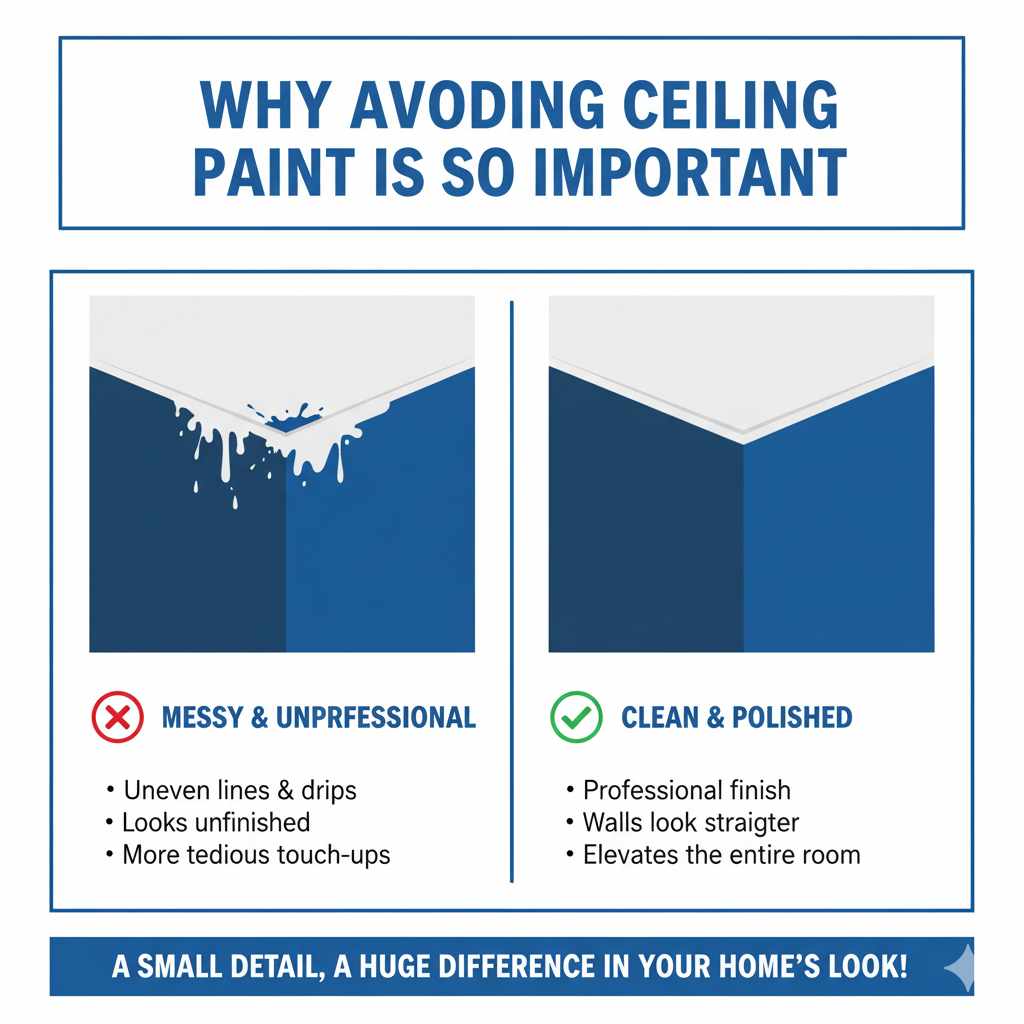
Why Avoiding Ceiling Paint is So Important
It might seem like a small detail, but keeping paint off your ceiling makes a huge difference in the final look of your room. A clean line between your wall and ceiling gives your paint job a professional, polished feel. When paint drips or splatters onto the ceiling, it looks messy and unfinished. It can also mean more work for you later, having to climb ladders with a tiny brush to fix those little mistakes. This extra touch-up work can be tedious and time-consuming, taking away from the joy of your newly painted space. Plus, a clean paint line actually makes the walls appear straighter and the room look more intentionally designed. It’s a simple detail that elevates the entire project.
Essential Tools and Materials for a Clean Paint Job
Before we even think about dipping a brush, let’s gather our tools. Having the right gear makes the job so much easier and cleaner. Think of these as your trusty sidekicks in the battle against stray paint splatters!
- Painter’s Tape: This is your best friend for creating those crisp lines. Look for high-quality tape designed for painting.
- Drop Cloths: Protect your floors and furniture from any accidental drips. Canvas or plastic drop cloths work well.
- Paint Brushes: You’ll need a good angled brush for cutting in along the edges.
- Paint Rollers: A standard roller for the main wall areas and possibly a smaller roller for tight spots.
- Paint Tray: For loading your roller evenly.
- Extension Pole: This is super helpful for reaching high areas without overstretching or needing a wobbly ladder.
- Spackle/Putty Knife: For filling any small holes or cracks before you start.
- Sandpaper: Fine-grit sandpaper to smooth out any patched areas.
- Cleaning Rags: For wiping up spills or drips immediately.
- Bucket of Water: Essential for cleaning brushes and rollers if you’re using latex paint.
- Primer (Optional but Recommended): Especially if you’re painting over a dark color or a glossy finish.
Step-by-Step Guide: Painting Walls Without Touching the Ceiling
Alright, let’s get down to business! Following these steps will help you achieve those perfect, clean lines. We’ll break it down so it’s easy to follow, even if this is your first time.
Step 1: Preparation is Key – Protect Everything!
This is the most crucial step. The more you protect, the less you’ll have to worry about mistakes later. Think of it as building a clean workspace before you even open the paint can.
- Clear the Room: Move furniture away from the walls. If you can’t move it, cover it completely with drop cloths.
- Cover the Floors: Lay down drop cloths along the base of the walls. Overlap them slightly to ensure no paint seeps through. Secure them with painter’s tape if they tend to shift.
- Remove Fixtures: Take down outlet covers, switch plates, and any wall hangings.
Step 2: Prep Your Walls
A smooth wall surface is essential for a professional finish. Don’t skip this part!
- Clean the Walls: Wipe down the walls with a damp cloth to remove dust and grime. This helps the paint adhere better.
- Fill Imperfections: Use spackle to fill any nail holes, cracks, or dents. Let it dry completely.
- Sand Smooth: Once the spackle is dry, gently sand the patched areas with fine-grit sandpaper until they are smooth and flush with the wall. Wipe away any dust.
Step 3: Taping for That Perfect Line
This is where we create the barrier between your wall and ceiling. Good tape application is vital for a clean line.
- Choose the Right Tape: Use a high-quality painter’s tape. For ceilings, a tape with a slightly thicker adhesive backing can be helpful. Look for tapes specifically designed for “straight lines” or “delicate surfaces” if your ceiling is textured or recently painted.
- Apply Carefully: Start in a corner. Press the tape firmly along the edge where the wall meets the ceiling. Use a putty knife or a credit card to smooth down the edge of the tape, ensuring there are no air bubbles or gaps. This seals the tape to the wall and prevents paint from seeping underneath.
- Overlap Corners: When you reach a corner, overlap the tape slightly to ensure a continuous seal.
- The “Caulk Trick” (Optional but Genius!): For an even more foolproof seal, after applying the painter’s tape, apply a thin bead of paintable caulk along the top edge of the tape, right where it meets the ceiling. Smooth it with a wet finger or a damp cloth. Once the caulk is dry (check the product instructions, usually about an hour), you can paint. This creates a perfect, paint-proof seal. For more on surface preparation, check out resources from Popular Mechanics on general room painting.
Step 4: “Cutting In” – The Edge Work
This is where you use your brush to paint the area right next to the tape. Precision is key!
- Use an Angled Brush: A 2- to 2.5-inch angled brush is ideal for this.
- Load the Brush Properly: Dip only about one-third of the bristles into the paint. Tap off any excess paint on the side of the can.
- Paint Away from the Tape: Hold the brush at a slight angle and paint away from the tape line. This helps push any excess paint back into the brush, rather than onto the tape.
- Gentle Strokes: Use smooth, steady strokes. Don’t overload the brush, and avoid pressing too hard, which can push paint under the tape.
- Work in Sections: Don’t try to cut in the entire room at once. Work in manageable sections, about 3-4 feet at a time.
Step 5: Rolling the Walls
Now for the main event – filling in the rest of the wall!
- Load the Roller Evenly: Dip your roller into the paint tray, then roll it back and forth on the tray’s ribbed section to distribute paint evenly.
- The “W” or “M” Pattern: Start rolling about an inch or two away from the taped edge. Apply the paint in a “W” or “M” pattern, then fill in the gaps with parallel strokes.
- Maintain a Wet Edge: Always overlap your previous stroke slightly. This helps prevent roller marks and ensures a smooth, even finish.
- Don’t Press Too Hard: Let the roller do the work. Pressing too hard can cause splatters and uneven coverage.
- Work in Sections: Just like cutting in, work in manageable sections to maintain a wet edge.
Step 6: The Reveal – Removing the Tape
This is the moment of truth! Do this while the paint is still slightly wet for the cleanest lines.
- Timing is Everything: Wait until the paint is dry to the touch but not fully cured. If you wait too long, the paint can dry onto the tape, and when you pull it off, it can peel the wall paint with it. If you remove it too soon, the wet paint can smudge.
- Pull at an Angle: Grasp the tape firmly and pull it off slowly and steadily at a 45-degree angle. Pull it back onto itself, away from the freshly painted wall.
- Gentle but Firm: If the paint starts to pull away with the tape, stop. You may need to score the edge with a utility knife very gently.
- Clean Up Drips Immediately: If you see any small drips or smudges on the ceiling after removing the tape, carefully wipe them away with a damp cloth or a small brush dipped in ceiling paint.
Advanced Techniques for a Pro Finish
Want to take your paint job from good to absolutely stunning? Here are a few extra tips that the pros use.
Using a Paint Edger or Shield
These tools can be a lifesaver, especially for beginners or when tackling a large area.
- Paint Edgers: These are handheld tools with a small roller or pad and a handle. You load them with paint and then run them along the edge where the wall meets the ceiling. They have a lip that acts as a shield, preventing paint from getting onto the ceiling. They require a steady hand but can speed up the cutting-in process.
- Paint Shields: A paint shield is essentially a flat, rigid piece of plastic or metal with a handle. You hold it against the ceiling edge while you brush or roll the wall paint. The shield acts as a barrier, catching any drips.
The Ceiling First Method
Some painters prefer to paint the ceiling first. This way, any drips or splatters that happen are on an already painted surface, making touch-ups easier. However, you still need to be careful not to get wall paint on the ceiling.
- Paint Ceiling: Carefully paint your ceiling, using tape along the top of the walls if needed.
- Allow to Dry: Let the ceiling paint dry completely.
- Paint Walls: Now, paint your walls. If you get a drip on the ceiling, it’s much easier to touch up ceiling paint than to try and fix wall paint that’s bled onto the ceiling.
This method requires a lot of patience for the ceiling to dry thoroughly. For more on painting techniques, resources from This Old House are excellent.
Using a Ladder Safely
Reaching the top of your walls often requires a ladder or a step stool. Safety is paramount!
- Stable Surface: Always place your ladder on a flat, stable surface.
- Proper Height: Use a ladder that’s the right height for the job. You shouldn’t have to overreach.
- Three Points of Contact: When climbing or working, always maintain three points of contact (two hands and one foot, or two feet and one hand).
- Don’t Overreach: If you can’t reach a spot comfortably, reposition the ladder.
- Extension Poles: As mentioned earlier, an extension pole for your roller can significantly reduce the need for a ladder, making the job safer and easier.
Troubleshooting Common Painting Problems
Even with the best intentions, sometimes things don’t go perfectly. Here’s how to fix common issues:
Paint Bleeding Under the Tape
This is the most common problem when painting edges. It happens when the tape isn’t sealed properly or when paint thins seep under the edge.
- Prevention: Ensure tape is pressed down firmly with no air bubbles.
- Fix: Once the paint is dry, use a sharp utility knife to carefully score along the edge of the tape. Then, gently pull the tape off. If there are still small imperfections, use a small artist’s brush dipped in the ceiling color to touch up the ceiling, or in the wall color to touch up the wall.
Uneven Paint Lines
This can occur if you apply too much paint to your brush or roller near the edge, or if the tape wasn’t perfectly straight.
- Prevention: Use a steady hand, don’t overload your brush, and ensure your tape is applied straight.
- Fix: If the line is slightly wobbly, you might be able to carefully deepen the cut with a small brush using the adjacent color. For example, if the wall paint wobbled onto the ceiling, use a small brush with ceiling paint to clean up the edge.
Roller Marks or Lap Marks
These are visible lines where one section of paint dried before the next section was applied.
- Prevention: Always maintain a “wet edge.” Overlap your strokes and work in manageable sections.
- Fix: If the paint is still wet, you can often feather out the edges to blend them. If it’s dry, you may need to lightly sand the area and re-roll, ensuring you maintain a wet edge this time.
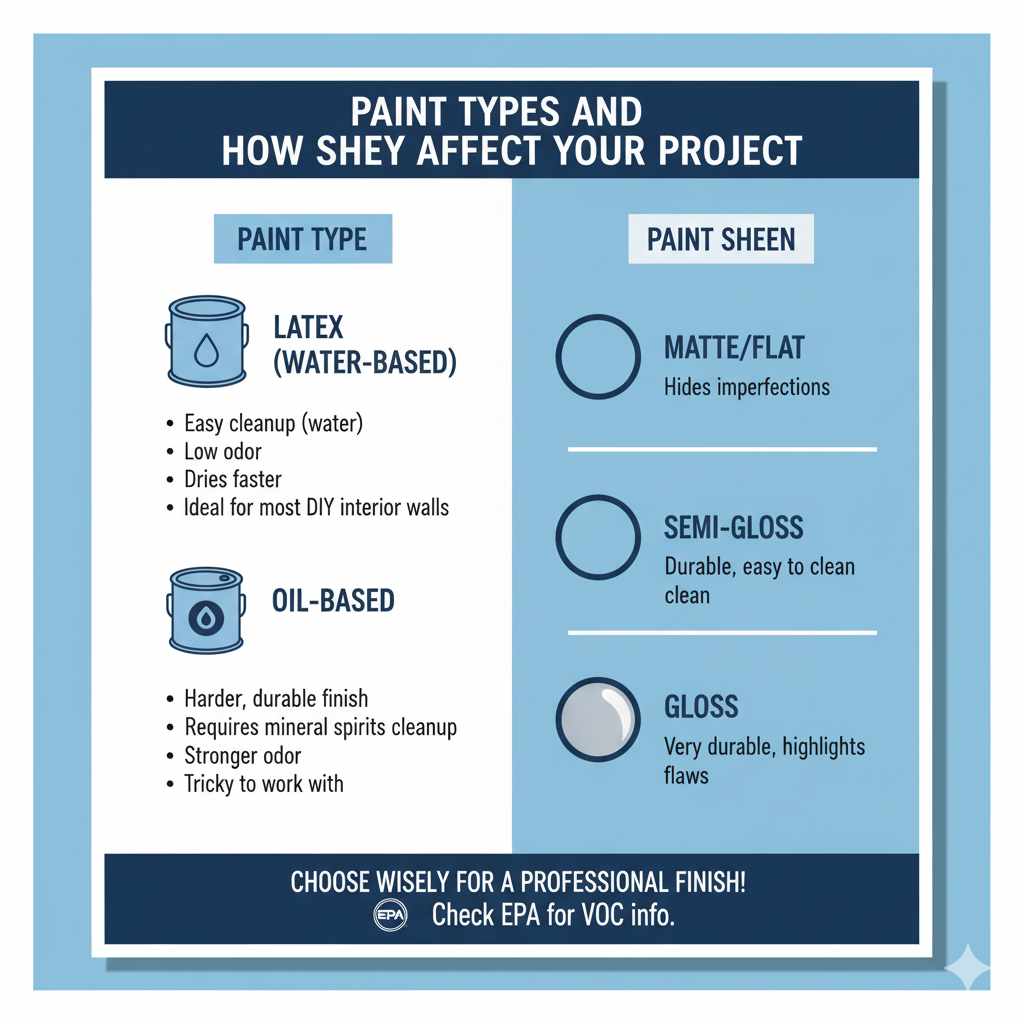
Paint Types and How They Affect Your Project
The type of paint you choose can impact how easy it is to get a clean finish. For walls, you’ll typically be using latex (water-based) or oil-based paints. Latex paints are the most common for interior walls due to their ease of cleanup and low odor. They dry faster, which can be a pro or a con depending on your painting speed. Oil-based paints offer a harder, more durable finish but are trickier to work with and require mineral spirits for cleanup. For most DIYers, latex paint is the way to go. Sheen also matters: matte finishes hide imperfections best, while semi-gloss and gloss finishes are more durable but highlight any flaws.
Understanding paint characteristics is important. For instance, the U.S. Environmental Protection Agency (EPA) provides great resources on understanding paint and VOCs (Environmental Protection Agency) which can affect air quality during your project.
Cost vs. Quality: Investing in Your Tools
When it comes to painting, you often get what you pay for. Investing in good quality tools can save you time, frustration, and money in the long run.
| Tool | Budget Option | Mid-Range Option | Pro-Grade Option |
|---|---|---|---|
| Painter’s Tape | Standard blue tape ($3-5 per roll) | FrogTape or ScotchBlue Delicate Surfaces ($8-12 per roll) | 3M Edge Lock Paintable Caulk Tape ($15-20 per roll) |
| Brushes | Basic synthetic brush ($5-10) | High-quality angled synthetic brush ($15-25) | Purdy or Wooster angled brush ($25-40) |
| Rollers & Frames | Basic roller kit ($10-15) | Good quality roller frame with nap roller ($20-30) | Wooster Sherlock frame with high-density nap rollers ($40-60) |
| Drop Cloths | Thin plastic sheeting ($5-10) | Canvas drop cloth (9×12 ft) ($20-30) | Heavy-duty canvas or rubber-backed drop cloth ($40-60) |
While it might be tempting to grab the cheapest option, a slightly higher investment in quality painter’s tape, brushes, and rollers can make a world of difference in achieving those clean lines and a smooth finish. Good tools are easier to use, last longer, and produce better results, saving you from costly mistakes and re-dos.
Frequently Asked Questions (FAQ)
Q1: How long should I leave painter’s tape on the wall?
It’s best to remove painter’s tape when the paint is dry to the touch but not fully cured, usually within a few hours of application. If you leave it on too long, the paint can dry onto the tape, and pulling it off might peel the wall paint. If you remove it too soon, the wet paint can smudge.
Q2: What’s the best way to get a perfectly straight paint line?
The key is meticulous preparation. Use high-quality painter’s tape and press it down firmly along the edge, ensuring there are no air bubbles. For an extra-secure seal, consider the caulk trick: apply a thin bead of paintable caulk along the top edge of the tape, smooth it, let it dry, and then paint.
Q3: My paint bled under the tape. What can I do?
Don’t panic! Once the paint is dry, use a sharp utility knife to carefully score along the edge where the paint bled. Then, slowly pull the tape off at an angle. You can then use a small artist’s brush with the correct paint color (wall or ceiling) to touch up any remaining imperfections.
Q4: Should I paint the ceiling or the walls first?
Many professionals recommend painting the ceiling first. This way, any drips or splatters are on an already-painted surface, making touch-ups easier. However, you still need to be careful. If you paint the walls first, you’ll need to be extremely precise with your taping to protect the ceiling.
Q5: Can I use a regular tape instead of painter’s tape?
No, it’s not recommended. Regular adhesive tape can be too sticky, potentially damaging your wall or ceiling paint when removed. It also doesn’t create the clean, sharp line that painter’s tape is designed for, often leading to paint bleeding underneath.
Q6: How do I avoid getting paint on my trim or baseboards?
The same principles apply! Use painter’s tape to cover the trim or baseboards. Ensure the tape is pressed down firmly. If you’re painting walls and trim the same color, you can skip taping the trim and just use a steady hand and an angled brush for cutting in. If they are different colors, taping is essential.
Q7: What’s the best way to clean up paint drips on the ceiling?
The best approach is to catch them as they happen! Keep a damp rag or sponge handy. If a drip occurs, gently wipe it away immediately. If the paint has already started to dry, you might need a damp cloth or a putty knife to carefully scrape it off, being careful not to damage the ceiling paint. Small touch-ups with ceiling paint might be necessary.
Conclusion: Your Cleanest Paint Job Yet!
There you have it – a comprehensive guide to painting your walls without the dreaded paint on the ceiling! Remember, the secret to a flawless finish lies in proper preparation, quality tools, and patient application. By taking the time to tape meticulously, use the right techniques for cutting in and rolling, and knowing how to handle any minor mishaps, you can achieve results that look like they were done by a seasoned pro. Don’t be intimidated by the process. Each step is manageable, and the satisfaction of seeing a perfectly painted room is well worth the effort. So grab your supplies, follow these tips, and get ready to admire your beautiful, clean walls. Happy painting!