
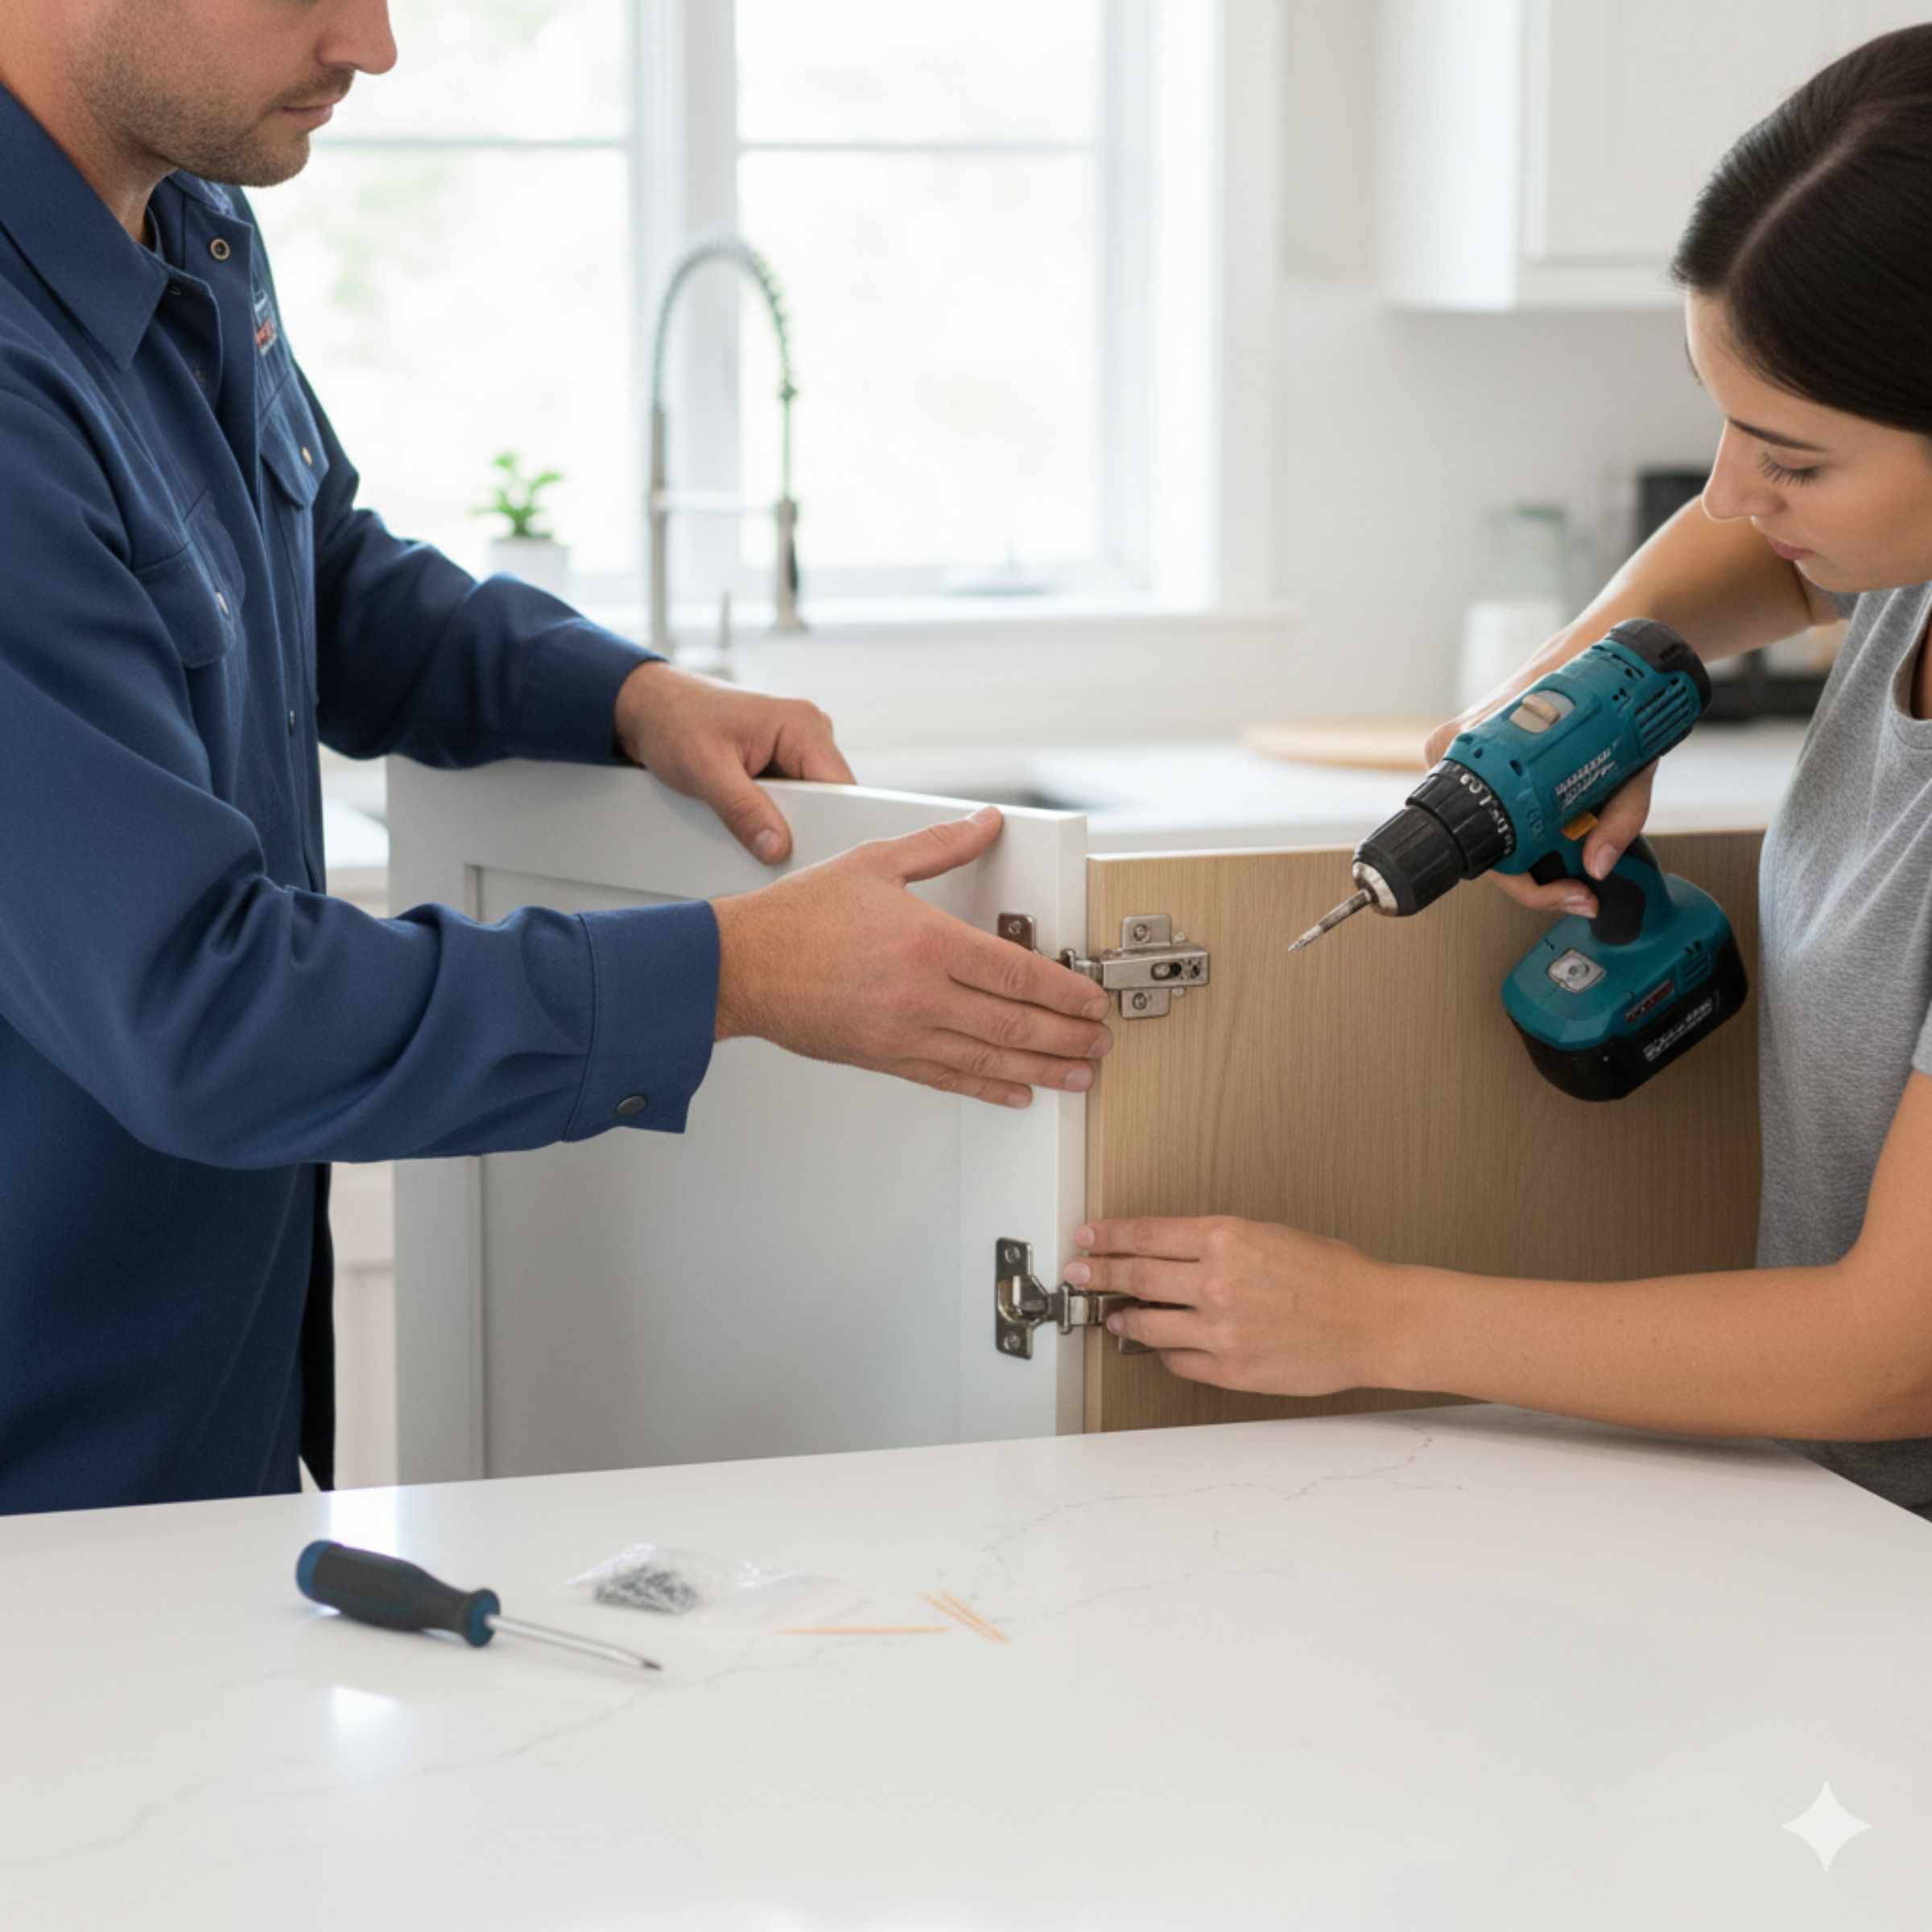
Putting cabinet doors back on is simple if you follow these steps: align the hinge plates on the door with the mounting plates on the cabinet frame, insert the hinge screws, and then use a screwdriver to adjust the hinge screws for perfect alignment. This ensures your doors hang straight and close smoothly every time.
Do you have a cabinet door sitting on your counter? Maybe you took them off for painting, or perhaps one just popped off! It can feel a little frustrating when things don’t line up perfectly. Don’t worry. This is a very common home repair. Putting cabinet doors back on is much easier than taking them off, especially when you know the secret of the modern European hinge. We will walk through every step together. By the end of this guide, you will have those doors looking great and closing perfectly, saving you a call to the professional. Let’s get started on making your kitchen look whole again!
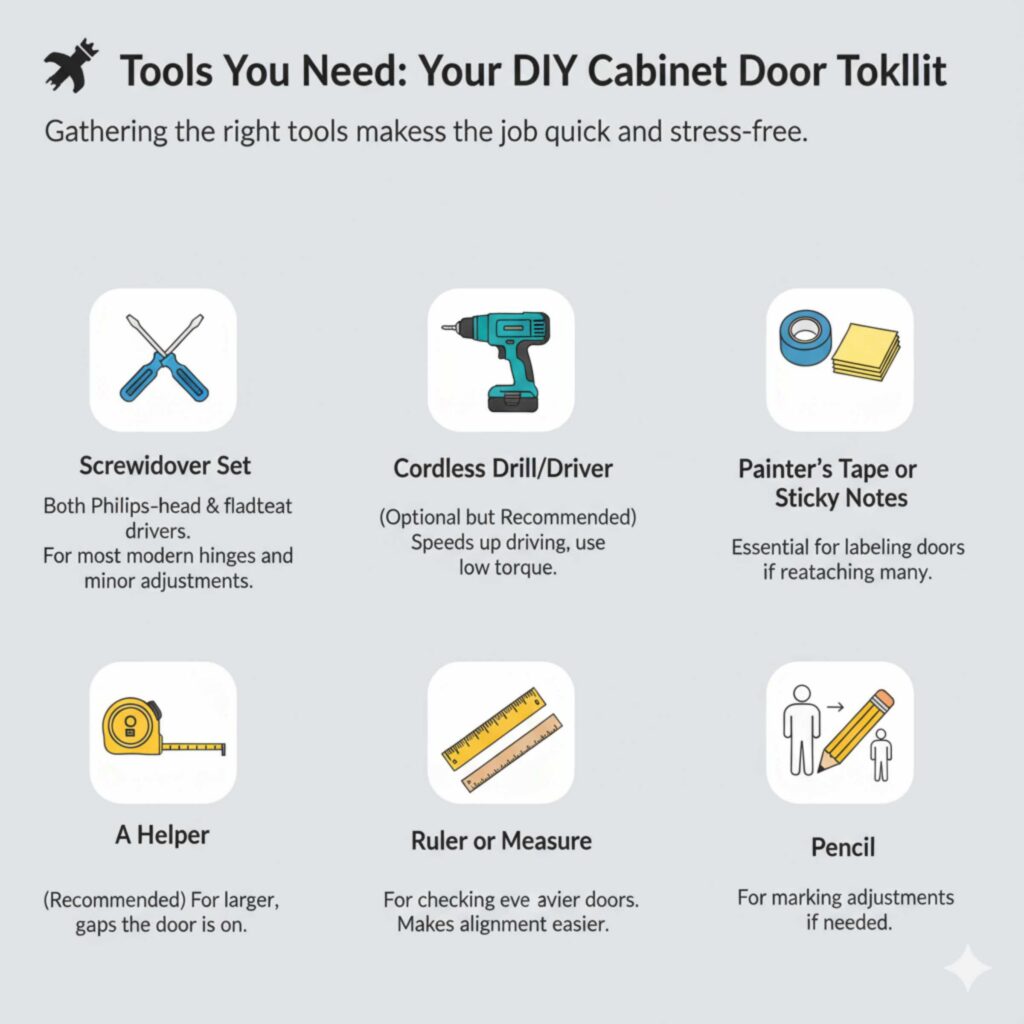
Tools You Need: Your DIY Cabinet Door Toolkit
Before we touch a single hinge, gathering the right tools makes the job quick and stress-free. You don’t need a professional workshop, just a few simple items you likely already own. Having everything ready means less stopping and starting.
Here is what you will need for the job:
- Screwdriver Set: Both Phillips-head and flathead drivers. Most modern hinges use Phillips screws, but having a flathead handy is always wise for minor adjustments.
- Cordless Drill/Driver (Optional but Recommended): This speeds up driving the screws, but be very gentle with the torque setting so you don’t strip the wood.
- Painter’s Tape or Sticky Notes: Essential for labeling doors if you have many to reattach.
- Ruler or Tape Measure: For checking even gaps once the door is on.
- A Helper (Recommended): Especially for larger, heavier doors or upper cabinets, having a second set of hands makes lining things up much easier.
- Pencil: For marking adjustments if needed.
Understanding Modern Cabinet Hinges: The Key to Success
Most newer cabinets use what we call “European style” or “concealed” hinges. These hinges are fantastic because they allow for easy adjustment even after the door is mounted. If your doors are old and use simple surface-mount hinges, the process is slightly different (we will cover that too), but concealed hinges are the standard today.
The European hinge has two main parts that meet:
- The Hinge Cup/Arm Assembly (Attached to the Door): This is the piece that sits inside the cabinet door itself.
- The Mounting Plate (Attached to the Cabinet Frame): This plate is screwed securely onto the inside face or edge of your cabinet box.
The magic happens when the arm slides onto or clips into the mounting plate. Once connected, the adjustment screws on the arm allow you to move the door up, down, in, out, and side-to-side.
Step 1: Preparation and Organization (Don’t Skip This!)
If you are putting more than one door back on, organization is your best friend. Nothing is more frustrating than realizing the top left door doesn’t fit right because you swapped it with the bottom right door!
Label Everything
Even if you think you remember, take a moment to label. This is crucial if you removed all doors at once.
- Use painter’s tape or sticky notes.
- Label the back of the door with its location (e.g., “KITCHEN – UPPER LEFT” or “BASE CABINET 1”).
- If the hinges are adjustable, note where the adjustment screws were set before you took the door off (though we will adjust them later anyway).
Check the Hardware Condition
Before you begin, look at the screws for both the door side and the cabinet side.
If the screw holes on the cabinet frame look stripped or loose (the screw spins but doesn’t tighten), you need to repair them first. A quick fix is to insert a few wooden toothpicks coated in wood glue into the hole, break them off flush, let the glue dry slightly, and then drive the screw back in. This gives the screw new material to bite into. For more information on wood repair techniques, resources like those from the U.S. Forest Service often detail proper wood fastening practices.
Step 2: Reattaching the Door to the Mounting Plate
This step is where having a helper shines, but it is doable solo. You need to align the hinge arm (attached to the door) with the mounting plate (attached to the cabinet frame).
For Clip-On Hinges (Most Common)
- Position the Door: Have your helper hold the door roughly in place, or prop it up on a stack of books or a small overturned bucket so the door is close to the opening.
- Align the Hinge Arm: Bring the hinge arm on the door right up to the mounting plate attached to the cabinet frame.
- Clip It On: Most modern hinges are designed to snap or clip directly onto the plate. Push firmly but gently until you hear or feel a solid “click.”
- Test the Connection: Gently tug on the door. If it feels securely connected to the plate, you can move to the next step. If it seems loose, pull it away and try aligning it again, ensuring the hinge arm seats fully onto the mounting post.
For Screw-On Hinges (Older or Specialty Styles)
- Hold the Door: Hold the door exactly where you want it to sit when closed (aiming for a small, even gap around the edges).
- Mark the Spot: With the door held steady, use your pencil to mark where the hinge screw holes on the mounting plate should align on the cabinet frame.
- Screw It In: Place the hinge mounting plate onto the frame, aligning it with your marks (or the pre-drilled holes). Use your screwdriver to insert and gently tighten the screws that attach the plate to the frame. Start with the top screw, then the bottom, tightening them until snug.
Step 3: Initial Closing and Checking Gaps
Once the door is physically attached, you need to see how it hangs before making fine-tuned adjustments.
The Initial Test
Slowly swing the door shut. Does it clear the frame? Does it hit the drawer next to it? If it swings shut freely and doesn’t rub against anything, you’ve already done the hardest part!
Checking the Reveal (The Gap)
The “reveal” is the space or gap between the cabinet door and the neighboring door or cabinet frame. This gap should be consistent all the way around—usually between 1/8 inch and 3/16 inch.
Use your ruler to check the gap at the top, middle, and bottom. If the door is leaning heavily to one side or hanging low, don’t panic! That’s what the adjustment screws are for.
Step 4: Adjusting European Hinges for Perfect Alignment
This is the fun part where you become a cabinet alignment wizard. European hinges typically have three main adjustment screws, often accessible without removing the door.
To understand how the screws work, it helps to visualize what they control.
| Adjustment Screw Location | What It Adjusts | Direction of Turn (General Rule) |
|---|---|---|
| Screw 1 (Closest to the door edge) | Side-to-Side Movement (Left/Right) | Tighten to move the door toward the hinge side (left for right-swinging doors). Loosen to move away. |
| Screw 2 (Middle/Near Mounting Plate) | In/Out Depth (Overlay/Underlay) | Tighten to pull the door closer to the cabinet face. Loosen to push it further out. |
| Screw 3 (Furthest back/Securing Arm to Plate) | Up/Down Height (Vertical Position) | Loosen this screw to allow the door to slide up or down on the mounting plate, then retighten firmly. |
Adjusting Side-to-Side (Screw 1)
If your door is too close to the cabinet frame on the latch side (knob side) or too far away from the adjacent door, use the screw closest to the door’s edge.
Action: Turn the screw in small increments (quarter turns). Watch how the door moves. Adjust both hinges on the same door equally so it moves uniformly. Keep checking the reveal gap until it looks even across the top and bottom.
Adjusting In/Out Depth (Screw 2)
This controls how flush the door sits against the face frame of the cabinet. If the door looks recessed or sticks out too far, this is your screw.
Action: Turn this screw slowly. Remember: on most modern hinges, turning this screw draws the door panel closer to the cabinet face frame. Make adjustments on both hinges until the door is flush with its neighbors.
Adjusting Up/Down Height (Screw 3 – If Applicable)
If the door is hanging crooked—for example, the top corner is touching the cabinet above it, but the bottom corner has a huge gap—you need to adjust the vertical position.
Action: On many clip-on systems, you must slightly loosen the screw that attaches the hinge arm to the mounting plate. Once loose, gently push the door up or down until the reveal gap is even. Then, retighten that third screw securely. Do not overtighten, as this can strip the plate threads.
Troubleshooting Common Cabinet Door Issues After Reinstallation
Even with the best guide, things sometimes go awry. Here are quick fixes for common beginner struggles.
Issue 1: The Door Sags or Rubs at the Bottom
This almost always means the door is too low, or the hinge needs tightening.
- Check Hinge 3: Loosen the screw securing the hinge arm to the mounting plate on both hinges and lift the door slightly, then retighten.
- Check Frame Integrity: If the door still sags, the frame screw holes might be weak. Repair the stripped holes as mentioned in Step 1 before readjusting.
Issue 2: The Door Doesn’t Close Flat Against the Frame
If the door stands slightly open, even when you push it shut, the door is sitting too far out from the cabinet box.
- Adjust Screw 2: Turn the middle adjustment screw (Screw 2) clockwise on both hinges. This pulls the door inward toward the cabinet frame until it sits flush.
Issue 3: The Door Knobs/Pulls Don’t Line Up
If you have matching doors and the handles look slightly off, it means the side-to-side alignment isn’t perfect.
- Adjust Screw 1: Use the side-to-side adjustment screw (Screw 1) on both hinges. Make small adjustments until the door is perfectly centered relative to the neighboring door or cabinet face.
Special Consideration: Attaching Doors with Hidden Hinges That Require Pre-Drilling
If you are installing brand new doors that didn’t come with the hinges already attached (common when replacing old doors entirely), you need to know where to drill the large hole for the hinge cup.
The placement of this hole is critical for proper door swing and alignment. You will need a Forstner bit for this.
| Hinge Type | Standard Hole Diameter | Typical Hole Depth | Location on Door Stiles |
|---|---|---|---|
| Standard Full Overlay | 35mm (1 3/8 inch) | About 13mm (1/2 inch) deep | Usually centered vertically, 37mm to 45mm from the edge of the door. |
| Half Overlay | 35mm (1 3/8 inch) | About 13mm (1/2 inch) deep | Slightly closer to the edge than full overlay, depending on the overlay measurement needed. |
Pro Tip for Drilling: Always use a jig or template designed for European hinges if you are new to this. These jigs clamp onto the door and guide your Forstner bit to the exact right location, ensuring both holes are identical, which is vital for proper door operation. Always drill slowly to prevent chipping the laminate or wood veneer.
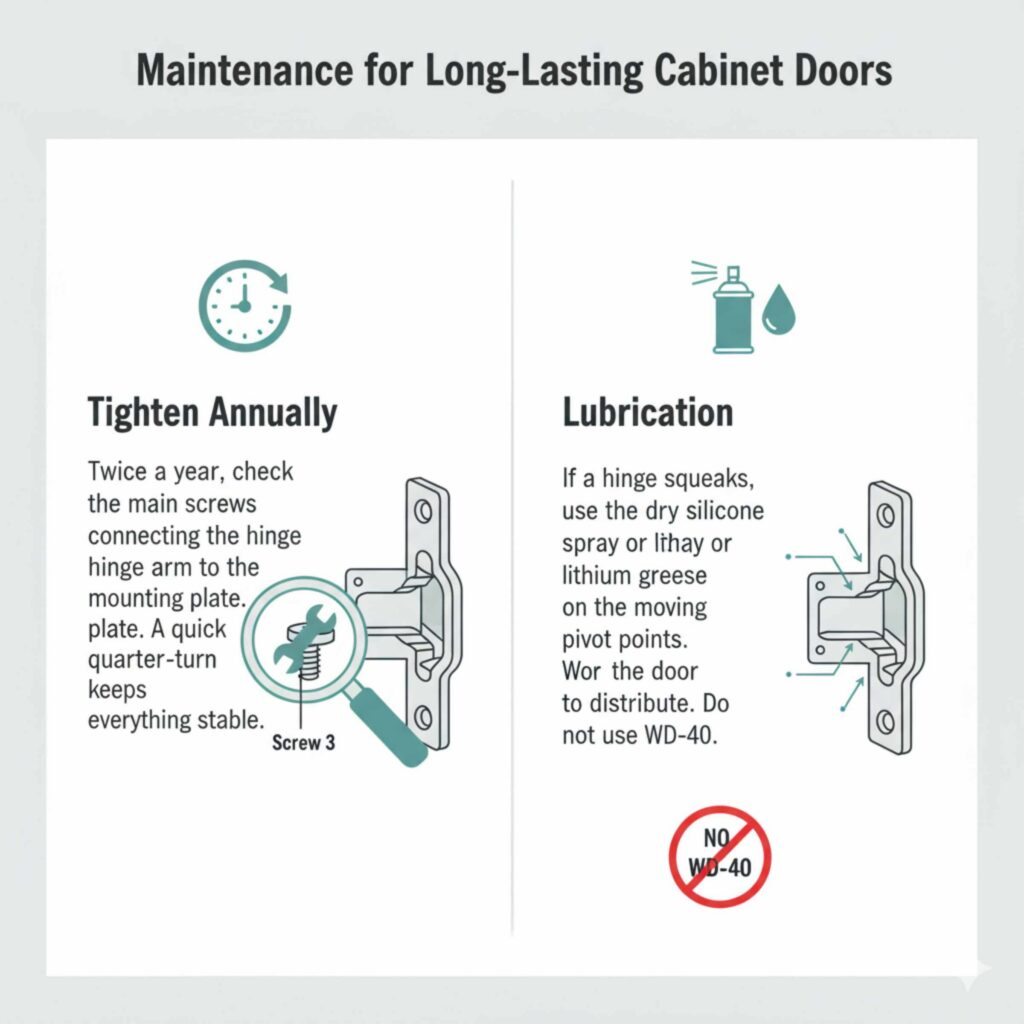
Maintenance for Long-Lasting Cabinet Doors
Once your doors are perfectly aligned, a little maintenance goes a long way. Cabinet hinges are mechanical parts that move every day, so they need occasional care.
Tighten Annually
Twice a year (perhaps when you change your clocks for daylight saving time), quickly check the main screws connecting the hinge arm to the mounting plate (Screw 3). Vibration from closing drawers or nearby appliances can sometimes cause these screws to loosen slightly over time. A quick quarter-turn on these screws keeps everything stable.
Lubrication
If you ever notice a hinge squeaking—which is rare with modern hinges but can happen—you can lubricate it easily.
- Use a dry silicone spray or a small dab of lithium grease.
- Apply the lubricant directly to the moving pivot points within the hinge assembly (where the arm bends).
- Work the door open and closed several times to work the lubricant in. Do not use WD-40, as it can attract dust and grime over time.
FAQ: Cabinet Door Installation Made Easy
Q1: What if I only have one screw hole drilled for the hinge mounting plate?
A: If you only have one screw hole used, it is highly likely that the hinge is loose or not seated properly. Most mounting plates require two secure screws (top and bottom) for stability. If the second hole is missing or stripped, repair the wood immediately and install the second screw. A single screw will lead to constant sagging.
Q2: How tight should I make the hinge screws?
A: Tighten them until they are snug and the door is stable. If you are using a power drill, set the clutch (torque setting) to a low or medium setting. You want the screw to be firm, but you should never feel the wood crack or hear the screw head stripping the material. “Snug plus a quarter turn” is a good rule of thumb.
Q3: My cabinet door is made of MDF (Medium-Density Fiberboard). Can I still put it back on?
A: Yes, but be extra careful. MDF holds screws well initially but strips much easier than solid wood if you overtighten or remove the screw repeatedly. When reattaching the hinges, use very light pressure on your drill. If a screw hole strips in MDF, use wood filler or epoxy specific for MDF to repair it before re-drilling or re-screwing.
Q4: How do I know if my door is a “full overlay” or “half overlay”?
A: This refers to how much the door overlaps the cabinet frame. Full overlay doors hide the cabinet face frame completely when closed. Half overlay doors overlap only half of the face frame, leaving the other half exposed next to the adjacent door. You must use the correct hinge type for your cabinet style to ensure the door closes in the right spot.
Conclusion: A Finished Look You Can Be Proud Of
Putting cabinet doors back on doesn’t have to be stressful or time-consuming. With a clear understanding of how modern hinges work, the right tools on hand, and a few careful adjustments, you can restore your cabinets to a clean, professional-looking finish. Whether your doors came off for painting, cleaning, or repair, following these step-by-step instructions ensures they hang straight, close smoothly, and line up evenly with the surrounding cabinets.
Taking a little extra time to organize, adjust, and fine-tune your doors pays off in the long run. Properly installed and maintained cabinet doors not only improve the appearance of your kitchen or bathroom but also extend the life of your cabinetry. Now that you know the process—and the “secret” behind European hinges—you can confidently handle this task yourself and enjoy the satisfaction of a job well done every time you open a cabinet!