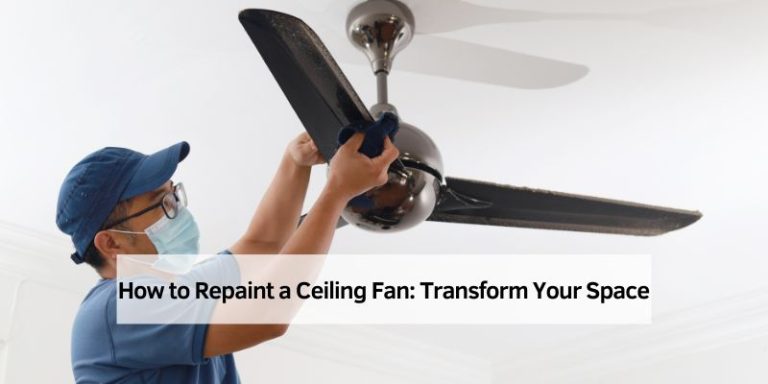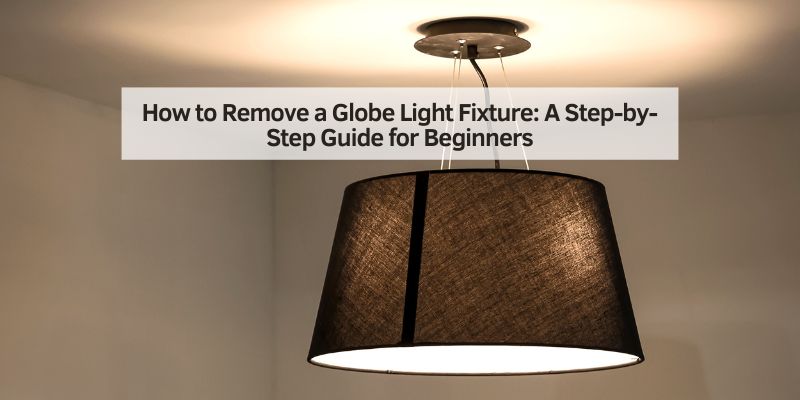
How to Remove a Globe Light Fixture: A Step-by-Step Guide for Beginners
Hey there! Have you ever looked at a globe light fixture in your garage, carport, or even your home and thought, “I need to change that, but how?” I get it—those round, glass fixtures can look tricky to remove, especially if you’re not a DIY pro. As a car enthusiast who loves tinkering with everything from engines to home projects, I’ve tackled my fair share of globe light fixtures.
Whether it’s to replace a bulb, upgrade the look, or clean the glass, I’ve learned the ins and outs of getting them down safely. In this article, I’ll walk you through every step to remove a globe light fixture, share tips from my own experience, and make sure you feel confident doing it yourself. Let’s dive in and light up your DIY skills!
Why You Might Need to Remove a Globe Light Fixture
Globe light fixtures are those round, often glass or plastic, coverings that house light bulbs. They’re common in garages, carports, or outdoor areas where cars are parked. I have one in my garage that lights up my workspace when I’m working on my car. You might need to remove one to replace a burnt-out bulb, clean the fixture, or swap it for a modern LED setup.
I’ve also removed globe fixtures to repaint my garage or fix wiring issues. Sometimes, the glass gets foggy or cracked, and you just want a fresh look. Whatever the reason, knowing how to take it down safely is key. It’s not as hard as it looks, but it does require care to avoid breaking the glass or getting shocked.
Understanding Different Types of Globe Light Fixtures
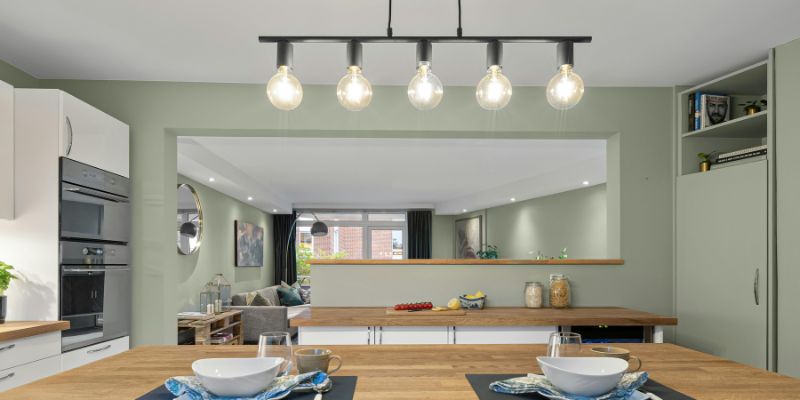
Before you start, let’s talk about the types of globe fixtures you might encounter. I’ve worked on a few, and they’re not all the same. Some are flush-mounted, sitting tight against the ceiling or wall. Others hang from a chain or rod, like a pendant. Some have screws holding the globe, while others use clips or a twist-lock system.
In my garage, I have a flush-mounted globe with a twist-lock glass cover. My carport has a hanging globe with screws. Knowing your fixture type helps you approach the job right. If you’re not sure, take a close look at how the globe is attached. Are there visible screws? Does it twist? This will guide your next steps.
Safety First: Preparing to Remove the Fixture
Safety is my top priority when working with anything electrical. I learned this from years of messing with car wiring—electricity doesn’t mess around. Before touching your globe fixture, turn off the power at the breaker box. I always double-check by flipping the light switch to make sure it’s off. A voltage tester is handy to confirm there’s no current. I keep one in my toolbox from my car repair days.
You’ll also need a sturdy ladder if the fixture is high up, like in a garage or carport. I use a step ladder with a wide base for stability. Wear gloves to protect your hands from sharp edges or broken glass. If the fixture is dusty, a face mask keeps you from breathing in gunk. I learned this the hard way when I got a face full of dust from an old garage fixture!
Gathering the Right Tools
You don’t need a fancy toolkit, but a few basics make the job easier. I use a screwdriver (usually Phillips or flathead, depending on the screws), a pair of gloves, and a cloth to clean the globe. A small bucket or bag is great for holding screws so they don’t get lost. I’ve also used a step stool or ladder for high fixtures.
If the fixture is stuck or rusted, a can of WD-40 or similar lubricant helps loosen screws. I keep a flashlight handy for dim areas, especially in garages where lighting might already be poor. If you’re replacing the fixture entirely, you might need a wire cutter or stripper, but we’ll get to that later.

Step-by-Step Guide to Removing a Flush-Mounted Globe Fixture
Let’s start with flush-mounted globe fixtures, since they’re super common in garages. This is the kind I have in my workspace, and it’s straightforward once you know the trick. Here’s how I do it:
First, turn off the power at the breaker. Climb your ladder and take a close look at the fixture. Most flush-mounted globes have a glass cover held by screws, clips, or a twist-lock mechanism. Mine has a twist-lock, so I gently rotate the glass counterclockwise until it releases. If yours has screws, use a screwdriver to remove them. Keep one hand on the glass so it doesn’t fall.
Once the glass is off, set it somewhere safe. I put mine on a towel to avoid scratches. Now you can see the bulb. Unscrew it if you’re just replacing it. If you’re removing the whole fixture, look for screws or bolts holding the base to the ceiling. I had to remove three screws on mine. Hold the base with one hand while unscrewing so it doesn’t drop.
If there’s wiring, you’ll see wire nuts connecting the fixture to the ceiling wires. Twist the wire nuts off gently and separate the wires. I always take a picture of the wiring with my phone first, so I know how to reconnect it later. Once the wires are free, the fixture should come down. Easy, right?
Removing a Hanging Globe Fixture
Hanging globe fixtures, like those in carports, are a bit different. I have one outside my garage, and it took me a couple of tries to get it right. Here’s what worked for me.
Start by turning off the power. Use a ladder to reach the fixture. Hanging globes often have a chain or rod. Check where the globe attaches to the base. Mine had a decorative cap with screws holding the glass. I unscrewed the cap, and the glass globe slid off. Be careful—it’s heavier than it looks!
If you’re removing just the globe, you’re done. If you want the whole fixture down, look for a mounting plate or canopy at the ceiling. Remove any screws or bolts holding it. I used a screwdriver and a bit of WD-40 for a rusty screw. Disconnect the wires like with the flush-mounted fixture, and lower the whole thing carefully. I had a friend hold the ladder for me since it was a two-handed job.
Dealing with Stuck or Rusted Fixtures
Sometimes, fixtures are stubborn. I ran into this with an old globe in my carport that hadn’t been touched in years. Rust and grime can make screws or clips hard to budge. If this happens, don’t force it—you might crack the glass.
Spray a bit of WD-40 on the screws or clips and let it sit for 10 minutes. I tapped the screw lightly with a screwdriver to help the lubricant sink in. Try turning the screw again. If it’s still stuck, use a larger screwdriver for better grip. For twist-lock globes, wiggle gently while turning to loosen them. Patience is key—I almost broke my globe by rushing!
Cleaning or Replacing the Globe
Once the globe is off, you might want to clean it. Mine was covered in dust and bugs, which dimmed the light. I used warm water with a drop of dish soap and a soft cloth. Avoid harsh chemicals—they can damage the glass or plastic. Dry it thoroughly to prevent streaks.
If the globe is cracked or you want a new look, now’s the time to replace it. I swapped my old frosted globe for a clear one to brighten my garage. Make sure the new globe fits your fixture’s base. Check the size and mounting type at the store. I took my old globe with me to compare.
Rewiring or Replacing the Entire Fixture
If you’re removing the fixture to replace it, you’ll need to deal with wiring. I did this when I upgraded my garage light to an LED model. After removing the old fixture, check the wires in the ceiling. They should be in good shape—no fraying or exposed copper. If they’re damaged, call an electrician.
To install a new fixture, connect the wires: black to black (hot), white to white (neutral), and green or copper to green (ground). I twist them together and secure them with wire nuts. Follow the new fixture’s instructions for mounting. I found it easier to have a friend hold the fixture while I connected the wires. Once it’s secure, reattach the globe or install the new one.
Troubleshooting Common Issues
I’ve hit a few snags removing globe fixtures, so let me share some fixes. If the globe won’t budge, double-check for hidden screws or clips. Some fixtures have a small set screw you might miss. I overlooked one on my carport light and spent 20 minutes confused!
If the bulb is stuck, don’t force it. I had a bulb fuse to the socket once. I turned off the power, sprayed a bit of WD-40 around the base, and wiggled it gently with gloves on. If the fixture doesn’t light up after reassembly, check the wiring connections or the bulb. I had a loose wire nut that caused flickering—tightening it solved the problem.
Tips for Working in Automotive Spaces
Globe fixtures in garages or carports have unique challenges. In my garage, the fixture was above my workbench, so I had to move tools and car parts to set up my ladder. Clear the area to avoid tripping. If you’re working near your car, cover it with a tarp to protect it from dust or falling screws.
Lighting is crucial in automotive spaces. A dim or broken globe fixture makes it hard to work on your car at night. I replaced my garage fixture with a brighter LED to see every detail when polishing my car. If you’re a car enthusiast like me, good lighting is a game-changer for late-night projects.
Disposing of Old Fixtures and Bulbs
Once the fixture is down, you need to dispose of it properly. I took my old glass globe to a recycling center, as many don’t go in regular trash. Check your local rules—some areas have specific drop-off points for glass or metal fixtures.
If the bulb is burnt out, handle it carefully. Incandescent bulbs can go in the trash, but CFL or fluorescent bulbs need special recycling because of mercury. I found a drop-off at my local hardware store. LED bulbs are easier to recycle, but check with your recycling program.
Upgrading to Modern Lighting Options
Removing a globe fixture is a great chance to upgrade. I switched to LED fixtures in my garage and carport for brighter light and lower energy bills. LEDs last longer than incandescent bulbs, so you won’t need to climb that ladder as often. I also love smart bulbs that let me control the light from my phone—perfect for when I’m pulling into the driveway late.
Look for fixtures with adjustable brightness or motion sensors. I added a motion-sensor light in my carport, and it turns on automatically when I drive up. It’s convenient and saves energy. Just make sure the new fixture fits the existing wiring and mounting setup.
Common Mistakes to Avoid
I’ve made my share of mistakes, so let me help you avoid them. Don’t skip turning off the power—I almost got shocked once because I forgot. Don’t rush when removing the globe; forcing it can crack the glass. I learned to be patient after chipping an old fixture.
Don’t lose screws or small parts. I dropped a screw in my garage and spent ages looking for it. Use a small container to keep everything together. Finally, don’t assume all fixtures are the same—check the mounting type before starting. Here’s a quick table to summarize:
| Mistake | Why It’s a Problem | How to Avoid |
|---|---|---|
| Not turning off power | Risk of shock or injury | Not turning off the power |
| Forcing the globe off | Can crack or break the glass | Check for screws or clips, go slowly |
| Losing screws or parts | Hard to reassemble or replace | Use a container to hold small parts |
| Ignoring fixture type | Inspect the mounting system first | Inspect mounting system first |
This table kept me on track when I worked on my second fixture, and it’ll help you too.
Maintaining Your Globe Fixtures
Once your fixture is down, cleaned, or replaced, a little maintenance goes a long way. I clean my globes every few months to keep them bright. Dust and bugs can build up fast in a garage. Check the wiring and screws yearly to make sure everything’s secure.
If you’re keeping the old fixture, tighten any loose parts before reinstalling. I had a globe that wobbled because the screws were loose—tightening them made it look brand new. For outdoor fixtures, check for water damage after big storms.
Connecting to the Automotive Lifestyle
As a car lover, I see lighting as part of the automotive vibe. A well-lit garage or carport makes working on your car easier and safer. I’ve spent late nights tweaking my car’s engine, and good lighting was a lifesaver. A globe fixture in your carport can also highlight your vehicle, making it the star of the driveway.
If you host car meets or show off your ride, a clean, bright globe fixture adds polish to your space. I’ve had friends ask how I keep my garage looking so sharp, and good lighting is a big part of it. Plus, removing and upgrading fixtures is a fun DIY project that feels like working on a car—same satisfaction, fewer greasy hands!
Conclusion
Removing a globe light fixture doesn’t have to be intimidating. Whether it’s in your garage, carport, or driveway, this project is doable with a little care and the right steps. I’ve shared my journey—from fumbling with stuck screws to upgrading to bright LEDs—so you can tackle it with confidence. From turning off the power to cleaning the glass, every step is about making your space safer, brighter, and more inviting.
As a car enthusiast, I love how good lighting ties into the automotive lifestyle, making late-night wrenching or car shows even better. So grab your screwdriver, get that ladder, and let’s make your space shine! Thanks for joining me—here’s to brighter days (and nights) ahead!
FAQs
Why would I need to remove a globe light fixture?
You might need to replace a bulb, clean the glass, fix wiring, or upgrade to a new fixture. It’s common in garages or carports for better lighting.
Is it safe to remove a globe fixture myself?
Yes, if you turn off the power at the breaker and use a voltage tester to confirm it’s off. Wear gloves and use a sturdy ladder for safety.
What tools do I need to remove a globe fixture?
A screwdriver, gloves, a ladder, and a cloth are usually enough. A voltage tester and WD-40 help for tricky fixtures.
How do I know if my fixture is flush-mounted or hanging?
Flush-mounted fixtures sit tight against the ceiling or wall. Hanging fixtures use a chain or rod. Check how the globe attaches to the tell.
What do I do with an old globe or bulb?
Recycle glass globes at a local center. Incandescent bulbs can go in the trash, but CFLs or fluorescents need special recycling due to mercury.