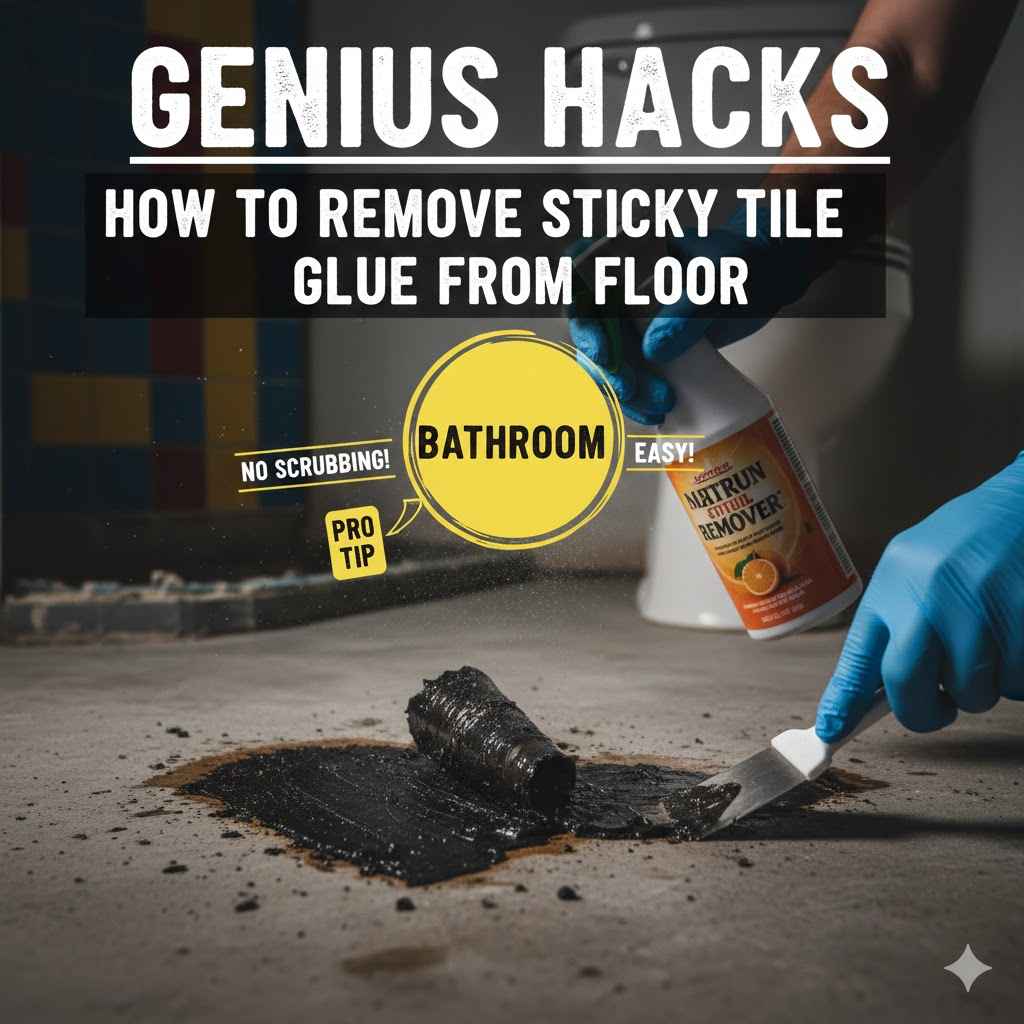
How To Remove Sticky Tile Glue From Floor Bathroom Genius
To remove sticky tile glue from a bathroom floor, start by softening the adhesive with a heat gun or hairdryer on a low setting. Once warm, carefully scrape the softened glue away with a plastic putty knife or scraper. For stubborn spots, apply a citrus-based adhesive remover, let it sit, and then scrape and wipe the area clean.
Hello there! It’s Md Meraj, your friendly guide for all things home improvement. So, you’ve pulled up your old bathroom tiles and discovered a sticky, gooey mess left behind. Don’t worry, you’re not alone! This leftover tile adhesive is a common headache for many DIY-ers. It looks tough, but I promise you can handle it. Getting rid of that gunk is the key to a smooth, beautiful new floor. In this guide, I’ll walk you through simple, safe, and effective steps to get that floor clean and ready for its fresh new look. Let’s get started!
Before You Begin: Safety First!
Before we jump into scraping and cleaning, let’s talk about staying safe. This is always the most important step in any project. Your bathroom is a small, enclosed space, so we need to be extra careful, especially if we end up using any chemical removers. A little prep goes a long way in keeping you protected.
- Good Ventilation is Key: Open up any windows in the bathroom. If you don’t have a window, place a box fan in the doorway, pointing out of the room. This helps pull any fumes or dust out into the hallway. Running the bathroom exhaust fan is also a great idea.
- Protect Your Hands: That old glue can be sharp and messy. Wear a pair of thick work gloves to protect your hands from cuts, scrapes, and any chemicals you might use. Nitrile or latex gloves are great when working with solvents.
- Guard Your Eyes: Small bits of dried glue can fly up when you start scraping. A pair of safety glasses or goggles is a must-have to protect your eyes from debris and any accidental splashes from liquid removers.
- Breathe Easy: If you are using strong chemical strippers or creating a lot of dust, it’s wise to wear a dust mask or a respirator. This will prevent you from breathing in any harmful particles or fumes. You can find simple N95 masks at any hardware store. Check out this guide on respirators from the CDC to understand your options.
Taking these simple precautions ensures your project is not only successful but also safe from start to finish. Now that we’re prepped, let’s gather our tools!

Gathering Your Tools and Supplies
Having everything you need within arm’s reach makes the job go much faster. You won’t have to stop and search for a tool right in the middle of your work. Most of these items are common in a DIY-er’s toolkit or are inexpensive to buy.
Essential Tools Checklist:
- Putty Knife or Scraper: A 4-inch or 6-inch floor scraper works great. It’s best to have both a metal and a plastic one. The plastic scraper is gentler and perfect for wood subfloors to avoid scratches.
- Heat Gun or Hairdryer: Heat is your best friend for softening stubborn adhesive. A hairdryer on its highest setting can work, but a heat gun provides more focused heat.
- Shop Vacuum: For cleaning up all the scraped-off bits and dust. A regular vacuum can get clogged, so a shop vac is highly recommended.
- Gloves: Heavy-duty work gloves.
- Safety Glasses: Don’t skip these!
- Dust Mask or Respirator: Especially important if using chemical removers.
- Bucket: For mixing hot water and soap.
- Sponges and Rags: You’ll need plenty for wiping and cleaning.
- Knee Pads: Trust me, your knees will thank you after spending time on a hard floor.
Adhesive Remover Options:
Sometimes, scraping alone isn’t enough. Here are a few options, from gentle to strong.
| Remover Type | Best For | Pros | Cons |
|---|---|---|---|
| Hot Water & Soap | Light, water-based adhesives; fresh glue. | Completely safe, no fumes, very cheap. | May not work on stubborn, old, or oil-based glue. |
| Citrus-Based Removers | Sticky mastic, carpet glue, general adhesives. | Low-fume, biodegradable, effective on many glues. | Can be oily, requires cleaning afterward, takes time to work. |
| Commercial Adhesive Removers | Tough, old adhesives that other methods can’t handle. | Very powerful and fast-acting. | Strong fumes, requires excellent ventilation and full safety gear. |
| Mineral Spirits | Cleaning up oily residue left by other removers. | Evaporates quickly, good for final cleanup. | Flammable, strong odor, requires good ventilation. |
My advice? Always start with the gentlest method first (heat or hot water) and only move to stronger chemicals if you absolutely need to.
Step-by-Step Guide: How to Remove Sticky Tile Glue From a Bathroom Floor
Alright, with our safety gear on and tools at the ready, it’s time to tackle that floor. Follow these steps, and you’ll have a clean slate in no time. Be patient—this job is more about persistence than power.
Step 1: Prepare Your Workspace
First things first, let’s get the bathroom ready. Remove anything that’s not bolted down—the trash can, scale, rugs, and storage caddies. Next, protect your fixtures. Use painter’s tape to tape over the drain in the shower or tub to prevent glue debris from falling in. If you have a vanity or toilet close to your work area, you can cover them with an old sheet or plastic drop cloth to keep them clean.
Step 2: Start with Dry Scraping
Before adding any heat or liquids, try a little “dry scraping.” Take your floor scraper and, holding it at a low angle (about 30 degrees), try to get under the edge of the glue patches. Push forward with steady, even pressure. Sometimes, old and brittle glue will pop right off. This will help you get rid of any loose pieces easily and give you a better idea of how tough the remaining glue is.
Step 3: Apply Heat to Soften the Glue
This is where the magic happens for most sticky, gummy adhesives (like mastic). Heat softens the glue, making it much easier to scrape.
- Grab your heat gun or hairdryer. If using a heat gun, set it to a low or medium temperature. If using a hairdryer, put it on its hottest setting.
- Hold the heat source about 3-4 inches away from the floor. Work in a small, manageable section, about one square foot at a time.
- Move the heat gun or hairdryer back and forth over the area for about 60-90 seconds. You’ll see the glue start to soften and maybe even bubble a little. Be careful not to scorch the subfloor, especially if it’s wood.
- Once the glue is soft and pliable, immediately use your putty knife or scraper to peel it off the floor. It should come up in gummy strips.
- Wipe the sticky residue from your scraper onto a paper towel or into a trash bag as you go. This keeps your tool clean and effective.
- Repeat this process—heat, scrape, clean—section by section until you’ve removed the bulk of the adhesive.
Step 4: Use Hot Water and Soap for Lighter Glue
If the heat method is working but is slow, or if you think you’re dealing with a water-based adhesive, try this gentle method.
- Fill your bucket with the hottest water your tap can produce. Add a few squirts of dish soap.
- Pour a small amount of the hot, soapy water onto a section of the floor. Let it sit for about 10-15 minutes to soak in and break down the glue. Don’t flood the floor, especially if you have a wood subfloor.
- After soaking, use your scraper to see if the glue comes up more easily. You may need to scrub with a stiff-bristled brush as well.
- Wipe up the slushy glue-and-water mixture with old rags or paper towels.
Step 5: Move to Solvents for Stubborn Spots
If heat and water didn’t get everything, it’s time to bring in an adhesive remover. Remember your safety gear and ventilation!
- Choose Your Remover: I recommend starting with a citrus-based remover. They are effective and much safer to use indoors than harsh chemical strippers.
- Do a Spot Test: Always, always test the remover on a small, hidden area first (like inside a closet or under where the vanity goes). Apply a little, let it sit, and scrape it off. You want to make sure it doesn’t damage your subfloor.
- Apply the Remover: Follow the manufacturer’s instructions on the bottle. Usually, you’ll apply a generous layer of the product directly onto the remaining adhesive.
- Let It Sit: This is the most important part. You have to give the product time to work. This could be anywhere from 30 minutes to several hours, depending on the product and the thickness of the glue. Some products recommend covering the area with plastic wrap to keep the remover from evaporating.
- Scrape and Remove: Once the time is up, the glue should be very soft, almost like jelly. Use your scraper to easily remove it.
Step 6: Clean Up the Final Residue
Even after scraping, you might have a thin, oily, or sticky film left on the floor, especially if you used a chemical remover. We need to get rid of this before you can install your new flooring.
- For citrus-based removers, the residue can often be cleaned with warm, soapy water.
- For other chemical removers, you may need to wipe the floor down with a clean rag dampened with mineral spirits. The mineral spirits will cut through the oily film and evaporate quickly. Again, make sure your ventilation is excellent when using mineral spirits.
- Wipe the entire floor with a clean, damp rag to remove any remaining chemicals or dirt, and then let it dry completely.
Step 7: Final Floor Preparation
You’re almost there! The last step is to make sure the floor is perfectly smooth and ready for what’s next.
- Run your hand over the subfloor. Do you feel any small bumps or rough patches?
- Use a sander with medium-grit sandpaper (around 80-grit) or a sanding block to smooth out any remaining stubborn bits of glue. This step is crucial for ensuring your new flooring lays perfectly flat.
- Once you’re done sanding, give the entire floor a thorough vacuuming with your shop vac to pick up all the dust and debris. Your floor is now officially clean and prepped!
Dealing with Different Subfloor Types
The type of subfloor you have in your bathroom will influence how you approach this project. Let’s look at the two most common types: concrete and wood.
Removing Glue from Concrete Subfloors
Concrete is tough, which is great news for this project! You can be a bit more aggressive with your methods.
- Scraping: You can use a heavy-duty metal scraper on concrete without worrying too much about damaging it. A long-handled floor scraper can save your back.
- Chemicals: Concrete can handle stronger chemical strippers. However, concrete is also porous, so it will absorb liquids. Make sure to clean it thoroughly afterward to remove all chemical residue.
- Grinding: For very large areas or extremely stubborn, hardened adhesive (like thin-set mortar, which is different from sticky glue), you could rent a floor grinder with a diamond-cup wheel. This is an advanced step and creates a lot of dust, so be sure to seal off the room and wear a high-quality respirator. For most sticky adhesives, this is overkill.
Removing Glue from Wood Subfloors
Wood subfloors (plywood or OSB) require a gentler touch. Your main goal is to remove the glue without gouging, scratching, or water-damaging the wood.
- Scraping: Start with a plastic scraper! A metal scraper can easily dig into the wood if you’re not careful. Hold the scraper at a low angle and let the tool do the work.
- Heat: The heat gun method is excellent for wood because it avoids using excessive moisture. Just keep the gun moving to prevent scorching the wood.
- Liquids: Be very cautious with water or liquid removers. Wood can swell, warp, or even rot if it gets too wet. Use liquids sparingly, work in small sections, and wipe up any excess immediately. Never let water pool on a wood subfloor. The U.S. Environmental Protection Agency provides good information on preventing mold by controlling moisture, which is important when working with wood subfloors.
Common Mistakes to Avoid
I’ve seen a few common slip-ups over the years. Here’s what to watch out for to make sure your project goes smoothly.
- Rushing the Process: Patience is your best tool. Trying to scrape glue before it’s fully softened or before a chemical remover has had time to work will just frustrate you and could damage the floor.
- Using Too Much Force: Don’t try to chisel the glue off. You could gouge the subfloor, creating more work for yourself later. Use a softening agent (heat or chemicals) and let it do the hard work for you.
- Skipping the Spot Test: You never know how a chemical remover will react with your specific subfloor. A quick test in a hidden spot can save you from a major disaster.
- Poor Ventilation: I can’t stress this enough. Working with adhesive removers in an unventilated bathroom is dangerous. Open a window and use a fan.
- Leaving Residue Behind: Any oily or sticky film left on the floor can prevent your new flooring’s adhesive from bonding properly. The final cleaning step is just as important as the first.

Frequently Asked Questions (FAQ)
Can I use vinegar to remove tile adhesive?
Vinegar can sometimes work on very light, water-based adhesives, but it’s generally not strong enough for the sticky, thick glue left from vinyl or peel-and-stick tiles. It’s a safe option to try first, but you’ll likely need to move on to heat or a dedicated remover.
How long will it take to remove all the glue?
This really depends on the size of your bathroom, the type of glue, and how old it is. For a small bathroom, plan for at least a few hours of work, possibly an entire afternoon. Give yourself plenty of time so you don’t have to rush.
What if the tile glue is rock hard, not sticky?
If the adhesive is hard and brittle, you might be dealing with thin-set mortar, not sticky mastic. Mortar doesn’t respond well to heat or chemical removers. For this, you’ll need to use a hammer and a wide chisel or a power tool like a hammer drill with a scraper attachment to chip it away.
Can I just install my new floor over the old glue?
I strongly advise against this. Any bumps, ridges, or patches of old glue will show through your new flooring, especially if you’re installing flexible flooring like vinyl planks. It can also prevent the new floor from adhering properly, leading to failure down the road. A smooth, clean subfloor is the foundation of a great-looking, long-lasting new floor.
Is it safe to use strong chemicals in such a small bathroom?
It can be safe if you take the right precautions. This means maximum ventilation (fan in the door, window open, exhaust fan on), wearing a respirator with organic vapor cartridges, gloves, and eye protection. If you are sensitive to chemicals or have respiratory issues, it’s best to stick with the heat and citrus-based remover methods.
How do I dispose of the old glue and chemical-soaked rags?
Scraped-off glue can usually be thrown away in your regular trash. However, rags soaked with chemical removers or mineral spirits need to be handled carefully as they can be a fire hazard. Lay them flat outside on a non-flammable surface like concrete to dry completely. Once they are dry and stiff, you can typically dispose of them in your household trash. Always check the product label for specific disposal instructions.
Conclusion: Your Floor is Ready for a Fresh Start!
You did it! By following these steps with a bit of patience and care, you’ve successfully tackled one of the toughest parts of a flooring renovation. That sticky, stubborn glue is gone, and you’re left with a clean, smooth, and solid foundation for your beautiful new bathroom floor. Taking the time to do this prep work properly is what separates a good DIY project from a great one. You’ve not only saved money but also gained the valuable experience and confidence that comes from doing it yourself. Now, stand back and admire your hard work. The fun part—installing the new floor—is just around the corner!