How to Replace Driver’s Side Door Handle 2008 Kia Sorento
Sometimes, car parts can get a little tricky to fix, especially if you’re new to working on your car. The driver’s side door handle on a 2008 Kia Sorento might seem like a big job, but it’s actually something many people can do themselves with a little guidance. If your handle is loose, broken, or just won’t open the door anymore, don’t worry.
We’ll walk you through How to Replace Driver’s Side Door Handle on 2008 Kia Sorento step by step. This guide is made to be super easy to follow, even if you’ve never done this kind of repair before. Get ready to see how simple it can be!
Prepare for Door Handle Replacement 2008 Kia Sorento
This part is all about getting ready so the actual replacement goes smoothly. It’s like packing for a trip; you want to have everything you need before you leave. We’ll talk about what tools you’ll need and how to safely prepare your vehicle for this task.
Having the right tools and taking a few safety precautions makes the whole process much faster and less frustrating. Getting these basics right means you’re already halfway to fixing that door handle.
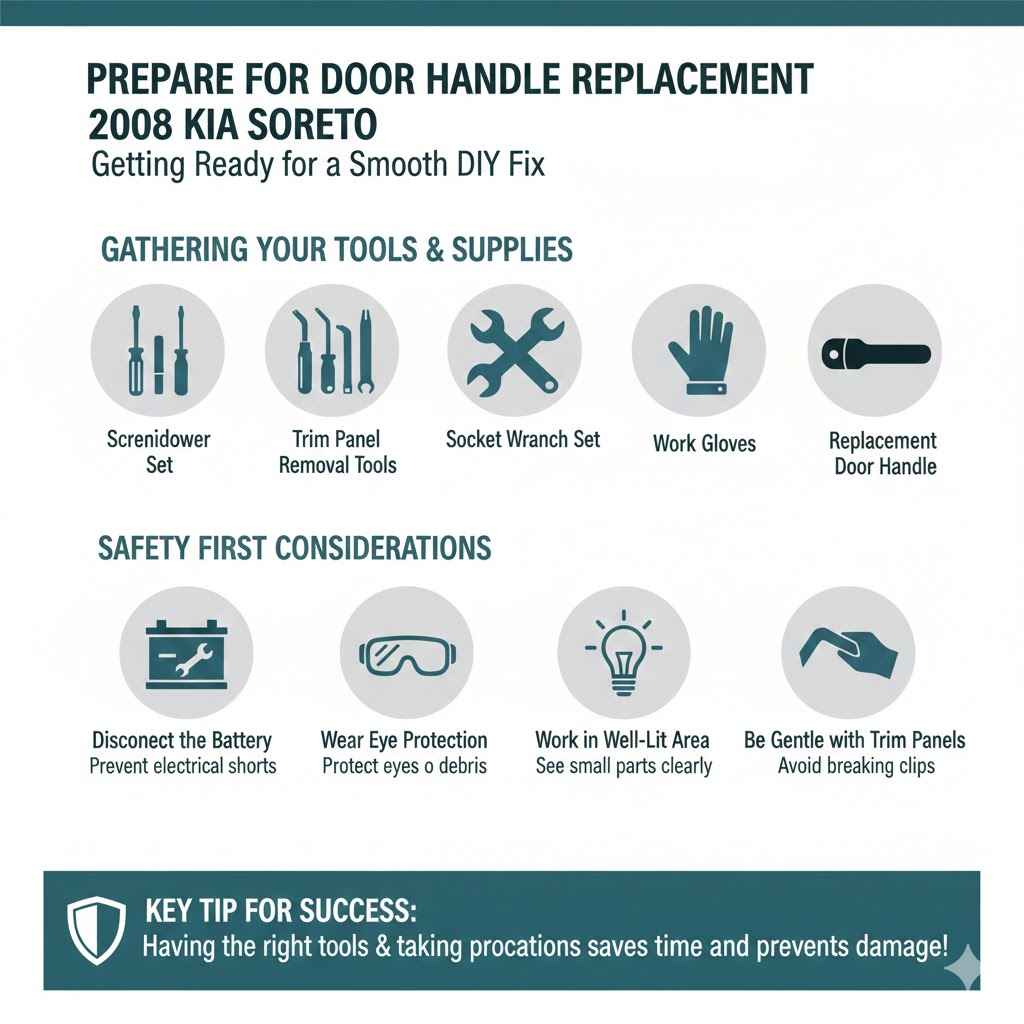
Gathering Your Tools and Supplies
To successfully replace your driver’s side door handle on a 2008 Kia Sorento, having the correct tools is key. This isn’t a job that needs a full mechanic’s shop, but a few specific items will make it much easier.
Screwdriver Set: You’ll likely need a Phillips head screwdriver and possibly a flathead screwdriver. These are for removing screws that hold the interior door panel in place. Make sure they are good quality so they don’t strip the screw heads.
Trim Panel Removal Tools: These plastic tools are designed to gently pry away interior door panels without scratching or damaging the surrounding plastic. Using a screwdriver here can easily mar the finish.
Socket Wrench Set: Some bolts might require a socket wrench to loosen or tighten. Having a set with various common sizes will be helpful.
Gloves: Wearing work gloves can protect your hands from sharp edges and keep them clean.
Replacement Door Handle: Ensure you have the correct part for your 2008 Kia Sorento’s driver’s side door. It’s good to have this on hand before you start taking things apart.
Having these items ready will prevent you from stopping mid-job to find a missing tool. It keeps the momentum going and makes the repair a breeze.
Safety First Considerations
Working on your car, even for something like a door handle, requires paying attention to safety. It’s not about being scared, but about being smart and preventing accidents.
Disconnect the Battery: While not always strictly necessary for a door handle replacement, disconnecting the negative battery terminal is a good habit for any interior electrical work. This prevents accidental shorts. Wait about 10-15 minutes after disconnecting before starting to ensure any residual power dissipates.
Wear Eye Protection: Small plastic clips or pieces of debris can sometimes pop out when you’re prying panels. Safety glasses are a simple way to protect your eyes from unexpected projectiles.
Work in a Well-Lit Area: Good lighting helps you see what you’re doing, especially when dealing with small screws or delicate clips.
Be Gentle with Trim Panels: Interior door panels are often held on with clips. Pulling too hard or at the wrong angle can break these clips, making it difficult to reassemble the panel correctly.
These safety steps are simple but important. They ensure you finish the job without any unnecessary injuries or damage to your vehicle.
Removing the Interior Door Panel
The interior door panel is what you see from inside the car when you close the door. It covers up all the wires, mechanisms, and parts that make the door work. To get to the door handle, you first need to carefully remove this panel.
This might sound like a big step, but we’ll break it down into easy actions. The goal here is to get the panel off without breaking any of its clips or the plastic itself, so you can put it back on just as nicely when you’re done.
Locating and Removing Trim Screws
Before you can even think about pulling the door panel off, you need to find and remove all the screws that are holding it in place. These screws are usually hidden to keep the interior looking clean.
Door Handle Recess: Look inside the handle recess where you normally place your hand to open the door from the inside. You might find a small screw cover that needs to be popped off. Use a small flathead screwdriver or a trim tool to gently pry it off. Then, use the appropriate screwdriver to remove the screw underneath.
Armrest Area: Often, there’s a screw located in the armrest area of the door panel. Sometimes it’s hidden behind a small plastic cap, similar to the one in the handle recess. Carefully pry off the cap and remove the screw.
Door Pull Handle Area: Some vehicles have a screw located behind or around the door pull handle, which is the part you might grab to close the door. Check this area closely.
Door Lock Switch Bezel: For vehicles with power locks, there’s often a bezel surrounding the lock switch. This bezel might need to be carefully popped off to reveal a screw underneath. Work from the edges and try not to force it.
Once all visible screws are removed, you can proceed to the next step of actually detaching the panel.
Detaching the Door Panel Clips
With all the screws out, the door panel is mostly held on by plastic clips. These clips are like little snaps that push into holes on the car’s metal door frame. You need to gently pull the panel away from the frame to release them.
Start at the bottom edge of the door panel. Insert your trim panel removal tool between the door panel and the metal door frame. Gently work your way around the bottom and sides of the panel, prying slightly to pop the clips out.
You’ll hear small popping sounds as each clip releases. Be patient and don’t yank the panel, as this can break the clips or the panel itself.
Once the bottom and sides are loose, you might need to lift the panel slightly upwards to disengage clips at the top that slide into a channel. If you encounter resistance, double-check for any hidden screws you might have missed.
After all clips are released, carefully pull the door panel away from the door. It might still be attached by wires for things like power windows or door locks. Don’t pull too hard; you’ll need to disconnect these wires before you can fully remove the panel.
Accessing and Replacing the Door Handle
Now that the interior door panel is off, you have a clear view of the inside of the door. This is where all the action happens! You can see the metal frame of the door and all the components connected to it.
Your goal now is to find the old door handle and swap it out with the new one. This involves disconnecting a few rods and potentially some bolts that hold the handle in place.
Disconnecting the Linkage Rods
The door handle, both inside and outside, is connected to the door latch mechanism by metal rods. You need to disconnect these rods from the old handle so you can remove it. This is a critical step, and it’s important to note how they are connected so you can reattach them correctly later.
Identify the Rods: Look for thin metal rods that connect from the inside of the door to the back of the exterior door handle assembly. There’s usually one rod for the exterior handle and another for the interior lock mechanism.
Observe the Connection Points: The rods typically connect to the handle assembly with small plastic clips or retainers. Note the orientation of these clips and how they secure the rods. Sometimes, these clips just pull off, while others might need to be gently pried or rotated to release.
Disconnect the Exterior Handle Rod: This rod connects directly to the lever arm of the exterior door handle. Carefully release the clip or retainer holding this rod in place. You might need to push the rod slightly to give the clip some slack.
Disconnect the Interior Lock Rod (if applicable): If your door handle assembly also operates the door lock, there might be a second rod connected to it. Disconnect this one in a similar fashion.
Take a moment to visualize how these rods are attached. Sometimes, taking a quick photo with your phone can be incredibly helpful for reassembly.
Removing the Old Door Handle
With the rods disconnected, the old door handle should be loose. Now, you need to find how it’s attached to the door frame itself. This is usually done with a few bolts or nuts.
On the inside of the door, locate the mounting points for the exterior door handle. You’ll typically see bolts or nuts that go through the door frame and secure the handle assembly. Use your socket wrench set to loosen and remove these bolts or nuts.
Once all the mounting hardware is removed, the old door handle should be free. You might need to gently wiggle it to break any seals or adhesive that might be holding it in place. Carefully pull the old handle out from the exterior of the door.
It’s a good idea to have your new handle ready to install right away to avoid leaving the door open to the elements.
Installing the New Door Handle
Now it’s time to put in the shiny new door handle. This is essentially the reverse of removing the old one. Make sure the new handle is the correct part for your vehicle.
First, position the new door handle in the opening from the outside. Make sure it aligns properly with the mounting holes. From the inside of the door, insert the bolts or nuts and tighten them securely with your socket wrench.
Don’t overtighten, but make sure it’s snug enough to hold the handle firmly.
Next, reconnect the linkage rods. This is where your observation or phone photos come in handy. Attach the rods to the correct points on the new handle assembly, making sure the clips or retainers snap back into place securely.
Test the operation of the handle and the lock mechanism gently to ensure everything moves freely and correctly before you reassemble the door panel.
Reassembling the Door Panel and Final Checks
You’re almost done! The hardest part, replacing the actual handle, is complete. Now, we just need to put the interior door panel back on and make sure everything works perfectly.
Reassembly is just as important as disassembly to ensure your car looks and functions as it did before.
Reattaching the Interior Door Panel
Putting the door panel back on involves reversing the steps you took to remove it. The goal is to get it to sit flush against the door frame and secure it properly.
Reconnect Electrical Connectors: Before you push the panel back into place, make sure to reconnect any electrical connectors you unplugged earlier (for power windows, locks, speakers, etc.). Ensure they click into place.
Align Top Clips: The top edge of the door panel often has clips that slide into a channel on the door frame. Align these first and gently push the panel down to engage them.
Press Clips Back In: Once the top is aligned, start working your way around the edges, pushing the panel firmly towards the door frame. You should hear the plastic clips snap back into their respective holes. A rubber mallet or your fist can be used to gently tap around the edges to ensure all clips are secured.
Replace Trim Screws: After the panel is firmly attached, reinsert all the screws you removed earlier. Don’t forget any hidden ones.
Make sure the panel feels secure and there are no gaps around the edges.
Testing Door Functionality
Before you can truly say the job is done, you need to test everything to make sure it works. This is the moment of truth!
Open and close the door from the outside using the newly installed handle. Then, try opening it from the inside. Test the door lock mechanism to ensure it locks and unlocks smoothly, both manually and if you have power locks, using the switch.
Operate the power windows if they were disconnected to confirm they function correctly.
If anything feels stiff, loose, or doesn’t work as expected, don’t force it. Go back and double-check the linkage rods, screw tightness, and electrical connections. Minor adjustments might be needed to ensure perfect operation.
Final Inspection and Cleanup
Take a step back and look at the door panel. Ensure it’s flush, all screws are in, and there are no visible gaps or damage. Wipe down the new handle and the surrounding trim to remove any fingerprints or dust from the repair process.
Dispose of your old door handle and any packaging responsibly. If you used any tools that need cleaning, do that now. Having your car looking and functioning great is a satisfying feeling.
Congratulations on successfully completing this repair!

Frequently Asked Questions
Question: How long does it typically take to replace a driver’s side door handle on a 2008 Kia Sorento
Answer: For someone doing this for the first time, it usually takes about one to two hours. If you’ve done it before, you might be able to do it in under an hour.
Question: Do I need to remove the entire door panel to replace the exterior handle
Answer: Yes, for most vehicles, including the 2008 Kia Sorento, you need to remove the interior door panel to access the fasteners and linkage rods that hold the exterior door handle in place.
Question: Where can I buy a replacement driver’s side door handle for my 2008 Kia Sorento
Answer: You can buy replacement door handles from auto parts stores, online retailers like Amazon or eBay, or directly from a Kia dealership. Make sure to get the correct part number for your specific model year.
Question: Will I need to paint the new door handle
Answer: Many replacement door handles come pre-painted or in a primer finish ready for painting. Check the product description when purchasing. If it’s unpainted, you’ll need to get it color-matched and painted by a professional or do it yourself if you have the skills.
Question: What happens if I break a plastic clip while removing the door panel
Answer: Broken clips can be a nuisance. You can often buy
Wrap Up
You’ve successfully learned How to Replace Driver’s Side Door Handle on 2008 Kia Sorento. This guide broke down the process into simple, manageable steps. You gathered your tools, removed the door panel, swapped out the handle, and put it all back together.
Now your door should work like new.