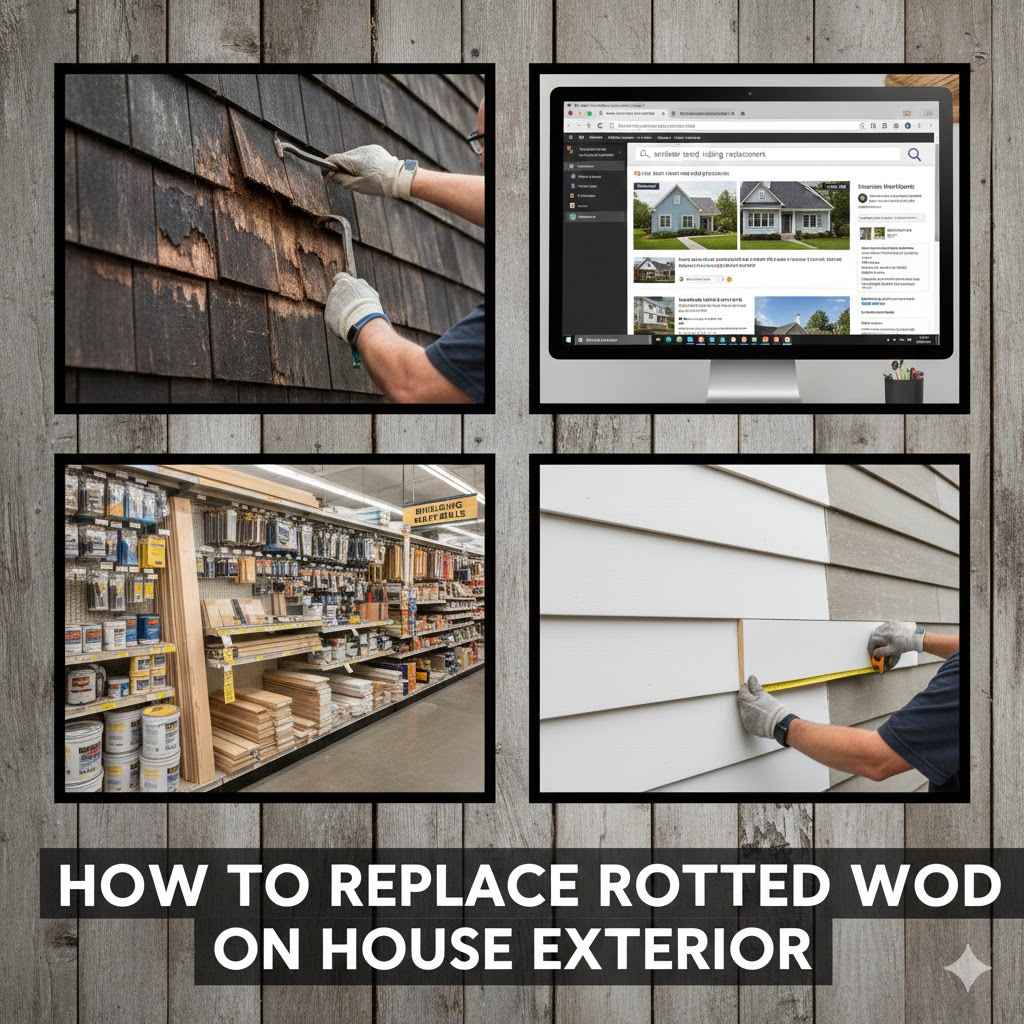
How to Replace Rotted Wood on House Exterior
Dealing with rot on your house’s outside can feel a bit overwhelming, especially if you haven’t tackled DIY projects before. You might see that soft, crumbly wood and wonder where to even begin. It’s a common issue that can sneak up on any homeowner, but don’t worry!
This guide will break down How to Replace Rotted Wood on House Exterior into simple steps. We’ll walk you through everything you need to know to fix it up and make your home look great again.
Identifying and Preparing For Wood Repair
Before you can fix any damaged wood, you need to know where the rot is and how bad it is. This first step is all about being a good detective for your home. Catching rot early saves a lot of time and money.
It also stops the problem from getting worse and causing bigger issues down the road, like structural damage.
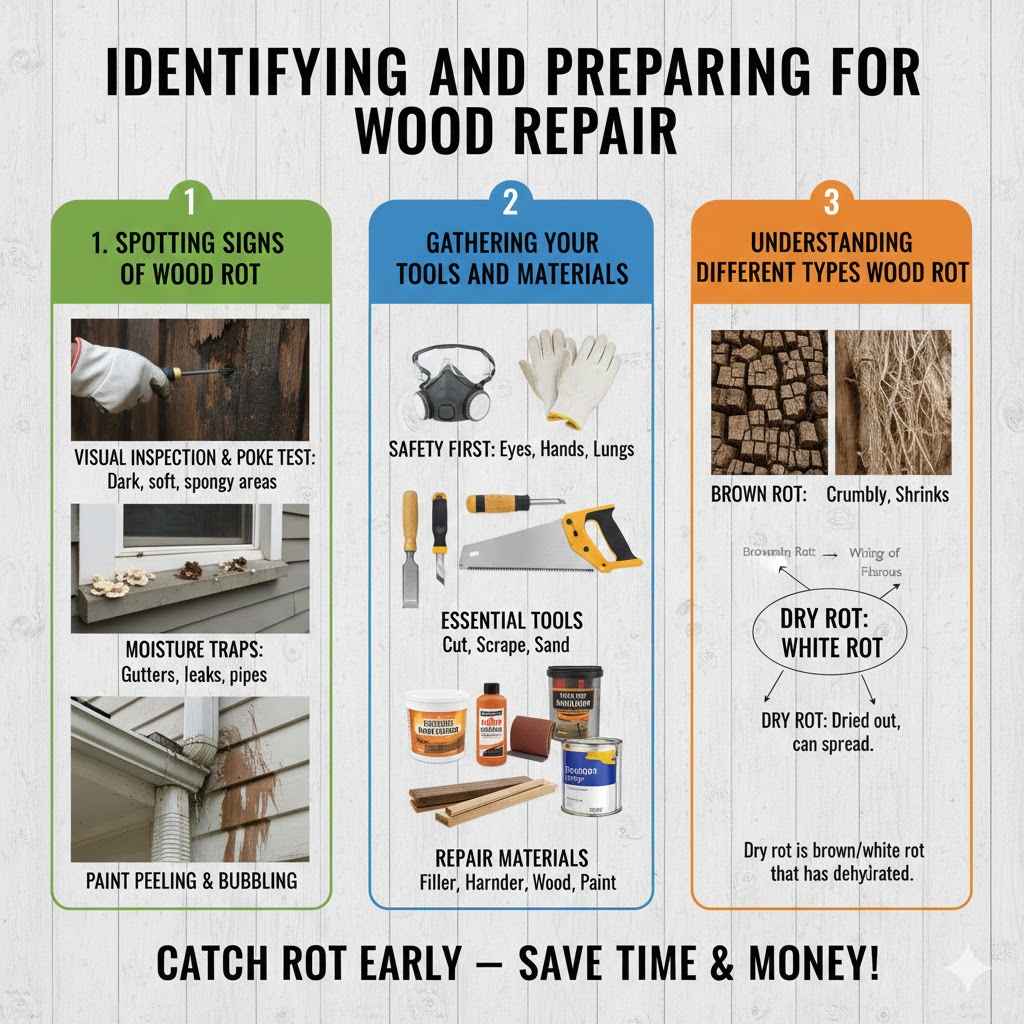
Spotting Signs of Wood Rot
Wood rot happens when moisture stays on wood for too long. Fungi feed on the wood, making it weak and crumbly. You’ll often see it near windows, doors, decks, or anywhere water can collect.
It might look dark, spongy, or even have a musty smell. Sometimes, you’ll see mushrooms growing on the wood, which is a sure sign of decay.
- Visual Inspection: Look closely at your home’s exterior. Check for dark spots, sunken areas, or wood that looks discolored and soft. Pay attention to edges and corners where water tends to pool.
- The Poke Test: Gently prod the suspect wood with a screwdriver or awl. If it feels soft, spongy, or if the tool easily pierces the wood, you’ve likely found rot. This simple test is very effective.
- Moisture Traps: Areas around gutters, downspouts, and leaky pipes are prime spots for rot to start. Water running down walls or sitting against the wood can cause significant damage over time.
- Paint Peeling and Bubbling: Sometimes, rot can cause paint to blister or peel away from the wood. This is often because moisture is trapped underneath, creating the perfect environment for decay.
Gathering Your Tools and Materials
Having the right tools makes the job much easier. You’ll need safety gear to protect yourself. Sharp tools will help you cut away the bad wood cleanly.
You’ll also need materials to fill gaps and replace wood that’s too far gone.
- Safety First: Always wear safety glasses to protect your eyes from flying debris. Gloves will keep your hands clean and protected from splinters and chemicals. A dust mask is a good idea when sanding or cutting.
- Essential Tools: You’ll need a putty knife or scraper, a chisel, a sturdy putty knife, sandpaper (various grits), a small hand saw or utility knife, a drill with various bits, and a putty knife or scraper for applying filler.
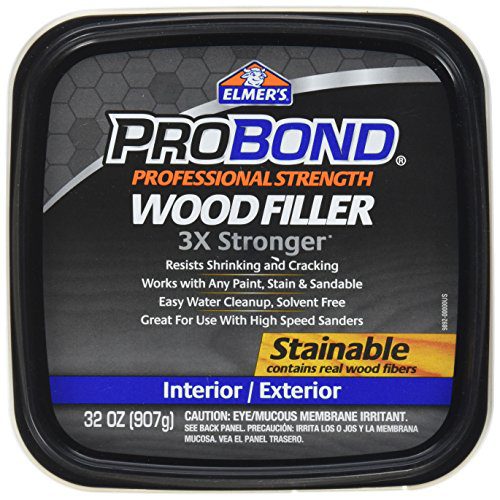
- Repair Materials: Depending on the damage, you might need wood filler, wood hardener, replacement wood pieces (like trim or siding), exterior-grade primer, and exterior paint. Choose materials meant for outdoor use.
Understanding Different Types of Wood Rot
There are a few main types of wood rot, and knowing them can help you fix them properly. The most common is brown rot, which makes wood crumble and shrink. White rot also weakens wood, but it tends to make it stringy and fibrous.
Dry rot isn’t really a separate type; it’s usually brown or white rot that has dried out but can rehydrate and continue to spread.
Brown rot is very common and often starts where there’s consistent moisture. It breaks down the cellulose in wood, leaving behind a brittle, brown material. You’ll see it often in structural elements like joists or beams.
White rot affects the lignin in wood, making it appear bleached and feel stringy or fibrous.
Understanding these differences helps you choose the right repair method. For minor rot, wood filler might be enough. For larger areas, replacing the wood might be necessary.
Always check the extent of the damage before deciding on your approach.
Removing Damaged Wood and Treating the Area
Once you know where the rot is, the next critical step is to get rid of all the decayed material. This isn’t a step to rush. You need to be thorough to make sure the rot doesn’t come back.
After you’ve removed the bad bits, you’ll treat the remaining wood to prevent future problems.
Cutting Away Rotted Sections
Use your chisel or utility knife to carefully scrape away all the soft, crumbly wood. You want to get down to solid, healthy wood. If a piece of trim or siding is heavily rotted, you might need to cut it out entirely and plan to replace it.
- Be Thorough: Don’t leave any soft spots behind. Even a small amount of rotted wood can allow the rot to spread again. Keep cutting or scraping until you reach firm, undamaged wood.
- Sharp Tools Are Key: Using sharp tools makes the job much cleaner and easier. A dull blade can tear the wood, making the damage look worse and harder to repair cleanly.
- Contain Debris: Place a tarp or drop cloth below your work area to catch falling debris. This makes cleanup much simpler and prevents damage to your landscaping.
A common mistake is to just fill over the rot. This might look good for a little while, but the rot will continue to spread under the filler, leading to bigger problems later. It’s like putting a band-aid on a deep cut – it doesn’t solve the real issue.
Cleaning and Preparing the Surface
After you’ve removed all the rot, clean the area thoroughly. Brush away any dust, dirt, or remaining wood particles. A stiff brush works well for this.
You want a clean surface for the next steps.
- Dust and Debris Removal: Use a brush and then a damp cloth to wipe down the area. This ensures that any remaining dust or loose particles are removed, allowing treatments and fillers to adhere properly.
- Drying the Area: Make sure the wood is completely dry before applying any wood hardener or filler. Moisture is the enemy of wood repair, so allow ample drying time, especially in humid conditions.
- Inspect Again: Once cleaned, inspect the area one last time for any missed spots of rot. This is your final chance to be absolutely sure you’ve removed all the damaged material.
Applying Wood Hardener
For areas where you’ve removed rot but the wood is still a bit soft or has small imperfections, wood hardener is a great product. It soaks into the wood fibers and strengthens them. It also seals the wood against future moisture and rot.
- How it Works: Wood hardener is a liquid that penetrates the wood. It contains resins that bind the wood fibers together, making them more stable and less susceptible to decay.
- Application Method: Typically, you apply it with a brush, letting it soak in. You might need to apply a second coat. Follow the manufacturer’s instructions carefully.
- Drying Time: Allow the hardener to dry completely. This is crucial before you move on to filling or priming. Check the product packaging for specific drying times.
Using wood hardener is a key step in a lasting repair. It’s not just about filling a hole; it’s about restoring the wood’s integrity. Many DIYers skip this step, but it makes a big difference in the longevity of your repair.
Filling and Replacing Damaged Wood
Now that the area is clean and treated, it’s time to make it look whole again. For small imperfections, wood filler is your best friend. If the damage is extensive, you’ll need to
Using Wood Filler for Small to Medium Damage
Wood filler comes in various types, but for exterior use, choose a durable, paintable, and waterproof product. Apply it in thin layers, allowing each layer to dry according to the product’s instructions. Overfilling and then sanding it down to match the surrounding surface is usually the best approach.
- Choosing the Right Filler: Look for exterior-grade wood fillers. Some are water-based and easy to clean up, while others are epoxy-based and offer superior strength and water resistance.
- Application Technique: Use a putty knife to press the filler firmly into the damaged area. Smooth the surface as much as possible, leaving a slight excess to allow for sanding.
- Drying and Sanding: Allow the filler to cure fully. This can take several hours or even overnight depending on the product and humidity. Once dry, sand the area smooth using medium-grit sandpaper, then finish with fine-grit sandpaper.
It’s important to use filler that can withstand the elements. Exterior wood fillers are formulated to expand and contract with temperature changes and resist moisture, unlike interior fillers which can crack or wash away.
Replacing Larger Damaged Sections
If the rot has gone too deep or affected a large area, you’ll need to cut out the damaged section and
- Accurate Measurement and Cutting: Measure the opening precisely. Transfer these measurements to your new piece of wood and make clean, straight cuts using a handsaw or power saw.
- Fitting the New Piece: Test fit the new piece to ensure it sits flush with the surrounding wood. You may need to make minor adjustments for a perfect fit.
- Securing the New Wood: Use exterior-grade screws or nails to attach the new wood in place. Make sure to drive them in far enough so they don’t protrude from the surface.
When replacing wood, try to use the same type of wood if possible, or a material that will hold up well outdoors. For very large or structural repairs, it might be wise to consult with a professional.
Preparing for Paint or Stain
Once your repairs are complete and the filler or new wood is dry, it’s time to prep for the final finish. Lightly sand the entire repaired area to ensure a smooth transition between the old and new materials. Use fine-grit sandpaper for this.
- Sanding for a Smooth Finish: Sand the entire repaired area to feather the edges of the filler and create a uniform surface. This helps the primer and paint blend seamlessly.
- Cleaning After Sanding: Wipe away all sanding dust with a tack cloth or a slightly damp cloth. Any dust left behind will show up under the paint.
- Priming the Surface: Apply one or two coats of a high-quality exterior primer. This seals the wood, provides a uniform base for paint, and helps the paint adhere better, extending its life.
Priming is a vital step for a long-lasting paint job. It seals the repaired area and any new wood, preventing moisture from getting in and causing future rot. It also ensures the color of your paint will be true and consistent.
Painting and Protecting Your Repair
The final stages of fixing rotted wood involve painting or staining and then taking steps to prevent future issues. A good paint job not only makes your house look good but also acts as a protective barrier against the weather.
Applying Exterior Paint or Stain
Choose a good quality exterior paint or stain that matches your home’s existing color. Apply two coats for maximum durability and protection. Make sure to paint or stain all surfaces of the repaired area, including edges and any new wood.
- First Coat Application: Apply the first coat of paint or stain evenly. Work from top to bottom, and ensure good coverage. Avoid applying paint too thickly, as this can lead to drips and an uneven finish.
- Drying Between Coats: Allow the first coat to dry completely according to the product’s instructions. This typically takes a few hours, but humidity can affect drying times.
- Second Coat Application: Apply the second coat for full coverage and protection. This layer adds depth to the color and reinforces the protective barrier against the elements.
Using the right type of paint is important. Exterior paints are formulated to withstand UV rays, rain, and temperature changes. They are more flexible than interior paints, which helps prevent cracking and peeling.
Preventative Maintenance and Ongoing Care
Regular maintenance is the best way to prevent wood rot from returning. Keep gutters clean and ensure they are draining water away from your house. Trim back any trees or shrubs that touch your siding, as they can hold moisture against the wood.
- Gutters and Drainage: Regularly clean your gutters and downspouts. Ensure they are securely attached and directing water at least a few feet away from your foundation. Clogged gutters are a major cause of water damage.
- Landscaping: Keep mulch and soil levels below the bottom of your siding. Avoid planting shrubs too close to your house. Good airflow around the exterior walls is key to preventing moisture buildup.
- Regular Inspections: Make it a habit to inspect your home’s exterior at least once a year, preferably in the spring and fall. Look for any new signs of wear, damage, or potential rot.
A little bit of care goes a long way. By being proactive, you can save yourself a lot of work and expense down the line. Taking these steps will help keep your home looking good and protected for years to come.
How to
Replacing rotted wood trim is a common task for homeowners. Trim pieces, like those around windows and doors, are often exposed to rain and can easily start to rot. This section details how to approach replacing a section of rotted exterior trim.
Removing Old Trim
Start by carefully prying off the old, rotted trim. Use a pry bar and a putty knife to protect the surrounding siding. Work slowly and gently to avoid damaging the siding.
If the trim is painted, you might need to score the paint line first with a utility knife to get a clean break.
Once the trim is loose, you might find that the rot has spread to the sheathing behind it. In that case, you’ll need to address that damage too before installing new trim. For smaller rot issues, simply removing the trim might be enough.
Measuring and Cutting New Trim
Measure the length of the section you removed. Transfer these measurements to a new piece of exterior-grade wood trim. If you’re replacing corner trim, you’ll need to make angled cuts, called miter cuts, so the corners fit together perfectly.
Most hardware stores can make these cuts for you if you don’t have the right tools.
It’s always a good idea to buy a little extra trim than you think you’ll need. This accounts for any mistakes you might make during cutting or fitting.
Installing the New Trim
Apply a bead of exterior-grade caulk to the back of the new trim piece before you install it. This creates a seal that helps prevent water from getting behind the trim. Then, press the new trim into place and secure it with exterior-grade nails or screws.
Make sure the fasteners are countersunk slightly so they can be covered with paint.
After the new trim is in place, fill any nail holes with exterior wood filler. Let it dry, then sand smooth. Now, prime and paint the new trim to match the rest of your house.
This will make it blend in seamlessly and protect it from the weather.
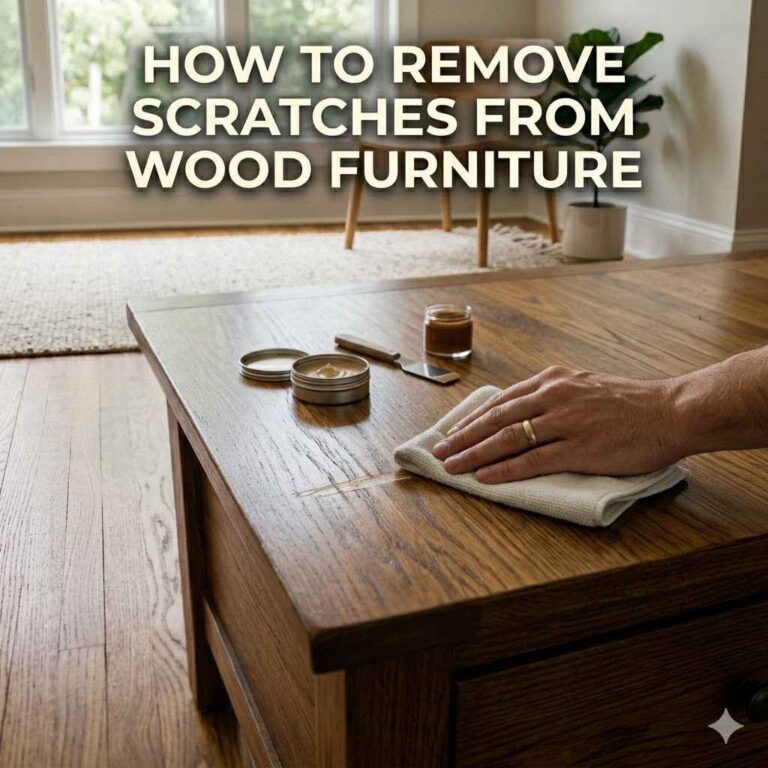
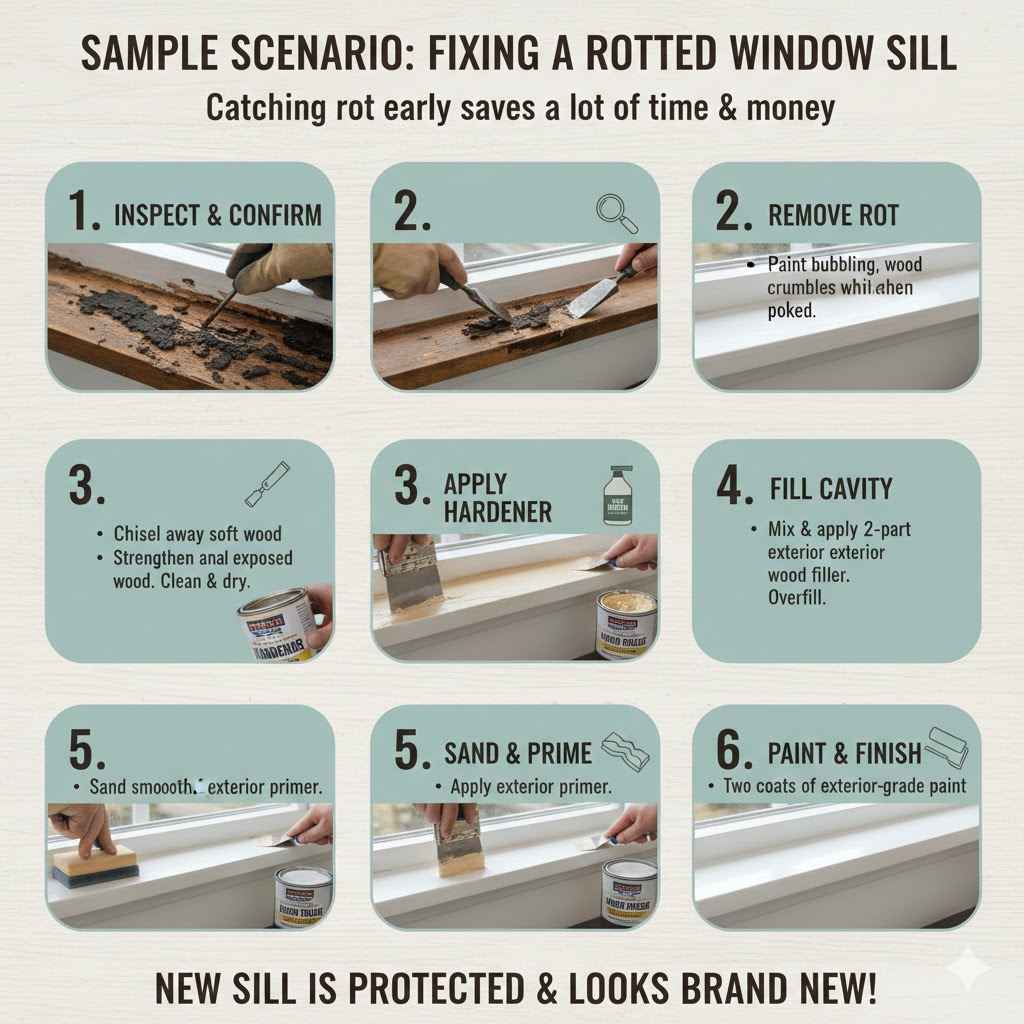
Sample Scenario: Fixing a Rotted Window Sill
Imagine you notice the paint on your kitchen window sill is bubbling. When you poke it with a screwdriver, it crumbles. This is a clear sign of rot.
- Inspect and confirm the rot. Use a putty knife to scrape away the soft wood. You find the rot is about an inch deep and covers half of the sill.
- Remove the rotted wood completely with a chisel until you reach solid wood. Clean the area and let it dry thoroughly.
- Apply wood hardener to the exposed wood to strengthen it and seal it. Let it dry.
- Mix a two-part exterior wood filler. Carefully fill the cavity, pressing it in firmly and slightly overfilling.
- Let the filler cure completely. Then, sand it smooth to match the original sill profile.
- Prime the repaired area and the entire sill.
- Apply two coats of exterior-grade paint to the sill, ensuring good coverage.
This process turns a crumbling sill into a solid, protected surface, making the window look good and function properly again.
Frequently Asked Questions
Question: How long does it take to replace rotted wood on a house exterior?
Answer: The time needed varies greatly depending on the size and location of the rot. Small repairs might take a few hours, while replacing larger sections or multiple areas could take a weekend or longer.
Question: What is the best wood filler for exterior repairs?
Answer: For exterior repairs, it’s best to use a two-part epoxy wood filler or a high-quality, exterior-grade wood filler designed for outdoor use. These are more durable and resistant to moisture and temperature changes.
Question: Can I paint over slightly soft wood?
Answer: No, you should never paint over soft, rotted wood. It’s essential to remove all decayed material and treat the area before painting to ensure a lasting repair and prevent further damage.
Question: How do I know if the rot is too severe to fix myself?
Answer: If the rot has affected structural components, is widespread, or you’re unsure about the extent of the damage, it’s best to consult a professional contractor or carpenter. They have the expertise and tools to handle complex repairs safely.
Question: What safety precautions should I take when removing rotted wood?
Answer: Always wear safety glasses to protect your eyes from flying debris. Gloves are recommended to protect your hands, and a dust mask can prevent you from inhaling wood particles or dust.
Summary
Tackling How to Replace Rotted Wood on House Exterior involves careful inspection, thorough removal of damaged material, and proper repair. By using wood hardeners, fillers, or replacement pieces, and finishing with primer and paint, you restore your home’s integrity. Regular maintenance is key to preventing future rot.
You can confidently handle many exterior wood repairs yourself.