How to Build a DIY Wood Serving Tray (Pine, Oak or Birch)
A DIY wood serving tray is built from a single board of pine, oak, or birch cut to size, sanded through progressively finer grits, and finished with a food-safe oil so it’s safe to set food directly on it. Skipping the food-safe finish step is the most common mistake — standard polyurethane isn’t rated for direct, repeated food contact the way food-grade mineral oil or beeswax is. This guide covers choosing your wood, cutting and assembling the frame, sanding, and finishing it safely.
Materials and Tools Needed
Choosing the right wood matters more than any other decision in this project — it determines weight, durability, and how forgiving the wood is for a first attempt.
| Wood | Janka Hardness | Best For |
|---|---|---|
| Eastern white pine | ~380 lbf | Beginners — soft, easy to cut and sand |
| Birch | ~910 lbf | Lightweight trays with a smooth, tight grain |
| Red oak | ~1,290 lbf | Durability — resists dents from daily use |
- Wood board — pine, oak, or birch, 3/4″ thick, sized to your tray dimensions.
- Handsaw or circular saw — for cutting the base and side pieces to length.
- Wood glue and clamps — stronger and less visible than nails for joining the frame.
- Sandpaper — 100, 150, and 220 grit, for progressively smoother finishing.
- Food-grade mineral oil or beeswax finish — not polyurethane, since the tray will contact food directly.
- Handles (optional) — drawer pulls or cut-out finger grips for carrying.
Best Food-Safe Finish Pick
Howard Products Butcher Block Conditioner – $9.98
This is the food-grade mineral oil finish this guide’s maintenance section recommends — safe for a tray that will hold food directly, unlike standard polyurethane.
- Best for: the final food-safe coat on a finished tray
- Why we picked it: widely used, trusted food-grade formula
- Main drawback: needs reapplying monthly to stay effective
Compare more food-safe finishes
 Option 1 Mineral Oil + Beeswax Conditioner – $9.99
|
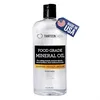 Option 2 Thirteen Chefs Mineral Oil 8oz – $6.99
|
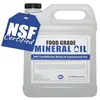 Option 3 NSF Certified Mineral Oil, Gallon – $29.99
|
As an Amazon Associate we earn from qualifying purchases.
📊 Red oak has a Janka hardness rating of roughly 1,290 lbf — more than three times eastern white pine’s 380 lbf — which is why oak resists dents and scratches far better, but pine is easier to cut and sand for a first project. Source: USDA Forest Products Laboratory wood density data.
Planning and Designing Your Wood Serving Tray
Decide on size and shape before cutting anything. A rectangular tray (roughly 18″ x 12″) is the easiest first project since every cut is a straight line; round or curved trays need a jigsaw and more sanding. Sketch the base dimensions and side height on paper first — this becomes your cut list so you’re not measuring twice under pressure once the saw is already out.
Why is planning important before making a serving tray?
Planning the size, shape, and cut list first avoids the most common beginner mistake: cutting a piece before confirming it matches the others. A quick sketch with dimensions marked on it takes five minutes and prevents wasted wood from mismatched cuts later.
Cutting and Assembling the Tray Components
- Cut the base and sides to size: measure each piece against your sketch and cut with a handsaw or circular saw, checking the base is square before moving on.
- Dry-fit the pieces: lay the sides against the base without glue first to confirm everything lines up.
- Glue and clamp: apply wood glue to the joints, clamp the frame together, and let it cure for the time listed on the glue bottle (usually 24 hours for full strength).
- Reinforce if needed: for a tray that will see daily use, add small screws or dowels at the corners once the glue has cured.
What type of wood is best for a DIY serving tray?
Pine is the easiest to cut and sand, making it the best choice for a first tray. Oak is heavier and more durable, better suited to a tray that will see daily use. Birch splits the difference — lightweight like pine but with a tighter, smoother grain than pine typically has.
Sanding and Smoothing the Tray Surface
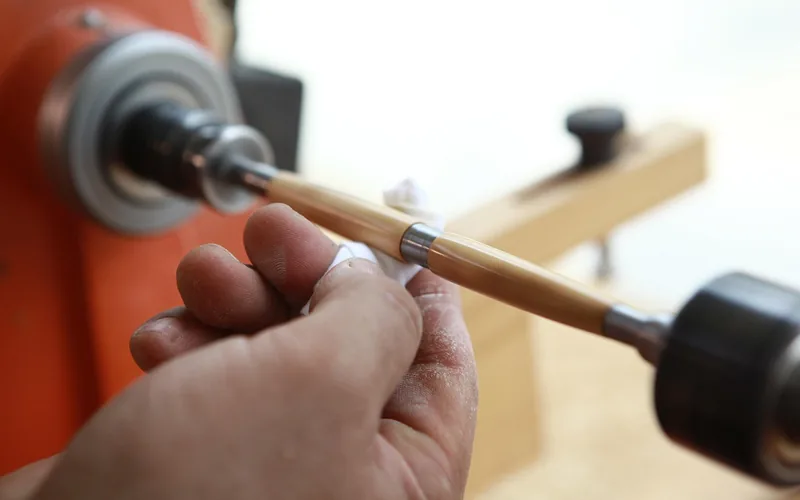
Start with 100-grit sandpaper to remove saw marks and rough spots, then move to 150-grit, and finish with 220-grit for a smooth, touchable surface. Sand with the grain, not across it, to avoid visible scratches. Wipe away dust with a slightly damp cloth between grits — leftover dust gets trapped under the finish and shows as a rough patch.
Why is sanding between grits important?
Each grit removes the scratch marks left by the coarser grit before it. Skipping a step leaves deeper scratches that finish and oil will only make more visible, not less — oil darkens wood and highlights surface imperfections rather than hiding them.
Finishing: Food-Safe Oils vs. Stains and Paint
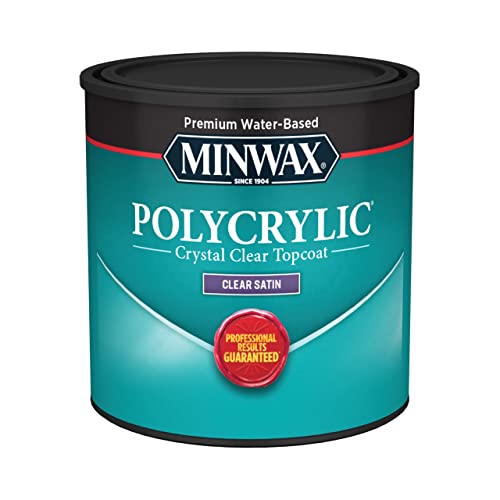
Any surface that will hold food directly needs a food-safe finish — food-grade mineral oil or a beeswax-based conditioner, not standard polyurethane or varnish, which are not formulated for repeated direct food contact. If you want color, paint or stain the outside edges and underside only, and leave the food-contact surface finished with oil alone.
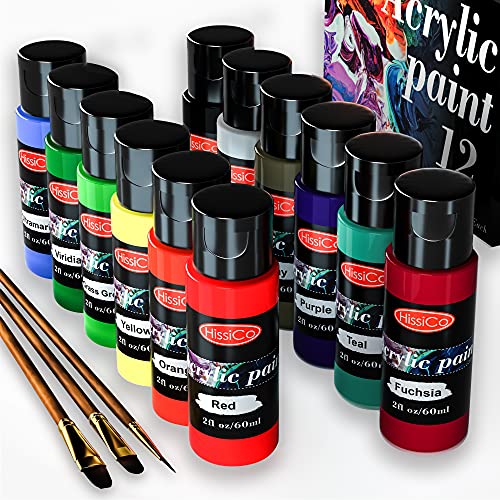
Apply the oil generously with a cloth, let it soak in for 15-20 minutes, then wipe away the excess. Decorative techniques like stenciled patterns or painted stripes work well on the underside and outer edges, where food never touches.
What finishes are food-safe for a wood serving tray?
Food-grade mineral oil and beeswax-based conditioners are food-safe once applied and buffed in. Standard polyurethane and varnish are not recommended for surfaces that will hold food directly, even though they’re fine for the tray’s underside or decorative edges.
Adding Functional and Decorative Elements
Handles make a tray easier to carry with one hand. Screw-on drawer pulls are the simplest option; for a cleaner look, cut two finger-hold slots into the side pieces before assembly instead. Keep any decorative inlays — painted tile, contrasting wood strips, or carved patterns — on the outer edges, away from the food-contact surface.
Why add decorative elements to a serving tray?
Decorative touches make a handmade tray look intentional rather than unfinished, and functional additions like handles make it genuinely more useful, not just better looking — a tray that’s awkward to carry gets used less no matter how it looks.
Protecting and Maintaining Your Wood Serving Tray
Hand wash the tray after use and dry it completely before storing — never run it through a dishwasher, which will crack and warp solid wood. Reapply food-grade mineral oil about once a month; the wood will look visibly dry and pale when it’s due. For general wood care technique, our guide to food-safe cutting board finishing covers the same oiling process in more depth.
| Task | Frequency | Why |
|---|---|---|
| Hand wash, dry fully | After each use | Prevents warping and mold |
| Reapply mineral oil | Monthly, or when wood looks pale/dry | Keeps wood from drying out and cracking |
| Check joints | Every few months | Catches loose glue joints before they fail |
Troubleshooting Common Issues in DIY Wood Tray Projects
Most first-tray problems come down to two issues: warping and misaligned joints. Both are fixable without starting over.
| Issue | Likely Cause | Fix |
|---|---|---|
| Warping | Uneven moisture exposure | Lightly dampen the concave side and weight it flat while it dries |
| Misaligned joints | Cutting without a square reference | Recheck measurements with a square, re-clamp, and re-glue if needed |
| Rough patches after finishing | Dust trapped under the oil | Sand back lightly, wipe clean, and reapply finish |
A thicker board (3/4″ rather than 1/2″) resists warping better and is worth the extra cost for a tray you want to last. Measuring each piece against your sketch before cutting, not after, prevents most misalignment issues before they happen.
Frequently Asked Questions
What types of wood are best suited for making a DIY serving tray?
Pine, oak, and birch are the most common choices. Pine is light and easy to work with, making it ideal for a first project. Oak is heavier and more durable but harder to cut. Birch is lightweight with a smooth, tight grain. All three take a food-safe oil finish well.
What essential tools and materials are needed to build a wood serving tray from scratch?
You need a wood board (pine or oak), a saw to cut it to size, wood glue and clamps to join the pieces, sandpaper in a few grits for a smooth finish, and food-grade mineral oil for a food-safe final coat. A drill is useful if you’re adding handles or reinforcing screws.
How can I add handles or decorative inlays to my DIY serving tray?
Screw-on drawer pulls are the simplest handle option, or cut finger-hold slots into the side pieces before assembly for a cleaner look. Decorative inlays like contrasting wood strips or painted patterns should go on the outer edges or underside, kept away from the food-contact surface.
What finishing techniques give a wood serving tray a durable, professional look?
Sand through 100, 150, and 220 grit before finishing, then apply food-grade mineral oil or a beeswax conditioner to the food-contact surface. Standard polyurethane or varnish can be used on the underside and outer edges for a glossier look, but keep it off any surface that will touch food.
How can I personalize my DIY wood serving tray?
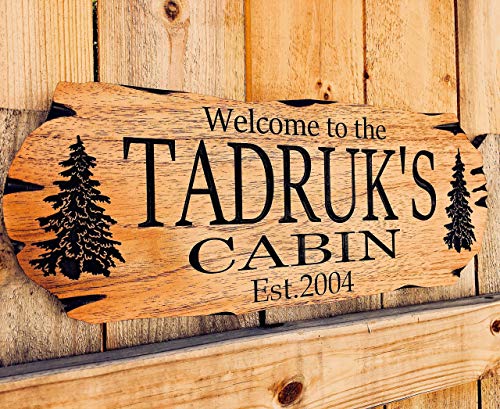
Paint or stain the underside and outer edges in colors that match your kitchen, or carve or stencil a design there. Adding a name or short message with a wood-burning tool makes a distinctive handmade gift. Keep any painted or stained areas off the food-contact surface.
Conclusion
A DIY wood serving tray comes together in four stages: choosing wood suited to your skill level (pine for beginners, oak for durability), cutting and gluing the frame square, sanding through progressively finer grits, and finishing the food-contact surface with mineral oil rather than polyurethane. For more on choosing between common woodworking species, see our pine vs. maple comparison.
Sponsored / affiliate links. As an Amazon Associate I earn from qualifying purchases. I may earn additional commission from eligible campaigns.