Beginner Woodworking Tools: What to Buy First
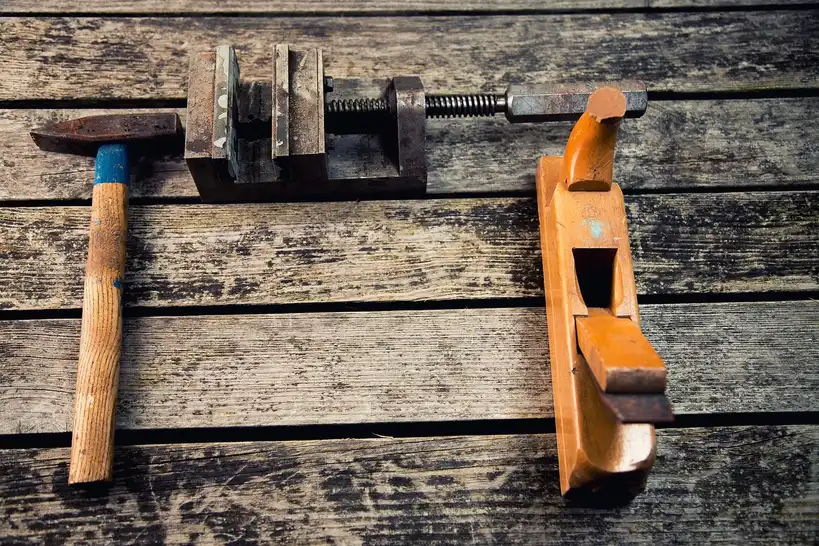
A common first set includes a tape measure, combination square, hand saw, drill/driver, and clamps. They handle measuring, cutting, fastening, and holding parts together without piling on extra cost. Buy the wrong tools first and you waste money, stall projects, and spend more time fixing fit than building. This guide ranks the first five tools to buy, the next five that improve accuracy, and the tools you can skip until your project style is clear.
What should you buy first?
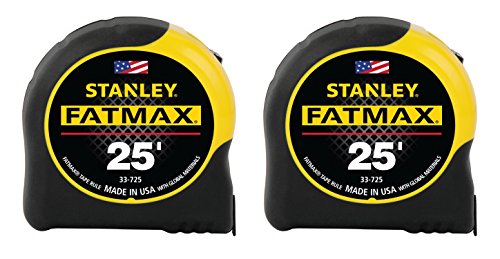


Start with tools that let you measure, cut, fasten, and hold parts together. For many beginners, that means a tape measure, combination square, hand saw or circular saw, cordless drill/driver, and at least a few clamps. Those five cover boxes, shelves, shop jigs, and simple repairs before you spend on specialty gear. OSHA and NIOSH both emphasize protecting your eyes and hearing early, because cutting and drilling create the kind of hazards that can turn a cheap project into an expensive setback.
The first five tools that unlock simple projects
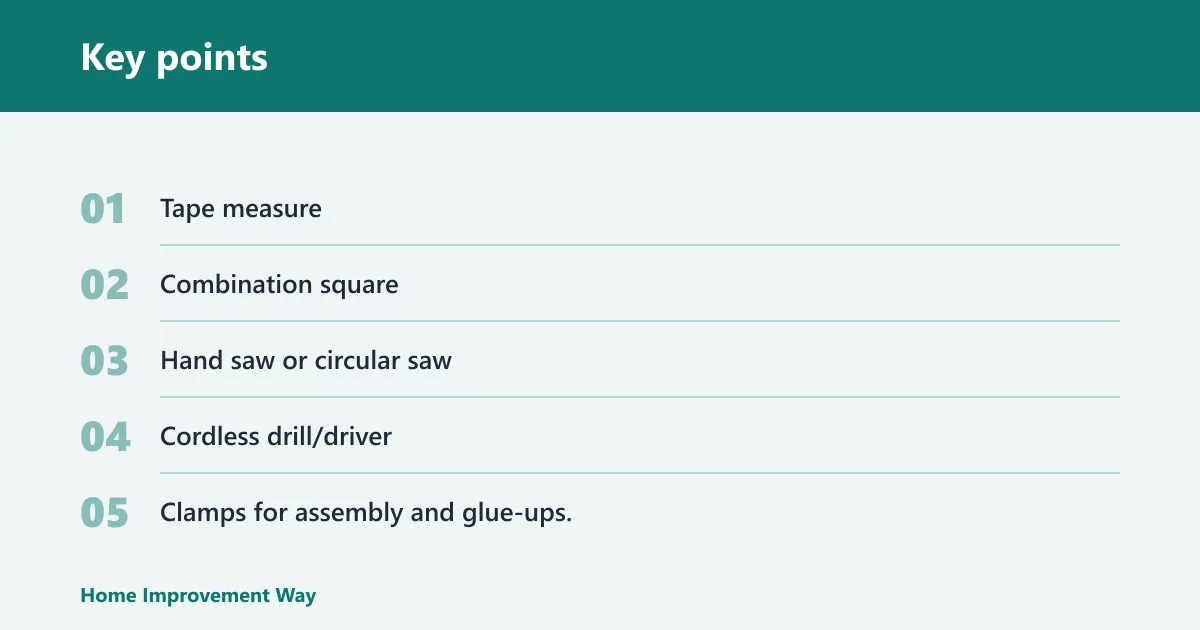
- Tape measure for layout and cut length.
- Combination square for 90-degree and 45-degree marking.
- Hand saw or circular saw for rough cuts and board sizing.
- Cordless drill/driver for pilot holes and screws.
- Clamps for assembly and glue-ups.
How to sequence purchases by project value
Buy the tools that clear the biggest snag in your first three projects. A box project needs accurate measuring, straight cuts, and clamping. A shelf needs those same basics plus a drill/driver. A cutting board needs layout tools, a saw, clamps, and sanding. That is why the first five come before sanders, specialty saws, and large stationary machines.
What to buy now versus what to delay
Buy now: measuring tools, one saw, a drill/driver, clamps, and safety gear. Delay: miter saws, routers, jointers, planers, table saws, and pocket-hole jigs unless your projects clearly need them. Many beginner frustrations come from owning a tool that solves a problem you do not have yet. The safest early spend is the one that clears the actual bottleneck in your first build, not the tool that looks most “woodshop-like” on a shelf.
Woodworking tools matrix
This matrix ranks 12 beginner woodworking tools by priority, actual price range, project value, and the skill each one unlocks. Use it to match a purchase list to your first three projects, not to fill a cart. The “buy now vs later” column is explicit: if a tool removes a real bottleneck in your first box, shelf, or cutting-board build, buy it now; if it mostly speeds up work you have not reached yet, wait.
| Priority | Tool | Typical price range (USD) | Project value | Skill unlocked | Budget tier | Buy now vs later |
|---|---|---|---|---|---|---|
| 1 | Tape measure | $10-$25 | High | Layout and repeatable sizing | Low | Buy now |
| 2 | Combination square | $15-$40 | High | Squareness checks and depth setting | Low | Buy now |
| 3 | Cordless drill/driver | $70-$180 | Very high | Fastening with control | Mid | Buy now |
| 4 | Clamps | $8-$35 each; $25-$120 starter set | Very high | Glue-up and square assembly | Low to mid | Buy now |
| 5 | Hand saw or circular saw | $15-$50 hand saw; $60-$150 circular saw | Very high | Crosscutting and breakdown | Low to mid | Buy now |
| 6 | Safety glasses | $8-$25 | High | Safe shop habits | Low | Buy now |
| 7 | Hearing protection | $12-$40 | High | Safer saw and sander use | Low | Buy now |
| 8 | Work surface or bench | $0 if you have one; $40-$300+ if buying/building one | Very high | Stable workholding | Mid | Buy now if you lack one |
| 9 | Random orbital sander | $35-$120 | Medium | Surface prep and finish prep | Mid | Buy after your first rough build |
| 10 | Pilot drill bits and countersink bit | $10-$35 | High | Cleaner fastening | Low | Buy now or with the drill/driver |
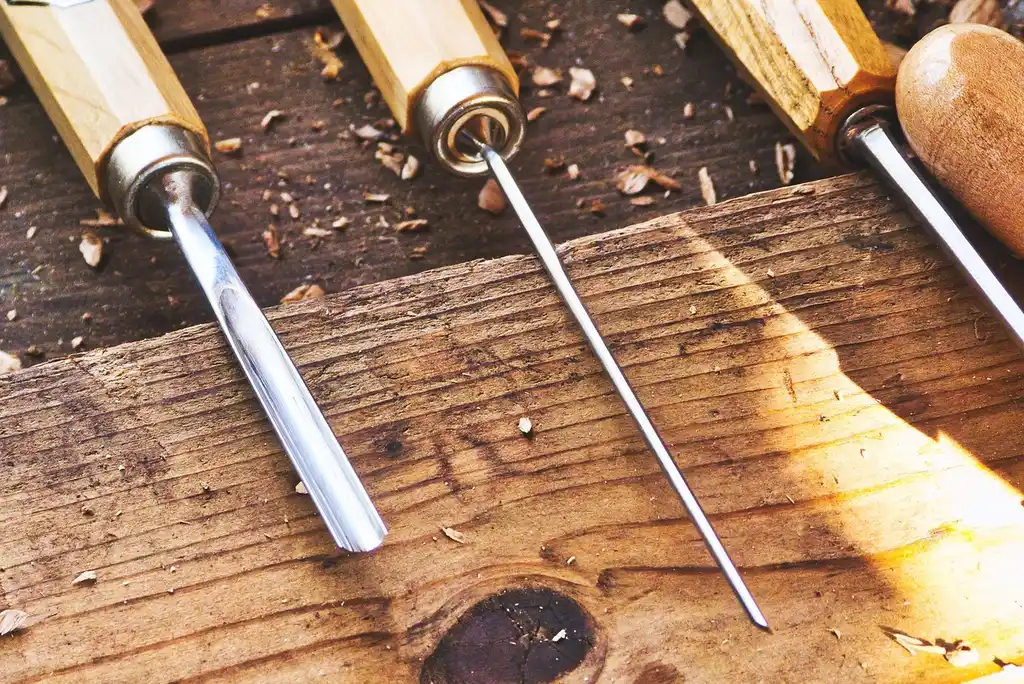
| 11 | Marking knife | $8-$30 | Medium | Fine marking and cleaner cuts | Low | Later |
| 12 | Specialty saws and machines | $100-$2,000+ | Project-specific | Task-specific workflows | High | Later |
Three budget tiers for the first wave
Low tier: measuring tools, hand saw, a small clamp set, and safety glasses. Mid tier: add a cordless drill/driver, hearing protection, pilot-hole and countersink bits, and a work surface if you do not have one. Higher starter tier: swap the hand saw for a circular saw, add a random orbital sander, and buy a fuller clamp mix. That higher tier is usually the most efficient if your first three projects include plywood or repeated cuts.
Buy-now vs later by first three projects
First project: simple box. Buy now: tape measure, combination square, hand saw, drill/driver, 2 to 4 clamps, safety glasses, hearing protection, and a sharp pencil. Later: miter saw, router, planer, jointer. Second project: shelf. Buy now: add a circular saw if the shelf uses plywood, plus a work surface and pilot/countersink bits. Later: specialty saws. Third project: cutting board or small tray. Buy now: clamp set, square, marking knife, and random orbital sander if you care about finish prep; later: stationary machines.
Do you need power tools to start?
No, you do not need power tools to start woodworking, but they change the kind of projects you can finish quickly. A hand-tool-first path can handle boxes, small shelves, and simple frames. A power-tool-first path makes sheet goods, repeat cuts, and screw assembly faster. Pick the path that fits your first three projects. NIOSH’s hearing guidance is especially relevant once you add power tools, because a saw or sander can be loud enough to justify protection from day one.
Hand-tool-first starter path
If your first projects are small boxes, cutting boards, or shop storage, you can begin with a hand saw, tape measure, combination square, clamps, and a drill/driver. This path is quieter and usually cheaper at the start. It also forces slower, more deliberate layout, which helps beginners spot mistakes before you cut too much wood.
Power-tool-first starter path
If you plan to build shelves, utility cabinets, or workbench parts from plywood, a circular saw and drill/driver are the faster pair. That combination handles sheet goods and screw joinery well. Add clamps early, because power tools only help if the parts stay put during cutting and assembly. For the most common beginner wall or shop build, a stable work surface matters as much as the saw because it keeps stock from shifting during layout, cut planning, and assembly.
Which path fits boxes, shelves, and small shop builds?
Boxes and small shop builds can start with either path. Shelves lean toward power tools because sheet goods are easier to break down with a circular saw. If your first project uses mostly straight cuts and screws, power tools are the cleaner first buy. If the project is small and solid-wood based, hand tools can go further than most beginners expect. For those first shelf and shop projects, a circular saw usually beats a miter saw on usefulness because it breaks down sheet goods, trims boards, and handles rough sizing; a miter saw is better once your workflow shifts to repeated crosscuts and trim-length repeatability.
Measuring and marking tools to buy first
Measuring and marking tools should be the first purchase because every later step depends on them. A 25-foot tape measure is a common starter size, and it should read both imperial and metric if possible. A combination square, sharp pencil, and marking knife keep layout lines accurate and reduce confusion when parts need to fit. A sharp pencil is the everyday default; the marking knife is the precision upgrade.
Tape measure and combination square
Look for a tape measure with a clear locking mechanism and a durable hook. That matters more than a flashy case. For the square, choose a rigid ruler and an accurate head so you can mark 90-degree and 45-degree lines, check squareness, and set shallow depths without guessing. A stable bench or work table makes these tools more useful because it gives you a flat reference surface instead of forcing you to measure on the floor.
Sharp pencil and marking knife
A sharp pencil is the right everyday marking tool. It is fast and easy to read. A marking knife comes later, but it is worth learning because it can reduce tear-out and give a cleaner reference line than a thick pencil mark. Use the knife for precision work, not for rough layout. Keep both in the kit: pencil for speed, knife for final-fit work and crisp registration.
Why layout accuracy matters before cutting
A common first-timer mistake is cutting to a fuzzy pencil line and then trying to “fix” the fit with sanding. That usually makes parts smaller in the wrong places. Clean layout saves time and material because it tells you where the saw should go before the wood leaves the bench. Sharp layout matters even more if your first project is a box or shelf with visible edges, where a poor line shows up in every joint.
Cutting tools: circular saw or handsaw first?
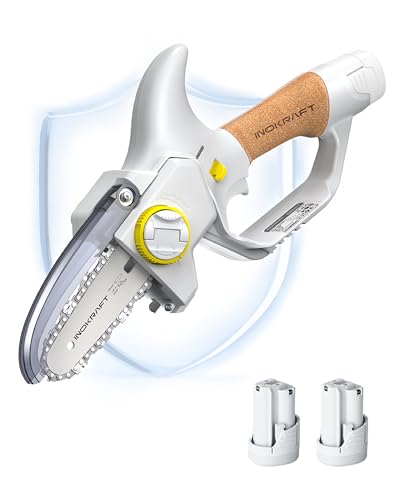
A handsaw is lower-cost and quieter, and it can be enough for small projects and short boards. A circular saw is faster for sheet goods and rough breakdown. If you expect to work with plywood or need to cut several boards to the same rough size, the circular saw is usually the better first buy. Miter saws usually wait. Manufacturer listings matter here: blade size, guard design, and platform voltage are the core specs to check before buying a cordless saw, because those details determine what the tool can actually cut and whether it fits the battery system you already plan to use.
When a handsaw is enough
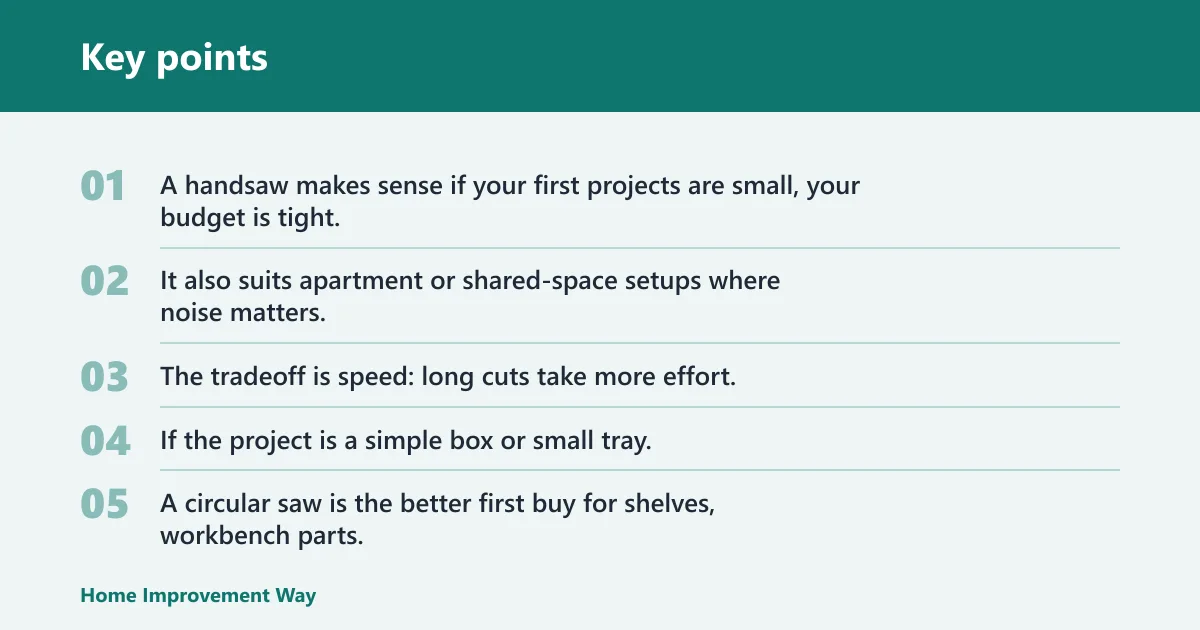
A handsaw makes sense if your first projects are small, your budget is tight, and you do not need to break down plywood. It also suits apartment or shared-space setups where noise matters. The tradeoff is speed: long cuts take more effort, and consistency depends more on your layout and sawing control. If the project is a simple box or small tray, the hand saw can be perfectly adequate for the first round of builds.
When a circular saw is the better first buy
A circular saw is the better first buy for shelves, workbench parts, and sheet-goods projects. Blade size and cut quality matter for beginner use, so check the manufacturer’s listing for the blade size and guard setup before you buy. A better blade and a straightedge guide matter as much as the saw itself. For beginners, that usually means choosing the saw that matches the project material first, then verifying the platform voltage and battery compatibility second, rather than chasing the highest amp or voltage number alone.
Why miter saws usually wait
Miter saws are useful for repeat crosscuts, trim, and fast angle cuts, but they do not solve the first bottlenecks for most beginners. They take space and overlap with cuts a handsaw or circular saw can already make. Delay one until your projects clearly need repeatable crosscut speed. If you are only building a few shelves or a bench, the circular saw usually gives broader coverage per dollar.
Picture a first project made from 3/4-inch plywood shelves. A circular saw can break down the sheet fast, while a hand saw would be slower and less convenient for long rip cuts. For a small jewelry box, the hand saw may be enough, and the saw choice can wait until later. That difference is the cleanest beginner criterion: choose a circular saw when material breakdown matters most; choose a miter saw later when repeated, identical crosscuts become the real time sink.
Drilling, driving, and fastening basics
A cordless drill/driver belongs in the first wave because it handles pilot holes, screws, and many simple joinery tasks. Choose a 12V or 18V platform based on the size of the work you expect to do. Variable speed and a clutch give you more control, and a small bit set should be part of the purchase. For safe use, keep hearing and eye protection in the kit; OSHA and NIOSH both support using them around power tools, and the smaller the shop, the more important that habit becomes.
Cordless drill/driver platform choice
For light boxes, small shelves, and furniture repair, a 12V drill/driver is often enough. For larger projects and thicker stock, an 18V platform gives more headroom. The right choice depends on your project style. Check the manufacturer’s listing for torque, battery compatibility, and included charger details. Brand platform consistency matters because a battery that fits one tool but not your next one can raise the real cost of the system quickly.
Pilot drill bits and countersink bit
Pilot drill bits reduce splitting and help screws start straight. The right pilot size depends on screw gauge and wood species, so do not rely on one universal bit size. Match the bit to the screw and the stock. A countersink bit helps the screw head seat cleanly and keeps the surface flatter. Reputable woodworking guidance consistently recommends pilot holes for hardwoods, end grain, and work near edges, then countersinking when you want the head flush instead of proud.
Starter bit sets and fastener control
Many beginners get better results from a combined pilot-hole and countersink set than from random loose bits. It saves setup time and reduces guesswork. Use the clutch on the drill/driver to avoid stripping soft wood, especially near edges and end grain. Cheap bits tend to wander, dull quickly, or burn the hole entrance; that is one place where the low-cost option often fails before the project is finished.
What clamps are worth buying first for woodworking?
Clamps are worth buying early because they hold parts in position while glue dries and while screws go in. A common starting point is 2 to 4 clamps for simple projects. A useful starter mix includes bar clamps, quick-grip clamps, and spring clamps. Jaw depth and clamping force affect how often each type will actually fit your work. On real beginner builds, 2 clamps can get you through a small box, 4 is comfortable for a shelf face frame or basic carcass, and more becomes useful once you move into longer glue-ups.
Bar clamps, quick-grip clamps, and spring clamps
Bar clamps are useful when you need more reach and stronger pressure on larger glue-ups. Quick-grip clamps are handy for one-handed holding and fast assembly work. Spring clamps are cheap, quick, and useful for lightweight jobs, templates, and holding dust guards or small parts. No single clamp replaces the others. If budget is tight, start with the clamp style that matches your first project size and add the others as your project length increases.
How many clamps to start
For your first box or shelf, 2 to 4 clamps is enough to start. That number is not luxurious, but it is practical. If you buy only one clamp type, quick-grip clamps are the easiest everyday choice. If you plan longer glue-ups, add bar clamps sooner. Cheap, short clamps are the most common early failure point because they run out of throat depth or reach right when the glue-up needs to stay square.
What beginner woodworking tools can you skip at first?
You can skip specialty tools until your project style is clear. Miter saws, table saws, routers, jointers, planers, and large power sanders are all helpful in the right shop, but they do not need to be your first purchase. Buy them after your first few builds show a real pattern of need. A work surface and the core measuring/cutting tools usually reveal those needs faster than any all-in-one kit.
Tools that wait until project style is clear
Skip tools that solve narrow problems. A miter saw helps with repeated crosscuts. A router helps with edges, grooves, and joinery details. A jointer and planer help with rough lumber. If you are still making basic boxes and shelves, these tools are far too early for most budgets. Keep the first purchase list focused on the tools that make accurate layout, safe cutting, and reliable fastening possible.
Upgrades that help later but do not unlock day-one projects
A random orbital sander belongs near the top of the second wave, not the first wave, because it improves surface prep more than it opens up joinery. The same is true for larger clamp sets and marking knives. They make work cleaner and more accurate, but you can still build your first project without them. The sanding step usually matters more after the first rough build proves that your layout, cuts, and fastening are already working.
Common beginner buying mistakes
One mistake is buying a full tool set before the first project is chosen. Another is buying the cheapest version of every tool and then replacing them one by one. A third is ignoring the work surface; a stable bench or table improves both safety and accuracy. Start with the tools that get wood joined, not the tools that look complete on a shelf. Cheap saws and clamps often fail by flexing, drifting out of square, or lacking enough reach, which forces a second purchase earlier than expected.
Suppose the first project is a 24-inch wide shop shelf with pocket screws. A drill/driver, square, tape, clamps, and a stable table are enough to begin. A router or miter saw would add cost without helping that build finish better.
Frequently asked questions
What woodworking tools should I buy first?
Buy a tape measure, combination square, hand saw or circular saw, cordless drill/driver, and clamps first. Add safety glasses and hearing protection right away. If you already have a sturdy table or workbench, that helps too. Those tools cover layout, cutting, fastening, and assembly for simple starter projects.
Do I need power tools to start woodworking?
No. You can start with hand tools if your projects are small and your pace is flexible. A hand saw, square, tape measure, clamps, and drill/driver can cover basic boxes and repairs. Power tools mainly add speed and sheet-goods convenience, not a requirement for getting started.
What is the best beginner woodworking tool set?
The best beginner set is the one that matches your first three projects. For most people, that means measuring tools, a saw, a drill/driver, clamps, safety gear, and a work surface. A packaged set is only worth it if the included tools are decent quality and the kit matches your project plan.
Which hand tools are essential for beginners?
The essential hand tools are a tape measure, combination square, sharp pencil, hand saw, and clamps. A marking knife is useful later, especially when you want cleaner layout lines. Start with the hand tools that directly support measuring, marking, cutting, and holding parts together.
How much should I spend on starter woodworking tools?
Expect a low starter budget if you begin with measuring tools, a hand saw, clamps, and safety gear. A mid starter budget adds a drill/driver and a work surface. A higher starter budget adds a circular saw and random orbital sander. Exact totals vary by model and region, so compare the tools you actually plan to buy.
Should I buy a circular saw or a miter saw first?
Buy a circular saw first if you expect to handle plywood or break down boards for shelves and workbench parts. Buy a miter saw later if your projects turn into repeat crosscuts, trim work, or fast angle cuts. For most beginners, the circular saw solves more first-project problems.
Sponsored / affiliate links. As an Amazon Associate I earn from qualifying purchases. I may earn additional commission from eligible campaigns.