Wood Repair and Care Guide for Homeowners and DIY Fixes
Wood repair and care often follows three steps: identify solid wood, veneer, or laminate; match filler or glue to the damage; then protect the spot with the appropriate finish and moisture control. Guess wrong and you can sand through veneer, trap stains under finish, or turn a small split into an expensive replacement job. I use this sequence on cabinets, floors, trim, and furniture because it keeps the repair tied to the actual failure. This guide shows how to identify wood surfaces, diagnose common damage, choose repair materials, fix defects cleanly, and set up care that prevents repeat failures.
Wood is a structural tissue/material found as xylem in stems and roots. It is an organic material and a natural composite, with wood cells embedded in lignin and hemicelluloses. That structure explains why grain direction matters, why open pores hold dirt, and why moisture moves damage beyond the visible spot. (en.wikipedia.org)
People have used wood since prehistoric shelter, tools, and fires, and it still turns up everywhere in furniture and building construction. For homeowners, that means the same family of repair problems shows up on cabinets, trim, flooring, tables, and doors, but the right fix changes with surface type, finish, and depth of damage.
Start here: identify the wood surface, finish, and failure
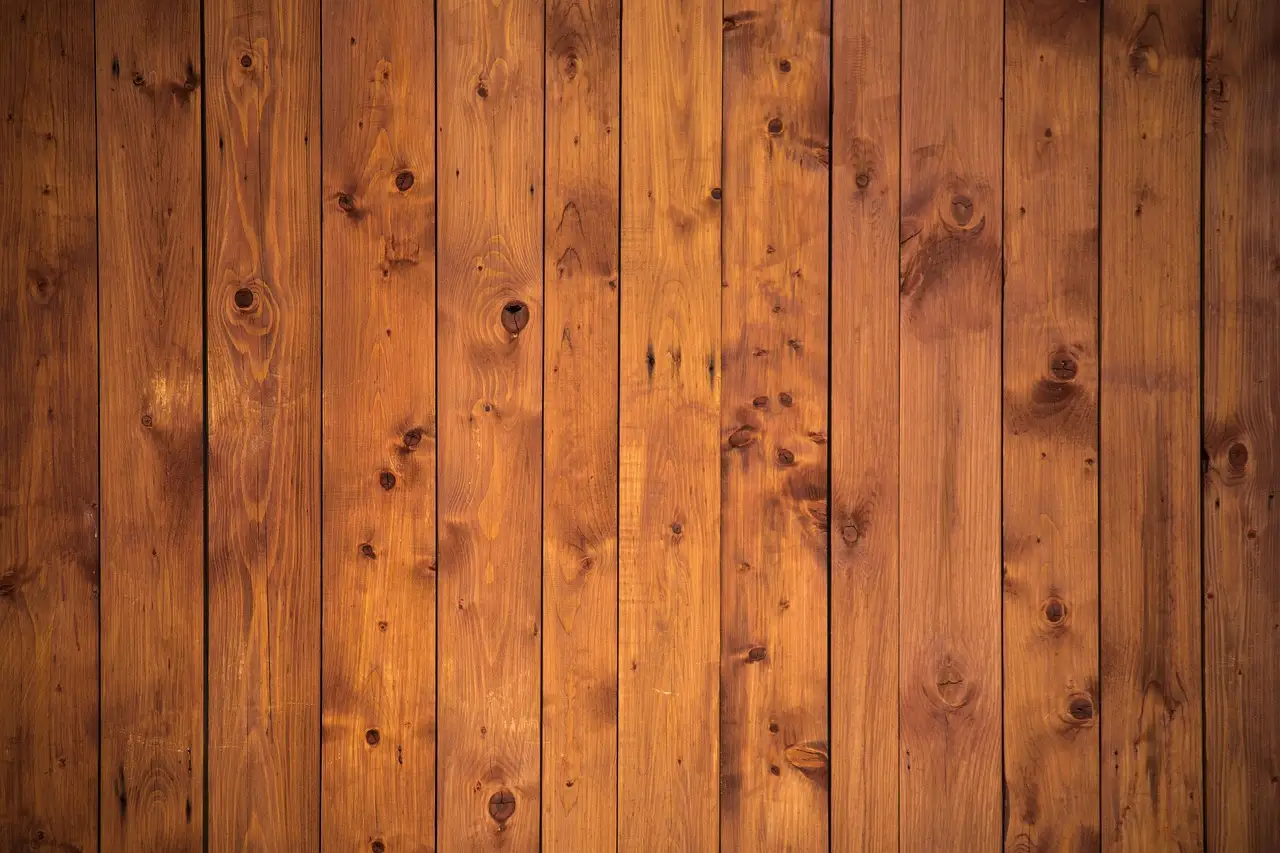


Tell solid wood from veneer, laminate-look surfaces, and patched areas
Solid wood usually shows continuous grain wrapping edges or changing naturally at end grain. Veneer shows a thin face layer over a different core, often visible at chipped edges, hinge cups, or underside transitions. Laminate-look surfaces repeat grain patterns and do not show real pores when closely inspected.
Patched areas matter too. Old filler often sands at a different rate than surrounding wood, and earlier touch-up markers can bleed when cleaned. Before any repair, check the back, underside, or an inside edge for exposed layers, prior patching, and color differences.
Identify whether the surface is finished or unfinished
Finished wood sheds water briefly, reflects light, and resists dry dusting from driving dirt into the pores. Unfinished wood looks flatter, absorbs moisture quickly, and grabs skin oils. Paint can count as a finish. So do oil, wax, varnish, lacquer, shellac, and clear sealer.
Cleaning methods change here. Abrasive pads that seem mild can dull sheen on satin or gloss finishes. Solvents can smear wax, soften some old coatings, or leave a cloudy patch that looks worse than the original damage.
Read the defect before picking the fix
A scratch may cut the finish or the wood fibers. A dent usually crushes fibers without losing material. A gouge removes material. A loose joint is a bond failure. Veneer lift is a face-layer bond failure. Swelling, cupping, dark staining, and soft spots point to moisture, which must be dealt with before cosmetic repair.
Mildew also needs sorting. Surface mildew can sit on the finish or on bare wood in damp conditions. Deep rot leaves the substrate soft, crumbly, or unstable. Cleaning can remove mildew staining, but it does not restore strength where fibers have already broken down.
Why grain direction changes every step
Grain direction affects cleaning, sanding, filling, and final appearance. Wipe across open grain with too much liquid and dirt can lodge deeper. Sand across grain and the scratch pattern flashes under finish. Fillers spread against the grain can leave ridges that telegraph through paint or clear coat.
Visible grain also telegraphs through repairs on oak, ash, walnut, and other open-grained woods. A smooth filler patch in a strongly textured field can remain visible even after color matching. On stain-grade pieces, that is often the point where a repair is acceptable but never invisible.
What is the safest way to clean wood before repair?
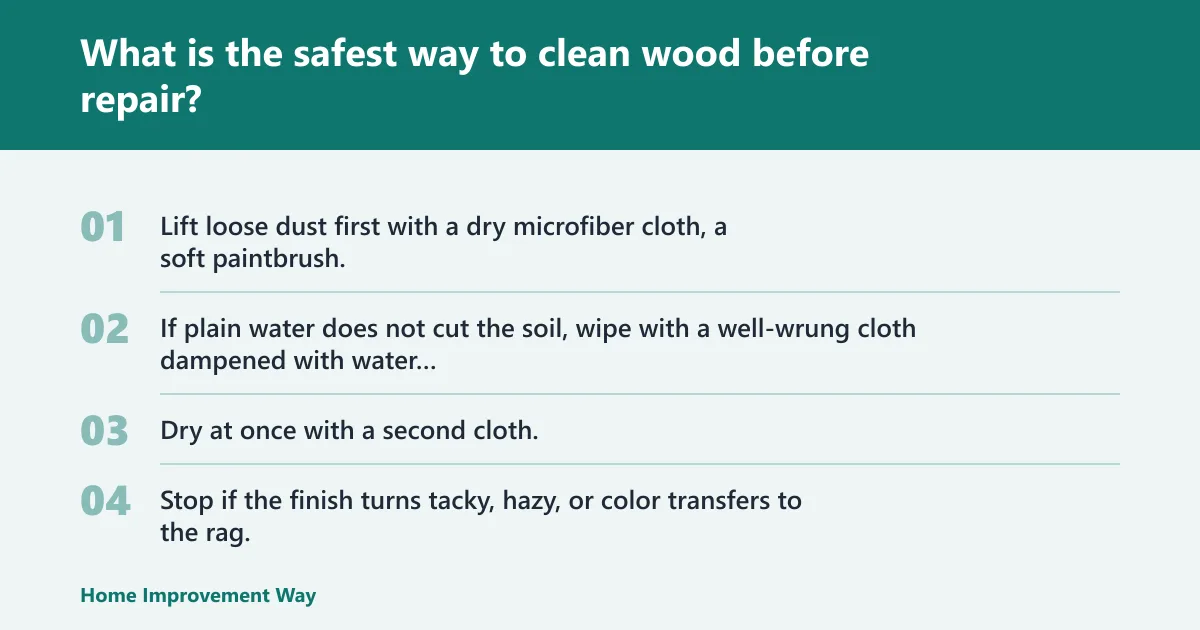
Clean wood with the least moisture and least abrasion that will remove soil. Finished wood usually needs dry dust removal, then a barely damp wipe with prompt drying. Unfinished wood needs even less liquid, because open grain traps grime and can raise fibers before repair or sealing.
Cleaning finished wood without softening, scratching, or dulling the sheen
- Lift loose dust first with a dry microfiber cloth, a soft paintbrush, or a vacuum brush head set gently on the surface.
- If plain water does not cut the soil, wipe with a well-wrung cloth dampened with water and a little mild dish soap, using only enough liquid to avoid leaving a wet film.
- Dry at once with a second cloth.
- Stop if the finish turns tacky, hazy, or color transfers to the rag.
Sticky kitchen residue needs patience. Use repeated light wipes instead of one wet scrub. Wax buildup can smear under pressure, so keep changing to a clean cloth face. On glossy furniture, aggressive rubbing often creates more visible damage than the grime itself.
Cleaning unfinished wood before sealing or spot repair
Vacuum dust from pores and corners first. Then wipe very lightly with a barely damp cloth, moving with the grain. The goal is to lift loose dirt, not wash the board. Heavy wet cleaning on bare wood can drive contamination deeper and leave raised grain that complicates a small repair.
If grease is present, use a mild cleaner sparingly and remove residue fast. Let the wood dry fully before filler, glue, or sealer. If dark damp staining remains after drying, the bigger issue is moisture in the substrate, not surface dirt.
When cleaning should stop
Stop cleaning and move to diagnosis when boards are swollen, veneer is lifting, joints are opening, or the finish has turned white, soft, or blistered. At that point, more wiping often spreads the failure. Drying and moisture control come first.
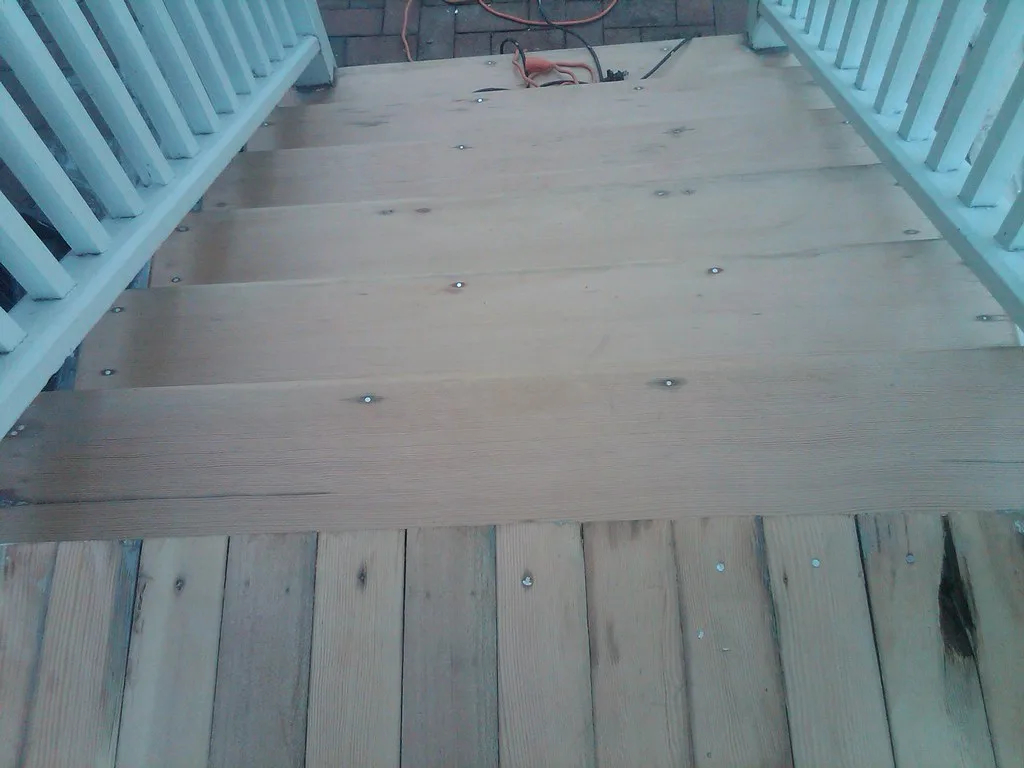
How do you choose the right wood repair material?
The right repair material depends on whether the problem is missing material, a failed bond, or soft damaged wood. Wood filler is for sandable patching, putty is for shallow cosmetic touch-up, epoxy is for deep voids or rot, and glue with clamps is for separated parts.
Wood filler: best for paintable and sandable repairs
Wood filler works on chips, small gouges, nail holes, and surface losses where the surrounding wood is sound. It is usually the best choice when the area will be painted or when a clear finish is less important than a smooth surface. Different fillers shrink differently, and some dry much harder than the surrounding wood.
That hardness difference matters. A very hard filler in soft trim can leave a hump after sanding because the wood cuts faster than the patch. In exterior areas, use a filler rated for outdoor exposure. Interior-only filler tends to fail early near weather, wet mopping, or strong sun.
Wood putty: final-touch cosmetic filling
Wood putty is better for small surface-level cosmetic filling after finishing, such as tiny nail holes in stained trim or a shallow nick that does not need sanding. It usually stays more flexible, which helps on finished surfaces, but it is usually a poor choice for stain-grade repairs that need shaping and sanding.
Putty often resists stain differently than the wood around it. On visible furniture tops and floor boards, that mismatch can stand out. Use it where the repair is tiny and the finish already exists.
Epoxy wood repair compound: deep voids, rot zones, and edge rebuilds
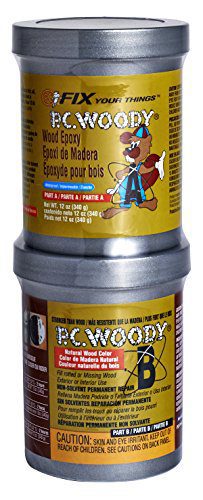
Two-part epoxy wood repair compound is often used for deep voids, soft rot after removing unsound fibers, broken corners, and edge rebuilds. It bonds well, cures hard, and can be shaped after cure. Working time matters because once mixed, the material starts setting immediately.
Epoxy is rarely the first choice for a simple scratch. It is slower, less forgiving, and can leave a dead-flat patch in lively grain. Where structure matters, though, filler and putty are often too weak.
Glue and clamps: the right fix for loose joints and separated parts
Loose chair rungs, cabinet frames, trim miters, and split panels need adhesive, not filler. Dry-fit first. Make sure parts close fully, align correctly, and can actually be clamped before adding glue. Clean old crumbly glue from the joint if it blocks full closure.
Apply enough pressure to close the joint without bowing the parts or starving the bond line. Wipe squeeze-out before cure, especially on stain-grade wood, because dried glue blocks finish and leaves pale lines.
Repair decision matrix: match the damage to the fix

How to use the matrix
Read across by surface type first, then by damage depth. The timing column helps avoid rushed sanding, weak glue bonds, and trapped moisture under finish. The risk column shows where veneer blowout, filler sink-back, sheen mismatch, or full replacement are more likely than a durable repair.
| Problem | Surface type | Damage depth | Best repair material | Drying or clamping time | Sanding risk | Finish compatibility |
|---|---|---|---|---|---|---|
| Light scratch | Finished furniture, cabinets, trim | Finish only or very shallow wood mark | Touch-up finish, wax stick, or light spot filler if color loss is visible | Dry fully before recoat; recoat only after touch-up stops smearing | High on sheen-sensitive finishes; spot-sanding can leave dull halos | Match sheen; wax can block later varnish or paint until removed |
| Dent | Solid wood furniture, trim, some floors | Crushed fibers, little or no material loss | Moisture and heat first; filler only if fibers do not recover | Dry completely before sanding or topcoat | Moderate; sanding too soon cuts swollen fibers flat | Works best before final touch-up coat |
| Chip or small gouge | Trim, cabinets, painted furniture | Shallow to medium material loss | Wood filler | Let filler dry through, then recoat after dust removal | Low on solid wood, high on veneer edges | Best under paint; stain match may remain visible |
| Deep gouge or broken corner | Furniture edges, door bottoms, sills | Deep material loss | Epoxy wood repair compound | Shape after cure; topcoat only after full cure | Low once cured, but aggressive sanding can flatten surrounding profile | Paint-friendly; clear finish may show patch outline |
| Loose joint | Chairs, tables, cabinet frames, trim | Structural bond failure | Wood glue and clamps | Clamp until adhesive sets; cure before load or sanding | Usually none unless squeeze-out cures on face | Remove wet squeeze-out to avoid stain blocking |
| Lifted veneer edge | Veneered furniture, panels, cabinets | Face layer bond failure | Glue under veneer with caul and light clamp pressure | Clamp until bond sets; do not force recoat over damp veneer | Very high; sanding can cut through face veneer | Touch-up coat only after glue is cured and surface is flat |
| Swelling or cupping | Floors, cabinet sides, trim near leaks | Moisture distortion | Drying first; repair only after shape stabilizes | Dry fully before any filler, glue, or finish | High; sanding swollen wood too early causes low spots later | Trapped moisture under finish leads to repeat failure |
| Mildew staining | Finished or unfinished wood | Surface contamination or shallow stain | Surface cleaning and drying; replace if rot is present | Dry fully and improve ventilation before recoating | Moderate on bare wood; sanding can spread spores in dust | Topcoat only after stain source is corrected |
| Soft rot | Sills, exterior trim, wet subareas | Fiber breakdown | Remove unsound wood, rebuild with epoxy, or replace part | Dry substrate before epoxy; cure before shaping | Low after cure, but edges can undercut weak adjacent wood | Paint or sealer after full cure; replacement wins if damage is extensive |
How do you repair scratches, dents, chips, and gouges in wood?
Repair these defects by sorting them into finish damage, crushed fibers, or missing material. Light scratches often need blending and a touch-up coat, dents may lift with controlled moisture and heat, and chips or gouges need filler or epoxy shaped to the grain and profile.
Light scratches in finished wood
If the scratch is in the finish only, a light clean and compatible touch-up may be enough. Deep sanding a narrow scratch on a factory-coated cabinet often creates a wider dull spot. Keep the repair smaller than the defect field, then adjust sheen with the final coat.
On visible grain, color in the valley carefully and keep excess material off the high grain lines. Overfilled scratches catch light.
Dents and compressed fibers
Dents differ from gouges because the wood is still there. On solid wood and thick trim, controlled moisture and heat can lift crushed fibers. This does not help when fibers are cut, when the finish cannot be disturbed, or when the surface is veneer. Veneer can blister or split under that treatment.
After the dent dries, reassess in side light. If a hollow remains, use a small amount of filler and sand with the grain only if the surface thickness allows it.
Chips and gouges
For paint-grade repairs, slightly undercut loose edges, pack filler in thin layers if needed, then shape after drying. For deeper losses at corners and edges, epoxy holds shape better than ordinary filler. Keep the patch tight to the defect. Wide feather zones often read as shiny halos after paint or clear coat.
Expect some sink-back with certain fillers. If the patch shrinks below the field after drying, refill before priming. Trying to bury a sunken repair under more finish rarely works.
Avoid visible patches and stain mismatch
Filler and putty do not take stain like wood. Open grain can still show through, and smooth filler can look dead against textured boards. On stain-grade furniture, a small visible repair is often the practical win. Chasing an invisible match can spread the damage area.
How do you fix veneer, joints, and failed glue lines so they last?
Lasting repairs on veneer and joints depend on getting adhesive into the failed bond, bringing the parts fully back into contact, and holding them still until cured. Surface patching over a loose veneer flap or wobbly joint hides the problem briefly, then the failure returns under use.
Reattaching lifted veneer edges
Lift the edge only as much as needed. Clean out dust and brittle debris carefully. Work glue under the veneer with a thin blade or similar applicator, press it flat, then clamp with a smooth caul and protective paper. Use enough pressure to close the gap, not enough to crack the face.
Avoid broad sanding after the repair. Veneer is thin, and edge areas are the easiest place to sand through. If glue squeeze-out reaches the face, remove it while still workable.
Repairing bubbles, loose corners, and missing veneer
A bubble usually means the veneer lost contact with the substrate. Reglue if the face is intact. Missing veneer sections need a patch cut to grain direction, not a blob of filler unless the area is tiny and paint will cover it. If large sections are loose, the substrate may be unstable enough that replacement is wiser.
Regluing loose joints in furniture, cabinets, and trim
Take the joint apart only if it will separate without tearing out wood. Clean old glue that blocks closure. Dry-fit, align, then glue and clamp. Chairs and tables fail again when one side is clamped first and the frame racks out of square, so clamp for alignment, not brute force.
Repeated joint failure usually means the surrounding wood is worn, split, or still moving from moisture. In that case, simple regluing is a short-term patch.
What should you do with swollen wood, mildew, and moisture damage?
Dry the wood fully before repair, because filler, glue, and topcoat over damp material trap movement and cause repeat failure. Swelling, cupping, dark staining, and softness must be sorted into cosmetic moisture marks, reversible distortion, or substrate breakdown that makes replacement the safer choice.
Dry before any repair
Moisture is the failure that ruins otherwise decent repairs. If a floor edge is cupped, a cabinet toe kick is swollen, or trim feels cool and damp, stop patching. Fix the leak, reduce humidity, improve ventilation, and let the wood stabilize before sanding or coating.
TOAST says no two fibres are the same and each needs specific washing and storing methods. I take the same approach with wood: the surface and its condition dictate treatment, not a one-product routine. TOAST also advises checking the garment label for tailored care instructions; for wood, the parallel is checking the existing finish before choosing cleaners or recoats.
Safe mildew removal and keeping it from returning
Mildew on the surface can often be cleaned without harsh scrubbing. First lift loose dust with a HEPA vacuum brush or a disposable cloth, then wipe the area with a barely damp cloth and dry it fast, and then correct the damp-air source. If black or gray staining returns quickly, or the wood beneath is soft, the issue is deeper than surface mildew.
Do not assume all mildew is surface-only. Staining around window trim, backs of cabinets, and vanity toe kicks may point to hidden condensation or leaks. Recoat only after the wood is dry and the moisture source is solved.
Repair versus replace thresholds
Replacement usually makes more sense when veneer loss is widespread, the substrate has deep rot, swelling has broken panel flatness beyond practical blending, joints keep loosening after correct regluing, or the finish is so worn that spot repairs will leave a patchwork surface. A Wood repair and care guide should include this line, because not every board rewards more labor.
How do you sand and blend a repair without damaging the surface?
Sand only when the surface thickness and finish type allow it. Start with the least aggressive grit that will level the repair, work with the grain, and keep the sanded area tight. Veneer, factory-coated cabinets, and prefinished trim can be damaged faster by sanding than by the original defect.
Grit sequence and feathering
Level filler first, then refine the scratch pattern in steps rather than trying to erase everything at once. On solid wood, keep the block flat so the patch does not dish out. Feather the edge lightly into surrounding wood or primer, depending on whether the final finish is clear or painted.
Cross-grain scratches hide poorly under stain and side light. Follow the grain on the final passes, especially on wide trim, table tops, and floor boards where light rakes across the surface.
Where spot-sanding works, and where it does not
Spot-sanding works on solid trim, painted cabinets, and many small filler repairs. It is risky on thin veneer, molded profiles, prefinished floors, and glossy factory coatings that show sheen difference immediately. On those surfaces, a touch-up or topcoat-only approach is often safer than trying to abrade the defect away.
When to skip sanding
Skip sanding when the defect is shallow, the finish is thin, or the repair zone sits on an edge that already looks worn. Veneer blowout starts on corners, not in the middle. If a light scratch can be blended with a compatible touch-up and protective recoat, that is often the more durable choice.
How do you protect repaired wood so the damage does not come back?
Protect repaired wood by matching the topcoat to the surface use, making sure it is compatible with the existing finish, and keeping water, sun, abrasion, and movement from attacking the same spot again. A good repair fails early when the follow-up finish and maintenance plan are ignored.
Choose the protective topcoat by use case
Furniture tops need resistance to spills and abrasion. Cabinets need a finish that tolerates hand oils and cleaning. Trim near entries and baths needs moisture resistance. Floors need finish built for traffic. Oil and wax can work for lower-wear pieces, but varnish, lacquer, paint, or another sealer is often better where cleaning is frequent.
Existing finish compatibility matters. Wax can interfere with later varnish or paint unless removed. Some old coatings react badly to strong solvents. On touch-ups, matching sheen is as important as matching color.
Timing after repair
Do not rush topcoat over a patch that still feels cool, rubbery, or solvent-heavy. Drying, cure, and recoat timing determine whether the finish bonds or traps problems. The matrix above is the checkpoint: if the repair is not dry, cured, clamped, and stable, it is not ready for finish.
Maintenance that prevents repeat failure
- Clean finished wood with minimal water.
- Wipe spills quickly, especially on floor edges, cabinet sink fronts, and table seams.
- Keep bath and kitchen ventilation working.
- Use felt pads and avoid dragging items across repaired surfaces.
- Watch sun-exposed rooms for finish fade and early dryness, then recoat before bare wood shows.
At TOAST, care guidance is built around extending item lifespan. The same principle fits wood care well: inspect early, repair small failures before water reaches the substrate, and refresh the protective layer before the old finish wears through.
Frequently asked questions
How do you repair and care for wood furniture without damaging the finish?
Start by identifying the existing finish and whether the defect is in the coating, the wood fibers, or the joinery. Clean lightly, repair only the failed area, and avoid broad sanding unless the piece is solid wood and thick enough for it. Finish with a compatible topcoat and low-moisture maintenance.
What’s the best way to clean finished wood safely?
Remove dust dry first, then wipe with a barely damp cloth and dry the surface at once. Use the least abrasive cleaner that removes the soil, because sheen damage is often harder to fix than the grime. Stop if the finish turns tacky, cloudy, or starts transferring color.
How do you clean unfinished wood before sealing it?
Vacuum or brush dust from the pores, then wipe very lightly with the grain using minimal moisture. Bare wood absorbs dirt and water quickly, so heavy wet cleaning can drive contamination deeper and raise fibers. Let the wood dry fully before spot repair, sanding, or applying sealer.
When should you use wood filler, wood putty, or epoxy filler?
Use wood filler for sandable repairs such as chips, nail holes, and small gouges, especially under paint. Use wood putty for tiny cosmetic filling on already finished surfaces. Use epoxy filler for deep voids, rot removal areas, broken corners, and rebuilds where ordinary filler lacks strength.
How do you repair swollen wood after water exposure?
Fix the moisture source first, then let the wood dry and stabilize before deciding on sanding, filling, or replacement. Swelling and cupping often change shape as they dry. If the wood stays soft, delaminates, or remains badly distorted, replacement is usually more durable than repair.
How do you fix loose wood joints so the repair lasts?
Take the joint apart only if it can be separated cleanly, remove old glue that blocks full closure, dry-fit for alignment, then reglue and clamp without forcing the frame out of square. Clean squeeze-out before cure. If the wood around the joint is split or worn out, simple regluing will not last.
Sponsored / affiliate links. As an Amazon Associate I earn from qualifying purchases. I may earn additional commission from eligible campaigns.