Wood Finishing Oils: Complete Buyer Application Guide
Choose wood finishing oils by three filters: food contact, moisture exposure, and cure speed; for many indoor furniture projects, polymerized tung oil or hardwax oil may be a better fit than raw linseed, while mineral oil is generally used for cutting boards. Pick wrong, and you can trap solvents, get a gummy surface for weeks, or leave outdoor wood gray and thirsty within a season. I match oils to wood species and the way a piece will live, then set prep, application, drying, and troubleshooting around that so the finish cures cleanly.
What is wood finishing oil and how does it work?
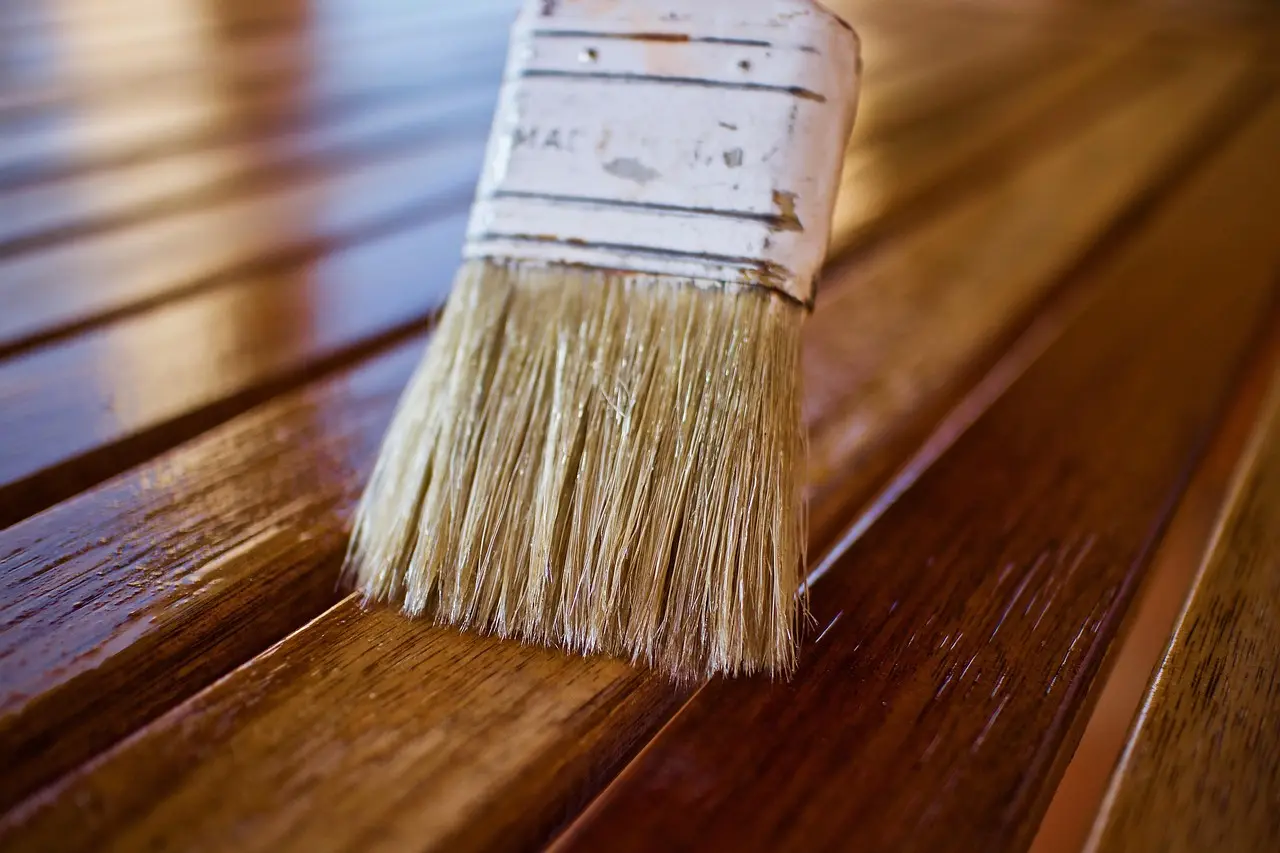


Wood finishing oil goes on clean, dry, bare wood and sinks into the exposed surface fibers instead of sitting there like paint. Depending on the formula, it either cures in those fibers or stays more like a conditioning oil. The result is a close-to-the-wood look with modest moisture resistance, nowhere near the surface protection you get from varnish, lacquer, or polyurethane.
Penetrating finish versus film finish
Oil works in the top layer of wood cells rather than building a thick shell above them. That changes how the piece behaves in real use. A dining table with oil on it can feel warm and be easy to repair, but it will not shrug off standing water, heat, or abrasion the way a hard film finish can.
Pure tung oil is described as having water resistance and a deep, matte finish. I use that look when low sheen matters and some water resistance helps. It still is not a countertop epoxy, and it still needs upkeep.
What oil protects well, and where it falls short
Oil is a good fit for furniture, shop fixtures, trim, and food-contact boards when easy repair matters more than a hard shell. It is weaker on tabletops that see wet glasses every day, bathroom vanities with pooled water, and exterior wood in full weather.
Cutting boards are a separate case. An oil finish can be safe after full cure, but safety and water resistance are different issues. A cured surface may be appropriate for food contact while still needing frequent renewal.
Why clean, dry, bare wood is usually required
Most wood finishing oils need bare wood because they have to get into the fibers to cure evenly. Paint, polyurethane, wax, silicone polish, and old oil residue block that path. I see the same failures over and over: patchy sheen, slow cure, or oily spots that never seem to dry.
Stain can also complicate things. If the stain leaves binder or sealer in the surface, the oil may sit on top instead of soaking in. That is why bare wood, free of wax, silicone, old finish, and oil contamination, is the safe default.
How species density and porosity change the result
Open-pored woods such as oak and ash drink the first coat fast, especially on end grain. Dense woods such as maple absorb less and can look blotchy if over-sanded. Oily tropical woods may resist curing oils or need extra wipe-off because the wood itself interferes with wetting.
Softwoods add another wrinkle. Pine and fir often absorb unevenly between earlywood and latewood, so sheen can vary board to board. The oil is not failing there, the wood is telegraphing its anatomy.
📊 The instructions say to let the oil soak for 15-20 minutes. Source: Concentrated Oil.
Which wood finishing oil should you buy for your project?
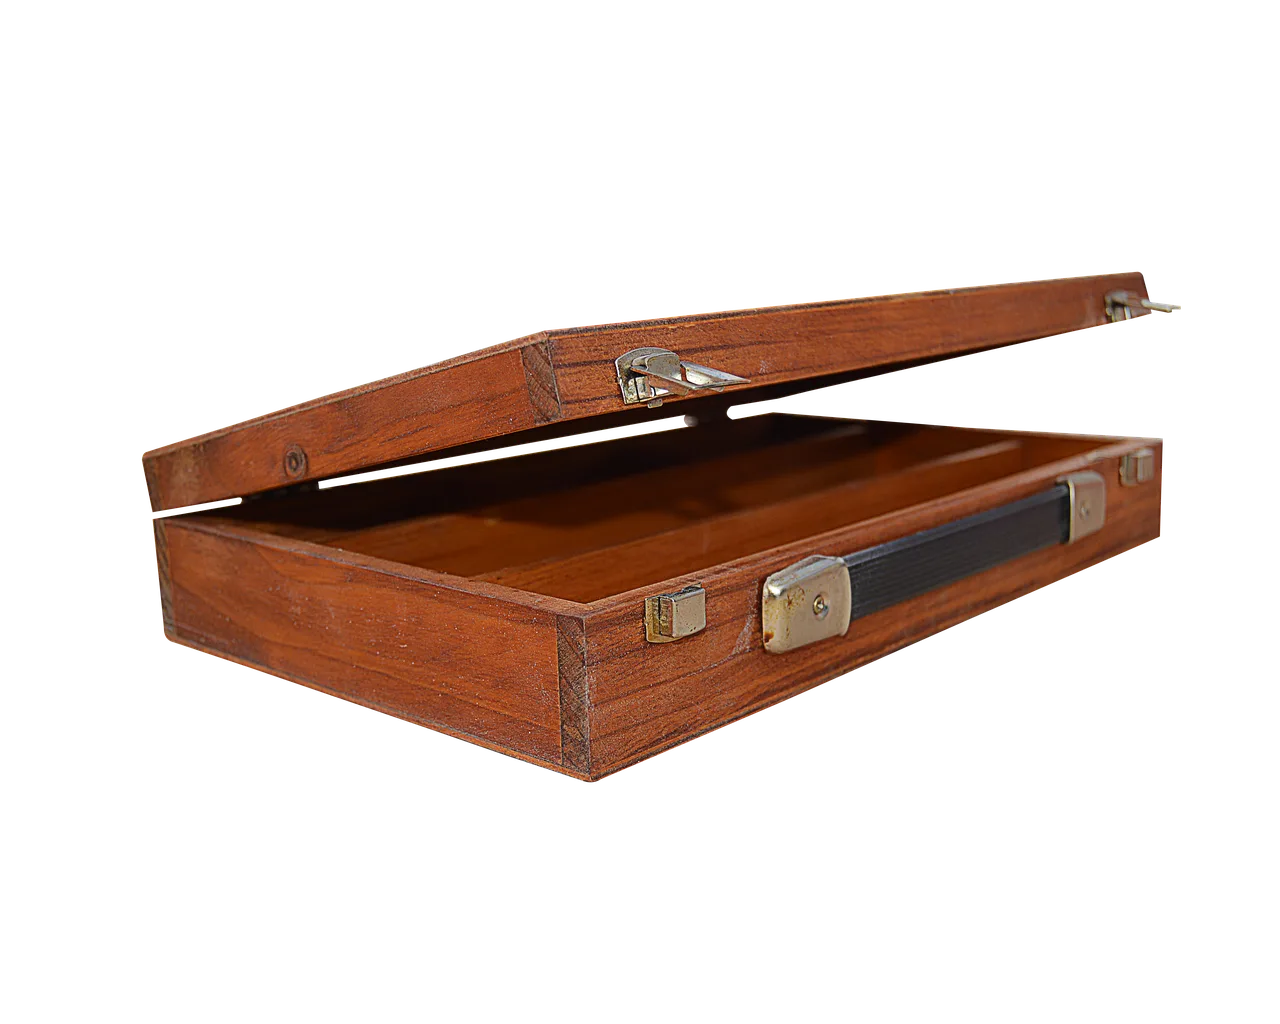
Buy by finish behavior, not by the word natural. Tung oil is the stronger pick for moisture resistance and a matte look, linseed often works best as part of a blend, hemp oil suits quick-absorbing touch-up work, and commercial blends trade purity for easier wipe-on application and faster project flow.
Pure tung oil for water resistance and a matte look
Tung oil is the choice when a buyer wants the most water resistance available from a classic penetrating oil and accepts a slower build. It is also the better fit for furniture that should stay low-sheen. Source material states that pure tung oil has water resistance and a deep, matte finish.
Many products sold as tung oil are actually blends. I do not treat that as a flaw. It simply changes how the finish behaves, especially in soak time, wipe-off, and cure speed.
Linseed oil and why it shows up so often in blended finishes
Linseed oil is a common penetrating oil component and a natural oil finish base. On its own, raw linseed is slow and rarely the best answer for a busy household project. In blends, though, it helps wet wood well and contributes warmth and body.
One listed formula is made from tung oil, linseed oil, and natural ingredients. That matters to buyers because linseed in a blend is doing a different job than raw linseed sold by itself.
Hemp oil for quick absorption and fast touch-ups
Hemp oil is described as a quick-absorbing conditioner. That makes it useful on lighter woods, shop pieces, and refresh coats where speed matters more than maximum water resistance. It is less a substitute for tung oil than a separate tool for low-build maintenance and fast wipe-on work.
On pale maple or birch, a quick-absorbing conditioner can avoid the heavy, wet look some richer blends create. It still needs honest expectations. Quick absorption does not mean long outdoor life.
Commercial blends, citrus solvent, and what d-limonene changes
Commercial blends exist because pure oils can be slow, grabby, and hard to spread thin. A ready-to-use blend of tung oil and citrus solvent is one example. Citrus solvent, often d-limonene, changes application feel, open time, and wipe-off behavior by helping the oil wet the surface more evenly.
That solvent also affects low-VOC positioning. One listed product has a VOC content of 198.8 g/L. Another buying clue is concentration: one concentrated finish uses a higher ratio of natural oils to solvent than its original finish. More oil relative to solvent usually means fewer passes to build, but also less forgiveness if too much is left on the surface.

Project-matching matrix: oil, wood species, and exposure level
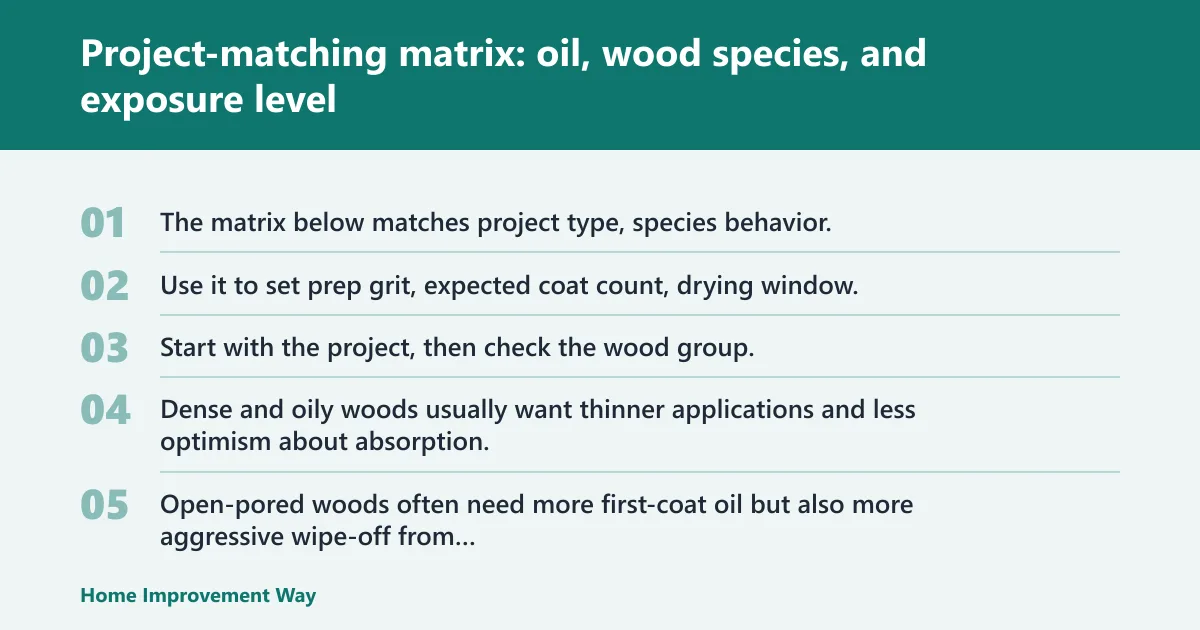
The matrix below matches project type, species behavior, and exposure to the finish that is most likely to cure cleanly and age well. Use it to set prep grit, expected coat count, drying window, and risk points before opening the can.
How to read the matrix
Start with the project, then check the wood group. Exposure level comes next. Dense and oily woods usually want thinner applications and less optimism about absorption. Open-pored woods often need more first-coat oil but also more aggressive wipe-off from the pores.
| Project | Wood species group | Exposure level | Recommended oil type | Prep grit | Expected coats | Drying window | Likely failure risks |
|---|---|---|---|---|---|---|---|
| Dining chair, case furniture | Oak, ash, walnut | Low to medium indoor wear | Polymerized tung oil or tung/linseed blend | 180 | 2-3 | about a day between coats; light use after a few days; full cure in about 1-2 weeks | Pore weeping, glossy patches from missed wipe-off |
| Coffee table, side table | Cherry, mahogany | Medium indoor wear | Tung-heavy commercial blend | 180-220 | 3-4 | 24 hours between coats; light use after 3-4 days; full cure in 7-15 days | Water rings if underbuilt, lap marks on large tops |
| Cutting board, butcher block | Maple, beech, walnut | Food contact, repeated washing | Tung-based finish approved for board use after cure, or board-specific oil routine | 150-180 | 2-4 | 24 hours between coats; full cure 7-15 days; food-contact wait can be 30 days on one product example | Sticky spots from excess oil, false food-safe assumptions before cure |
| Shop fixture, tool handle | Birch, maple, pine | Low wear, frequent touch-up | Hemp oil or light commercial blend | 150-180 | 1-2 | 24 hours between coats when recoating; light use after 3-4 days | Blotchiness on softwoods, dry feel if underfed end grain |
| Interior trim, window stool | Pine, fir, poplar | Low to medium indoor wear | Linseed/tung blend wiped very thin | 180 | 2-3 | 24 hours between coats; full cure in 7-15 days | Uneven sheen, pitch contamination, soft latewood over-absorption |
| Exterior door under porch roof | Mahogany, white oak, cedar | Sheltered outdoor exposure | Tung-based exterior blend; consider topcoat system | 150 | 3-4 | 24 hours between coats; longer wait in cool or humid weather | UV fade, mildew, thirsty look within a season if maintenance lapses |
| Outdoor bench in full weather | Cedar, teak, acacia | High outdoor exposure | Oil only if frequent maintenance is acceptable; otherwise use a harder exterior system | 150 | 2-3 initial coats | 24 hours between coats; cure slows in poor drying conditions | Gray weathering, uneven washout, trapped solvent on dense tropical wood |
Recommended oil type by furniture, cutting board, and outdoor use
For furniture, tung-based products are usually the safest starting point because they balance appearance and moisture resistance. For cutting boards, use products that clearly state board safety after cure, and separate that from broad food-safe language. For outdoor wood, oil alone is often a maintenance-heavy choice, especially in sun and rain.
Prep grit, coat count, and drying window by species group
Use the lower end of prep grit on dense woods and the upper end on open-pored woods when a smoother hand is wanted. One product’s instructions recommend sanding to 150-220 grit. Coat counts are project dependent, but a listed guidance range of 2-4 coats to build protection is a practical benchmark for many indoor pieces.
Likely failure risks and the fixes to plan for
Open-pored woods can weep oil back out of the pores, so they benefit from a second wipe after the first wipe-off. Dense woods can look dry and still have too much oil sitting on top. Oily exotics often need thinner coats, longer waits, and zero tolerance for leftover gloss.
What grit sanding should you use before applying finishing oil?
For most projects, stop between 150 and 220 grit. Use 150 when the wood is dense or outdoor, 180 for general furniture, and 220 only when the species still absorbs well. Sanding finer than needed can burnish the surface and reduce oil intake, especially on maple and other tight-grained woods.
When to stop at 150 grit and when 180 or 220 is better
Stop at 150 for exterior parts, oily woods, and any surface where bond and absorption matter more than a silky start. Move to 180 for walnut, cherry, oak, and most furniture parts. Go to 220 on pieces that will be handled often and where the wood still takes oil without resisting it.
That guidance lines up with the listed recommendation to sand to 150-220 grit. It is a range for a reason, not a command to always sand finer.
Why over-sanding can reduce absorption on dense woods
Very fine sanding can close the surface enough that the first coat skates rather than wets. I have seen this a lot on maple. The finish looks like it is absorbing because the solvent flashes off, but the oil has not really entered much. That often leads to weak build and random shiny spots.
Dust removal, contamination checks, and edge prep
After sanding, remove dust well and inspect for wax, silicone, hand oils, and old finish. Wipe-on oils magnify contamination. Ease sharp edges slightly too. Knife-sharp corners do not hold finish well, and they are the first place a thin oil finish looks starved.
Using 320-400 grit between coats for a smoother hand
Between coats, 320-400 grit is useful when the goal is a smoother feel rather than more absorption. It should be a light scuff only. The point is to knock down dust nibs and raised grain, not to sand back through the fresh coat.
How do you apply wood finishing oil without leaving it sticky?
Apply thin, controlled coats to bare wood, allow a short soak, then wipe until the surface looks almost dry. Sticky finishes come from oil left on top, not from oil inside the wood. A listed instruction set says to let the oil soak for 15-20 minutes before wipe-off.
Choosing a rag, cloth, brush, pad, or sprayer
Rags and lint-free cloths are the most forgiving for small and medium work. Brushes help flood moldings or chair parts, then the excess still gets wiped off. Applicator pads are fast on panels. Some commercial formulas can be sprayed, but spraying oil is only useful if the operator still levels and wipes correctly.
First-coat wetting, soak time, and wipe-off timing
The first coat should wet the surface evenly without puddling. Keep dry spots wet during the early minutes if the wood drinks fast. One listed direction says to let the oil soak for 15-20 minutes. After that, wipe thoroughly with a clean cloth.
- Apply a light flood coat with a rag, brush, or pad.
- Watch for thirsty spots and re-wet those areas during the soak.
- After the soak window, wipe with firm pressure.
- Switch to a clean cloth and wipe again.
- Stop only when the surface looks nearly dry, not glossy-wet.
How to wipe off excess oil so the surface does not gum up
The wipe-off endpoint is easy to miss. The board or panel should look alive but not slick. If a finger leaves an oily track, too much is still there. On open-pored woods, check again after a short rest because oil can rise back out of pores and end grain.
Second and later coats as the wood starts to saturate
Later coats usually need less product and more discipline. As wood saturates, the finish spends more time on top of the surface, where problems start. Recoat only after the prior coat is ready. Listed guidance says to allow 24 hours between coats.
How many coats do you need, and how much oil should you buy?
Most indoor furniture lands at 2-4 coats, but the right count depends on wood density, exposure, and how much build the first coat achieved. Open-pored woods often need more finish early, while dense woods may look done sooner and still need another thin coat for even protection.
Coat counts by furniture, cutting boards, and low-wear surfaces
A listed recommendation is 2-4 coats to build protection. Use the low end for shop fixtures, trim, and lighter-duty furniture. Use the higher end for tabletops, cutting boards, and open-pored species that absorbed the first coat aggressively.
How wood species and end grain change oil consumption
End grain can consume far more than face grain. Breadboard ends, cutting board edges, chair spindles, and routed profiles often need touch-back during the soak. Dense maple may need less total volume than oak, yet still need the same number of coats because each coat goes on thinner.
Coverage math using the first-coat benchmark
One product lists coverage at 400-500 square feet per gallon on the first coat. That is a buyer’s sizing benchmark, not a promise that every project lands there. Later coats usually spread farther because the wood is less thirsty.
For project sizing, total the actual square footage of all faces to be finished, then add a little for edges, end grain, and wipe waste. Use the lower end of the 400-500 square feet per gallon range for porous wood or first-time buyers who would rather have extra than run short.
Cost-per-square-foot and project-sizing method
To estimate cost per square foot, divide the container price by the realistic first-coat coverage for the species at hand. Then remember that later coats use less. That simple math is more useful than comparing quart prices alone, especially when one formula uses a higher ratio of natural oils to solvent than another.
How long does wood finishing oil take to dry and cure?
Expect about 24 hours between coats in normal conditions, light use after the final coat in about 3-4 days, and full cure in 7-15 days for one listed product type. Surface dryness is not full cure. Food-contact use may require a longer wait, including 30 days on one product example.
What dry to touch means versus ready for recoating
Dry to touch only means the surface is no longer obviously wet. It does not guarantee that the coat underneath has released enough solvent or advanced far enough in cure for another coat. If recoated too early, the finish can wrinkle, drag, or stay rubbery.
Typical recoat window and when to wait longer
Listed guidance says to allow 24 hours between coats. In cooler, damper, or still-air spaces, waiting longer is safer. Dense woods and heavy-handed application also stretch the timetable because less oil went into the wood and more remained at the surface.
Light-use timing after the final coat
A sensible planning window for many indoor pieces is about 3-4 days before light use after the last coat. Light use means gentle handling, no wet glasses, no stacked objects, and no packing blankets. The finish is still maturing.
Full-cure timing, including food-contact wait periods
One listed full cure window is 7-15 days. That same product information states 30 days for food-contact surfaces and says the finish is safe for cutting boards once cured. That distinction matters. Safe after cure is not the same claim as ready for sandwich prep next weekend.
Can you use finishing oil on furniture, cutting boards, or outdoor wood?
Yes, but the same oil does not fit all three jobs equally well. Furniture is usually the easiest match, cutting boards need clear cure and food-contact language, and outdoor wood demands honest maintenance expectations. If exposure is high, a harder topcoat system may be the smarter choice.
Indoor furniture and tabletops
Furniture responds well to oil because repairs are simple and the finish stays close to the wood. Side tables, chairs, and cabinets are solid candidates. Dining and work tabletops are trickier. Oil can work there, but only with enough coats, fast wipe-up habits, and acceptance of future refresh work.
Cutting boards, utensils, and food-safe finishing wax over cured oil
For boards and utensils, look for finish language that clearly separates cure from food use. One product example states 30 days for food-contact surfaces and says the finish is safe for cutting boards once cured. A food-safe finishing wax can go over a fully cured oil finish for a nicer feel, but it does not replace proper cure.
Exterior trim, doors, and when oil-only is a maintenance trap
Oil-only systems outdoors are best reserved for sheltered locations or owners willing to reapply on a regular cycle. Sun fades color. Rain strips surface oils. Mildew likes neglected shaded pieces. A porch door might be manageable, an unsheltered bench is often a maintenance burden from day one.
When a harder topcoat system makes more sense
Choose a harder system when the surface faces standing water, hot dishes, intense sun, or daily scrubbing. Exterior doors in full weather, vanity tops, and family dining tables often belong in that category. Oil can still be part of the look, but it should not carry the whole job alone.
What causes sticky, blotchy, or slow-curing oil finishes?
Sticky, blotchy, and slow-curing results usually come from four causes: too much oil left on the surface, poor drying conditions, contamination in or on the wood, or the wrong oil for the species and exposure. Most failures can be prevented by thinner coats, strict wipe-off, and patience between coats.
Too much oil left on the surface
This is the main one. Thick coats look generous during application and punishing two days later. If the surface still looks glossy after wipe-off, there is a good chance that excess oil remains and will turn gummy.
Cold shop, poor airflow, and trapped solvent
Oil cure slows hard in cold, stale air. Solvent-rich blends can also trap solvent under a skin if recoated too early. The surface may feel dry while the layer underneath stays soft, then fingerprints or dust stick for days.
Contamination from old finish, wax, silicone, or oily residue
Silicone furniture polish is notorious here. So are butcher blocks previously treated with unknown board oils, waxes, or kitchen grease. Oil laid over contamination often beads, fisheyes, or cures in islands. Cleaning helps, but many pieces need fresh sanding back to reliable bare wood.
Step-by-step recovery for tacky or gummy surfaces
- Stop recoating.
- Wipe the surface hard with a clean cloth to remove any oil that is still mobile.
- If it remains tacky, re-wet lightly with the same oil or its matching solvent, then wipe again to lift the excess.
- Give the piece more time and airflow.
- If gum remains after that, sand back to firm material and restart with thinner coats.
For dust nibs, wait until the coat is truly ready, then scuff with 320-400 grit and wipe clean. For lap marks, level the section lightly and apply a very thin, even refresher coat across the full panel rather than patching one stripe.
Frequently asked questions
What is the difference between tung oil, linseed oil, and hemp oil?
Tung oil offers better moisture resistance and a deep matte look, linseed is often more useful as part of a blend than by itself, and hemp oil is described as a quick-absorbing conditioner for lighter-duty use and fast touch-ups. They are different tools, not interchangeable labels.
Can you apply wood finishing oil over stain or paint?
Usually no. Most finishing oils need clean, dry, bare wood so they can enter the fibers. Paint, polyurethane, wax, silicone, and many stains block or distort absorption, which leads to patchy sheen, slow cure, or sticky spots that stay on the surface instead of curing in the wood.
How do you stop wood finishing oil from turning sticky?
Use thin coats, keep the soak short, and wipe until the surface looks almost dry. A listed guide says to soak for 15-20 minutes and allow 24 hours between coats. Sticky finishes come from excess left on top, cool still air, early recoating, or contamination under the oil.
Is wood finishing oil food safe?
Some are safe after full cure, but that does not mean safe during the cure window or suitable for every food-prep use. One product example states safe for cutting boards once cured and gives 30 days for food-contact surfaces. Read those claims narrowly and wait for full cure.
How do you wipe off excess oil correctly?
Apply a light flood coat, keep dry spots wet during the soak, then wipe with firm pressure using a clean cloth until the wood no longer looks glossy-wet. Check open-pored wood again after a short rest, because oil can rise back out and leave sticky patches if ignored.
Sponsored / affiliate links. As an Amazon Associate I earn from qualifying purchases. I may earn additional commission from eligible campaigns.