How to Repair Scratched Wood Cabinets
Repair scratched wood cabinets by matching the fix to scratch depth: use wax or marker for surface scuffs, fill and touch up shallow scratches, and sand, stain, or refinish only when bare wood is exposed. Wrong products or too much sanding can leave shiny spots, color mismatches, or damaged veneer. This guide helps you identify the cabinet material, finish, and scratch depth, then choose the least aggressive repair that will blend.
How bad is the scratch?
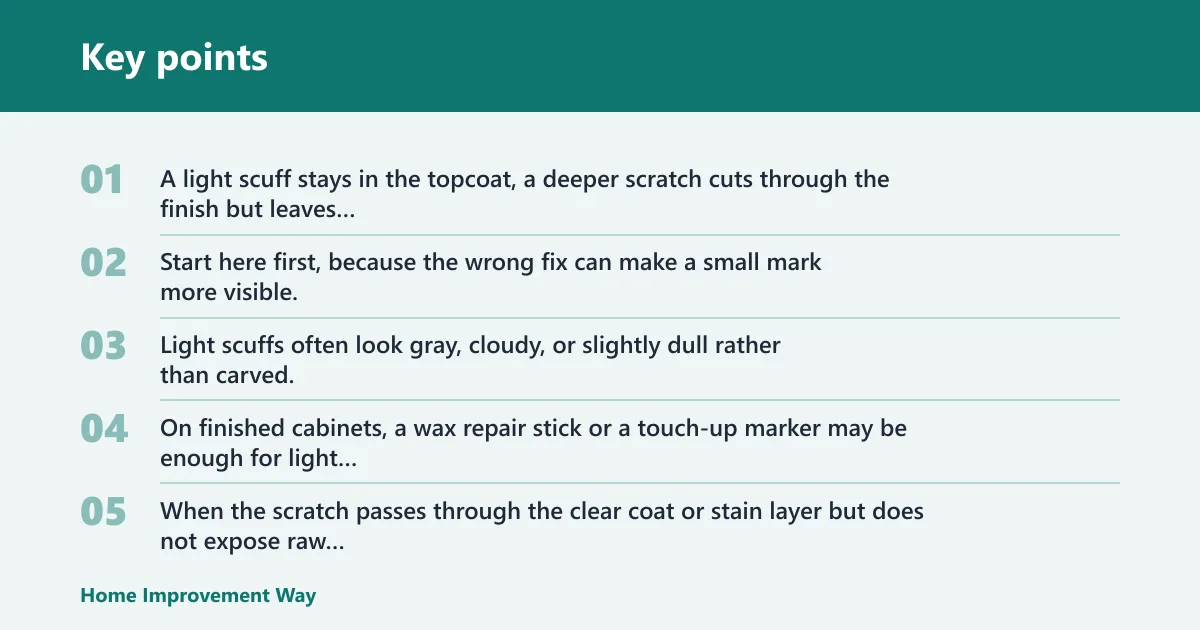


The repair method changes with depth. A light scuff stays in the topcoat, a deeper scratch cuts through the finish but leaves the wood intact, and a gouge reaches bare wood. Start here first, because the wrong fix can make a small mark more visible.
Light scuffs in the topcoat
Light scuffs often look gray, cloudy, or slightly dull rather than carved. On finished cabinets, a wax repair stick or a touch-up marker may be enough for light scuffs when the color loss is small and the surrounding finish is still intact.
Scratches through finish but not into wood
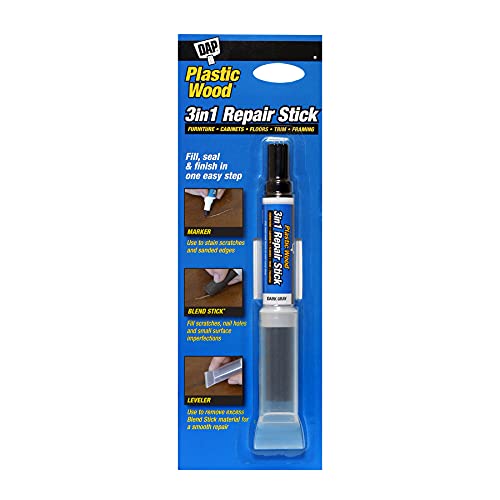
When the scratch passes through the clear coat or stain layer but does not expose raw wood, you usually need a color-matched touch-up step. A marker can work for narrow color loss, while a wax repair stick may fit small scratches and minor chips on finished cabinets.
Deep gouges into bare wood
If the groove shows raw wood, a marker alone will often look too shallow or too dark, so a filler is commonly used before sanding and staining or topcoating. Use wood filler for the void, then sand only the repaired area if needed, then stain or topcoat to match the surrounding finish.
Cabinet surface and finish types
Finish type changes how visible a scratch looks and how risky the repair is. A scratch on a glossy polyurethane cabinet may catch light more than the same scratch on a satin finish. The substrate matters too, because solid wood, veneer, and laminate-faced cabinets handle sanding differently.
Finished versus unfinished wood
Finished wood has a clear coat, stain, lacquer, varnish, polyurethane, or oil finish over the surface. Unfinished wood has no protective coating, so scratches can absorb stain unevenly and look darker or blotchy if you touch them up without testing first.
Solid wood, veneer, and laminate-faced cabinets
Solid wood can tolerate more careful sanding during a repair. Veneer is a thin wood layer over a core, so aggressive sanding can cut through it. Laminate-faced cabinets are different again; they usually need a cosmetic fix, not sanding into the surface.
How finish type changes scratch visibility
Scratch visibility depends on finish and stain color. Dark cabinets and high-gloss finishes show pale scratches faster. Cherry cabinets can also darken repair products more than expected, so a color that looks close on the bench may read too dark once it dries.
Scratch repair decision table
Use this table to match the safest repair method to the scratch depth, cabinet substrate, and finish type. If the cabinet is veneer or factory finished, choose the least aggressive step that solves the problem. Test color and sheen in an out-of-the-way spot before touching the visible area.
| Scratch depth | Cabinet substrate | Finish type | Safest repair method |
|---|---|---|---|
| Light scuff in topcoat | Solid wood | Clear coat, lacquer, varnish, polyurethane, or oil finish | Clean, dry, then use wax repair stick or a touch-up marker that matches the stain tone |
| Light scuff in topcoat | Veneer | Factory-finished veneer | Use a marker or wax stick only; avoid sanding unless the finish must be leveled and the veneer is thick enough to tolerate it |
| Scratch through finish, no bare wood | Solid wood | Finished cabinet | Use a touch-up marker for narrow color loss or a wax repair stick for small scratches and minor chips |
| Scratch through finish, no bare wood | Veneer | Finished veneer | Use marker or wax stick; avoid aggressive sanding because the top layer can be thin |
| Deep gouge into bare wood | Solid wood | Any finished surface | Use wood filler, let it cure, sand with 320 to 400 grit only on the repair area, then stain or topcoat to match |
| Deep gouge into bare wood | Veneer | Any finished surface | Use filler if the damage is limited, but do not sand broadly; if the veneer is cut through, refinishing or veneer repair may be needed |
| Scratch on laminate-faced cabinet | Laminate-faced wood cabinet | Laminate surface | Use cosmetic repair products meant for laminate or a color-matched filler; do not sand the laminate face |
| Unfinished wood scratch | Solid wood | Unfinished | Sand lightly only if needed, then stain and finish the area to match the rest of the cabinet |
Can you fix scratches without sanding?
Yes, if the damage is shallow. A touch-up marker or wax repair stick can correct small cosmetic scratches without sanding. Stop there when the mark is only in the color layer or topcoat and the surrounding finish still looks level.
When a wood touch-up marker is enough
Use a wood touch-up marker for shallow color loss and small surface scratches. It works best when the scratch is narrow and the goal is to restore color, not to build thickness. Match the marker to the cabinet stain tone, especially on dark or cherry wood.
When a wax repair stick is the better fit
A wax repair stick is useful for shallow scratches and minor chips on finished cabinets. It fills the mark and blends by color matching. This option often works better than a marker when the scratch has a little depth but does not need structural repair.
When no-sand repairs stop working
No-sand repairs stop working when the scratch is too deep, the finish is broken across a wide area, or the repair dries too dark. If the scratch exposes bare wood, marker and wax alone usually leave a line that still catches light.
Say your dark-stained cabinet door has a 1-inch scratch that looks pale in the center but does not catch a fingernail deeply. A marker may be enough if the color loss is narrow. If the same scratch also has a slight groove, a wax stick usually blends better.
How do you repair deep scratches?
Deep scratches need a fill-and-finish approach. Clean the cabinet, fill the damaged area with wood filler, let it cure, then sand only the repair area with fine grit if you need to level it. After that, match stain or topcoat to the surrounding finish.
Clean and dry the cabinet first
Use mild soap and water or a wood-safe cleaner to remove grease and dirt. Dry the area fully before repair. Any residue left behind can keep filler, marker, or wax from bonding well and can also make the color look blotchy.
Apply wood filler for deeper damage
Use wood filler for deeper scratches and gouges. Choose a sandable product if the surface needs leveling, and pick a paintable or stainable version based on the cabinet finish. Apply only enough to fill the void, since excess filler can make the repair obvious.
Sand only the repair area, then blend the finish
A common finishing range for sanding deeper scratch repairs is about 320 to 400 grit when smoothing is needed. Sand the filler, not the whole panel, because broad sanding can cut through the finish and leave a dull patch or a thin spot.
Picture a veneer-front cabinet with a gouge at the edge of a door panel. Heavy sanding can cut through the face layer quickly. In that case, minimal sanding of the filler is safer than trying to level the whole area.
How do you match dark wood and cherry cabinets?
Dark wood and cherry cabinets are unforgiving. Repairs that look fine on lighter wood can turn too dark, too red, or too glossy on these finishes. Start with the lightest matching product that can work, then build color slowly and test before committing.
Avoid over-darkening the scratch
Dark wood often hides minor scuffs, but touch-up products can push the repaired spot darker than the surrounding area. Cherry cabinets can change tone as the finish dries, so a small test spot matters more than it does on pale woods.
Match stain tone and sheen
Color alone is not enough. Match the sheen too, because a satin repair on a semi-gloss cabinet can look flat even when the color is close. Use a finish that blends with the surrounding sheen, whether the cabinet is lacquer, varnish, polyurethane, or oil finished.
Test in an inconspicuous spot
Test the marker, wax, stain, or topcoat in a hidden area first, such as the inside edge of a door or the back side of a panel. Let it dry fully, then check both color and sheen in the same light that hits the cabinet face.
Failure cases to avoid
Most bad cabinet repairs come from three mistakes: color mismatch, sheen mismatch, and sanding through the finish. A careful first pass avoids all three. If the repair looks wrong after the test spot dries, stop and adjust before touching the visible scratch.
Color mismatch
Color mismatch happens when the repair dries lighter or darker than the surrounding wood. This is common on dark stain and cherry cabinets. Use the smallest effective amount of color, and do not assume the wet color will match the dry color.
Sheen mismatch
Sheen mismatch makes the repair stand out even when the color is close. A glossy patch beside a satin door often catches the eye first. Match the cabinet’s existing sheen, and use a topcoat only if it fits the rest of the door.
Through-finish sanding on veneer or factory finish
Through-finish sanding is the fastest way to turn a small scratch into a larger repair. Veneer can be damaged by aggressive sanding, and factory-finished cabinets often have a thin, even coating that is easy to cut through. Sand only when the repair truly needs it.
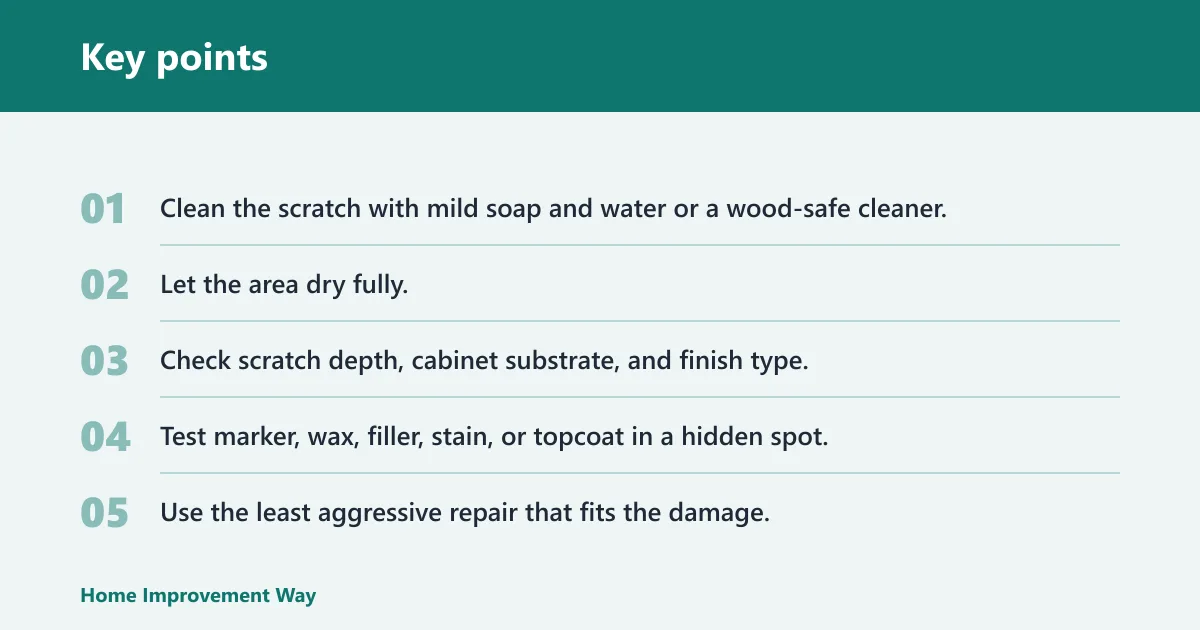
- Clean the scratch with mild soap and water or a wood-safe cleaner.
- Let the area dry fully.
- Check scratch depth, cabinet substrate, and finish type.
- Test marker, wax, filler, stain, or topcoat in a hidden spot.
- Use the least aggressive repair that fits the damage.
- Sand only the repair area if leveling is needed.
- Blend color and sheen, then let the repair cure fully before judging the result.
Frequently asked questions
How do you repair scratched wood cabinets?
Start by cleaning and drying the cabinet, then judge whether the scratch is only in the topcoat, through the finish, or down to bare wood. Use a marker or wax stick for shallow damage, wood filler for deeper gouges, and sanding only when the repair needs leveling.
How do you fix scratches on wood cabinets without sanding?
Use a wood touch-up marker for small color loss or a wax repair stick for shallow scratches and minor chips. These methods work best on finished cabinets when the scratch has not reached bare wood. Test the color in a hidden spot first so the repair does not stand out.
How do you repair deep scratches in wood cabinets?
Clean the area, fill the groove with wood filler, let it cure, then sand only the filled section with 320 to 400 grit if needed. After that, stain or topcoat to match the surrounding finish. On veneer, keep sanding very limited to avoid cutting through the face layer.
How do you fix scratches on dark wood cabinets?
Use the lightest effective touch-up product, because dark stain can make repairs look too heavy. Match both color and sheen, then test in a hidden area before repairing the visible scratch. Dark cabinets often show gloss differences, so a close color match still needs the right finish.
How do you fix scratches on cherry wood cabinets?
Cherry cabinets can darken a repair quickly, so avoid starting with a heavy stain or dark filler. A marker or wax stick may be enough for shallow scratches, but always test first. If bare wood shows, use filler and blend the sheen carefully to avoid a spot that reads too red or too dark.
What is the best way to repair cat scratches on wood furniture?
For cat scratches, the best method depends on how deep the claw marks go. Light scuffs often respond to a marker or wax stick, while deeper tracks need filler. Check whether the finish is still intact, because repeated scratches on veneer can call for a very careful repair approach.
When should you use wood filler instead of a marker or wax stick?
Use wood filler when the scratch has real depth, a missing edge, or a gouge that exposes bare wood. Marker and wax are for cosmetic damage and shallow color loss. If the damaged area can catch a fingernail, filler is usually the safer choice before sanding and finishing.
Sponsored / affiliate links. As an Amazon Associate I earn from qualifying purchases. I may earn additional commission from eligible campaigns.