How to Choose Wood Filler for Indoor Repairs
Choose wood filler for indoor repairs by finish first, then by defect size. Paintable filler is the easiest match for trim and baseboards, stainable filler is for visible wood that must blend under clear or stained finish, and epoxy is the safer option for larger voids or repairs that need added strength. For gaps wider than about 1/8 inch, use a filler or repair system rated for larger voids rather than a lightweight patch compound.
What matters first for indoor repairs?
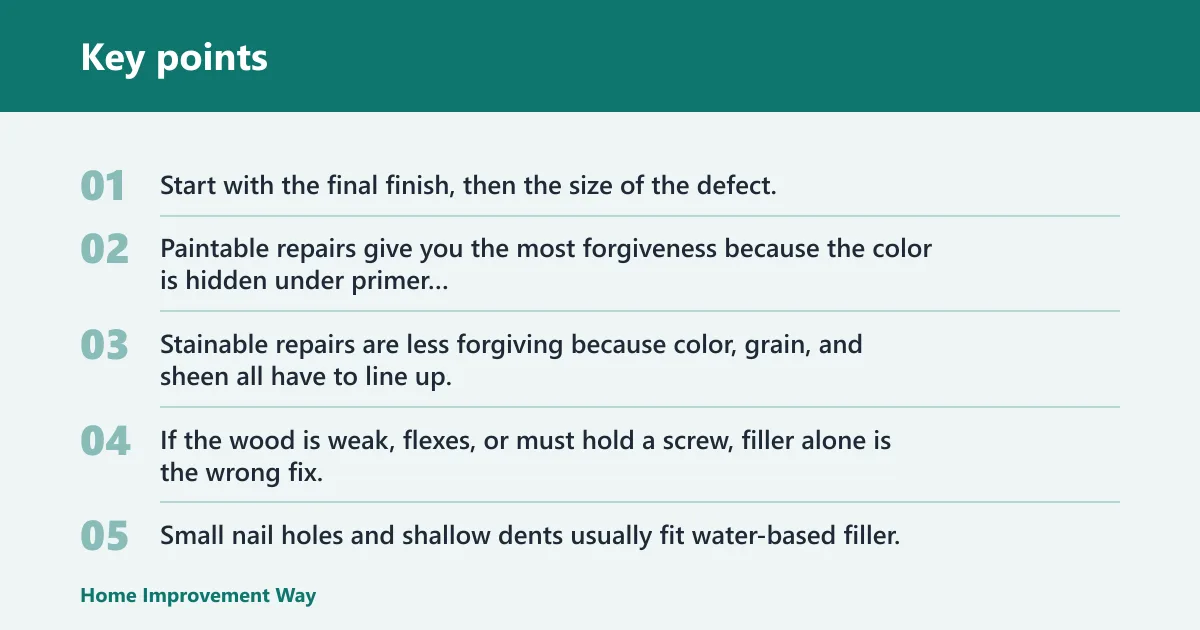


Start with the final finish, then the size of the defect, then whether the area moves or takes wear. Paintable repairs give you the most forgiveness because the color is hidden under primer and paint. Stainable repairs are less forgiving because color, grain, and sheen all have to line up. If the wood is weak, flexes, or must hold a screw, filler alone is the wrong fix.
Match filler to defect size
Small nail holes and shallow dents usually fit water-based filler. Larger gouges, open cracks, and worn edges need a stronger repair strategy, and epoxy is the safer choice when the void is deep or the surrounding wood is weak. Manufacturer technical data for products like DAP Plastic Wood-X, Minwax Stainable Wood Filler, and two-part epoxies typically distinguishes between shallow cosmetic fills and deeper structural rebuilds for this reason.
For example, a 3/16-inch chip in painted baseboard can be filled, sanded, primed, and painted. The same chip on a stained cabinet face usually needs a more exact color and grain match, and a deep corner break may need epoxy or a patch instead of a lightweight filler.
Check whether the repair can move or flex
If the area moves, flexes, or needs to hold a screw reliably, filler should not be the only repair. Wood filler fills voids; it does not restore missing structure. Loose screw holes, soft punky wood, and broken joints need reinforcement, plugs, patching, or epoxy followed by a structural repair.
That matters indoors because a repair can look good immediately and still fail under use. A cabinet hinge screw hole can hold for a short time after filling, then reopen as soon as the screw is tightened again. In that case, filler is cosmetic only unless the hole is rebuilt first.
Wood filler types at a glance

The key choice is chemistry and finish compatibility, not brand name. Water-based filler is the easiest indoor option for small repairs, solvent-based filler is better for tougher cosmetic fills where odor and cleanup are less important, epoxy handles larger voids and higher stress, and stainable filler is the category to consider when the patch must blend under clear or stained finish.
| Repair type | Best filler type | Finish risk | Dry/sand time | Stain/paint compatibility |
|---|---|---|---|---|
| Nail holes, pin dents, tiny dings | Water-based wood filler | Low for paint; medium for stain if overfilled or sanded through surrounding wood | Follow label; shallow fills can be quick-dry, deeper fills need longer cure | Paintable; stainable products vary and should be tested on scrap |
| Cabinet chips and trim gouges | Stainable filler or epoxy, depending on finish | High if the color match is off or grain telegraphs under clear coat | Varies by depth and chemistry; do not sand until fully cured | Paintable for painted trim; stainable only when the finish match is acceptable |
| Screw holes and loose fastener damage | Two-part epoxy wood filler | Medium to high if the hole still needs to carry load after repair | Pot life and cure depend on product; many epoxies set in hours, not minutes | Usually paintable after cure; stain match is less predictable than with real wood |
| Gap filling along trim or molding | Solvent-based or epoxy filler, if the gap is stable | Medium if the joint continues to move or open | Longer cure is common for deeper fills | Best for paint-grade or hidden repairs; stain-grade results are less consistent |
| Wear-prone or larger defects | Two-part epoxy wood filler | Low shrinkage, but visible texture can still need careful sanding | Typically longer working time than paste fillers; check manufacturer TDS | Best where strength matters more than exact stain match |
Water-based wood filler
Water-based wood filler is the easiest starting point for small indoor dents, chips, and nail holes. It usually has low odor, cleans up with water, and sands easily after cure. The tradeoff is shrinkage and lower durability than epoxy, so deep fills may need a second application. Manufacturer directions commonly emphasize full drying before sanding and finishing.
For trim, baseboards, and painted cabinet parts, water-based filler is often the cleanest choice. It gives you a smooth, paint-ready surface without solvent cleanup, but it is not the strongest option for edges that get bumped repeatedly.
Solvent-based wood filler
Solvent-based wood filler is denser and typically better suited to tougher cosmetic repairs, especially where durability matters more than low odor. It can still be used indoors, but ventilation and solvent cleanup matter more than with water-based products. A solvent-based formula is not the same as epoxy, and it should not be treated like a structural rebuild material.
Use it when you need a harder fill for stable trim, threshold edges, or other interior spots that see impact. The main product-spec difference to watch is the cleanup method and drying behavior listed on the label or technical sheet, not just the marketing name.
Two-part epoxy wood filler
Two-part epoxy wood filler is the strongest option for larger repairs. Manufacturer technical data sheets for structural epoxies typically list a 1:1 mix ratio, a limited pot life, and a cure that allows sanding, drilling, routing, and shaping after hardening. That makes epoxy the safer pick for deep voids, worn edges, and repairs where low shrinkage matters.
Epoxy is the better choice when a repair needs body and shape retention more than color perfection. It is not the easiest product to disguise under stain, but it is often the most reliable way to rebuild missing wood indoors.
Stainable wood filler
Stainable wood filler is for visible furniture, cabinetry, and molding where the repair must accept stain more naturally than a standard paintable filler. It is still a filler, not a replacement for real wood, so the finish match depends on species, sanding, and the stain system used. Test it on scrap first before committing to a visible surface.
Stainability has limits. The filler can still read lighter, darker, or flatter than the surrounding wood, especially after sanding changes surface texture. If the repair is large or highly visible, a patch or plug may look better than any filled void.
Choose paintable, stainable, or structural filler?
Pick the finish category before you pick the product. Paintable filler is easiest for hidden or fully coated repairs. Stainable filler is for visible wood where grain and color need to blend. Structural epoxy is the safer choice when the repair needs more depth, less shrinkage, or resistance to reopening.
When paintable filler is the right call
Use paintable filler for trim, baseboards, casing, and painted cabinets where the repair disappears under primer and topcoat. It is the best fit for nail holes, shallow dents, and small chips because the finish is opaque and color match matters less than smoothness.
The main risk is shrinkage telegraphing through paint if you sand too early or underfill the defect. Overfill slightly, let it cure fully, then sand flush before priming.
When stainable filler is worth the risk
Use stainable filler on visible furniture, molding, and cabinetry only when you can tolerate a test step and some color adjustment. It is the right call when the repair has to stay in the same visual plane as the surrounding wood instead of being hidden by paint.
Even stainable filler can stand out if the surrounding wood absorbs stain unevenly. If the repair is wide, cross-grain, or in a spotlight location, a patch, plug, or replacement piece may look better.
When epoxy is the safer choice
Choose epoxy when the defect is larger, the edge is weak, or the repair may see impact or wear. Epoxy has the lowest shrink risk among common filler types and gives you more shaping options after cure, which helps on carved profiles, deeper gouges, and worn corners.
For a cool basement, garage entry, or unheated room, check the manufacturer’s temperature range and cure instructions on the product data sheet. Epoxy performance is chemistry-specific, so the label matters more than the generic category name.
Wood filler decision matrix
This is the only decision matrix you need: choose by repair, then finish, then cure behavior. The mistake most buyers make is choosing a product that matches the color but not the use case, or one that is strong enough but wrong for the finish.
| Repair type | Best filler type | Finish risk | Dry/sand time | Stain/paint compatibility |
|---|---|---|---|---|
| Nail holes | Water-based wood filler | Low for paint; check stain match if the hole is on visible trim | Usually quick for shallow fills; follow label before sanding | Best for paint; stain results vary by product and wood species |
| Small dents | Water-based wood filler | Low for paint; medium if the dent is deep enough to need a second pass | Deeper fills need longer cure before sanding | Paintable; stainable only if tested and matched well |
| Cabinet chips | Stainable filler or epoxy | High if the repaired area catches light across a gloss finish | Varies by product; do not finish until fully cured | Stainable filler for visible wood; paintable only when the surface will be coated |
| Trim gouges | Paintable filler for painted trim; epoxy for deeper gouges | Medium if the profile is ornate and hard to sand flush | Follow manufacturer cure instructions; deeper profiles need more time | Paintable is best for painted trim; stainability is secondary unless the trim is clear-finished |
| Screw holes | Epoxy if strength matters; filler only for cosmetic holes | High if the hole must hold fasteners again | Epoxy usually needs full cure before drilling or re-fastening | Paintable after cure; stain match is usually less predictable |
| Gap filling | Solvent-based or epoxy for stable gaps | Medium if the joint still moves seasonally | Longer cure is common for deeper fills | Best for paint-grade or hidden repairs; stain-grade results are less consistent |
Do not use filler when the wood is moving, missing large sections, structurally weakened, or when the repair must carry load or hold fasteners reliably. In those cases, filler can only disguise the defect for a short time.
Best filler by common indoor repair
Room and location matter because the same defect behaves differently on a cabinet door, a baseboard, or a floor threshold. Use the visible finish first, then ask whether the repair faces abrasion, edge wear, or fastener stress.
Trim and baseboard repairs
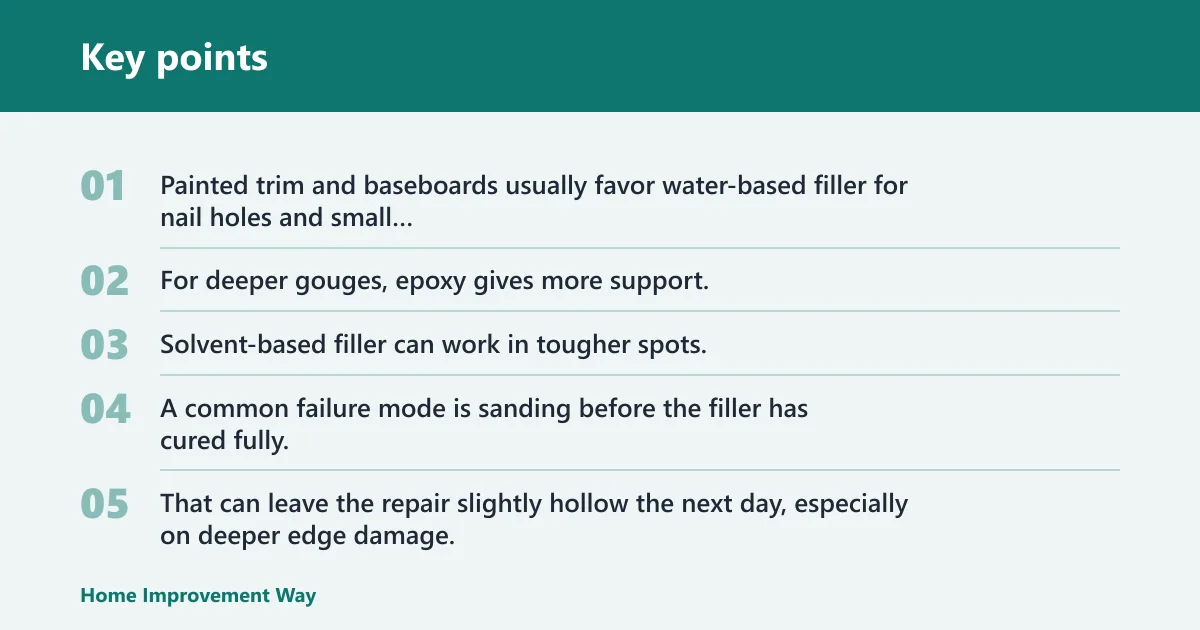
Painted trim and baseboards usually favor water-based filler for nail holes and small dents. For deeper gouges, epoxy gives more support, especially near corners where soft wood can crumble during sanding. Solvent-based filler can work in tougher spots, but it is less convenient indoors because of odor and cleanup.
A common failure mode is sanding before the filler has cured fully. That can leave the repair slightly hollow the next day, especially on deeper edge damage. A second thin application is often better than forcing a single heavy fill.
Cabinet and furniture repairs
Cabinets and furniture often need stainable filler when the repair stays visible after finishing. Use it only after a scrap test, because stain can read blotchy or too dark if the filler absorbs differently from the surrounding wood. For larger voids, epoxy is safer even if the color match is harder.
For a clear-finished drawer front with a small chip, the finish match matters more than raw strength. For a broken corner or deeper gouge, rebuild the shape first, then finish it, instead of relying on stainability alone.
Floor and threshold repairs
Floors and thresholds take more wear than trim, so durability matters more. A small nail hole in a low-traffic strip can still take water-based filler, but gouges and worn spots usually do better with epoxy because they resist crumbling and reopen less often under foot traffic.
Epoxy is the better choice where the repair will be sanded flush and then lived on. The key is not just hardness, but how well the cured repair holds shape after curing and sanding.
Screw-hole repairs that need extra strength
If the screw hole must hold hardware again, filler alone is usually too weak. Use epoxy for a stronger rebuild, or move to a plug, patch, or insert method if the fastener is load-bearing. A loose hole refilled with soft paste often reopens the first time the screw bites.
This is one of the clearest indoor failure cases: the surface looks fixed, but the joint fails under tension. If the screw matters, choose strength first and appearance second.
How do you apply and sand wood filler?
Application is straightforward, but timing decides whether the repair disappears or stands out. Clean the area, pack the filler firmly, overfill slightly, let it cure fully, then sand before finishing. Skipping any of those steps increases the chance of shrinkage, visible edges, or a weak repair line.
Pack the defect with a putty knife
Use a putty knife to press filler deep into the defect instead of skimming across the top. Work across the grain and pack the cavity fully so air pockets do not leave a hollow center. For narrow defects, a smaller knife gives you more control along the edges.
For paint-grade repairs, you can leave a slight crown above the surface. For stain-grade repairs, keep the overfill modest so you do not sand into the surrounding wood and enlarge the visible patch.
Overfill slightly, then let it dry fully
Overfill just enough to account for shrinkage and sanding. A flush fill can sink below the surface after curing, especially with water-based products. Dry time is product-specific: manufacturer data sheets commonly range from short open times on quick-dry fillers to multi-hour or overnight cure windows on deeper fills and epoxies.
Use the label, not a generic time estimate, as the final cue. For example, some structural epoxies list a limited working time and then require a full cure before sanding, drilling, or finishing.
Sand with about 120 grit before finishing
After full cure, sand the repair with fine sandpaper around 120 grit to level it before finishing. Do not sand early. If the filler is still soft, you can smear the surface, round the edges, or pull material out of the defect.
For stained work, sanding control matters even more. If you cut too deep into the surrounding wood, the stain can read differently on the patch and the original surface, which makes the repair easier to spot than the defect itself.
Wood filler mistakes to avoid
The most common failures indoors are not about brand choice. They are about using the wrong filler for movement, sanding too soon, or asking filler to do a job that needs reinforcement. Those mistakes show up later as cracks, sink-back, or a repair that reopens.
Using filler where wood movement is expected
If the area flexes, expands, or shrinks with seasonal movement, filler can crack or separate. Use filler only where the wood is stable. Gaps that keep opening need a joint repair, not more paste.
Skipping scrap tests for stainability
Never assume stainable filler will blend automatically. Test it on scrap from the same species if possible, and finish it the same way you plan to finish the repair. That is the only reliable way to judge whether the color match is acceptable.
Sanding before full cure
Early sanding can ruin the repair surface and leave a divot that gets noticed under side light. If the product says to wait longer than the quick-dry window, follow that longer time. Dry to the touch is not the same as ready for sanding.
Relying on filler for missing wood or weak screw holes
Filler is not a fix for rot, missing chunks, or holes that must hold hardware under stress. Use epoxy only when the repair is appropriate for it, and use patching or replacement when the damage is beyond what a filler can realistically rebuild.
Frequently asked questions
What kind of wood filler should I use for indoor repairs?
For most indoor repairs, choose by finish first. Water-based filler is the best fit for small paint-grade dents, chips, and nail holes. Use stainable filler when the repair must blend into finished wood, and move to epoxy for larger, deeper, or wear-prone defects.
What is the best interior wood filler for small dents and nail holes?
Water-based wood filler is usually the best interior choice for small dents and nail holes because it has low odor, cleans up with water, and sands easily after cure. It may shrink slightly, so overfill a little and check the repair again before priming or painting.
Can I stain wood filler on furniture and cabinets?
Yes, but only if the filler is labeled stainable and the finish match is acceptable on scrap first. Stainable filler is common on furniture, molding, and cabinetry, but color absorption can vary. A preconditioner may be needed, especially on soft wood that stains unevenly.
Should I use water-based, solvent-based, or epoxy wood filler indoors?
Use water-based filler for small indoor dents and holes, solvent-based filler when you need more durability and water resistance, and epoxy for larger or stronger repairs. Solvent-based products have stronger odor and need solvent cleanup, while epoxy is best when shrinkage and strength matter most.
How long does wood filler take to dry before sanding?
Dry time varies by product and by fill depth. Manufacturer technical data sheets are the best source for specific dry and cure windows, which can range from quick surface drying on shallow repairs to several hours or overnight on deeper fills. Sand only after full cure, not just when the surface feels dry.
Can wood filler be used on trim, cabinets, and furniture?
Yes, but the filler type should match the finish and the repair size. Trim often takes paintable filler, cabinets and furniture may need stainable filler, and deeper defects or worn edges usually need epoxy. The visible finish and the repair’s strength requirement should drive the choice.
Sponsored / affiliate links. As an Amazon Associate I earn from qualifying purchases. I may earn additional commission from eligible campaigns.