Wood Rot Repair: How To Fix It (Steps, Cost, Cure Times)
Wood rot repair means chiseling out every soft, decayed fiber down to solid wood, then rebuilding the void with a two-part epoxy system — ordinary wood filler or a coat of paint alone will not stop active fungal decay. Left untreated, rot spreads along the grain and can turn a $200 surface patch into $1,500+ structural framing replacement within a season. This guide covers the exact repair steps, how to tell dry rot from wet rot, real cure times for hardener and filler, and when the damage is too far gone for a DIY fix.
Quick Answer
To fix wood rot, chisel out all soft and discolored wood down to firm material, brush on a penetrating epoxy consolidant, then pack epoxy filler into the void once the consolidant turns tacky. Sand and shape after the filler cures (2–4 hours), then prime and paint. Replace the wood instead of repairing it once rot reaches load-bearing framing.
What Is Wood Rot? Dry Rot vs. Wet Rot
Wood rot is decay caused by fungi that digest the cellulose and lignin in wood fiber, leaving it soft, discolored, and structurally weak. It only develops where moisture and fungal spores meet damp wood, which is why fixing the moisture source is always step one — not just the visible damage. This guide is part of our broader wood maintenance coverage, and pairs well with our explainer on why wood rot is a chemical process, not just physical wear.
There are two main types, and telling them apart changes how much wood you need to cut out:
| Rot Type | Fungus & Moisture Needed | How It Looks | Best For |
|---|---|---|---|
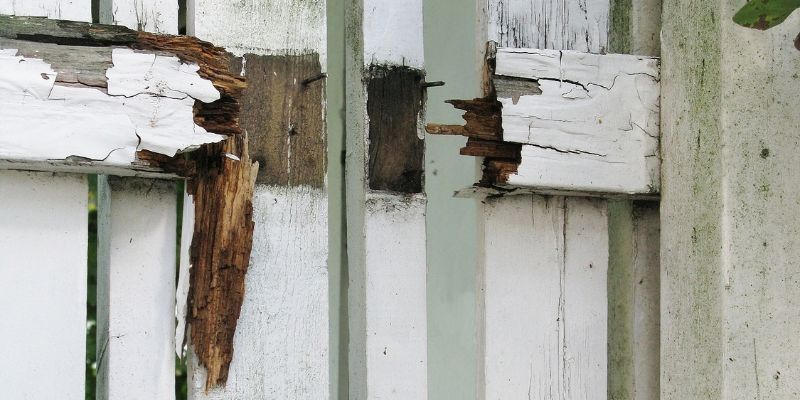
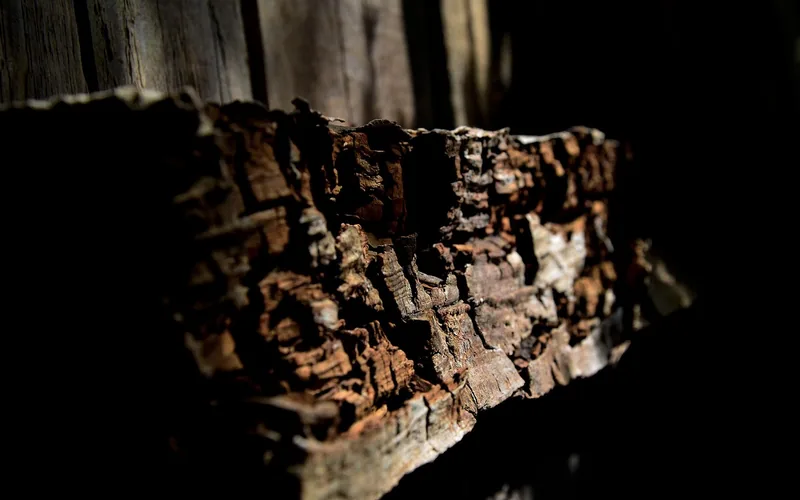
| Dry Rot | Serpula lacrymans; can spread through masonry to reach wood far from the original leak | Cuboidal cracking, reddish-brown color, fluffy white or grey fungal growth | Cut out 12+ inches past visible damage — it travels beyond what you can see |
| Wet Rot | Several species incl. Coniophora puteana; needs sustained moisture near 50%+ | Soft, spongy texture, dark staining, stays localized at the moisture source | Fix the moisture source first — an epoxy repair is usually enough |
📊 Decay fungi need sustained wood moisture above roughly 20% to establish — keeping exterior wood below that threshold is the single biggest factor in preventing rot from starting in the first place. Source: USDA Forest Products Laboratory, Carll & Highley
Tools and Materials You Need
A proper epoxy repair needs three categories of supplies: demolition tools, the two-part epoxy system itself, and safety gear.
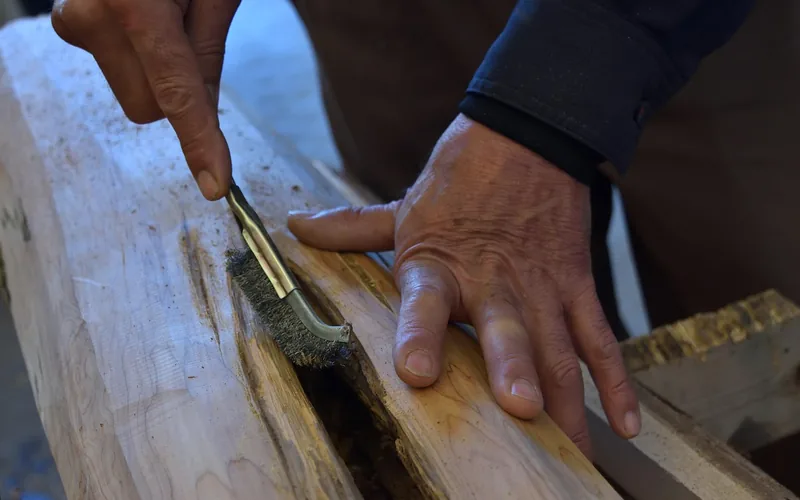
- Removal tools: a sharp chisel, hammer, utility knife, and a wire brush or drill-mounted wire wheel to dig out soft fiber and clean the cavity.
- Repair materials: a liquid epoxy consolidant (wood hardener) and a two-part epoxy filler — the two products work together, not as substitutes for each other.
- Safety gear: nitrile gloves, safety glasses, and a respirator rated for organic vapors, since epoxy fumes and mold spores are both a real hazard here.
Best Wood Rot Repair Kit Pick
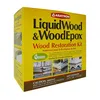
Abatron Wood Restoration Kit, 24 oz – $50.82
Includes both LiquidWood consolidant and WoodEpox filler in one kit — the exact two-step hardener-then-filler process this guide walks through, instead of buying each part separately.
- Best for: window sills, door frames, trim, and columns with moderate rot
- Why we picked it: one kit covers both repair steps (consolidant + filler) this guide uses
- Main drawback: pricier per-ounce than buying a single-purpose product
Compare more wood rot repair kit options
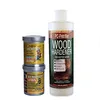 Option 1 PC-Woody Epoxy Paste + PC-Petrifier Kit – $23.59
|
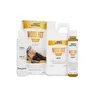 Option 2 WEST SYSTEM Wood Rot Repair Kit – $36.42
|
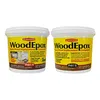 Option 3 Abatron WoodEpox Filler, 2-Quart – $60.31
|
As an Amazon Associate we earn from qualifying purchases.
How to Tell How Bad the Rot Really Is
Look for soft, discolored, or spongy patches, then confirm with a probe test: press an awl or a flathead screwdriver into the suspect wood. Sound wood resists with a firm push-back; rotted wood lets the tool sink in easily or crumbles apart with almost no resistance.
Before deciding to repair vs. replace, check:
- How far the soft wood extends past what you can see on the surface
- Whether the affected piece carries structural load (framing, sill plate, joist) or is cosmetic (trim, siding)
- Whether the rot has reached a point where a screwdriver passes straight through the wood — at that stage, replace rather than repair
Step-By-Step: How to Fix Wood Rot With Epoxy
Every genuine epoxy wood rot repair follows the same order: remove, harden, fill, shape, seal. Skipping the consolidant step is the most common reason DIY epoxy repairs fail early — filler alone doesn’t bond well to punky wood fiber.
- Remove the rot: Chisel and dig out every soft, spongy, or discolored fiber until you reach solid wood on all sides, probing the edges with an awl to confirm firmness.
- Apply wood consolidant: Brush a penetrating epoxy consolidant onto the exposed wood and let it soak in fully, then let it cure to a hard, glassy surface — several hours, longer in cool weather — before moving on.
- Pack in epoxy filler: While the consolidant is still slightly tacky, press two-part epoxy filler into the void, overfilling slightly so there is material left to shape.
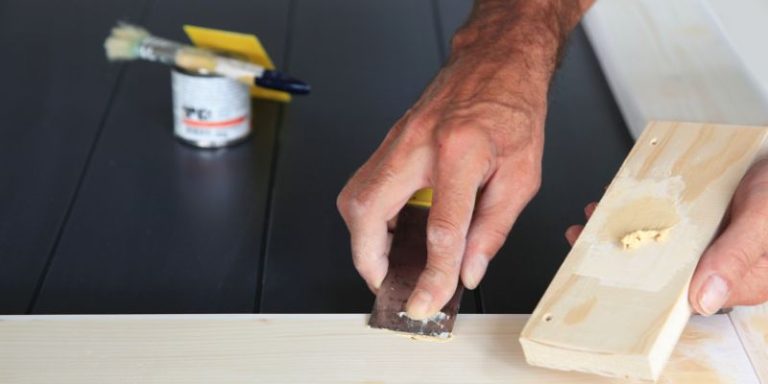
- Shape and sand: Once the filler cures (typically 2–4 hours), carve and sand it flush with the surrounding wood profile.
- Prime and paint: Seal the repair with an exterior-grade primer and matching topcoat within a day or two of sanding to lock out moisture.
“LiquidWood consolidant has a 30–45 minute pot life (working time) after mixing, and the treated wood hardens in just a few hours; WoodEpox filler has a 20–30 minute pot life and can be painted, stained, carved, and sanded like natural wood once cured.”
Preventing Wood Rot in the Future
Since rot needs sustained moisture above roughly 20% wood moisture content to start, moisture control does more long-term work than any coating:
- Ensure good drainage and grade so water moves away from wooden structures, not toward them
- Install and maintain gutters to keep roof runoff off of fascia and trim boards
- Reapply waterproof sealant or paint on exposed exterior wood every few years, before the finish visibly fails
- For new construction or replacements, use naturally rot-resistant species or pressure-treated lumber in ground-contact or high-moisture locations
If you’re repairing or replacing a section near pressure-treated lumber, note that the wood needs to dry out first — check how long to wait before painting treated wood so your new finish actually bonds instead of peeling within a season.
- Inspect wood for soft spots or discoloration every few months, especially after wet seasons
- Clear leaves and debris away from wood-to-ground contact points to stop moisture from being trapped
When to Call a Professional Instead of DIY
DIY epoxy repair works well for isolated, non-structural damage caught early. Call a contractor once rot affects framing, subfloor, or sill plates, or if it’s hidden inside a wall cavity you can’t fully inspect.
- Extensive rot that affects the structural stability of your home
- Active mold growth or a pest infestation living in the damaged wood
- Damage inside walls, under floors, or anywhere you can’t confirm the full extent
Minor DIY repairs typically run $200–$600 in materials; professional contractors charge roughly $500–$3,000 for isolated repairs, climbing toward $1,500–$5,000+ once framing or subfloor is involved. If the damage means replacing an entire section rather than repairing it, our guide to wood siding replacement costs breaks down full-section pricing.
FAQs About Wood Rot Repair
What Are the Common Signs of Wood Rot?
Common signs include gray or brownish discoloration, a soft or spongy texture that feels mushy when pressed, a musty odor, visible fungal growth such as mold or mildew, and cracked or flaking paint over the affected area.
What Tools and Materials Do I Need to Repair Wood Rot?
You’ll need a chisel, hammer, wire brush, and a power sander for removal, plus a two-part epoxy system (liquid consolidant and epoxy filler), exterior primer and paint, gloves, goggles, and a respirator. A moisture meter helps confirm the area is dry before you start.
How Much Does Wood Rot Repair Cost?
Minor DIY repairs with epoxy filler typically run $200 to $600 in materials, per 2026 cost data from Homewyse. Professional contractors charge $500 to $3,000 for isolated repairs, with costs climbing to $1,500–$5,000+ once rot reaches structural framing or a sill plate.
How Long Does Wood Rot Repair Take?
A small DIY repair takes roughly 3–5 hours of active work spread over a day: the consolidant needs several hours (or overnight in cool weather) to cure before you pack in filler, which then hardens in 2–4 hours before sanding and priming. Larger or structural repairs take a full day or more.
How Can I Prevent Wood Rot From Happening Again?
Keep wood dry by sealing exposed surfaces with waterproof finish or paint, maintain gutters and drainage so water moves away from wood, and inspect regularly for leaks or moisture buildup. For new work, use pressure-treated or naturally rot-resistant wood in ground-contact or high-moisture spots.
What’s the Difference Between Superficial and Structural Wood Rot?
Superficial rot affects only the surface, causing discoloration and softness without compromising load-bearing capacity — sand and treat with a preservative or sealant. Structural rot penetrates deeper and weakens the wood’s ability to bear load, meaning you replace the damaged member and fix the underlying moisture source rather than just patching it.
Can I Use Epoxy or Fillers to Repair Wood Rot?
Yes — remove all decayed wood down to solid material first, then apply liquid consolidant and let it cure before packing in epoxy filler with a putty knife, filling voids completely. Let it cure as directed, then sand smooth and finish to match the surrounding wood.
Conclusion
Fixing wood rot comes down to removing every trace of decayed fiber, hardening what’s left with a penetrating consolidant, and rebuilding the void with epoxy filler before sealing it against moisture. Small jobs are a realistic weekend DIY project for $200–$600 in materials — but once rot reaches structural framing or you can’t fully see the extent of the damage, bringing in a professional protects both your home and your budget.
Sponsored / affiliate links. As an Amazon Associate I earn from qualifying purchases. I may earn additional commission from eligible campaigns.