How to Fix Peeling Wood Veneer on Furniture
Fix peeling wood veneer by re-gluing it when the veneer is intact, patching chips or small missing areas, and replacing the panel when the substrate is swollen, crumbling, or badly delaminated. Leaving loose veneer lets moisture move farther under the face, weakens the edge, and can turn a small repair into a refinish or panel swap. This guide shows how to judge the damage, choose re-glue, patch, or replace, and repair the surface safely.
What you’ll need


- Wood glue for intact lifted veneer
- Glue syringe or thin applicator
- Putty knife
- Utility knife with a sharp blade
- Clamps
- Flat caul or wood block
- Wax paper
- Sandpaper for light touch-up only
- Replacement veneer patch material or sheet veneer
- Finish touch-up materials that match the piece
Identify the veneer damage
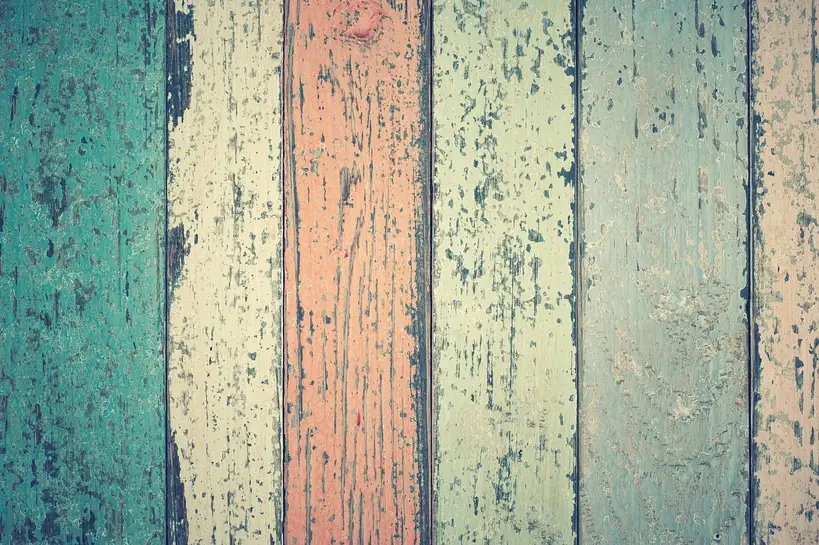
Start by sorting out loose veneer, chips, missing sections, bubbles, and repeated lift. Veneer is a thin wood layer bonded to a substrate, so the right fix depends on whether the top layer is still sound and whether the base under it is flat, dry, and solid.
Look for lifted edges
Lifted edges usually mean the veneer is still there, but the bond has failed. If the edge springs back flat and the substrate is firm, re-gluing is usually the first choice. If the edge is curled, cracked, or darkened by water, inspect the base before you commit to adhesive.
Separate chips from missing sections
A chip has veneer on one side of the break and sound material around it. A missing section exposes substrate or old glue. Chips may take a repair patch or filler, but larger losses usually need a replacement veneer patch that matches species and grain direction.
Check for bubbling and soft substrate
A bubble often means trapped air, failed glue, or moisture damage under the veneer. Press around the bubble with your fingertip. If the panel feels soft, swollen, or crumbly, fix the structure before any finish work. Wait until the wood is dry and stable, then repair the surface.
Can wood veneer be repaired?
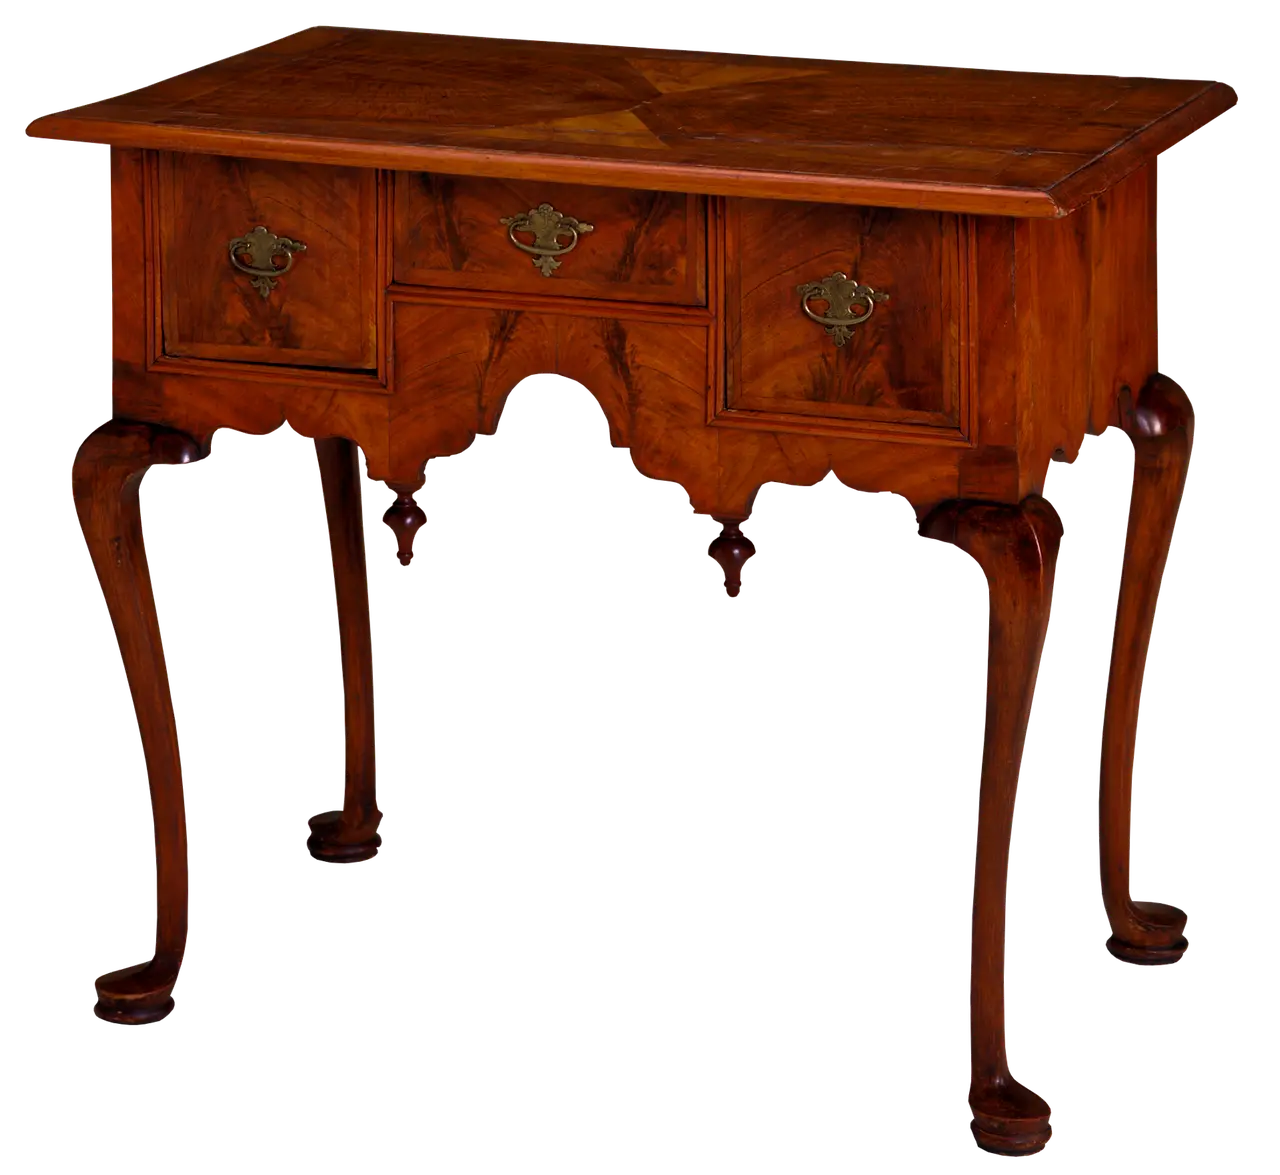
Yes, wood veneer can often be repaired when the substrate is still solid, the veneer is mostly intact, and the failure is limited to a loose edge, small chip, or bubble. Repair gets less reliable when the base has swelled, the finish is brittle, or lift has returned after heat or moisture exposure.
Typical hardwood veneer thickness is 0.6 millimeters, which is 1/42 of an inch, so sanding and scraping must stay light. That thin layer is repairable, but it is also easy to sand through if you try to flatten a flaw too aggressively.
When the substrate is still solid
If the base under the veneer is flat and firm, re-gluing is usually the best first move. Put wood glue on the exposed bond line, not across the whole panel. A glue syringe helps place adhesive into the gap without flooding the surface.
When the finish can still be saved
If the surrounding finish is intact, the repair can often stay local. That matters on drawer fronts, tabletops, and decorative edges where a full refinish would be heavier than the damage itself. A light blend is better than stripping a whole face that still reads well.
When repair is a poor bet
If the veneer has lifted in several areas, the substrate has swollen, or the finish is checking around the break, the repair may only buy time. Repeated failure usually means heat, moisture, or old adhesive loss has spread beyond one spot.
Veneer repair decision table
Use this table to choose re-glue, patch, or replace. If the red-flag column applies, cosmetic repair alone is unlikely to hold.
| Damage type | Likely cause | Best repair method | Red-flag signs that mean replace instead of repair |
|---|---|---|---|
| Edge lift | Old glue failure or moisture at the seam | Inject wood glue with a syringe, then clamp flat overnight | Edge is brittle, blackened, or lifts again after one repair |
| Corner chip | Impact or wear at a high-contact edge | Use a small replacement veneer patch or hard filler only for tiny losses | Chip extends into a large decorative edge or the base is crushed |
| Bubble | Trapped air, heat, or failed glue | Open the bubble carefully, add glue, and clamp with a flat caul | Soft substrate under the bubble or multiple bubbles nearby |
| Missing patch | Impact, scrape, or delamination loss | Cut and fit a replacement veneer patch matched to grain direction | Loss is large enough that matching the face would be obvious |
| Swollen substrate | Water intrusion or chronic dampness | Dry the piece fully, then assess whether the base can be stabilized | Base is crumbly, raised, or uneven after drying |
| Repeated delamination | Heat, moisture, or aged adhesive throughout the panel | Remove only what is loose, then patch or replace the panel section | Repair fails again after clamping and cure time |
| Loose seam after old glue failure | Bond line has dried out at one edge | Scrape dried glue, add wood glue, clamp with a caul | Seam opens in several places or the veneer curls sharply |
| Finish cracking around the lift | Movement under a brittle topcoat | Stabilize the veneer first, then touch up finish | Cracks spread far beyond the lifted zone or finish flakes widely |
When should you replace veneer instead of repair it?
Replace veneer instead of repairing it when the substrate has failed, the damage is too large for a believable patch, or moisture keeps returning. If the base is swollen or crumbling, glue cannot restore a flat bond line. In that case, a patch may fail even if it looks good for a day.
Signs the substrate has failed
Press the area after it dries. If it still feels spongy, raised, or uneven, the core is compromised. That is a structural problem, not a surface one. Cosmetic work on top of damaged substrate often cracks again because the base keeps moving.
When damage is too large for a patch
A small corner chip can disappear with a well-cut patch. A large field of missing veneer on a drawer front or tabletop is different. If the replacement piece would cover a broad, high-visibility area and the grain match would be poor, full replacement is often the cleaner option.
When moisture keeps returning
If the piece has been near a window leak, plant tray, damp wall, or repeated spills, find the source before any repair. Moisture damage can keep pushing the veneer loose. Until that source is fixed, new glue only repeats the same failure.
How do you fix peeling veneer?
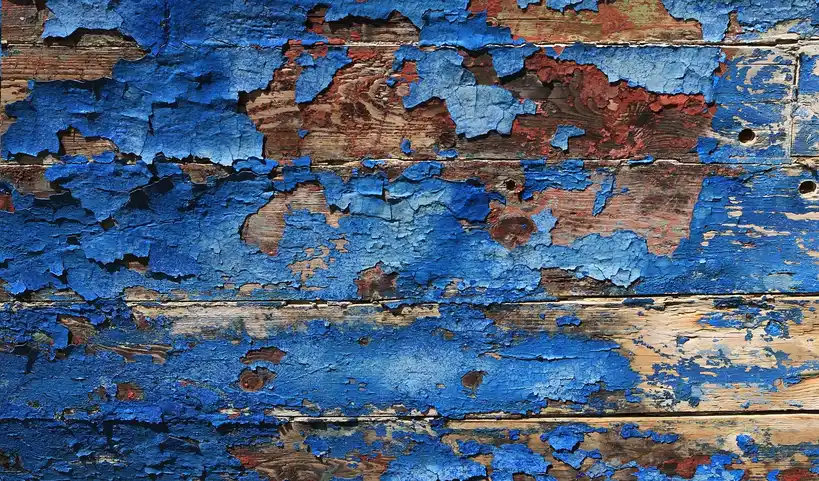
Fix peeling veneer by cleaning the area, lifting only the loose section, adding glue into the gap, and clamping it flat until cured. Use patches for missing spots, then trim, sand lightly, and match the finish. If the substrate is soft or swollen, stop and move to replacement instead.
- Clean dirt and grease from the repair zone. If the surface is grimy, wash the patch with sugar soap and let it dry fully, because greasy surfaces can make coating failure worse.
- Lift only the loose veneer with a putty knife. Keep the blade shallow so you do not split sound veneer beside the break.
- Scrape away old dried glue with the putty knife. A clean bond line holds better than glue smeared over brittle residue.
- Apply wood glue to the exposed bond line with a glue syringe or thin applicator. Wet the underside of the veneer and the substrate, but do not coat the whole panel.
- Press the veneer back into place, then clamp it with a flat caul or block. Put wax paper between the caul and the surface so the repair does not stick.
- Hold the repair overnight. That cure time matters on re-glued areas because moving the seam early breaks the bond before it hardens.
- If material is missing, cut a replacement veneer patch with a sharp utility knife. Match species and grain direction as closely as possible, then trim the patch flush after the glue sets.
- After curing, sand lightly only where needed. Veneer is thin, so heavy sanding can cut through the top layer and expose the substrate. (Popularwoodworking)
- Blend the finish to the surrounding area. On a drawer front, a small touch-up may be enough; on figured or glossy furniture, a perfect match may not be realistic.
Say your nightstand has a roughly 2-inch lifted front edge, but the panel underneath is still hard and flat. That is a re-glue job. Suppose the same nightstand also has a soft, raised corner from a flower-pot spill; fix the moisture issue first or the edge will likely fail again.
A common first-timer mistake is peeling back more veneer than needed. Keep the repair local. The more intact material you disturb, the more likely you are to create a larger patch job.
Common mistakes
Most bad veneer repairs come from rushing the bond line, sanding too hard, or ignoring moisture damage. Keep the work local and give the adhesive time to cure. A repair that looks flat before it is cured often fails later.
Using too much glue
Flooding the seam can push glue onto the finish and make cleanup harder. Add adhesive in controlled passes. If the first pass wets the full gap, stop there and clamp.
Skipping clamping or cure time
Loose veneer needs pressure to sit flush while the glue sets. Use clamps with a flat caul and leave the assembly overnight. Weights alone may not press the edge evenly, especially near corners.
Sanding through the veneer
Do not try to level a ridge with aggressive sanding. The veneer layer is thin enough that one heavy pass can expose the substrate. Sand only after the repair is stable, and only enough to soften the seam.
Ignoring moisture damage
If the surface was wet, fix the source before cosmetic work. Moisture can swell the substrate and break the glue line again, which turns a simple repair into repeated delamination.
Frequently asked questions
When is veneer too damaged to repair instead of replace?
Veneer is too damaged to rely on a cosmetic fix when the substrate is soft, swollen, or crumbling, or when the same area keeps lifting after re-glue. If the missing section is large enough that a patch would look obvious, replacement is usually the better choice.
Sponsored / affiliate links. As an Amazon Associate I earn from qualifying purchases. I may earn additional commission from eligible campaigns.