How to Start Woodworking with Hand Tools Only
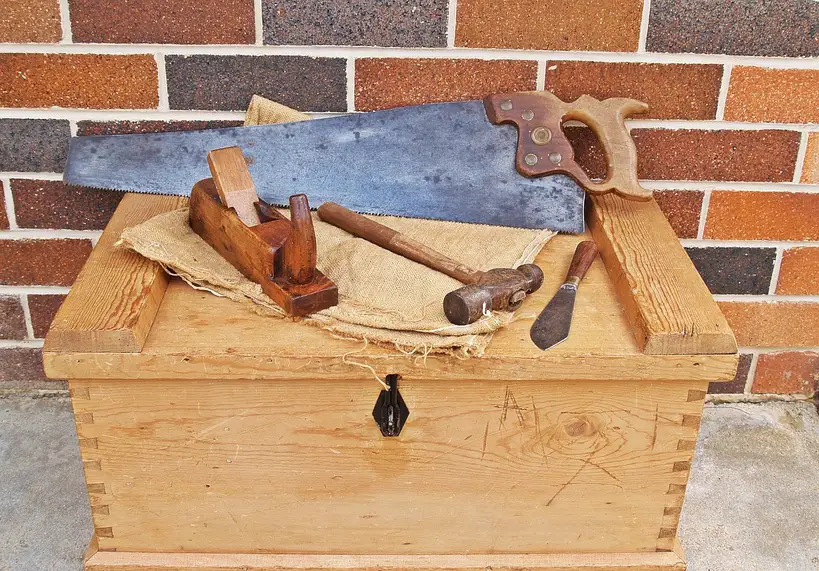
Start woodworking with hand tools by building a small kit around one project: a saw, block plane, chisel set, combination square, clamps, and a sharpening setup are enough to begin. Without that focus, you buy duplicate tools, fight dull edges, and stall before finishing anything. This guide shows the lowest-cost starter kit, the first project to choose, and the order to learn each hand skill.
Start with a tiny kit

You can begin without a full workshop. Start with a few hand tools and a single project, such as a small table, shelf, or simple box. The key is to match tools to the first jobs they will actually do: measuring, cutting, shaping, and assembly.
A small kit works because each tool earns its place quickly. A combination square checks angles and marks repeatable lines. A saw breaks stock down. A block plane cleans edges. Chisels trim joints and fit parts. Clamps hold everything together while you learn to assemble without wrestling the pieces by hand.
Think of the first project as the reason for the purchase order. If the project needs only straight cuts, simple edge cleanup, and screw assembly, then you can stop buying after the core set and practice those skills until they feel controlled.
Small-space setup for hand tools
An apartment, shared room, basement corner, or closet can work for beginner woodworking. The setup only needs a flat surface, a safe place to clamp parts, and enough room to move a saw and plane without bumping walls or furniture. Many beginner guides from tool retailers and manufacturers note that compact, portable setups are enough for starting out.
Folding sawhorses and a plywood top
For small spaces, folding sawhorses are the most portable starting point. Set a sheet of plywood on top and you get a temporary bench that stores flat when the session ends. That setup is easy to move, easy to clear, and better than trying to balance stock on the floor or a dining table.
A plywood top also gives you a sacrificial surface for saw cuts and clamping. If the room is shared, you can set up, cut, and pack away the whole station without leaving a heavy bench in place all week.
When a workbench with vise becomes worth it
A workbench with a vise is an early upgrade, not a requirement to start. A vise helps with planing, edge cleanup, and holding parts upright, so it matters more once you move beyond the first few projects. Retailers such as Woodcraft and Lee Valley position vises and benches as upgrades that improve control, not as the first purchase you must make.
Start without it if space or budget is tight. Buy the bench when your current setup stops holding work securely enough for clean cuts and flat planing.
Starter tool matrix
The table below ties each tool to one first job, a buy-new or buy-used call, a rough cost band, and the beginner mistake it helps prevent. That makes the purchase order clearer than a broad shopping list.
| Tool | First job | Buy new or used | Rough cost band | First mistake it prevents |
|---|---|---|---|---|
| Combination square | Check 90-degree angles, mark repeatable lines, and transfer measurements | Buy new if the rule and head are straight; used is fine if it locks firmly | Low | Out-of-square cuts and sloppy layout |
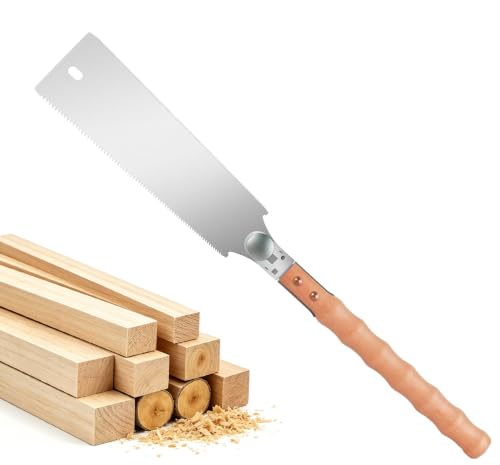
| Japanese pull saw | Crosscuts and general cutting on the pull stroke | Buy new | Low to mid | Wandering cuts from forcing a dull, heavy saw |
| Hand saw | Traditional stock breakdown for longer cuts or a more familiar feel | Buy used if teeth are sound and the plate is straight | Low | Buying the wrong saw style before you know your cut pattern |
| Block plane | Refine cut edges, ease corners, and remove small tearout | Buy used if the sole is flat enough and the adjusters work; new is safer for beginners | Mid | Forcing joints together because edges are rough or out of line |
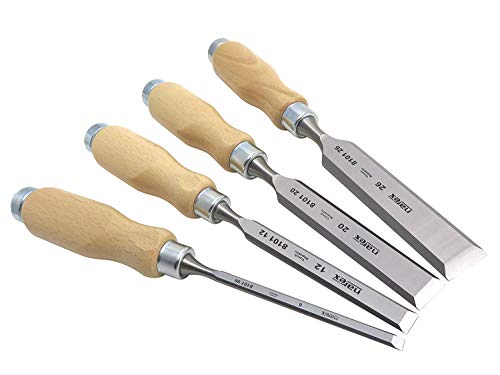
| Chisels, 1/4 inch, 1/2 inch, 3/4 inch, 1 inch | Trim joints, fit parts, clean corners, and pare away waste | Buy new if you want predictable edges; used can work if the bevels and backs are restorable | Mid | Ragged fitting and overcutting small areas |
| Mallet | Drive chisels during trimming and cleanup | Buy new or make one later | Low | Damaging chisel handles with a metal hammer |
| Clamps | Hold parts square and create a portable work surface | Buy new | Low to mid | Glue slip, misalignment, and awkward assembly |
| Folding sawhorses | Support a plywood top for a temporary bench | Buy new | Low to mid | Working without a stable surface in a small space |
| Rasp or file | Rough shape curves, corners, and uneven cut lines | Buy used if the teeth are not clogged or rounded over | Low | Skipping directly from sawing to fine cleanup |
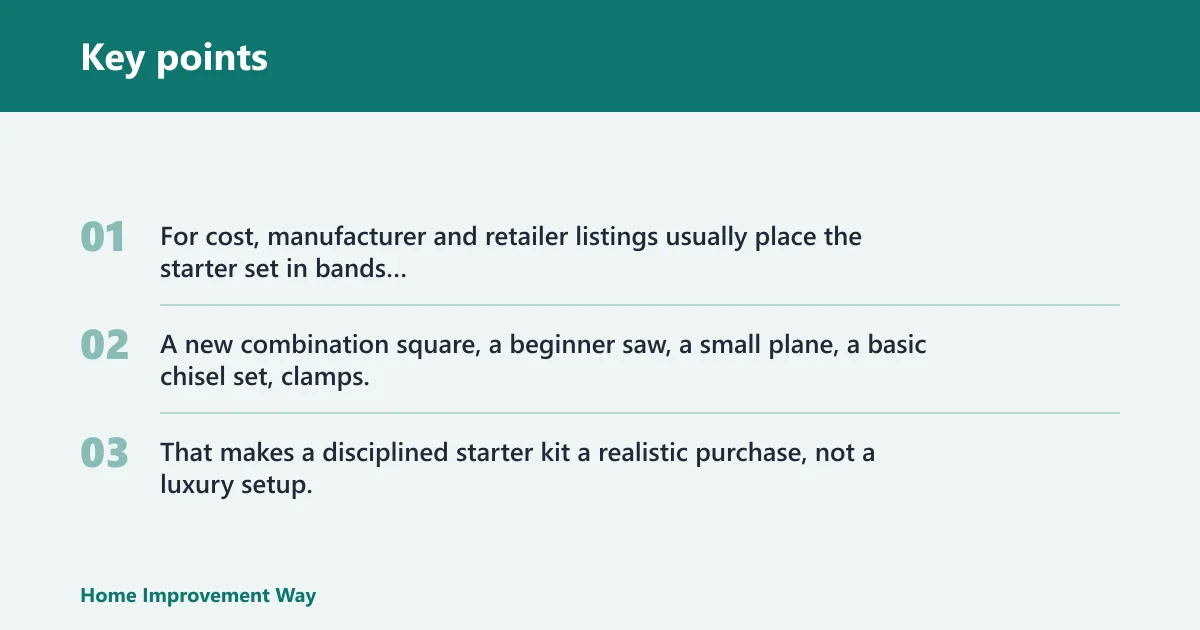
For cost, manufacturer and retailer listings usually place the starter set in bands rather than one exact number. A new combination square, a beginner saw, a small plane, a basic chisel set, clamps, and a few accessories can land in the low hundreds, while used buys can cut that sharply. That makes a disciplined starter kit a realistic purchase, not a luxury setup.
What should you buy first?
Buy the combination square first. It is the most-used measuring and marking tool in a beginner setup, and it solves more first-project problems than a second saw or a fancy plane. After that, get one saw for rough cutting, one plane for cleanup, and a basic chisel set for fitting. Clamps come early because assembly without secure holding gets frustrating fast.
Combination square first
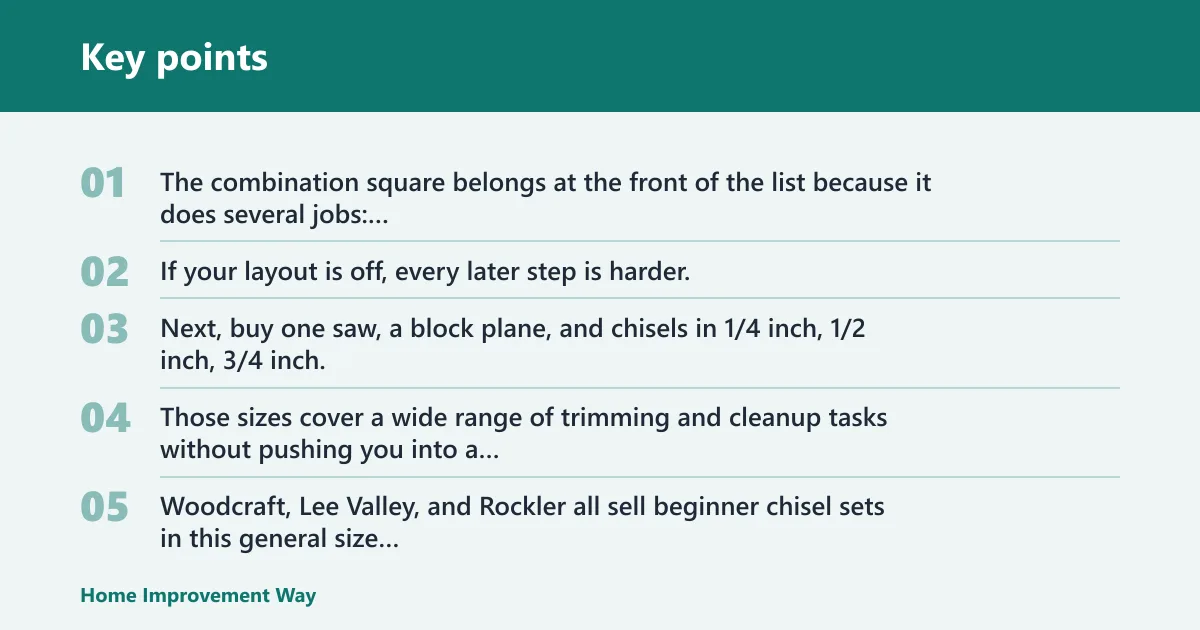
The combination square belongs at the front of the list because it does several jobs: checking square, marking parallel lines, and setting repeatable offsets. If your layout is off, every later step is harder. This tool keeps the first cuts honest.
Saw, plane, and chisels next
Next, buy one saw, a block plane, and chisels in 1/4 inch, 1/2 inch, 3/4 inch, and 1 inch sizes. Those sizes cover a wide range of trimming and cleanup tasks without pushing you into a full tool cabinet. Woodcraft, Lee Valley, and Rockler all sell beginner chisel sets in this general size range, which is why it shows up so often in starter recommendations.
Do not pair chisels with a metal hammer. Use a mallet. The softer strike is easier to control and helps protect the handles while you learn how much force a cut actually needs.
Where clamps fit in the order
Clamps belong in the first wave, not the last. Four clamps is a practical starting point for one beginner setup because you need enough holding power to align a joint, keep parts from drifting, and secure a temporary work surface. Retailers commonly recommend multiple clamps for even basic assembly.
A more realistic beginner project is a screwed utility shelf or a simple box. Without clamps, those parts can shift while you drive screws and the frame ends up out of square. With clamps in place, the pieces stay put long enough for layout, drilling, and final tightening.
Which hand saw should a beginner buy?
A Japanese pull saw is a strong first choice because it cuts on the pull stroke, which gives beginners more control with less effort. It works well for crosscuts and general cutting. A standard hand saw still makes sense if you want a traditional stock-breaking tool, prefer a push-stroke feel, or find a used one in good condition at a better price.
Japanese pull saw vs. standard hand saw
For most beginners, the pull saw is easier to steer because the blade stays in tension during the cut. That tension helps the saw track more cleanly, especially on narrower stock. A standard hand saw can still be useful, but it usually asks for more attention to keep the cut straight.
Use the saw you can control consistently. The best first saw is the one that helps you make straight cuts without fighting the tool.
Crosscuts and general-purpose cutting
For crosscuts, choose the saw that matches the grain and the width of the board you plan to cut most often. For general cutting, a pull saw can cover a lot of beginner work on small stock, trim pieces, and project parts. If your plans lean toward longer boards, a hand saw can still be a sensible option for stock breakdown.
How to avoid wandering cuts
Wandering cuts usually come from forcing the blade, starting off the line, or twisting your wrist mid-cut. Start the notch with short, light strokes. Keep the saw aligned with the mark. Let the teeth do the cutting instead of pushing harder when the blade slows.
Picture a 3/4-inch board marked for a 12-inch crosscut. If the saw starts drifting after the first inch, stop, re-seat the blade in the kerf, and restart with lighter strokes. That pause saves the part from a crooked end that a plane then has to correct.
How do you cut, clean, and fit parts by hand?
Use the saw for rough cuts, the block plane for fine cleanup, chisels for fitting, and a rasp or file for shaping. That sequence keeps each tool in its lane. It also reduces tearout, because you can remove small imperfections instead of trying to saw perfectly on the first pass.
Block plane for edge cleanup
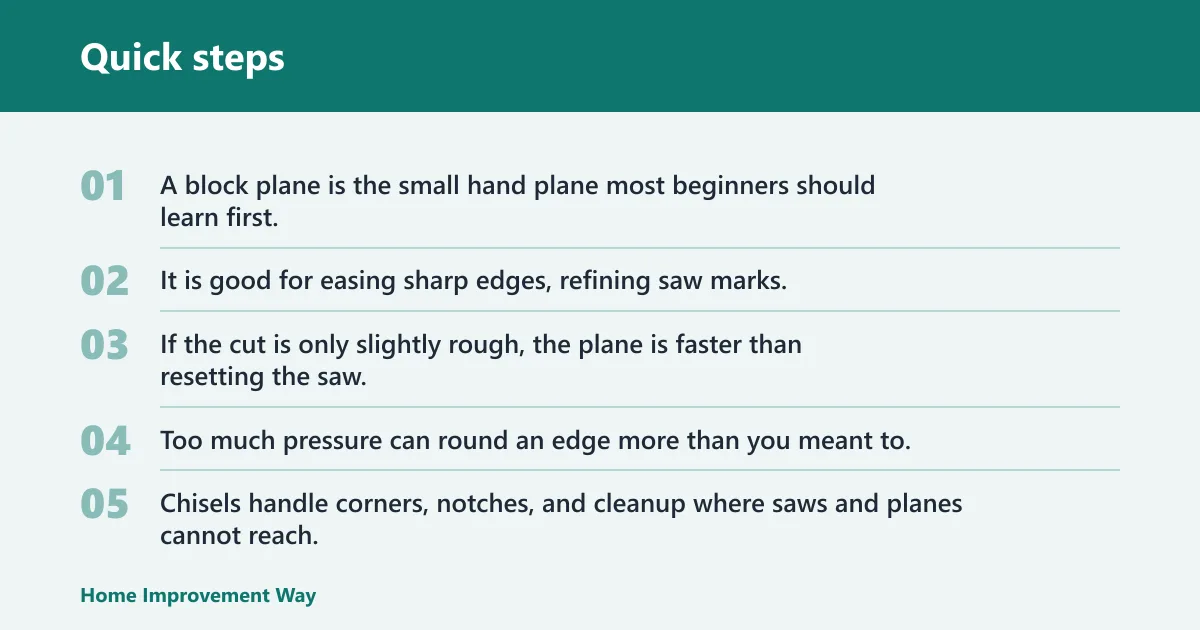
A block plane is the small hand plane most beginners should learn first. It is good for easing sharp edges, refining saw marks, and correcting tiny high spots that keep parts from fitting. If the cut is only slightly rough, the plane is faster than resetting the saw.
Use light strokes and check often. Too much pressure can round an edge more than you meant to, which creates a new fitting problem.
Chisels and a mallet for trimming
Chisels handle corners, notches, and cleanup where saws and planes cannot reach. The 1/4 inch, 1/2 inch, 3/4 inch, and 1 inch sizes cover most beginner tasks well. Pair them with a mallet so you can tap with control rather than striking hard with a hammer.
Rasp or file for rough shaping
A rasp or file fills the gap between sawing and fine cleanup. Use it when a curve needs smoothing, a corner needs softening, or a cut line needs close correction before final fitting. Beginners without machines benefit from it because it removes material in a controlled way without a steep setup.
How do you sharpen beginner tools?
The cheapest starter sharpening option is a flat diamond plate or a basic combination of medium and fine stones from a tool retailer such as Work Sharp, DMT, or Norton. Start with the block plane iron and your most-used chisel. Dull edges stall beginners because they crush fibers, require more force, and make clean, controlled cuts harder.
Your first sharpening job should be simple: flatten the back near the edge, then hone the bevel until it can shave end grain cleanly. Do not chase perfection on every tool at once. A working edge on one plane iron and one chisel matters more than a full sharpening station on day one.
Assembly without splitting wood
Use pilot holes before screw assembly, especially in beginner projects and near board ends. Pilot holes reduce splitting and make screws seat more predictably. Combine them with clamps so the pieces stay aligned while you drive the fasteners.
Why pilot holes matter
Wood splits when the screw forces fibers apart faster than the material can move. A pilot hole gives the screw a path, lowers the stress at the tip, and helps the fastener follow the line you want. That matters most in softwood and at narrow ends.
Clamp layout for beginners
Arrange clamps before you reach for screws. One clamp can hold the parts square, another can keep an edge from shifting, and a third or fourth can support the temporary work surface. Four clamps is the minimum practical starting point for that reason.
Simple screw assembly basics
- Mark the joint lines with the combination square.
- Clamp the parts in position.
- Drill pilot holes at the screw locations.
- Drive the screws until snug, not crushed.
- Check for square before the final tightening.
A common first-timer mistake is skipping pilot holes in a 3/4-inch pine edge. The screw bites hard, the board splits near the end, and the joint fails before the glue or fastener can help. The fix is simple: drill first, then drive the screw with the pieces clamped square.
How do you learn woodworking without power tools?
Learn by repeating one small workflow until the cuts, cleanup, and assembly feel ordinary. Start with a project that asks for straight cuts and simple joints, then practice the same layout, sawing, planing, and clamping sequence on the next project. Do not buy new tools before the core steps are consistent.
Begin with hand tools, not because power tools are bad, but because the early lessons are clearer when every mistake is visible. A straight saw cut, a square layout, and a cleanly seated screw teach more than a faster machine does at this stage. The goal is control first, speed later.
Use the first few projects as practice, not as a shopping excuse. If you can measure square, cut cleanly, plane the edge, and assemble without splitting, you are ready to repeat the same core set on a slightly larger job. That is the point where buying slows down and skill starts to compound.
Frequently asked questions
What basic tools do I need to start woodworking with hand tools only?
The minimum useful set is a combination square, a Japanese pull saw or hand saw, a block plane, chisels in common sizes such as 1/4 inch, 1/2 inch, 3/4 inch, and 1 inch, clamps, and a mallet. Add a rasp or file for shaping and pilot-hole drilling only if your first project uses screws.
Can I start woodworking in an apartment with hand tools only?
Yes. A small room can hold a folding-sawhorse setup with a plywood top, a clamp or two, and a portable toolkit. Compact setups are common in beginner guides from major retailers. Keep the workflow compact, store tools flat, and choose projects that do not need a permanent bench.
What hand saw should a beginner buy for woodworking
A Japanese pull saw is often the easiest first buy because it cuts on the pull stroke and gives good control on crosscuts and general cutting. A standard hand saw still works if you prefer it or find a solid used one. Choose the saw that helps you make straight cuts with less fight.
Do I need a workbench to start woodworking by hand?
No. A workbench with vise is helpful, but it is an early upgrade, not a starting requirement. You can begin with folding sawhorses, a plywood top, and clamps. Add the bench when planing and holding parts become awkward enough that the temporary setup slows you down.
What is the cheapest way to start woodworking with hand tools?
The cheapest safe route is to buy used where condition matters less, such as some saws, a rasp, or a plane body, and buy new where accuracy matters more, such as the combination square and clamps. Starter kits from major retailers can stay low-cost if you avoid duplicates and add sharpening only in a basic form.
Sources
Woodcraft beginner hand tool and bench-vice product guidance; Lee Valley beginner chisels, planes, and sharpening products; Rockler starter hand-tool and clamp listings; DMT and Norton sharpening stone product pages; Work Sharp sharpening system product pages; manufacturer and retailer descriptions for Japanese pull saws, combination squares, folding sawhorses, and portable bench setups.
Sponsored / affiliate links. As an Amazon Associate I earn from qualifying purchases. I may earn additional commission from eligible campaigns.