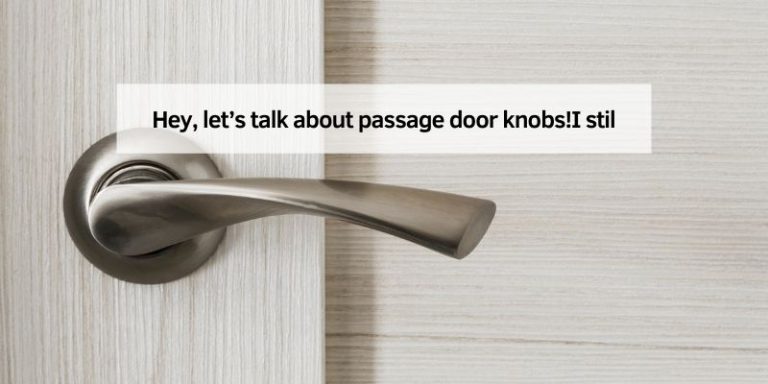
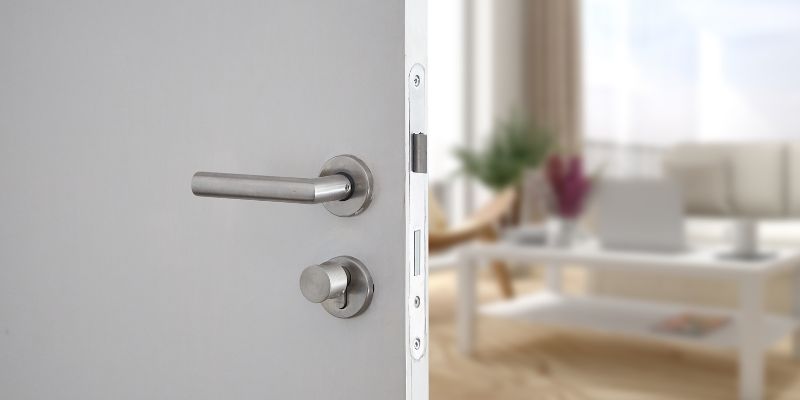
How To Reverse A Lever Door Handle
When I moved into my new apartment, I noticed the bedroom door’s lever handle was upside down. It looked odd and felt awkward to use! I decided to fix it myself, and reversing the lever door handle was easier than I thought. This guide will walk you through how to reverse a lever door handle in simple steps. Whether you’re a DIY newbie or a seasoned pro, you’ll find clear instructions, handy tips, and answers to common questions. Let’s make your door handle work and look just right!
What Is a Lever Door Handle and Why Reverse It?
A lever door handle is a long, flat handle you push up or down to open a door. Unlike round knobs, levers are easier to grip, especially for kids or people with limited hand strength. Reversing a lever means switching its direction or swapping sides, so it fits your door’s swing or looks better.
You might need to reverse a lever handle if:
- The handle points the wrong way (e.g., upside down).
- The door swings the opposite direction.
- You want the lock or keyhole on a specific side.
Reversing it can make your door more comfortable and stylish. It’s a quick fix that boosts functionality!
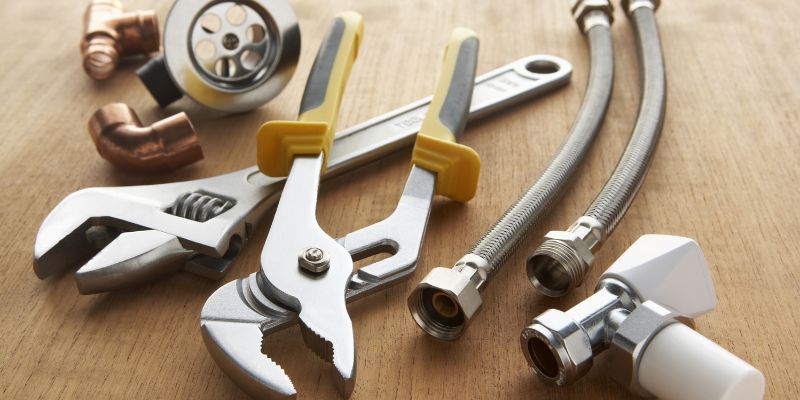
Tools and Materials You’ll Need
You don’t need a toolbox full of gadgets to reverse a lever door handle. Here’s what I used for my project:
- Flathead screwdriver: For prying off covers or pressing release pins.
- Phillips screwdriver: To loosen screws (check the size to match your handle).
- Allen wrench: Some handles use hex screws (usually included).
- Paperclip or pin tool: For releasing levers without visible screws.
- Cloth: To clean the handle and keep it shiny.
Table 1: Tool Comparison for Reversing a Lever Door Handle
| Tool | Cost (Approx.) | Where to Find | Why You Need It |
|---|---|---|---|
| Flathead Screwdriver | $5-$10 | Hardware store, Amazon | Pushes release pins, pries covers |
| Phillips Screwdriver | $5-$10 | Hardware store, Amazon | Loosens common handle screws |
| Allen Wrench | $3-$8 | Included with handle, Amazon | Tightens hex screws |
Caption: Simple tools make reversing a lever door handle a breeze. Check your handle’s manual for specific sizes!
Step-by-Step Guide to Reversing a Lever Door Handle
Reversing a lever door handle is no big deal if you follow these steps. I learned this the hard way after my first attempt left the handle wobbly! Here’s how to do it right:
- Check Your Handle Type: Look at your lever handle. Is it a keyed entry (with a lock) or a privacy set (no key)? Some handles, like Schlage or Kwikset, are designed to be reversible. Check the manual or packaging.
- Gather Your Tools: Grab a screwdriver, Allen wrench, and paperclip. Keep them nearby to avoid running around mid-project.
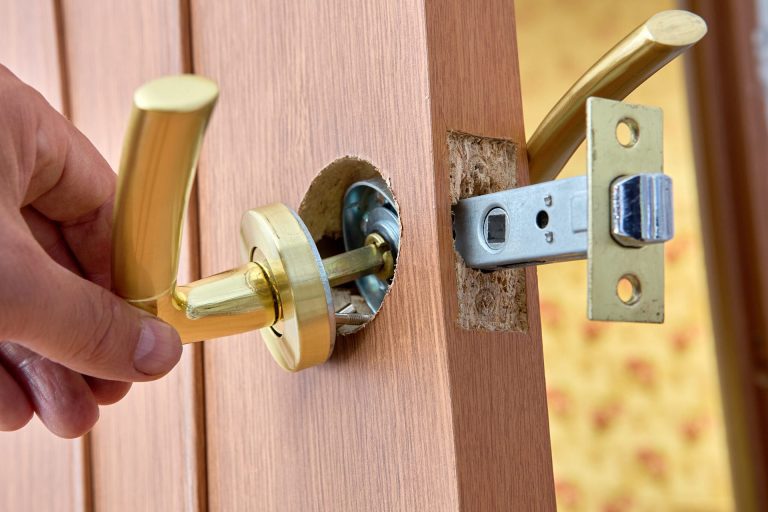
- Locate the Set Screw or Pin: Find a small screw or pinhole on the handle’s base, usually near the door. My handle had a tiny pinhole I almost missed!
- Remove the First Lever: If there’s a screw, loosen it with a screwdriver or Allen wrench. For a pinhole, push a paperclip or pin tool in firmly while pulling the lever off. Wiggle gently if it’s stuck.
- Remove the Second Lever: Repeat the process for the other side. Keep the lock at a 45-degree angle for keyed handles (this unlocks the mechanism).
- Adjust the Latch: Pull out the latch (the part that sticks into the door frame). Rotate it 180 degrees if needed to match the new handle direction. Make sure it aligns with the door’s swing.
- Swap or Rotate the Levers: For reversible handles, swap the interior and exterior levers. For non-reversible ones, rotate each lever 180 degrees. My upside-down handle needed a simple rotation!
- Reattach the Levers: Push each lever back onto the spindle until it clicks. Tighten screws or secure with the pin tool. Test the handle to ensure it moves smoothly.
- Test the Door: Open and close the door a few times. Check for sticking or misalignment. If it feels off, loosen and realign the levers.
Safety Tip: Always keep the door key handy in case the lock jams during the process. You don’t want to get stuck!
Visual Idea: A diagram showing the latch and spindle orientation would help. Another useful image could be a labeled photo of a lever handle’s parts (screw, pinhole, latch).
Benefits and Drawbacks of Reversing a Lever Door Handle
Reversing a lever door handle has some great perks:
- Better Accessibility: Levers pointing the right way are easier to use, especially for kids or elderly folks.
- Improved Look: An upside-down handle looks odd; reversing it makes your door sleek.
- Quick Fix: It takes 10-15 minutes and costs nothing if you have tools.
But there are a few drawbacks:
- Not All Handles Are Reversible: Some older models or cheap designs don’t allow reversal.
- Risk of Misalignment: If the latch isn’t rotated correctly, the door might stick.
- Minor Wear: Repeated removal can loosen screws over time.
Alternative Approach: If your handle isn’t reversible, consider buying a new one. Brands like Kwikset offer reversible models for about $20-$50.
Personal Tips and Common Mistakes to Avoid
My first try at reversing a lever handle was a total flop—I forgot to rotate the latch, and the door wouldn’t close! Here are tips to save you from my mistakes:
- Double-Check the Latch: Make sure the latch’s beveled edge faces the door frame for smooth closing.
- Don’t Overtighten Screws: Snug is enough; too tight can strip the screws.
- Clean as You Go: Wipe the handle with a cloth to keep it looking new.
Common Mistakes:
- Skipping the manual—always check if your handle is reversible.
- Forgetting to test the door before finishing.
- Using the wrong tool size (e.g., a too-big screwdriver).
Table 2: Cost-Saving Tips for Lever Door Handle Reversal
| Tip | Savings | How It Helps |
|---|---|---|
| Use Existing Tools | $10-$20 | Avoid buying new screwdrivers |
| Check Manual First | $20-$50 | Confirms if handle is reversible |
| Buy Reversible Handles | $10-$30 | Prevents future replacement costs |
Caption: Save money with these easy tips while reversing your lever door handle!
Frequently Asked Questions
Can All Lever Door Handles Be Reversed?
Most modern lever handles, like Schlage or Kwikset, are reversible, but older or specialty models may not be. Check the manual or manufacturer’s website. If it’s not reversible, you may need a new handle.
What Tools Do I Need to Reverse a Lever Door Handle?
You’ll need a flathead or Phillips screwdriver, an Allen wrench, and a paperclip or pin tool. Most handles include a pin tool for easy removal.
How Long Does It Take to Reverse a Lever Door Handle?
It takes about 10-15 minutes if you have the right tools. Go slow to avoid mistakes, especially with keyed handles.
What If My Lever Handle Is Stuck?
If the lever won’t come off, check for a hidden screw or pinhole. Push harder on the pin tool or wiggle gently. Lubricate with spray oil if needed.
Can I Reverse a Keyed Entry Lever Handle?
Yes, but set the lock at a 45-degree angle before removing levers. Swap the interior and exterior handles to keep the keyhole outside.
What If the Door Still Doesn’t Close Properly?
Check the latch alignment. Rotate it 180 degrees if the beveled edge faces the wrong way. Tighten screws and test again.
Are There Safety Risks When Reversing a Lever Handle?
Keep the door key nearby to avoid getting locked out. Don’t force the lever off, as it could damage the mechanism.
Conclusion
Reversing a lever door handle is a simple DIY project that anyone can tackle. With a few tools and these easy steps, you can make your door look and work better in no time. My bedroom door now opens smoothly, and the handle looks perfect! Try it yourself—it’s easier than you think. Share your results or ask questions in the comments. Happy fixing!