How to Prevent a Crack in Wood from Spreading Fast
Stop a wood crack from spreading by matching the repair to how it behaves: very small cracks can use glue, larger or deeper cracks may call for epoxy or a spline, and any crack that moves or carries load should be reinforced. Miss that match and the crack often widens, prints through the finish, or fails again as the wood moves with the seasons or with use. This guide shows several repair methods and how to choose the right one by crack width, depth, movement, and location.
What you’ll need



- Ruler or measuring tape
- Thin probe, knife tip, or awl for checking depth
- Wood glue for tight cracks
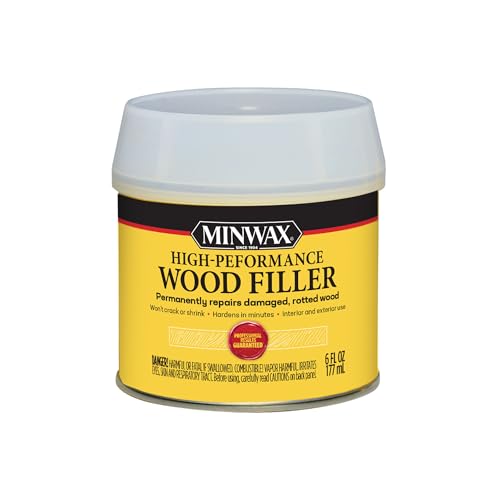
- Wood filler for shallow cosmetic lines
- Epoxy for wider or deeper gaps
- Wood stabilizer for dry, crumbly edges
- Clamps sized to the board width
- Sandpaper in medium and fine grits
- Sealant or finish for the repaired area
- Clean rags and a small brush or applicator
Step 1: Measure the crack and inspect the wood
- Measure the crack from end to end with a ruler or measuring tape.
- Check depth with a probe or knife tip.
- Look for splintering, soft fibers, and crumbly edges.
- Note whether the crack runs with the grain or across it.
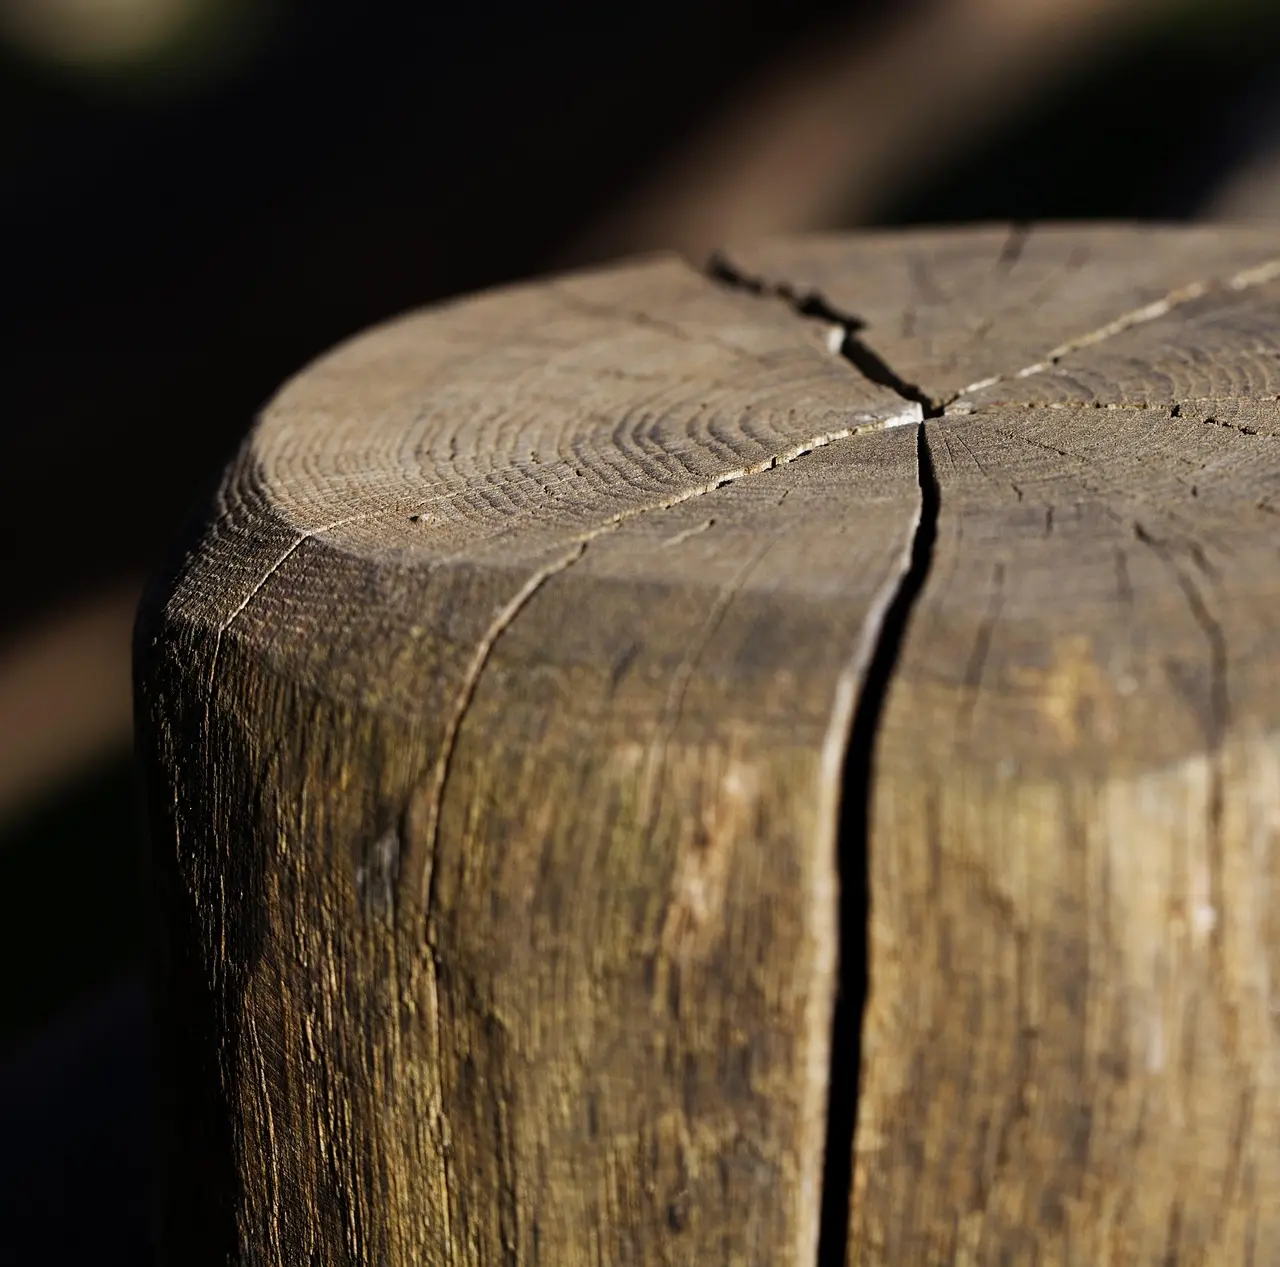
Surface cracks only affect the outermost layer of wood. Splits run through the full thickness, and checks track along the grain. That difference matters because a surface line may only need cosmetic filling, while a split can keep opening if the wood still moves.
Step 2: Decide whether the crack is surface-only or a split
Use grain direction to judge risk
Cracks that run along the grain often keep traveling as the wood swells and shrinks. A line across the grain is less likely to run farther in that same direction, but it can still open wider if the board is drying fast or carrying stress.
Identify movement before choosing a repair
Open and close the crack gently. If the edges shift, the repair needs bonding or reinforcement, not a cosmetic fill. Drying, rising moisture, big temperature swings, poor drying methods, structural stress, and age can all cause cracking and re-cracking.
Step 3: Choose the right repair method
Wood glue and clamps for tight cracks
Use wood glue when the crack closes fully under clamp pressure. It tends to work best on tight-to-moderate cracks, especially in furniture and trim. The glue bonds the faces together, but it needs full contact and drying time to hold.
Wood filler for cosmetic lines
Use wood filler only for surface-level cracks that are dry and stable. It can sand well after curing, but it is not structural and should not be relied on to stop a moving split.
Epoxy for wider or deeper gaps
Use epoxy when the crack seems too wide for glue, too deep for filler, or needs gap-filling strength. It can reinforce damaged wood and bridge irregular voids better than filler, especially on older pieces with missing fibers.
Wood stabilizer and sealant for weak edges
Use wood stabilizer on dry, crumbly edges before gluing or filling. After the repair cures, add a sealant or finish to slow moisture exchange and cut down repeat cracking from humidity swings.
Which technique fits your crack?
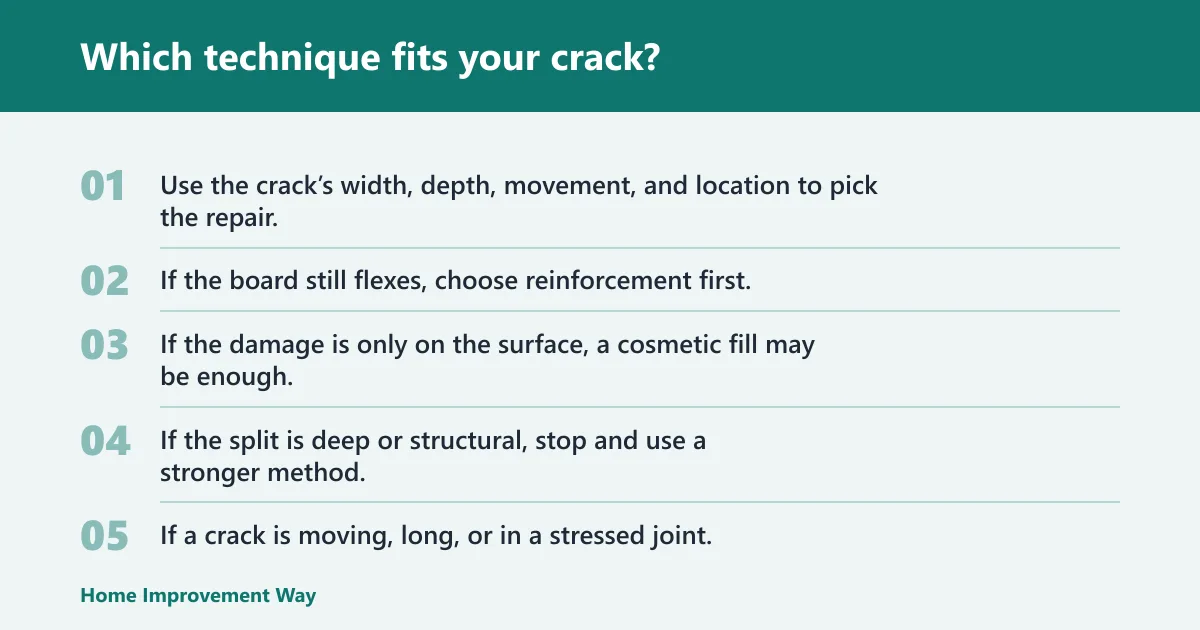
Use the crack’s width, depth, movement, and location to pick the repair. If the board still flexes, choose reinforcement first. If the damage is only on the surface, a cosmetic fill may be enough. If the split is deep or structural, stop and use a stronger method.
| Crack condition | Best technique | Why it fits | DIY? |
|---|---|---|---|
| Hairline, tight, not moving | Wood glue with clamps | Bonds the faces and keeps the line from opening wider | Yes |
| Surface-only, cosmetic | Wood filler | Levels the line after curing and sanding | Yes |
| Wider, deeper, or uneven gap | Epoxy | Fills voids and adds body where glue cannot bridge cleanly | Usually |
| Dry, crumbly edge | Wood stabilizer, then glue or epoxy | Hardens weak fibers before the main repair | Yes |
| Active movement, end grain, load-bearing part | Reinforcement or pro repair | These failures can reopen under stress or season changes | No |
If a crack is moving, long, or in a stressed joint, stop treating it like a cosmetic defect. The repair has to hold shape under load, or the split returns.
Step 4: Clamp, fill, or bond the crack correctly
- Dry-fit the repair before adding product.
- Choose clamps that span the board width without bowing it.
- Apply wood glue only to tight, clean crack faces.
- Use just enough clamp pressure to close the joint, not crush the wood.
- For epoxy, tape or back up the underside so the filler does not run through.
- For stabilizer, let the wood dry fully before the next step.
- Leave the piece undisturbed until the adhesive or filler cures.
Too much clamp pressure squeezes out glue and starves the joint. Too little leaves the crack open. On wide boards, clamp from both sides if possible so the piece stays flat while curing.
Step 5: Sand, seal, and watch for repeat movement
Sand only after the repair has fully set. Then apply a coating or finish that slows moisture exchange. If the wood is going through large humidity swings, wait to finish until the piece has settled in the space where it will live.
That matters on furniture, trim, and flooring. Indoor wood often moves with heating and cooling. Outdoor wood tends to take on moisture faster and usually needs better sealing at exposed edges and end grain.
Repair decision table and failure checks
Use this table before you commit time or materials. It keeps you from using filler where the board needs bond strength, or using glue where the crack will not stay closed.
| Crack width | Depth | Location | Movement | Recommended action |
|---|---|---|---|---|
| Hairline | Shallow | Trim or furniture face | None | Glue or filler, then sand and seal |
| Small but visible | Moderate | Tabletop, cabinet side | Very little | Glue if it closes; epoxy if the gap stays open |
| Wide | Deep | Board edge or panel | Some | Epoxy plus stabilization if fibers are weak |
| Any width | Through-thickness | Flooring or structural member | Moves or opens | Do not rely on filler alone |
When to stop and call a pro
- The crack is in a load-bearing part.
- The wood keeps opening after clamping.
- The damage reaches end grain and keeps splintering.
- The board is soft, punky, or badly crushed.
- The split runs through a joint, leg, stair part, or floor board that carries weight.
Common mistakes
One mistake is using wood filler on a moving split. It may look fine at first, then crack again when the board shifts. Another is skipping moisture checks. If the wood is still changing size, even a good repair can fail.
Other trouble starts with clamp fit. A clamp that misses the crack line, over-tightens, or bends the board can make the problem worse. Leaving out sealant is another miss, especially on trim, furniture near windows, and any outdoor piece.
What causes a crack to spread after repair?

Movement is the main reason. Moisture changes, drying, and temperature swings can reopen a repaired line, especially if the wood was not stabilized first. Structural stress does the same thing in a load-bearing part, where the repaired fibers keep getting pulled apart.
Grain direction matters too. Cracks along the grain can sometimes keep traveling even after the face is filled. If the repair only hides the line and does not hold the wood together, the split often comes back under use.
Can wood filler stop a crack from spreading?
No. Wood filler fills surface-level cracks, and it can sand smooth after curing, but it is not structural for movement-prone splits. If the crack opens, flexes, or carries load, choose glue, epoxy, stabilization, or a stronger repair method instead of filler alone.
What should I do if a crack is getting wider in dry weather?
Pause the cosmetic repair and check moisture content first. Dry weather can pull moisture out of the board and make a crack open wider. Let the wood equalize indoors, then choose glue, epoxy, or stabilization based on whether the crack closes and stays closed.
Frequently asked questions
How do you stop a crack in wood from getting bigger?
Measure the crack, check if it moves, and then match the repair to the damage. Tight cracks usually take glue and clamps; wider or deeper gaps take epoxy; crumbly edges need stabilizer first. Finish with a coating that slows moisture exchange so humidity changes are less likely to reopen the line.
What is the best filler for a crack in wood?
For a stable cosmetic line, use wood filler. For a deeper void, use epoxy. If the crack moves, neither filler nor putty should be the only repair. The better choice depends on whether the wood is surface-only damage or a true split.
Should I use wood glue or epoxy on a split piece of wood?
Use wood glue when the split closes tightly under clamps. Use epoxy when the gap will not close, when the crack is wider or deeper, or when missing fibers leave an irregular void. Glue bonds best with firm face contact; epoxy fills and supports.
How do you clamp a wood crack shut before it spreads?
Dry-fit the crack closed, place clamps so they pull straight across the split, and tighten only until the faces meet. If the board bows, back off and add support. Leave the piece still until the glue or epoxy reaches full cure, then remove the clamps.
When is a cracked board too damaged to repair?
Stop DIY repair when the board is load-bearing, the crack keeps opening under clamp pressure, the fibers are soft or punky, or the split reaches end grain and keeps shedding material. Those cases need reinforcement or replacement, not a surface patch.
How do you repair a crack along the grain in wood?
First check whether it is a check or a split, since both run with the grain but do not fail the same way. Tight checks can take glue; deeper splits often need epoxy or reinforcement. Seal the wood after cure so it does not keep moving with moisture.
Sponsored / affiliate links. As an Amazon Associate I earn from qualifying purchases. I may earn additional commission from eligible campaigns.