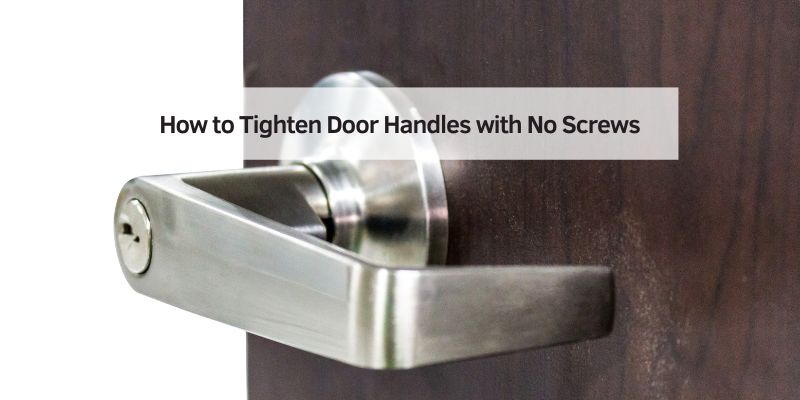
How to Tighten Door Handles with No Screws
Hey there! If you’ve ever grabbed a door handle and felt it wobble, you know how annoying that can be. A loose door handle isn’t just a small bother—it can make your home feel less secure and even wear out the hardware faster. I’ve been there, twisting and turning a handle, wondering how to fix it, especially when there are no visible screws to tighten. Don’t worry, though! I’ve explored this issue in my own home, and I’m excited to share what I’ve learned about tightening door handles with no screws.
Whether you’re a DIY beginner or a seasoned fixer-upper, this guide will walk you through every step in a simple, friendly way. Let’s dive in and get those handles sturdy again!
Why Do Door Handles Get Loose?
I remember the first time I noticed a loose handle on my bedroom door. It felt like it was about to fall off! Before we jump into fixing it, let’s talk about why this happens. Door handles without visible screws often use hidden mechanisms, like spring clips or concealed set screws. Over time, daily use can loosen these parts. Kids swinging on the handle, heavy-handed guests, or even just years of opening and closing can wear down the internal components.
Sometimes, the handle’s mounting plate or spindle (the metal rod connecting the handles) shifts out of place. Understanding this helps us know what we’re dealing with, so we can fix it properly.
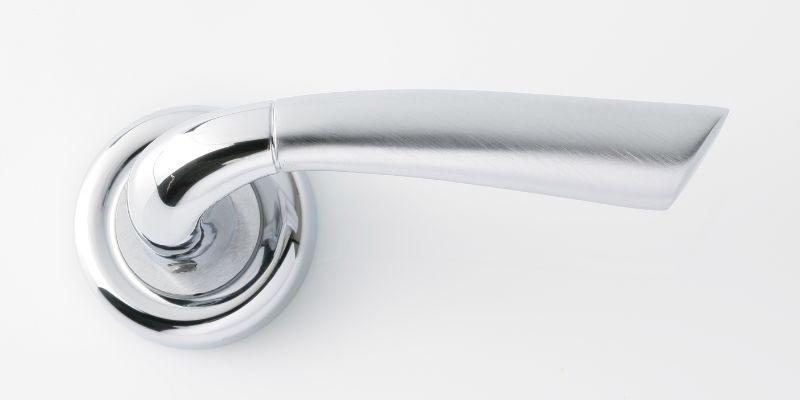
Identifying Your Door Handle Type
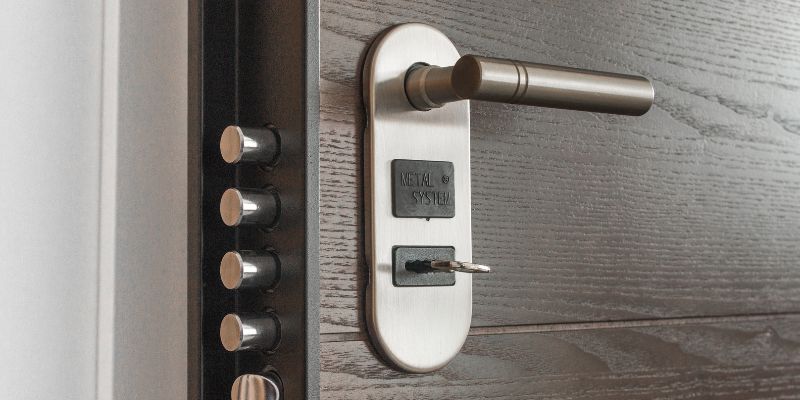
Not all door handles are the same, and I learned this the hard way after trying to fix one without knowing its type. Handles with no visible screws usually fall into a few categories. Most common are lever handles or knobs with a concealed mounting system. These often have a small slot, pin, or button that hides the mechanism. Some brands, like Kwikset or Schlage, use a tiny set screw or a spring clip inside a decorative rose (the round plate behind the handle). Others might have a push-pin release.
To figure out your handle type, take a close look. Is it a lever or a knob? Does it have a small hole or slot on the rose or handle base? You might need a flashlight to spot it. If there’s a brand name, jot it down—it can help when looking for specific instructions. Knowing your handle type is like having a map before a road trip—it makes the fix so much easier.
Tools You’ll Need
I’m all about keeping things simple, so you won’t need a toolbox the size of a suitcase. Here’s what I grab when I’m tightening a screwless door handle:
- Small flathead screwdriver: Perfect for prying off covers or pressing release pins.
- Paperclip or pin: Some handles need a thin tool to push a release button.
- Allen wrench (hex key): Many modern handles use a tiny set screw that needs an Allen wrench.
- Flashlight: Helps you see small holes or slots.
- Soft cloth: To clean the handle and avoid scratches.
You probably have most of these lying around. If not, they’re cheap and easy to find at any hardware store. Having these tools ready feels like setting out ingredients before cooking—it just makes the process smoother.
Step-by-Step Guide to Tightening a Door Handle with No Screws
Alright, let’s get to the fun part—fixing that wobbly handle! I’ve done this a few times, and I’ll walk you through it like we’re working on it together. Follow these steps, and you’ll have a solid handle in no time.
Step 1: Inspect the Handle and Rose
First, I always start by giving the handle a good look. Wiggle it gently to see where the looseness is coming from. Is it the handle itself or the rose plate? Check for a small hole, slot, or button on the handle’s base or the rose. Sometimes, the slot is so tiny you need a flashlight to spot it. If you see a brand name, it might give you a clue about the mechanism. This step is like being a detective—it’s all about finding the hidden latch.
Step 2: Remove the Handle or Rose Cover
Now, let’s get that handle or cover off. If there’s a small hole or slot, grab your paperclip or flathead screwdriver. For a push-pin mechanism, push the pin in firmly while pulling the handle gently. It might take a little wiggle, but don’t force it. For a slot, insert the screwdriver and twist or pry gently to pop off the rose cover. I once spent 10 minutes tugging before realizing I was pushing the wrong pin—so go slow and be patient. Once the cover or handle is off, you’ll see the internal mounting plate or spindle.
Step 3: Tighten the Internal Mechanism
Here’s where the magic happens. Inside, you’ll likely see a mounting plate with a set screw or spring clip. If there’s a set screw (usually hexagonal), grab your Allen wrench and turn it clockwise to tighten. Don’t overdo it—just snug is enough. If it’s a spring clip, push it back into place firmly. Sometimes, the spindle itself is loose. If so, realign it so it sits straight through the door. I’ve found that a loose spindle was the culprit for my kitchen door handle, and just straightening it fixed the wobble.
Step 4: Reassemble the Handle
Once everything’s tight, it’s time to put it back together. Snap the rose cover or handle back into place. If it’s a push-pin type, you’ll hear a click when it locks. Give the handle a gentle tug to make sure it’s secure. I always test it a few times, opening and closing the door, to feel that satisfying sturdiness. If it’s still loose, double-check the set screw or spindle alignment.
Step 5: Clean and Test
I like to finish by wiping the handle with a soft cloth to make it shine. Then, test the door a few more times. Open it, close it, lock it if it’s a locking handle. Make sure it feels smooth and solid. If it’s still wobbly, you might need to repeat the steps or check for worn-out parts. I had to replace a spindle once, but that’s rare.
Common Door Handle Mechanisms and How to Tighten Them
Since not every handle works the same, I’ve put together a handy table to cover the most common types I’ve come across. This makes it easier to match your handle to the right fix.
| Handle Type | Mechanism | How to Tighten |
|---|---|---|
| Push-Pin Lever | Small pin on handle base | Push pin with paperclip, pull handle off, tighten set screw with Allen wrench. |
| Slot Rose Knob | Slot on decorative rose | Pry rose off with flathead screwdriver, tighten mounting plate screws or set screw. |
| Spring Clip Lever | Hidden clip under rose | Pop off rose, press clip back into place, realign spindle. |
| Set Screw Knob | Tiny hex screw on handle | Use Allen wrench to tighten set screw, ensure spindle is aligned. |
This table has saved me so much time when I’m dealing with different doors in my house. Keep it in mind as a quick reference.
Troubleshooting Common Issues
Sometimes, things don’t go as planned. I’ve hit a few snags while fixing handles, so here’s how to handle them. If the handle won’t come off, double-check for a hidden pin or slot on the other side of the door. If the set screw is stripped, you might need a slightly larger Allen wrench or a replacement screw from a hardware store. If the spindle is bent or worn, replacing it is cheap and easy—just take the old one to the store to match the size. I once thought my handle was broken, but it was just a misaligned spindle. So, don’t give up too quick!
When to Replace Instead of Tighten
I hate to admit it, but sometimes a handle is beyond saving. If the internal parts are cracked, the spindle is badly worn, or the mechanism keeps slipping even after tightening, it might be time for a new handle. I replaced one in my bathroom after fighting with it for weeks, and it was worth it. New handles are affordable, and most come with clear instructions. Look for ones with the same backset (distance from the door edge to the spindle hole) to make installation easy.
Preventing Future Wobbles
Once your handle is tight, you’ll want to keep it that way. I’ve learned a few tricks to prevent loose handles. First, avoid letting kids hang on them—my nephew used to swing on our door like a monkey! Second, check your handles every six months or so. A quick tighten with an Allen wrench can stop problems before they start. Finally, if you’re installing new handles, choose high-quality ones from trusted brands. They last longer and are easier to maintain.
Conclusion
There’s something so satisfying about fixing a loose door handle and feeling it work smoothly again. I hope this guide has given you the confidence to tackle your wobbly handles, even if they have no visible screws. From inspecting the mechanism to tightening that hidden set screw, you now know the steps to make your doors feel solid and secure. I’ve loved sharing my own experiences with you, and I’m cheering you on as you grab your tools and get to work. A sturdy door handle isn’t just about function—it’s about making your home feel like a safe, welcoming place. So, go fix those handles, and enjoy the peace of mind that comes with a job well done!
Frequently Asked Questions
Why is my door handle loose even though there are no screws?
A loose handle with no screws usually means the internal mechanism, like a set screw or spring clip, has come loose. Daily use can shift these parts. Follow the steps above to access and tighten them.
Can I fix a screwless door handle without special tools?
Yes, you can! Most screwless handles can be fixed with a small screwdriver, paperclip, or Allen wrench. These are common household items or easy to buy.
How do I know if my door handle needs replacing?
If tightening doesn’t work, or if parts like the spindle or mounting plate are cracked or worn, it’s time to replace the handle. Take the old handle to the store to find a matching size.
How often should I check my door handles?
I check mine every six months. A quick test and tighten can prevent bigger problems. It’s an easy habit to keep your doors working smoothly.
What if I can’t find the release pin or slot?
Look closely with a flashlight, and check both sides of the door. Some pins are tiny or hidden under the handle’s curve. If you’re stuck, search online for your handle’s brand for specific instructions.