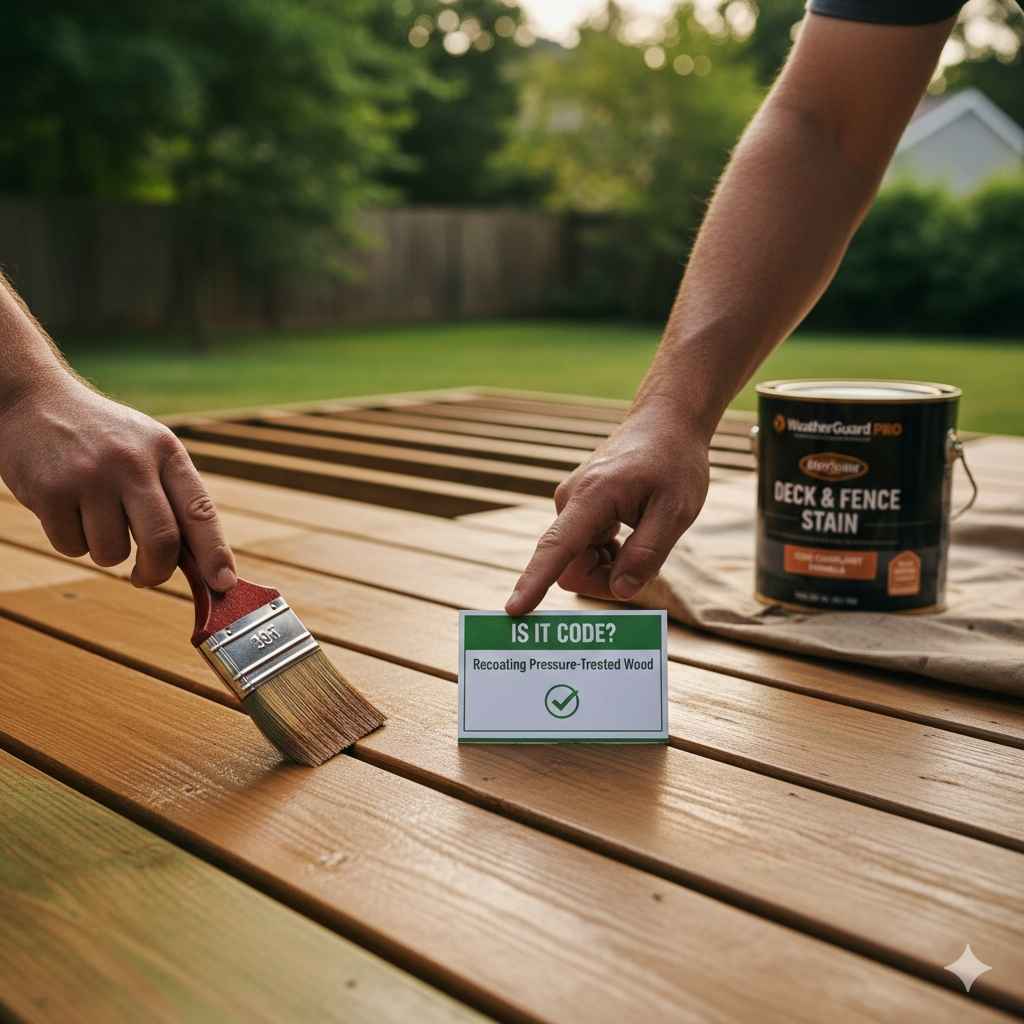
Is It Code to Recoat Pressure-Treated Wood?
Figuring out Is It Code to Recoat Pressure-Treated Wood After Cutting? can be tricky for anyone starting a woodworking project. Many people aren’t sure if they need to do something extra after cutting this kind of wood. This uncertainty often comes from not knowing how the wood is treated or what the rules are. Don’t worry, though! We’re here to help. This post will give you clear steps to ensure your project is up to standard. We’ll explore everything you need to know about protecting your wood.
What Is Pressure-Treated Wood?
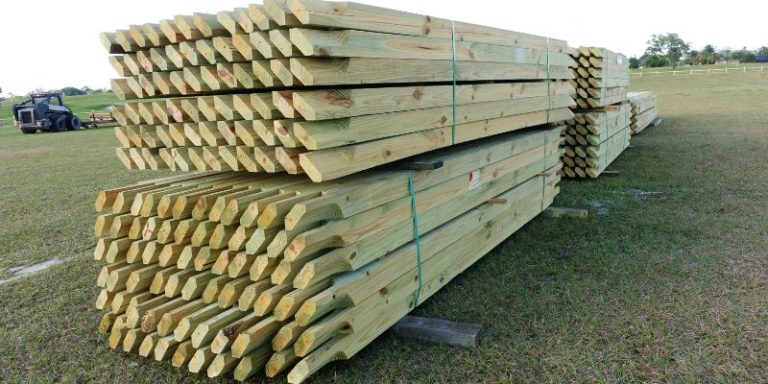
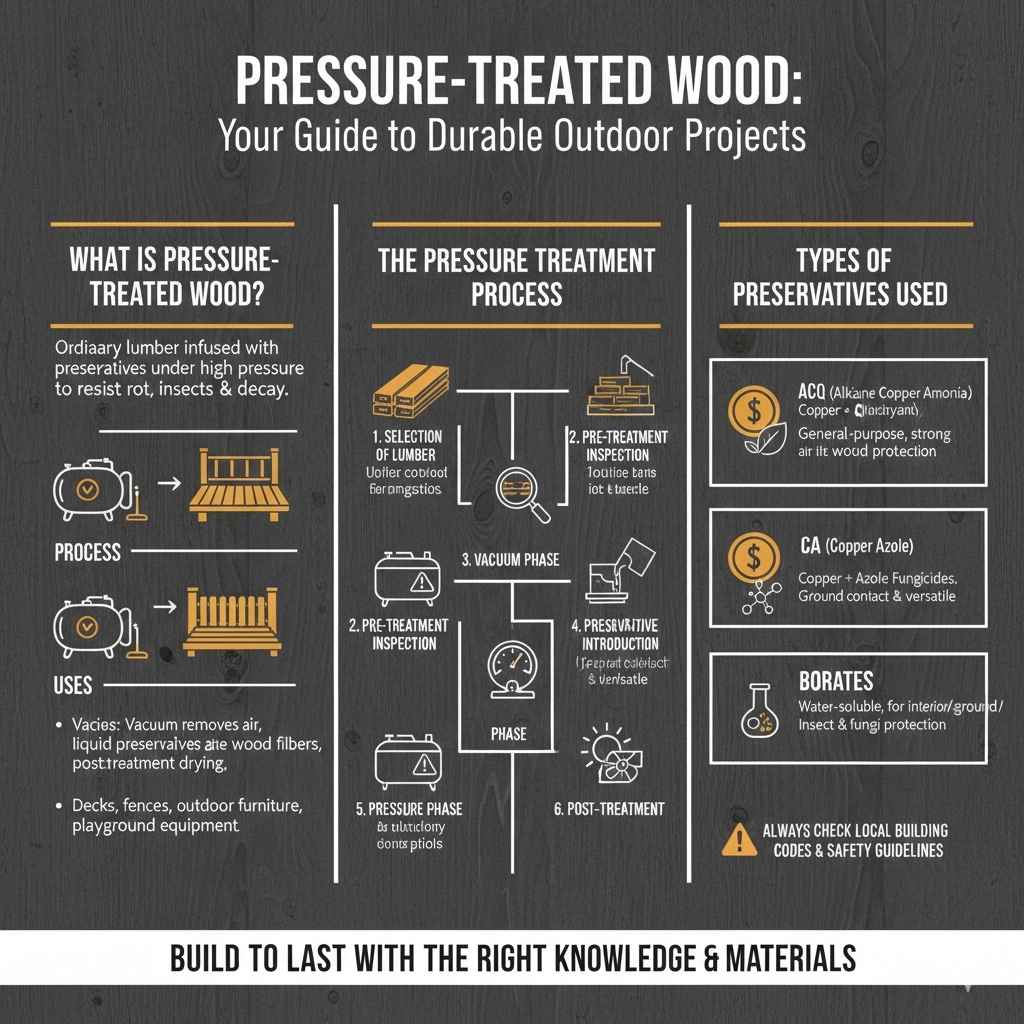
Pressure-treated wood is ordinary lumber that has gone through a special process. During this treatment, the wood is placed inside a large tank. The tank then has air pumped out to create a vacuum. After that, a chemical preservative is forced deep into the wood fibers under high pressure. This process helps protect the wood from rot, insects, and decay, making it suitable for outdoor projects like decks, fences, and playground equipment. Different types of pressure-treated wood are designed for varying levels of exposure to the elements and specific uses.
One primary goal of pressure treating is to provide long-lasting wood. The preservatives used are usually copper-based, such as Alkaline Copper Quaternary (ACQ) or Copper Azole (CA). These chemicals prevent the growth of fungi and deter insects. The pressure-treating process makes the wood more resistant to the harsh effects of weather, providing a prolonged lifespan compared to untreated wood. The type of wood and the preservative used depend on the intended use and local building codes.
The Pressure Treatment Process
The pressure treatment process is more complex than it sounds. It starts with selecting appropriate lumber. Once the wood is chosen, it is placed in a large cylinder, and a vacuum is created to pull air out of the wood’s cells. Then, the preservative solution is introduced. The pressure within the cylinder is increased significantly, forcing the chemicals deep into the wood. After a specific period, the pressure is released, and the wood is removed.
The wood then undergoes a post-treatment process, which may involve air-drying or kiln-drying to remove excess moisture. This is vital because the chemicals are water-based. It is also important for the wood to dry to a suitable moisture level for its intended use. The preservatives applied during this process protect the wood fibers. The result of this process is wood that is resistant to environmental damage, making it ideal for outdoor projects and prolonged use.
Selection of Lumber: Choosing the right type of wood is key. Not all wood types are equally receptive to treatment.
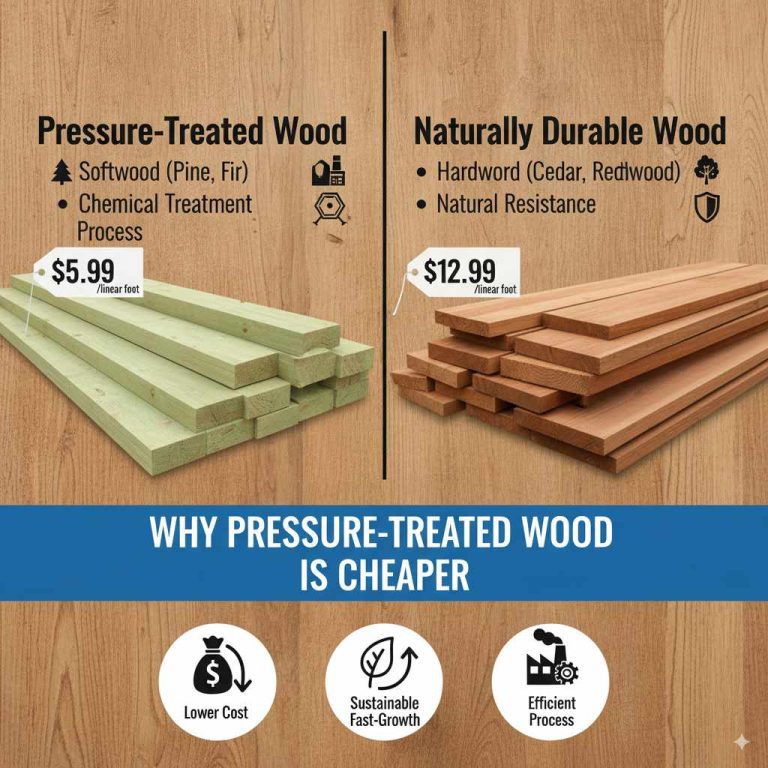
Softwoods, such as pine and fir, are commonly used because they readily absorb preservatives. Hardwoods are usually too dense for effective penetration.
Pre-Treatment Inspection: Before pressure treatment, wood undergoes inspection to identify any defects.
This includes checking for knots, splits, and other imperfections that could affect how the preservative is absorbed.
Vacuum Phase: The lumber is placed in a cylinder, and a vacuum is created to remove air from the wood.
This prepares the wood cells to receive the preservative solution. It opens up the pores for better chemical penetration.
Preservative Introduction: The preservative solution is introduced into the cylinder once the vacuum is created.
The choice of preservative depends on the intended use of the wood and the level of protection needed.
Pressure Phase: High pressure forces the preservative deep into the wood.
This ensures the chemicals penetrate the cell structure, protecting against decay and insects. The pressure is maintained for a specific time.
Post-Treatment: After pressure is released, the wood is removed and may undergo air or kiln drying.
Drying helps to set the preservative and prepare the wood for use. It reduces moisture and makes the wood dimensionally stable.
Types of Preservatives Used
The choice of preservatives impacts how the wood behaves. Alkaline Copper Quaternary (ACQ) is a common choice. This preservative uses copper combined with a quaternary ammonia compound, offering excellent protection against rot and insects. Copper Azole (CA) is another option. It also uses copper, but with a different organic co-biocide, providing a different level of protection.
These preservatives are chosen based on several factors, including the intended use of the wood, the environment it will be exposed to, and any specific local building codes. Some formulations are better for ground contact, while others are suited for above-ground applications. The environmental impacts of these preservatives are also considered. All preservatives are regulated to ensure they are safe and effective. They ensure the wood’s durability.
ACQ (Alkaline Copper Quaternary): Widely used, ACQ combines copper with a quaternary ammonia compound.
Offers excellent protection against rot and insect damage. It is a good general-purpose preservative.
CA (Copper Azole): Another common choice, CA uses copper and azole fungicides.
Effective in various applications, particularly where ground contact is involved. Provides a good balance of protection and environmental impact.
Borates: Sometimes used for interior or above-ground applications, borates are effective against insects and fungi.
Borates are water-soluble and require careful application. They offer good protection but are less resistant to leaching in wet conditions.
Creosote: A traditional preservative, creosote is a coal-tar derivative.
Extremely effective, but its use is limited due to environmental concerns and potential health risks. Commonly used in railroad ties.
Does Cutting Pressure-Treated Wood Affect Its Protection?
When you cut pressure-treated wood, you expose untreated wood. The pressure-treating process doesn’t always penetrate the wood completely, especially at the core. Cutting removes the treated outer layer, leaving the interior vulnerable. The freshly cut surface is now a potential entry point for moisture and pests. This can lead to decay and reduce the wood’s lifespan.
The cut ends of pressure-treated wood are especially at risk. The preservatives don’t penetrate as deeply there as on the surfaces. The exposure to the elements and any ground contact can affect untreated areas. Cutting can negate the benefits of the treatment by creating new entry points for decay. Addressing these new surfaces is critical to maintaining the wood’s integrity and extending its life. Without proper treatment, the cut surfaces are vulnerable.
Understanding the Risks of Exposed Wood
Exposing untreated wood by cutting creates several risks. The primary concern is increased vulnerability to decay. Fungi and other organisms thrive in the presence of moisture. They can quickly invade the wood and cause it to rot. Insects, such as termites and carpenter ants, are also attracted to untreated wood. They can tunnel into the wood, causing structural damage. The risk of decay accelerates rapidly in damp environments.
Exposed wood is susceptible to moisture absorption. This can cause the wood to swell, crack, and warp, affecting its appearance and structural integrity. The untreated areas become a breeding ground for these problems, speeding up deterioration. Over time, this can lead to the need for repairs or replacement. By addressing the cut surfaces, you can prevent these issues. Proper sealing of the exposed areas is a crucial step to protect your work.
Increased Risk of Rot: Cutting exposes untreated wood, which is vulnerable to fungal decay.
Fungi thrive in moisture and can quickly colonize untreated areas, leading to wood rot. Decay causes structural damage.
Insect Infestation: Termites, carpenter ants, and other wood-boring insects are drawn to untreated wood.
Insects can burrow into exposed surfaces, causing significant damage. Infestations can weaken the wood and compromise its integrity.
Moisture Absorption: Cut surfaces absorb moisture, leading to swelling, cracking, and warping.
Moisture infiltration causes dimensional instability. It can affect the wood’s structural integrity and aesthetic appearance.
Reduced Lifespan: Cutting can significantly reduce the lifespan of pressure-treated wood by creating vulnerable entry points.
Without proper protection, these cut areas are likely to deteriorate. This results in the need for premature repairs or replacement.
Recommended Steps After Cutting
After cutting pressure-treated wood, there are several steps you should take to protect the newly exposed surfaces. Start by applying a wood preservative specifically designed for the type of treatment used. These preservatives are designed to penetrate the wood and replace the protection lost during cutting. This helps prevent rot and insect damage.
Make sure you use the right tools. Follow the directions of the preservative product. These products are readily available at most home improvement stores. You can also explore options to ensure you get the best product for the kind of wood you are using. Protecting the exposed surfaces is key to long-lasting results. Proper maintenance is also important for the overall longevity of your wood.
Clean the Cut Surface: Remove any sawdust, dirt, or debris from the cut surface using a brush or cloth.
This ensures the preservative adheres properly. A clean surface helps the preservative penetrate the wood.
Apply Wood Preservative: Use a brush, roller, or spray to apply a wood preservative to the cut ends.
Choose a preservative appropriate for the specific treatment type. Follow the manufacturer’s instructions for application.
Ensure Complete Coverage: Make sure the preservative covers the entire cut surface.
Pay close attention to edges and corners, where protection is most needed. Full coverage is critical for lasting protection.
Allow Proper Drying: Let the preservative dry completely before exposing the wood to the elements or joining pieces.
Drying times vary depending on the product and conditions. Following the drying instructions is key for the preservative to be effective.
Code Considerations for Recoating Pressure-Treated Wood
Building codes provide the framework for safe construction practices. They often have guidelines regarding the treatment of pressure-treated wood. Although the specific requirements can vary based on location, it’s key to know the regulations. These codes usually address the use of approved preservatives and the need to protect cut surfaces.
These codes aim to ensure the longevity of the structure and to protect against potential hazards, like structural failure. Local code regulations are a starting point. Always consult your local building department for the most relevant and specific information. It’s often required that any cut areas of pressure-treated wood receive a coating of preservative. This helps maintain the wood’s protection and compliance.
Local Building Codes and Regulations
Building codes vary by state and local jurisdiction. They can provide specific guidelines on recoating pressure-treated wood. These codes often reference the use of approved preservatives. They also give information about application methods. These regulations exist to ensure compliance with safety and structural standards.
Always check with your local building department for up-to-date information. Building inspectors can provide advice. They can ensure your project complies with the local requirements. These local regulations will affect whether you need to recoat pressure-treated wood after cutting, and they will specify any necessary methods. Understanding these regulations is necessary for a successful project.
Compliance with Codes: It is crucial to adhere to local building codes when working with pressure-treated wood.
These codes offer standards for safety and structural integrity. They vary based on region and the type of project. You’ll ensure your project meets all requirements.
Approved Preservatives: Building codes often specify which preservatives are permitted for use.
Use preservatives approved for your area. These products are designed for the level of protection needed. They comply with environmental regulations.
Recoating Requirements: Many codes require that any cut surfaces of pressure-treated wood be treated.
This practice is key to maintaining the wood’s protection. The recoating process helps meet code requirements.
Permit Requirements: Depending on the scope of your project, you might need a permit.
Your local building department can provide you with information about the permit requirements. This ensures the project complies with all regulations.
Manufacturer’s Instructions vs. Building Codes
Building codes can often have requirements that may go beyond the manufacturer’s directions. While manufacturer instructions offer guidance on a product’s application and use, the building codes set the legal standards. Building codes exist to ensure safety and structural integrity. They may mandate specific practices.
These code requirements often mandate the recoating of cut surfaces. If there’s a disagreement, the building code usually takes precedence. Always prioritize compliance with your local building codes. You can ensure your project complies with legal requirements and offers the appropriate level of protection. If the code and manufacturer’s instructions differ, consult the local building department.
| Aspect | Manufacturer’s Instructions | Building Codes |
|---|---|---|
| Purpose | Provide guidance on product use and application | Ensure safety and structural integrity |
| Authority | Provided by the product manufacturer | Established by local government |
| Requirements | Focus on product performance and best practices | Often mandate recoating cut surfaces, among other requirements |
| Compliance | Adherence improves product performance | Mandatory for legal construction |
| Priority | Secondary to building codes | Take precedence in case of conflict |
Protecting Your Pressure-Treated Wood Project
Beyond recoating the cut surfaces, there are other methods you can use to protect your pressure-treated wood project. Regularly inspecting your wooden structure for signs of damage or wear is a key step. You should also consider using sealers and coatings to provide an extra layer of protection against the elements. Correcting any problems as soon as they arise is a priority for a long-lasting structure.
Maintenance is key to making sure your project stands the test of time. Regular cleaning and care can extend the life of your wood. Simple actions, like removing debris and making repairs promptly, can have a major effect on the longevity of your wood. Consider all aspects of your project to ensure its durability.
Sealers and Coatings for Added Protection
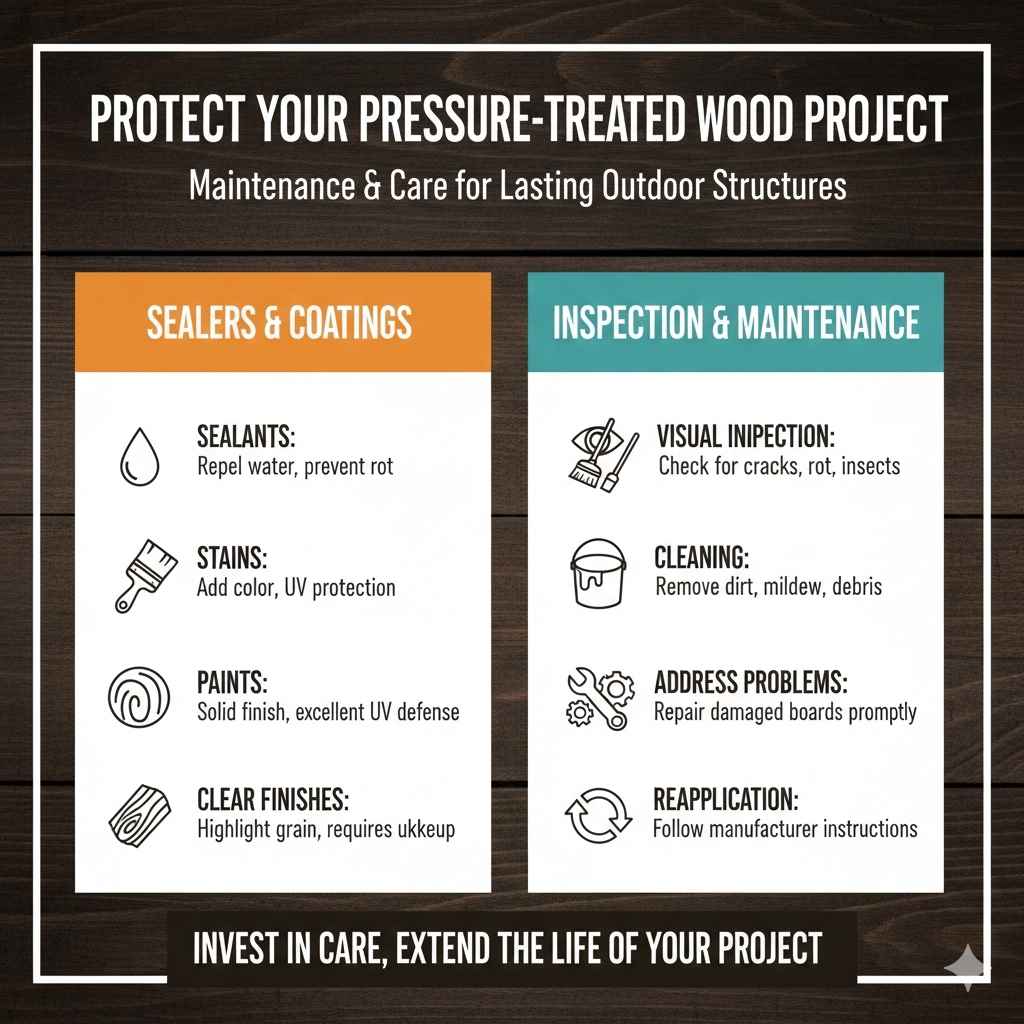
Applying sealers and coatings can provide your pressure-treated wood with added protection. Sealers create a barrier that helps repel water. Coatings like paints and stains offer another layer of defense against UV rays. They also improve the wood’s appearance. The choice of sealant or coating depends on your project’s needs.
These products can also add color and improve the look of the wood. Look for products specially designed for pressure-treated wood. They can provide an added layer of protection. Following the manufacturer’s directions is necessary to make sure the products work as planned. Applying these coatings will extend the life of your project.
Sealants: Sealants are designed to repel water and protect the wood from moisture damage.
They create a barrier that prevents water from penetrating. This helps to prevent rot and decay.
Stains: Stains add color and enhance the wood’s natural appearance.
They also provide some UV protection. Choose a stain formulated for pressure-treated wood for best results.
Paints: Paints offer a solid color finish and excellent UV protection.
Paint can also help seal the wood. Select a paint designed for exterior use for optimal results.
Clear Finishes: Clear finishes, such as varnishes or wood oils, highlight the wood’s grain while offering protection.
They create a protective layer but may require more frequent maintenance compared to solid coatings.
Regular Inspection and Maintenance
Regular inspection and maintenance are essential for maintaining your pressure-treated wood project. Periodically check the wood for any signs of damage, such as cracks, splits, or rot. These inspections can help you detect issues early. Early action can prevent minor problems from becoming major ones. Regular cleaning can also improve your project’s longevity.
Regular care includes cleaning the wood. Remove any debris. Address any problems immediately. By doing this, you’ll extend the lifespan of your wooden structure. Keeping up with maintenance helps you protect your project. You can improve its lifespan. You can make sure your investment lasts.
Visual Inspection: Regularly inspect your wood for signs of damage.
This involves checking for cracks, splits, rot, and insect damage. Look closely at all surfaces. Check around any areas where wood meets the ground.
Cleaning: Clean the wood regularly.
Remove any dirt, mildew, or debris that accumulates on the surface. Use a soft brush and mild soap. This improves the appearance and prevents buildup.
Addressing Problems: Deal with any issues as soon as they are found.
Repair or replace any damaged boards promptly. Apply preservative to any exposed areas to protect the wood.
Reapplication of Protection: Reapply sealants, stains, or paints as needed.
Follow the manufacturer’s instructions for the specific product. This helps maintain protection from the elements.
Frequently Asked Questions
Question: Do I need to recoat pressure-treated wood after cutting?
Answer: Yes, because cutting exposes untreated wood, recoating the cut surfaces with a wood preservative is recommended to protect against rot and insects.
Question: What type of preservative should I use on the cut ends?
Answer: Use a wood preservative specifically designed for pressure-treated wood. Look for products that match the type of treatment used on the original wood.
Question: How often should I inspect my pressure-treated wood?
Answer: It’s a good idea to inspect your pressure-treated wood at least twice a year, or more frequently if it is exposed to harsh weather or ground contact.
Question: Is it okay to use regular paint on pressure-treated wood?
Answer: While you can paint pressure-treated wood, make sure the paint is suitable for exterior use. Always prepare the surface and follow the paint manufacturer’s guidelines for best results.
Question: Does building code dictate recoating?
Answer: Yes, local building codes often require the recoating of cut surfaces on pressure-treated wood to maintain its protection and comply with safety regulations.
Final Thoughts
Protecting pressure-treated wood is about more than just building something. It’s about making sure your hard work lasts. When it comes to Is It Code to Recoat Pressure-Treated Wood After Cutting?, the answer is often yes, because cutting exposes areas that need special attention. Treating the cut ends with a wood preservative is a key step, but it is not the only thing. You also want to make sure you select the right materials. Regular inspection, maintenance, and the use of sealants can give your project added protection. Remember to consult local building codes. By following these steps, you can create a sturdy and lasting structure.
Consider starting small to practice, even if it is just a simple fence or a small deck. Doing this will allow you to learn more about the wood. You’ll gain some confidence. And, most importantly, you will enjoy your work. With a little care and the right approach, your project will stand the test of time, giving you years of enjoyment and use.