Is Sherwin Williams Emerald Paint Good For Bathrooms?
Yes, Sherwin-Williams Emerald paint is excellent for bathrooms. It is highly recommended because its premium formula offers superior moisture resistance, exceptional durability, and a beautiful, mildew-resistant finish, making it perfect for humid bathroom environments.
Choosing the right paint for your bathroom can feel like a big decision. Bathrooms are tough on paint! Steam from hot showers turns walls into mini-saunas, which means your paint needs to handle moisture without peeling, bubbling, or growing unwelcome spots. If you’ve ever painted a bathroom only to see streaks a few months later, I understand your frustration. Well, put those worries aside! Sherwin-Williams Emerald line is designed to tackle these exact problems. Today, we are going through exactly why this paint is a fantastic choice and how to use it for a smooth, long-lasting finish that looks great for years. We will break down the features and give you the simple steps to success.
Why Bathroom Paint Matters: Moisture is the Enemy
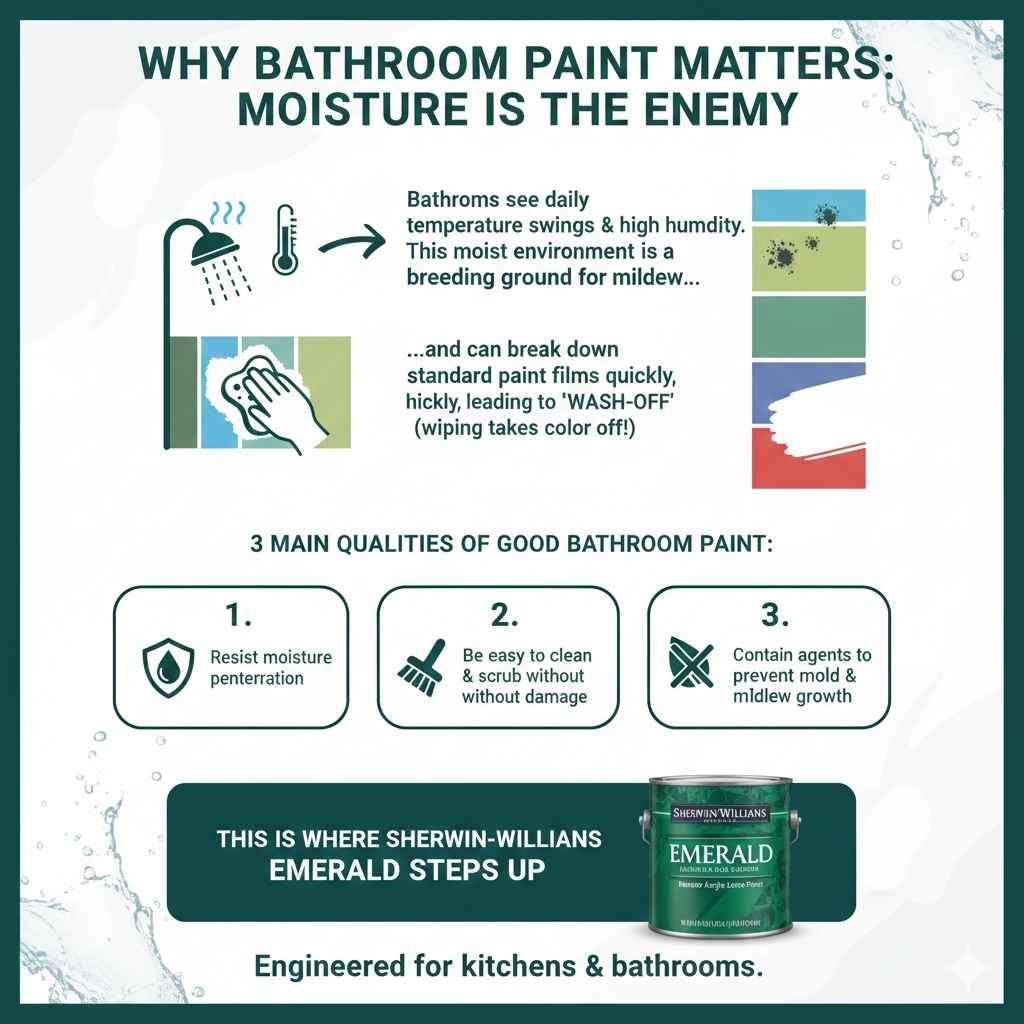
When we talk about painting any room in the house, we often focus on color. But in a bathroom, the finish and the protective qualities are much more important than the shade itself. Bathrooms see daily temperature swings and high humidity. This moist environment is a breeding ground for mildew and can break down standard paint films quickly, leading to what we call “wash-off”—where wiping down a spot takes the color right off!
A good bathroom paint must do three main things:
- Resist moisture penetration.
- Be easy to clean and scrub without damage.
- Contain agents to prevent mold and mildew growth.
This is where Sherwin-Williams Emerald steps up to the plate. It’s positioned as a premium line, and for good reason—it is engineered specifically for tough environments like kitchens and bathrooms.
Sherwin-Williams Emerald: A Deep Dive for Bathroom Use
Emerald isn’t just another can of paint. It’s Sherwin-Williams’ flagship product, often advertised for its “stain-blocking and wall-touching” technology. But for our humidity-heavy rooms, its specific features make it shine brighter than other interior lines.
Key Benefits of Emerald Paint for High-Humidity Areas
Understanding what makes Emerald unique helps you feel confident in your purchase. It’s an investment, but one that pays off in longevity and reduced frustration down the road.
1. Superior Moisture Resistance
Emerald features a specialized binder system. Think of the binder as the glue that holds the paint film together once it dries. In high-humidity areas, cheaper binders let water vapor seep in. Emerald’s advanced binder creates a tighter, more protective shell. This means water beads up on the surface instead of soaking in, protecting your drywall underneath.
2. Incredible Washability and Durability
Bathrooms require frequent cleaning. Toothpaste splatters, water splashes, and general grime accumulate. Emerald is famous for its exceptional scrub resistance. You can use stronger cleaners on an Emerald finish without worrying about dull spots or stripping the color. This durability is crucial for keeping your bathroom looking fresh.
3. Mildew and Mold Resistance
This is non-negotiable for a bathroom. Sherwin-Williams incorporates advanced mildewcides into the Emerald formula. These agents actively discourage the growth of mold and mildew spores on the paint surface. While no paint is completely immune if ventilation is poor, Emerald offers a significant protective barrier right out of the can.
4. Excellent Hide and Coverage
As a premium paint, Emerald usually offers fantastic “hide.” This means you might need fewer coats to cover up old, darker colors. For a DIYer, fewer coats mean less time spent on ladders and fewer trips to the paint store—a real confidence booster!
Understanding Sheen: The Secret Weapon in Bathrooms
The sheen (or gloss level) you choose for your bathroom paint works hand-in-hand with the Emerald formula. Higher sheen equals higher durability and moisture resistance, which is vital in wet areas. Here’s how the sheens stack up specifically for bathrooms:
| Sheen Level (Emerald Options) | Best Use in Bathroom | Durability/Cleanability | Visual Appearance |
|---|---|---|---|
| Matte/Flat | Low-traffic powder rooms only (no shower/tub) | Lowest; susceptible to marking | Non-reflective, hides imperfections well |
| Satin | Good for walls in master/secondary baths (with decent ventilation) | Very good; a nice balance | Soft sheen, offers some washability |
| Semi-Gloss | Recommended for walls near showers, high-moisture areas, trim, and ceilings | Excellent; very durable and easiest to clean | Noticeable shine; reflects light |
Md Meraj’s Tip: For most full bathrooms that see regular use, I strongly recommend using Emerald Satin on the walls and Emerald Semi-Gloss on the trim and ceiling. If you have ventilation issues or very young children making big messes, don’t hesitate to bump the walls up to Semi-Gloss!
Step-by-Step Guide: Painting Your Bathroom Like a Pro with Emerald
The quality of the paint only gets you halfway there. Proper surface preparation is the foundation of any lasting paint job, especially in a humid room. Follow these steps to ensure your beautiful Emerald paint sticks and lasts.
Tools You Will Need
Gathering your gear beforehand makes the actual painting process so much smoother. You don’t want to stop mid-roll because you forgot the proper brush!
- Sherwin-Williams Emerald Paint (and Primer if needed)
- High-quality angled sash brush (2-inch or 2.5-inch)
- Roller frame and covers (3/8″ nap nap roller cover is usually best for smooth walls)
- Painter’s tape (blue or green tape works well)
- Drop cloths or plastic sheeting
- TSP substitute or mild cleaner (like a vinegar/water mix)
- Sanding sponge (medium grit, like 150-220)
- Caulk gun and bathroom-grade silicone caulk
Preparation Phase: The Secret to Success (Do Not Skip!)
This is where 80% of a great paint job happens. Since you are dealing with potential mildew or soap scum, thorough cleaning is essential.
- Empty and Protect: Remove everything from the walls—towel bars, switch plates, vent covers, and shelving. Place drop cloths on the floor and tape off any areas you absolutely cannot paint (like the glass shower door or expensive hardware).
- The Essential Cleaning: Moisture means potential hidden mold or soap film buildup. Use a TSP (Trisodium Phosphate) substitute or a strong solution of water and a little dish soap/vinegar. Scrub the walls well. For extra protection against mildew, you can use a mild bleach/water solution (1 part bleach to 10 parts water), but make sure to rinse thoroughly afterward and let the walls dry completely. Check out EPA guidelines on cleaning mold-prone areas for reference.
- Repair and Sand: Fill any nail holes or small cracks with spackle. Once dry, sand these spots smooth using your sanding sponge. Next, lightly scuff the existing semi-gloss or gloss paint on the walls with fine-grit sandpaper. This gives the new Emerald paint something rough to grip onto.
- Prime (When Necessary): If you are covering very dark colors, a stain, or bare drywall spots, use a high-quality primer first, such as Sherwin-Williams ProBlock or Extreme Bonding Primer. Emerald does have great self-priming qualities, but old stains can bleed through, so a dedicated primer saves headaches.
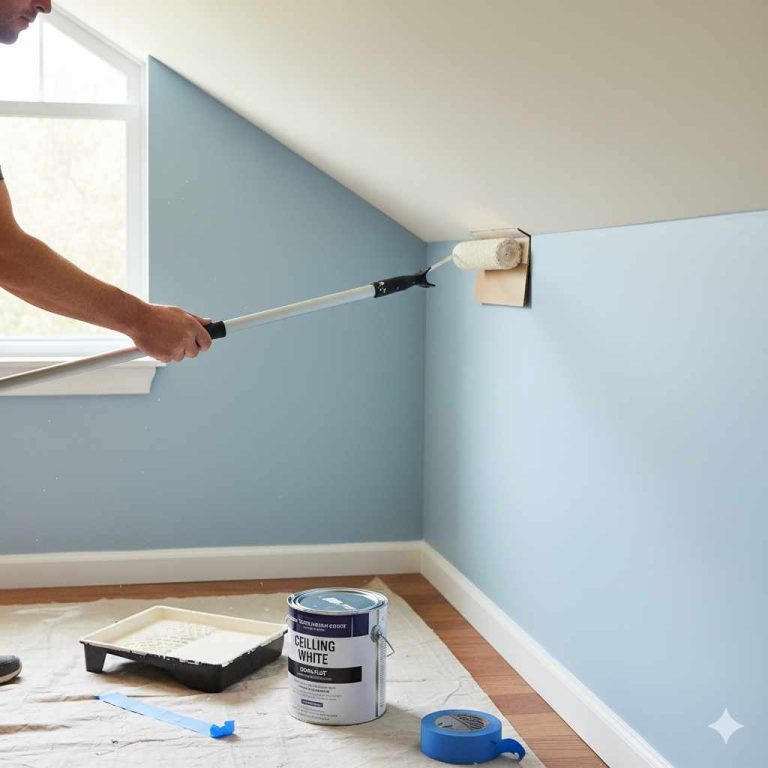
Application Phase: Putting the Emerald on the Wall
Now for the fun part! Work in small sections, taking your time to ensure even coverage. Remember, Emerald is thick and covers well, so you don’t want to overwork the paint.
- Cutting In: Use your angled sash brush to “cut in” the edges first—that’s painting a 2-3 inch band along the ceiling line, around trim, corners, and where the wall meets the tub/shower surround. Work carefully here; this defines the whole room.
- Rolling Technique: Load your roller cover evenly, but don’t overload it so much that it drips everywhere. Start rolling in a section about 3 feet wide. Use the “W” or “M” technique: Roll the “W” shape onto the wall without lifting the roller, then go back over that shape vertically, using light, even pressure to fill in the pattern. This ensures an even coat.
- Coats and Drying Time: For best performance, especially in humid environments, plan on two full coats of Emerald. Check the can for exact recoat times, but generally, wait 4–6 hours between coats. Do not rush this drying time! If you try to apply the second coat too soon, you can pull up the first coat, creating streaks.
- Trim and Ceiling: If you are painting the ceiling, use a flat or matte ceiling paint first for better light diffusion. Save the trim for last. Use Emerald Semi-Gloss on the trim, and apply it with precision, maybe taping the wall edge first if you are nervous.
Finishing Touches: Sealing the Deal
Once the final coat is dry (wait at least 24 hours before heavy use), it’s time to seal up the room.
- Remove Tape: Pull off the painter’s tape while the paint is still slightly soft (or completely dry) for the cleanest line. Pull slowly at a 45-degree angle away from the freshly painted edge.
- Reinstall Hardware: Put back outlet covers, towel bars, and shelving.
- Caulking: Use fresh, mildew-resistant silicone caulk to seal the gap between the tub/shower surround and the wall paint, and between the baseboards and the wall. A clean caulk line makes a huge difference in the final, professional look.
Emerald vs. Sherwin-Williams Bathroom Specific Lines (Duration & Captiva)
Sherwin-Williams offers other paints that are marketed specifically for bathrooms, like Duration Home or Captiva. How does Emerald stack up against these specialized options?
While Duration Home is often praised for its ultra-durable, washable finish—it’s a very strong contender—Emerald offers slightly better technology in terms of stain blocking and typically achieves its mildew resistance directly within its premium formula without needing as much heavy texture.
For the average homeowner looking for the absolute best balance of performance, aesthetics, and application ease, Emerald often wins. Duration is a close second, sometimes preferred if maximum scrub resistance (like for kids’ bathrooms where everything gets touched) is the #1 priority.
Here is a quick comparison focusing on bathroom readiness:
| Paint Line | Moisture Resistance | Mildew Resistance | Best For |
|---|---|---|---|
| Emerald | Excellent | Built-in, strong | Overall premium performance and ease of application. |
| Duration Home | Superior | Built-in, excellent | Extreme moisture areas or very high-traffic family bathrooms requiring maximum scrub power. |
| Captiva (Often lower tier) | Good | Acceptable (May need an additive) | Budget-conscious projects in low-moisture powder rooms. |
If your budget allows, Emerald remains the workhorse premium interior paint that handles the demands of a typical bathroom exceptionally well.
Addressing Common DIY Concerns with Emerald
When working with a higher-end paint, sometimes beginners worry about technique or mistakes. Let’s tackle a few common hurdles so you can paint with confidence.
Can I Use Emerald Paint in a Shower Stall (Direct Water Exposure)?
No, you generally should not use any standard interior paint, including Emerald, inside the direct splash zone of a shower stall (the walls tile doesn’t touch). Areas subject to constant, direct water saturation, like inside a shower, require specialized moisture-cured coatings or epoxy finishes meant for those specific conditions. Emerald is fantastic for the walls outside the shower area where steam is the main issue, but not for direct submersion or constant running water.
How Long Until Emerald Bathroom Paint Cures?
Paint feels dry to the touch quickly (usually within 1–2 hours), and you can usually recoat after 4–6 hours. However, the paint doesn’t achieve its full hardness and chemical resistance (its “cure”) for about 30 days. During this cure time, be gentler. Avoid scrubbing hard, avoid high-heat running showers for the first week, and definitely don’t slam cabinet doors into the fresh paint until it has time to harden up. Good ventilation helps this curing process along!
Does Emerald Smell Bad?
Emerald is known for having low Volatile Organic Compounds (VOCs), meaning it has a much milder odor than older, traditional paints. This is great news for small, enclosed spaces like bathrooms! However, paint fumes are always present to some degree. You should still ensure good airflow by opening windows or using an exhaust fan while painting and for several days afterward.
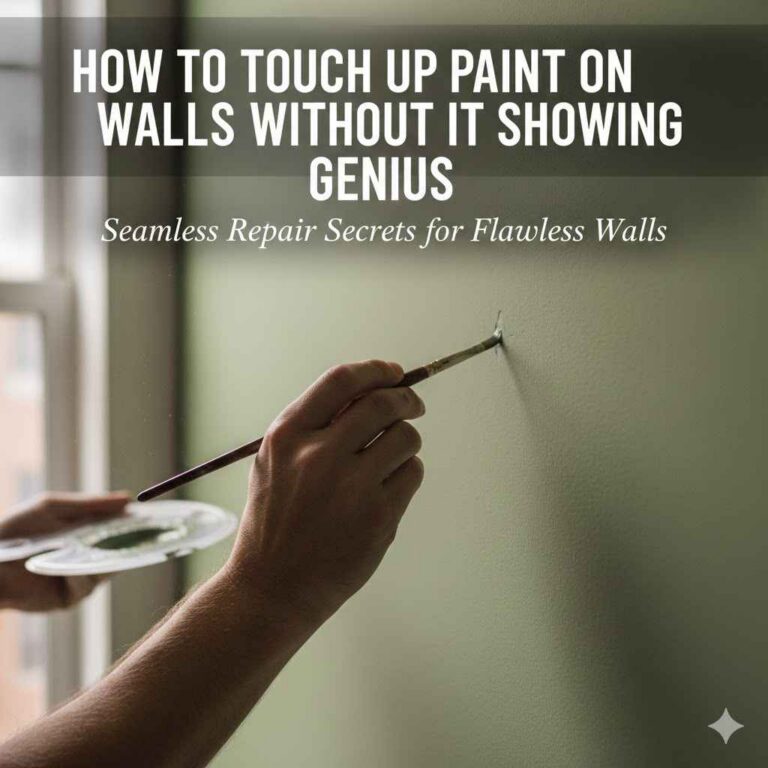
What Sheen is Easiest to Touch Up?
Semi-Gloss is generally the easiest sheen to touch up because the slight reflective quality helps blend small mistakes. Satin is next. Flat sheens are notoriously difficult to touch up in high-moisture rooms because any repair will likely show through.
To ensure the best blend when touching up, always try to use paint from the same can, and roll the patched area lightly outward to feather the edges into the existing paint surface. You can find more general painting advice from resources like the Sherwin-Williams official site or established painting industry guides.
Improving Bathroom Ventilation: The True Key to Paint Longevity
I need to stress this point as a DIY guide: even the best paint in the world (including Emerald) will struggle if your bathroom ventilation is poor. Paint resists moisture, but it can’t fight perpetual steam clouds forever. Think of paint as your first line of defense, and ventilation as your maintenance crew.
Quick Ventilation Checklist:
- Use the Fan: Always turn the exhaust fan on 5 minutes before starting a hot shower and leave it running for at least 15–20 minutes after you are done.
- Check Fan Strength: If your fan seems weak, it might need cleaning or replacement. A general rule of thumb is that your fan should be powerful enough to clear the fogged mirror within a few minutes of turning it on. For DIYers, understanding CFM (Cubic Feet per Minute) is useful, but a quick visual check often tells you enough.
- Wipe Down Walls: After a shower, quickly squeegee or wipe down the tile and a few inches up the painted wall surfaces nearest the shower. This prevents moisture from sitting on the paint film.
By combining premium, moisture-resistant paint like Emerald with solid ventilation practices, you create an environment where your paint job can truly thrive for the long haul.
A Final Word on Color Choices and Lighting
Since you are using Emerald, you have access to an enormous, high-quality color palette. Bathrooms are often small spaces, which can sometimes feel cramped when painted too dark.
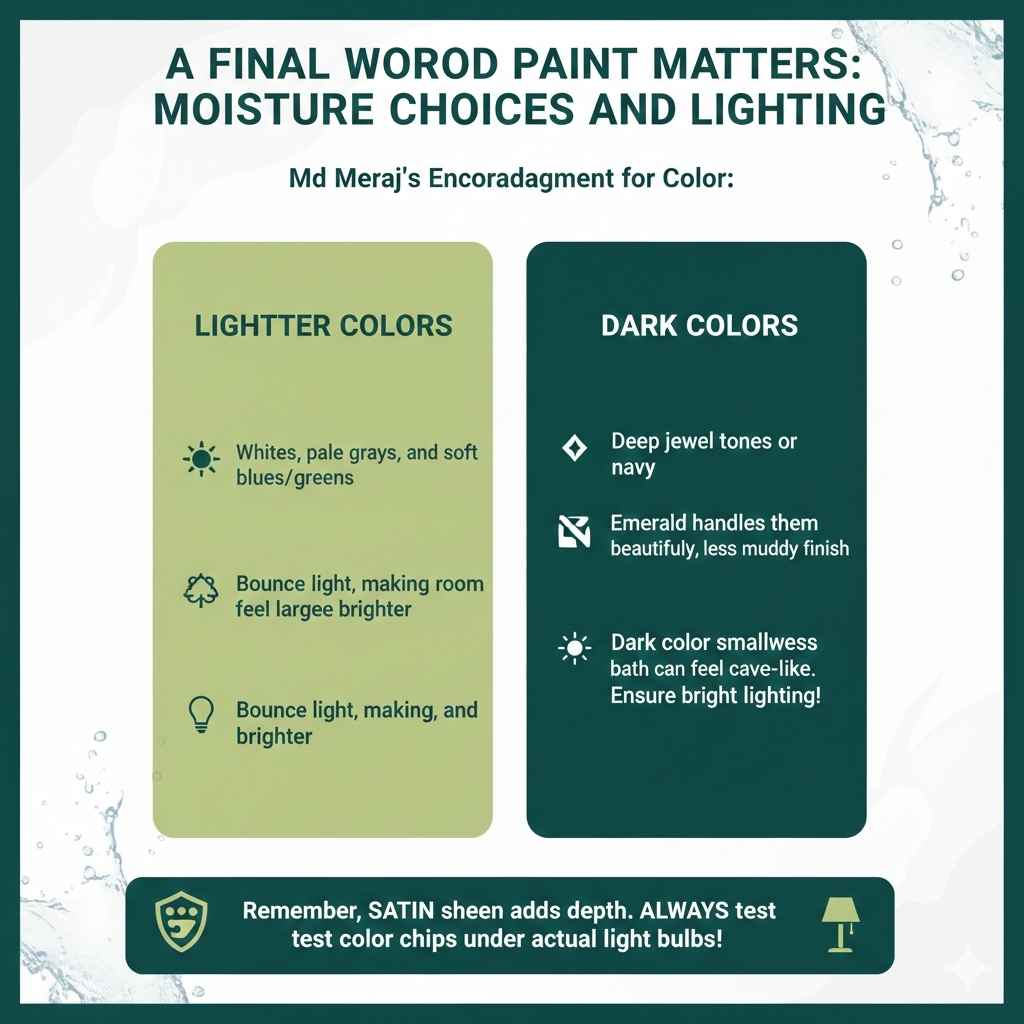
Md Meraj’s Encouragement for Color:
- Lighter Colors: Whites, pale grays, and soft blues/greens bounce light around, making the room feel larger and brighter—a big plus in rooms often lacking natural light.
- Dark Colors: If you love deep jewel tones or dark navy, Emerald handles them beautifully. Because Emerald covers so well, you are less likely to end up with a muddy finish when transitioning from light to dark. Just be aware that a dark color in a small, windowless bath can sometimes feel cave-like, so ensure your lighting fixtures are bright enough.
Remember, the Satin sheen will give your chosen color a slight depth that Flat will absorb. Test your color chips under your bathroom’s actual light bulbs—daylight bulbs (5000K) show true color, while soft white (2700K) warms everything up.
Frequently Asked Questions (FAQ) About Sherwin-Williams Emerald in Bathrooms
Q1: Do I really need a special primer if I use Emerald paint?
A: Generally, if you are painting over an existing coat of quality paint in good condition, Emerald’s self-priming feature is often enough for walls. However, you must use a dedicated primer (like an oil-based or bonding primer) if you are covering bare drywall, fresh joint compound patches, stains, or high-gloss old paint.
Q2: Can I use Emerald paint on the bathroom vanity cabinets instead of just the walls?
A: While Emerald is very durable, Sherwin-Williams usually recommends specific cabinet paints like Emerald Urethane Trim Enamel or a specialized Alkyd paint for cabinets. These cabinet-specific formulas offer the necessary hardness to resist chips and dings from opening and closing doors, which standard wall Emerald isn’t optimized for.
Q3: How long do I have to wait after painting before I can take a hot shower?
A: While the paint is dry to the touch in hours, it’s best practice to wait at least 3 to 5 days before running very hot, steamy showers to give the paint film maximum time to fully cure and achieve its top-level moisture resistance.
Q4: Is Emerald more expensive than other Sherwin-Williams lines?
A: Yes, Emerald sits in the premium tier, making it one of the more expensive interior options compared to lines like SuperPaint or Promar. You are paying for the advanced binding technology that delivers superior stain resistance and durability, which saves money on repainting later.
Q5: If I paint my bathroom ceiling with Emerald, should I use the same sheen as the walls?
A: No. Even with Emerald, it is generally best to use the flattest finish available (like Emerald Flat) on the ceiling. Ceilings don’t get handled, but they show every single roller mark or imperfection caused by light reflection. A flat finish hides these small application flaws better than Satin or Semi-Gloss.
Q6: Is Emerald available in Zero-VOC options for sensitive users?
A: Sherwin-Williams offers extremely low-VOC options across their lines, and the Emerald line is highly regarded for its low odor. Always check the specific can label, as exact VOC levels can vary slightly based on the colorant package used, but it is one of the best choices for minimizing fumes.
Conclusion: Confidently Choose Emerald for Your Bathroom Upgrade
When you stand in the paint aisle looking at those shiny cans, it’s easy to get overwhelmed. I want you to walk away feeling completely sure about your choice. Sherwin-Williams Emerald paint is absolutely a top-tier, reliable, and highly effective choice for bathroom walls and trim.
Its commitment to moisture resistance, coupled with its exceptional cleanability and built-in mildew fighters, means it handles the humidity, splashes, and frequent cleaning demands of a bathroom far better than standard contractor-grade paints. Remember that even the best paint needs a clean, well-prepped surface to adhere to—don’t rush the cleaning and sanding! When you prep correctly, apply two thin, even coats, and ensure you have decent airflow, you are setting yourself up for a beautiful, professional-looking finish that will look great for many years to come. You’ve got this!