Proven Paint Removal: Wood’s Best Friend
Quick Summary: Safely and effectively remove paint from wood using proven methods! This guide offers simple, beginner-friendly techniques to restore wood’s natural beauty without causing damage, making your DIY projects a success.
Hello there! Are you looking to refresh an old wooden piece, perhaps a charming antique chair or a weathered deck? Sometimes, years of paint can hide the beautiful grain of the wood underneath. But don’t worry, taking off that old paint doesn’t have to be a messy chore or a project that damages your precious wood. I’m here to walk you through some tried-and-true methods that are kind to your wood and easy for you to do. We’ll tackle this together, step by step, so you can feel confident and achieve fantastic results. Let’s get your wood looking its best!
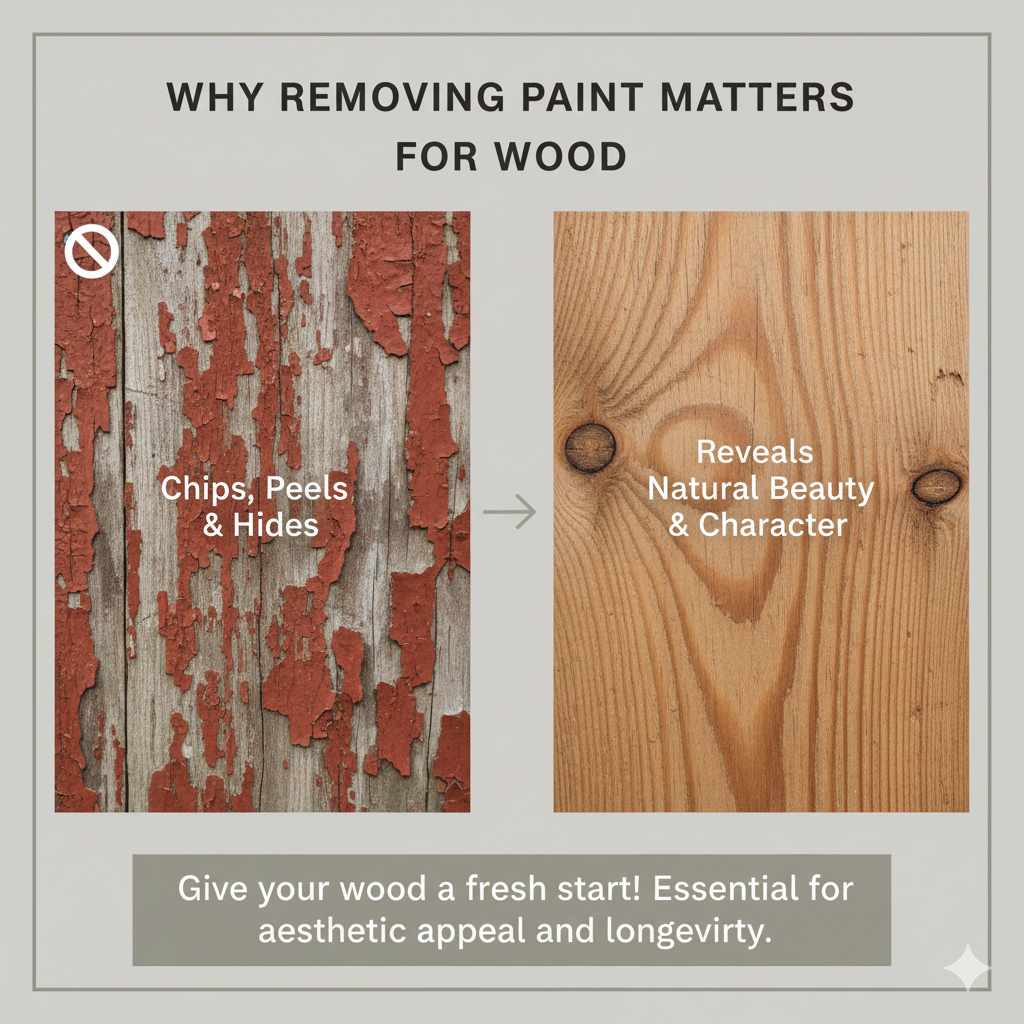
Why Removing Paint Matters for Wood
Paint can be great for protection and decoration, but over time, it can chip, peel, and hide the natural beauty of wood. Removing old paint is often the first step in restoring a piece of furniture, preparing a surface for a new finish, or simply revealing the gorgeous wood grain that makes your project unique. It’s like giving your wood a fresh start, letting its true character shine through. This process is essential for both the aesthetic appeal and the longevity of wooden items.
Choosing the Right Paint Removal Method
Selecting the best way to remove paint from wood depends on a few things: the type of paint, the age and condition of the wood, and the tools you have available. For beginners, it’s always best to start with the least aggressive methods to ensure you don’t damage the wood. We’ll explore a few popular and effective approaches, focusing on how to remove paint from wood without damaging the wood itself.
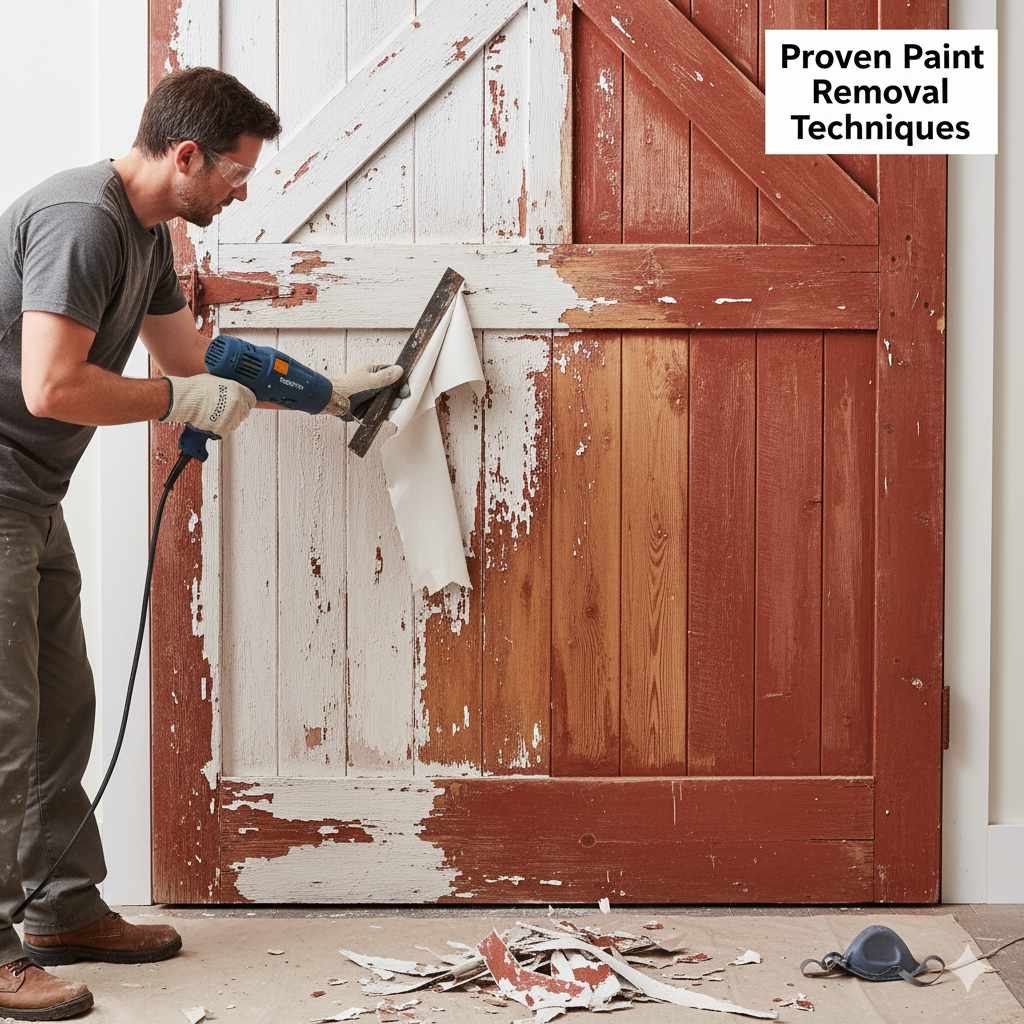
Method 1: The Gentle Approach – Heat Gun
A heat gun is a fantastic tool for softening old paint, making it easier to scrape away. It’s less messy than some chemical strippers and can be very effective, especially on older, thicker layers of paint. The key is to use the heat gently and not scorch the wood.
What You’ll Need:
- Heat gun
- Putty knife or scraper (a flexible one is often best)
- Work gloves
- Safety glasses
- Dust mask
- Drop cloths or old newspapers
- Wire brush (optional, for stubborn bits)
- Sanding block or sandpaper (for final smoothing)
Step-by-Step Guide:
- Prepare Your Workspace: Lay down drop cloths to catch falling paint chips. Ensure good ventilation, as heating paint can release fumes. Wear your safety glasses, gloves, and dust mask.
- Heat the Paint: Hold the heat gun about 6-8 inches away from the surface. Move it back and forth slowly over a small area. You’ll see the paint start to bubble and soften. Don’t hold it in one spot for too long, as this can scorch the wood.
- Scrape Away the Softened Paint: Once the paint is softened, use your putty knife or scraper to gently lift and scrape it away. Work in the direction of the wood grain. The softened paint should come off in strips or chunks.
- Repeat and Continue: Work in small sections, heating and scraping as you go. For any stubborn bits, a wire brush can help, but be gentle.
- Clean Up: Once all the loose paint is removed, clean the surface with a damp cloth.
- Sand Smooth: After the wood is clean and dry, use a sanding block or sandpaper (start with a medium grit, like 120, and finish with a finer grit, like 220) to smooth the surface and remove any remaining residue.
Pros of Using a Heat Gun:
- Less messy than chemical strippers.
- Effective on multiple layers of paint.
- No harsh chemicals involved.
- Relatively quick once you get the hang of it.
Cons of Using a Heat Gun:
- Risk of scorching the wood if not used carefully.
- Can release fumes, requiring good ventilation.
- Not ideal for very delicate or detailed woodwork where the heat might cause damage.
Method 2: The Chemical Stripper Route
Chemical paint strippers are powerful and can dissolve paint layers effectively. However, they require careful handling due to their strong chemicals. Always choose a stripper that is specifically designed for wood and follow the manufacturer’s instructions precisely.
What You’ll Need:
- Paint stripper (gel or liquid, choose one for wood)
- Putty knife or scraper
- Stiff brush (natural bristles are often recommended for some strippers)
- Chemical-resistant gloves
- Safety glasses or goggles
- Respirator mask
- Drop cloths or old newspapers
- Mineral spirits or denatured alcohol (for cleanup, check stripper instructions)
- Steel wool or fine-grit sandpaper
Step-by-Step Guide:
- Safety First! This is crucial with chemical strippers. Wear chemical-resistant gloves, safety goggles, and a respirator mask. Ensure the area is extremely well-ventilated. Lay down drop cloths.
- Apply the Stripper: Using a brush or an old paintbrush, apply a thick, even coat of the stripper to the painted surface. Don’t brush it out too thin. Work in sections, as the stripper has a limited working time.
- Let it Work: Allow the stripper to sit for the time recommended by the manufacturer. You’ll see the paint start to wrinkle, bubble, or soften. This can take anywhere from 15 minutes to an hour or more, depending on the product and paint.
- Scrape Away the Paint: Once the paint is softened, use your putty knife or scraper to gently lift and remove the paint. Work with the grain of the wood. For intricate areas, a stiff brush can help.
- Clean the Residue: After scraping, you’ll need to clean off the stripper residue. Follow the product’s instructions for cleanup – this often involves using mineral spirits, denatured alcohol, or a specific wash. Use steel wool or a stiff brush dipped in the cleaning solution.
- Neutralize (If Required): Some strippers require a neutralizing step. Check the product label and follow the instructions.
- Sand Smooth: Once the surface is clean and completely dry, sand it smooth with fine-grit sandpaper (around 180-220 grit) to remove any last traces of paint and stripper.
Pros of Using Chemical Strippers:
- Very effective at dissolving multiple layers of paint.
- Can be less physically demanding than sanding.
- Works well on intricate details.
Cons of Using Chemical Strippers:
- Involves strong, potentially hazardous chemicals.
- Requires excellent ventilation and personal protective equipment (PPE).
- Can be messy and require thorough cleanup.
- Some strippers can be harsh on certain wood types if not used carefully.
For more information on safe chemical handling, you can refer to resources from the Occupational Safety and Health Administration (OSHA).
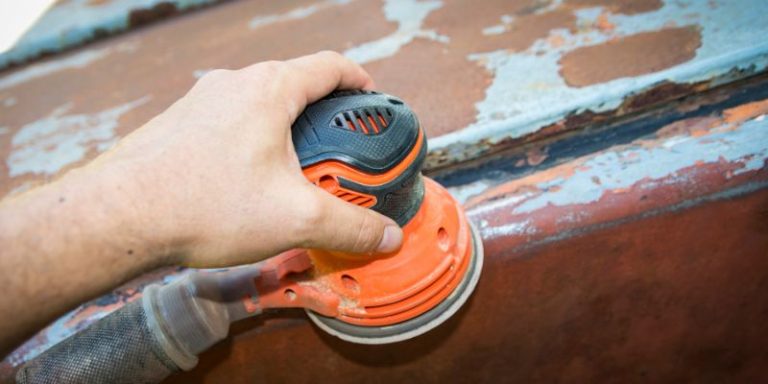
Method 3: The Mechanical Approach – Sanding
Sanding is a direct way to remove paint, especially if the layers are thin or you’re dealing with a small area. It also smooths the wood surface afterward. However, it can be labor-intensive and create a lot of dust.
What You’ll Need:
- Orbital sander or sanding block
- Sandpaper (various grits: start coarse, e.g., 80-100 grit, and move to finer grits, e.g., 150, 220)
- Dust mask
- Safety glasses
- Work gloves
- Vacuum cleaner or brush and dustpan
- Tack cloth
Step-by-Step Guide:
- Safety First: Always wear a dust mask, safety glasses, and gloves. Sanding creates fine dust that can be harmful to inhale.
- Start with Coarse Grit: Begin with a coarser grit sandpaper (80-100 grit) to effectively remove the paint layers. If using an orbital sander, attach the sandpaper securely.
- Sand in Sections: Work in small, manageable sections. Sand with the grain of the wood. Apply even pressure. If using a sanding block, wrap the sandpaper around it for a firm grip.
- Check Progress: Periodically stop and check your progress. You’ll see the paint gradually disappear, revealing the wood beneath.
- Move to Finer Grits: Once the paint is mostly removed, switch to finer grits of sandpaper (150, then 220). This step is crucial for smoothing the wood surface and removing any scratches left by the coarser grit.
- Clean Up Dust: After sanding, thoroughly clean the surface. Use a vacuum cleaner or a brush and dustpan to remove the bulk of the dust. Then, wipe down the surface with a tack cloth to pick up any fine dust particles.
Pros of Sanding:
- Removes paint and prepares the surface for finishing in one go.
- No harsh chemicals involved.
- Can be done with basic tools (sanding block).
Cons of Sanding:
- Can be very time-consuming and physically demanding, especially for large projects.
- Generates a lot of dust, requiring good dust control and a mask.
- Can be difficult to get into nooks and crannies.
- Risk of sanding too deeply and altering the wood’s profile.
Method 4: The Natural Approach – Water and Heat (for very old paint)
For extremely old, brittle paint, sometimes a combination of steam and scraping can work. This is a gentler method but can be slower.
What You’ll Need:
- Clothes steamer or wallpaper steamer
- Putty knife or scraper
- Work gloves
- Safety glasses
- Drop cloths
Step-by-Step Guide:
- Prepare Your Area: Lay down drop cloths and wear protective gear.
- Apply Steam: Hold the steamer nozzle a few inches away from a small section of painted wood. Let the steam soften the paint for about 30 seconds to a minute.
- Scrape Gently: Immediately after steaming, use your putty knife to gently scrape away the softened paint. Work with the wood grain.
- Repeat: Continue in small sections, steaming and scraping as you go.
- Clean and Dry: Wipe the wood clean with a damp cloth and allow it to dry completely.
- Final Sanding: A light sanding with fine-grit sandpaper may be needed to finish.
Pros of Steam Stripping:
- Very gentle on the wood.
- No chemicals involved.
- Can be effective on certain types of old paint.
Cons of Steam Stripping:
- Can be very slow and labor-intensive.
- Excessive moisture can sometimes damage wood, especially if it’s not sealed.
- Not effective on all types of paint.
Choosing the Right Tools for the Job
The tools you choose can make a big difference in how easy and successful your paint removal project is. Here’s a quick look at some common tools and their best uses:
| Tool | Best For | Beginner Tip |
|---|---|---|
| Heat Gun | Softening paint for scraping; effective on multiple layers. | Keep it moving! Don’t let it dwell too long on one spot to avoid scorching. |
| Chemical Stripper | Dissolving tough or multiple paint layers; intricate details. | Always wear full PPE and ensure maximum ventilation. Read instructions carefully. |
| Orbital Sander | Removing paint from flat, large surfaces; smoothing. | Start with a medium grit and work up to fine. Let the sander do the work; don’t press too hard. |
| Sanding Block | Smaller areas, edges, and detailed work; manual control. | Wrap sandpaper tightly and use even pressure, always sanding with the wood grain. |
| Putty Knife/Scraper | Scraping away softened or loosened paint. | Use a flexible blade for less risk of gouging the wood. Hold it at a low angle. |
| Wire Brush | Removing stubborn paint residue after primary stripping. | Use gently and only on areas where paint is truly stuck; can scratch wood. |
Important Safety Considerations
Safety is always my top priority when we’re working on DIY projects. Removing paint, especially older paint, can come with risks. Here are some key things to keep in mind:
- Lead Paint: If your home or the item you’re working on was built before 1978, the paint could contain lead. Disturbing lead-based paint can create hazardous dust. It’s best to get a lead paint test kit if you suspect lead paint. If lead is present, you should use specialized containment and cleanup procedures, or consider hiring a professional. The Environmental Protection Agency (EPA) has excellent resources on lead safety.
- Fumes: Heat guns and chemical strippers can release fumes. Always work in a well-ventilated area. If using chemicals, wear a respirator mask designed for organic vapors.
- Skin and Eye Protection: Wear chemical-resistant gloves, safety glasses, or goggles to protect your skin and eyes from paint chips, dust, and chemical splashes.
- Dust Control: Sanding creates fine dust. Wear a dust mask (N95 is recommended for fine dust) and use dust collection systems if possible.
- Fire Hazard: Heat guns get very hot. Keep them away from flammable materials and never leave them unattended.
Tips for a Smooth and Successful Paint Removal
Here are a few extra pointers to help you achieve the best results:
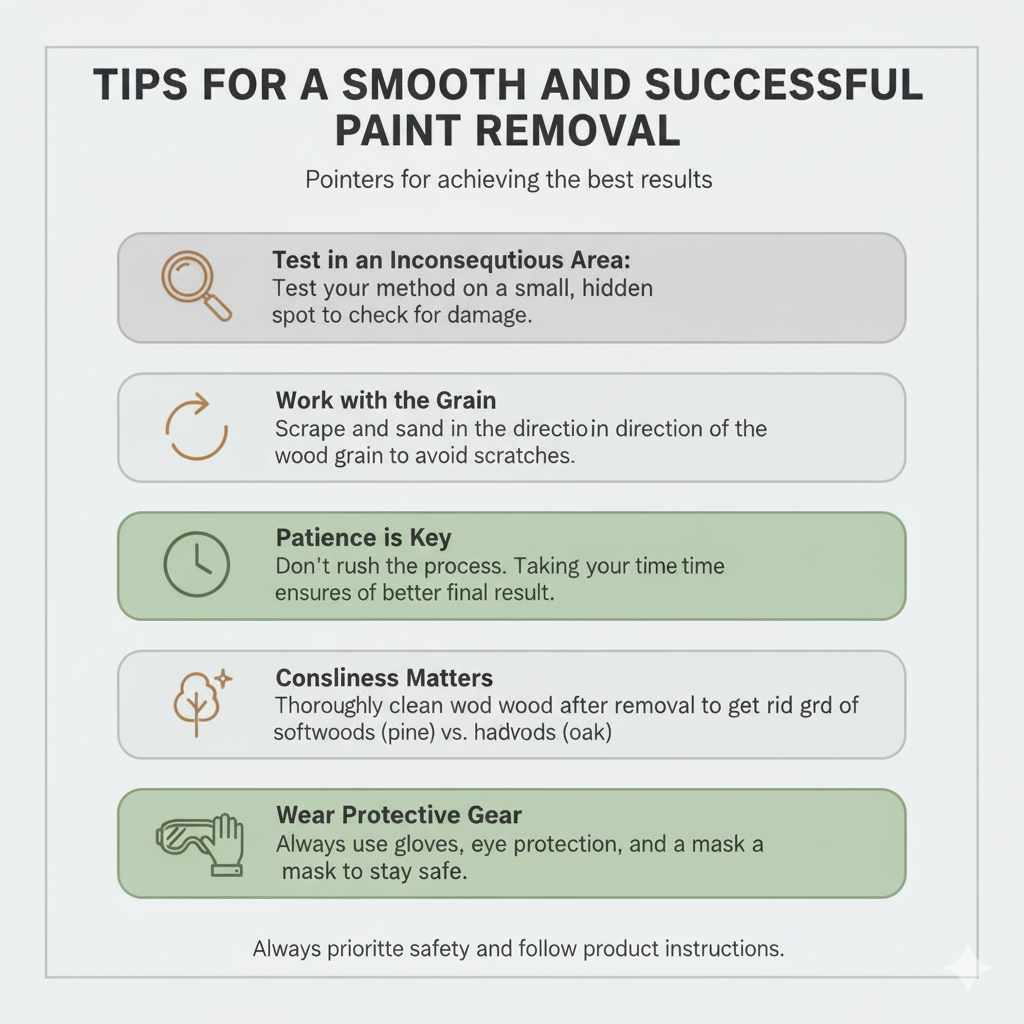
- Test in an Inconspicuous Area: Before diving into a large project, test your chosen removal method on a small, hidden spot (like the underside of a table or the back of a chair) to see how it works and if it damages the wood.
- Work with the Grain: Always scrape and sand in the direction of the wood grain. Going against the grain can cause scratches and damage that are hard to fix.
- Patience is Key: Don’t rush the process. Taking your time ensures you don’t damage the wood and leads to a much better final result.
- Cleanliness Matters: Thoroughly clean the wood after paint removal to get rid of any residue from paint, strippers, or dust. This prepares the surface properly for any new finish you plan to apply.
- Consider the Wood Type: Softwoods like pine can be more easily damaged by aggressive scraping or sanding than hardwoods like oak. Adjust your technique accordingly.
Frequently Asked Questions (FAQ)
Q1: How can I remove paint from wood without damaging it?
The best ways involve using a heat gun to soften the paint and then gently scraping, or using a chemical stripper specifically designed for wood, always following manufacturer instructions and safety precautions. Sanding is also an option but requires care to avoid over-sanding.
Q2: Is it safe to use a heat gun on old wood?
Yes, it’s generally safe if you use it correctly. Keep the heat gun moving, about 6-8 inches from the surface, and don’t linger in one spot to prevent scorching or burning the wood. Work in small sections.
Q3: What’s the easiest way to remove multiple layers of paint?
A heat gun is often very effective for multiple layers because it softens them all. Chemical strippers are also powerful for this purpose. Sanding multiple layers can be very time-consuming and dusty.
Q4: Do I need to wear a mask when sanding wood?
Absolutely. Sanding creates fine dust that can be harmful to your lungs. Always wear a dust mask, preferably an N95 or better, and safety glasses to protect your eyes.
Q5: How do I clean up after using a chemical paint stripper?
Always follow the specific instructions on the stripper’s label. Typically, you’ll use mineral spirits, denatured alcohol, or a specialized wash with steel wool or a brush to remove the residue. Ensure good ventilation during cleanup.
Q6: Can I use a pressure washer to remove paint from wood?
Generally, no. Pressure washers can be too aggressive for most wood surfaces and can easily cause damage, such as splintering or gouging the wood, especially on older or softer wood. It’s best to stick to methods that allow for more controlled removal.
Q7: What should I do after I’ve removed all the paint?
Once the paint is gone and the wood is clean and dry, you’ll want to sand it smooth with progressively finer grits of sandpaper (e.g., 150 then 220 grit) to prepare it for a new finish, whether that’s stain, paint, or a protective clear coat.
Conclusion
There you have it! Removing old paint from wood doesn’t have to be a daunting task. By choosing the right method for your project and prioritizing safety, you can confidently tackle paint removal and reveal the beautiful wood beneath. Whether you opt for the gentle warmth of a heat gun, the dissolving power of a chemical stripper, or the direct approach of sanding, remember to work carefully, protect yourself, and be patient. Each of these methods, when applied thoughtfully, will help you achieve fantastic results, breathing new life into your wooden treasures. Happy woodworking!