Effective DIY Paint Remover: Simplify Your Projects!
In the realm of surface preparation and coatings, the efficacy of a DIY paint remover is paramount for professionals and enthusiasts alike. This versatile solution often involves complex chemical interactions, targeting paint adhesion mechanisms through solvents that disrupt the bond between the substrate and the paint. As eco-conscious practices gain momentum, many are exploring natural and safe alternatives to traditional solvents.
Understanding the various formulations and techniques can significantly enhance the efficiency of the paint removal process. Dive deeper into the world of DIY paint removers to uncover innovative strategies that can transform your home improvement projects with ease and effectiveness.
Effective DIY Paint Remover Solutions For Home Projects
Discover effective and eco-friendly DIY paint remover solutions that can tackle even the toughest paint stains. This brief overview highlights various techniques and ingredients you can use to create your own paint remover at home, offering both cost-effectiveness and safety. From natural alternatives like vinegar and baking soda to more specialized recipes, learn how to select the method that best suits your needs. Simplifying the paint removal process can save you time and effort while ensuring your surfaces remain unharmed.
Understanding the Need for DIY Paint Remover
Importance of using ecofriendly and budgetfriendly solutions. Common scenarios where paint removal is necessary.
Everyone loves a fresh start, especially when it comes to paint! But sometimes, that lovely color needs to go. Using eco-friendly and budget-friendly solutions for paint removal is like giving Mother Earth a hug while saving your cash.
Imagine scraping off old paint without releasing nasty fumes—sounds dreamy, right? You might need paint remover after a DIY project gone wild, moving into a new place, or simply updating your space. Let’s tackle those paint problems while being responsible and saving some bucks!
| Common Scenarios | Why Paint Removal? |
|---|---|
| Moving into a new home | Old colors can clash with your style! |
| DIY projects | Sometimes, it gets messy! |
| Touching up walls | One mishap and poof, paint everywhere! |
Types of DIY Paint Remover Ingredients
Natural ingredients: vinegar, baking soda, and lemon juice. Chemical options: acetone, rubbing alcohol, and commercial products. Comparison of effectiveness and safety between various options.
When it comes to removing paint, there are many options. Natural ingredients are safe and easy. For example:
- Vinegar: Great for breaking down paint.
- Baking soda: Works well for tough spots.
- Lemon juice: Acts as a natural solvent.
On the other hand, chemical options can be strong. Some include:
- Acetone: Very effective but can be harsh.
- Rubbing alcohol: Good for smaller jobs.
- Commercial products: Fast but may have strong fumes.
Natural options are safer for your skin, while chemicals offer speed.
Choose what fits your needs best!
Popular DIY Recipes for Paint Remover
Vinegar and baking soda paste: stepbystep guide. Lemon juice and salt solution: how to make and apply. Acetone and oil mixture: when to use and how to prepare.
Need to kick that stubborn paint to the curb? Try making your own paint remover! First up is the vinegar and baking soda paste. Simply mix equal parts vinegar and baking soda to form a thick paste.
Apply it to the paint and let it sit until it fizzles like a science experiment!
Next, the lemon juice and salt solution is super zesty. Squeeze the juice of a lemon and mix in some salt.
Rub this mixture on the paint—it’s like giving your old walls a refreshing facial! The acid in lemon helps dissolve the paint.
Finally, there’s the acetone and oil mixture.
Use acetone carefully, as it’s strong stuff! Combine equal parts with a gentle oil like olive oil. This mix works wonders for tougher jobs.
Just dab it on and watch the paint peel off as if it’s shedding its winter coat!
| DIY Recipe | Ingredients | Steps |
|---|---|---|
| Vinegar & Baking Soda | Equal parts vinegar and baking soda | Mix, apply, let sit, and scrub! |
| Lemon Juice & Salt | Juice of one lemon and salt | Mix, apply, and rub it in! |
| Acetone & Oil | Equal parts acetone and olive oil | Mix, apply, and let magic happen! |
With these hacks, removing paint might just become your new favorite hobby! Who knew cleaning could be so much fun?
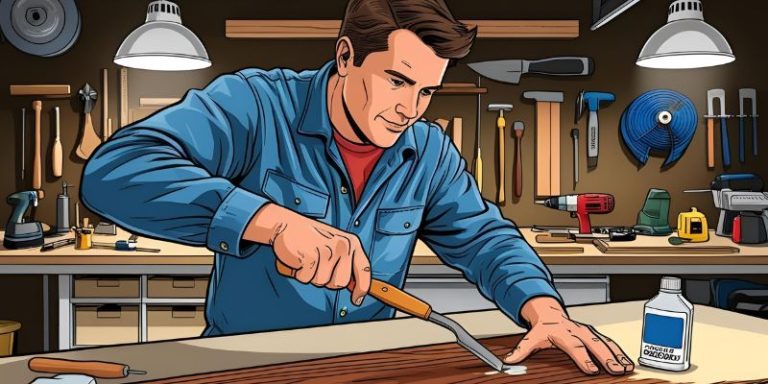
Step-by-Step Instructions for Applying DIY Paint Remover
Surface preparation for effective paint removal. Application techniques: scrubbing vs. soaking. Safety precautions to consider during the process.
Before you start, make sure your surface is clean. Dust and dirt are like squirrels in a tree—they get in the way! Wipe it down and let it dry.
Next, you can choose to scrub or soak. Scrubbing works quickly, but soaking is great for stubborn spots, just like how we need a little more time for that last cookie. Don’t forget safety! Wear gloves and goggles—your eyes don’t want a paint party.
Here’s a quick table for your reference:
| Method | Pros | Cons |
|---|---|---|
| Scrubbing | Quick results | Can be tiring |
| Soaking | Great for tough paint | Takes longer |
Best Practices for Specific Surfaces
Wood surfaces: techniques that preserve integrity. Metal surfaces: preventing rust and corrosion. Walls and ceilings: avoiding damage to underlying materials.
Removing paint can be tricky, especially on different surfaces. Here are some best practices:
- Wood surfaces: Use gentle techniques like sanding or using a soft brush. This helps keep the wood’s natural look and prevents damage.
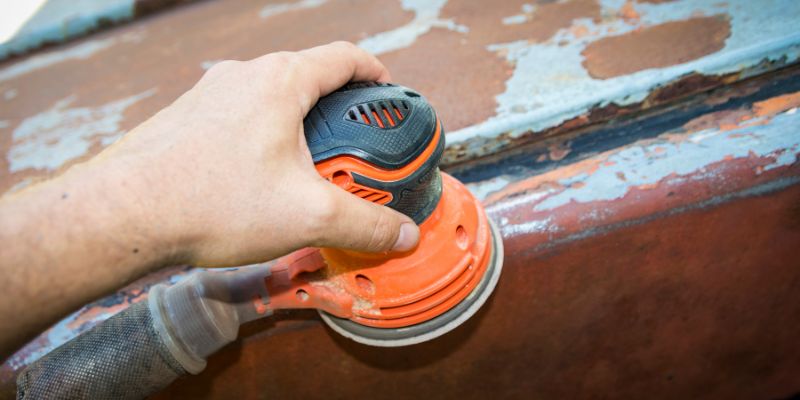
- Metal surfaces: Choose a paint remover that prevents rust.After cleaning, apply a rust-inhibiting coat to keep metal safe.
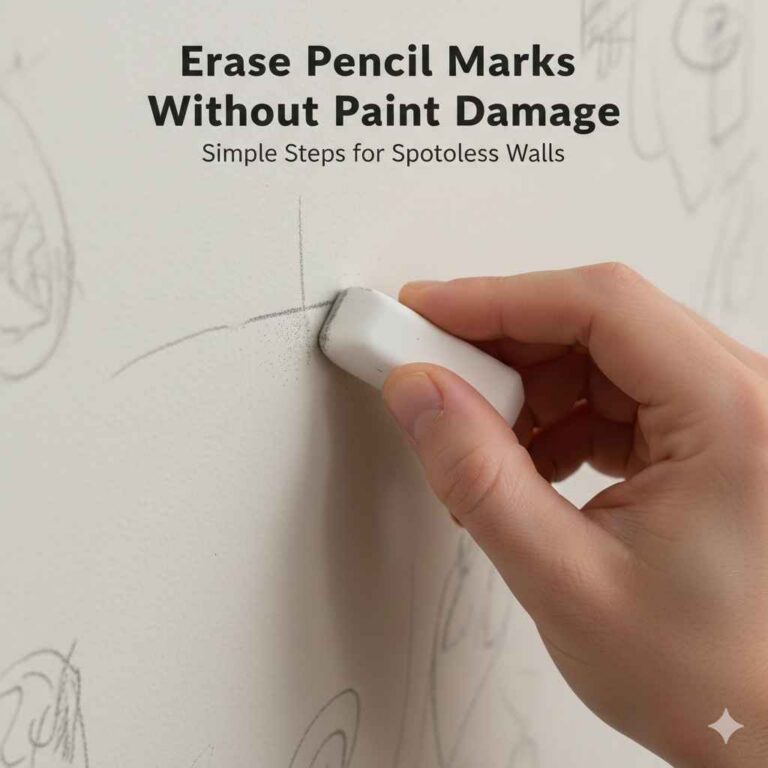
- Walls and ceilings: Test a small area first. Use low-solvent products to avoid damaging the wall’s material.
Following these tips ensures surfaces stay safe while getting a fresh look!
Common Mistakes to Avoid When Using DIY Paint Removers
Underestimating drying times. Ignoring safety gear and ventilation. Using incompatible materials for specific surfaces.
Using DIY paint removers can be tricky. Avoid these common mistakes for better results:
- Underestimating drying times: Always check how long the paint remover needs to work. Rushing can lead to poor results.
- Ignoring safety gear and ventilation: Wear gloves and masks. Open windows to keep air fresh. Safety is key!
- Using incompatible materials on surfaces: Not all removers suit every surface.Test a small area before applying.
By steering clear of these mistakes, you’ll have a smoother painting experience!
Post-Paint Removal Care Tips
Cleaning and restoring surfaces after paint removal. Sealing and finishing options to enhance durability. Maintenance tips to prevent future paint issues.
After using a DIY paint remover, your surfaces need some love. First, clean the area with soap and water to remove any leftover residue. Don’t let those pesky paint chips stick around!
Next, consider sealing the surface with a varnish to keep it safe from future paint attacks. For durability, a high-quality finish can make all difference. Keep an eye out for scratches and clean regularly. Remember, a happy surface is a clean surface!
| Tip | Description |
|---|---|
| Clean Thoroughly | Use soap and water to remove all residue. |
| Seal the Surface | Apply varnish to protect against future messes. |
| Regular Maintenance | Check and clean surfaces often to avoid future paint issues. |
Frequently Asked Questions About DIY Paint Remover
What to do if DIY remover doesn’t work?. Are there any risks associated with homemade paint removers?. Can DIY paint removers be used on all types of paint?.
If your DIY paint remover doesn’t work, don’t panic! Try applying it again or using a bit more elbow grease. Sometimes, it takes a second round.
But if it’s still playing hard to get, you might need to switch to a stronger method.
Risks are part of every adventure, even in DIY projects! Homemade paint removers can cause skin irritation, so gloves are your best friends here. And keep them away from pets—after all, we don’t want your cat wearing a paint splatter like a fashion statement!
As for different paint types, not all removers are universal. Oil-based paints are like stubborn toddlers; they don’t just come off with any old thing. You may need to find a specific battle plan for those.
| Paint Type | DIY Remover Suitable? |
|---|---|
| Latex Paint | Yes! |
| Oil-Based Paint | No, use stronger remover! |
| Enamel Paint | Try DIY or go stronger. |
Resources and Further Reading
Recommended books and websites for DIY enthusiasts. Community forums and online groups for advice and tips. YouTube channels for visual guides on paint removal techniques.
If you’re excited about DIY paint removal, you’re in luck! There are many great resources to help you out. Check out fun books like “The Complete DIY Guide” for tips.
Websites such as “DIY Network” offer amazing advice too. Joining community forums can be a treasure trove for questions. For visual learners, YouTube is your best friend; just search for “paint removal hacks” and let the pros show you how. Here’s a quick table of recommended resources:
| Resource Type | Recommendations |
|---|---|
| Books | The Complete DIY Guide |
| Websites | DIY Network, Family Handyman |
| YouTube Channels | Home Repair Tutor, DIY Creators |
| Forums | Reddit DIY, DIY Chatroom |
Conclusion
In summary, DIY paint removers offer an effective and eco-friendly alternative for removing old paint without the use of harsh chemicals. By utilizing common household ingredients, such as vinegar, baking soda, and essential oils, you can achieve impressive results while also saving money. Embrace these simple methods to refresh your surfaces and enjoy a cleaner, more sustainable approach to home improvement.
FAQs
What Are Some Effective Natural Ingredients I Can Use To Create A DIY Paint Remover At Home?
Effective natural ingredients for a DIY paint remover include baking soda, vinegar, and citrus fruits like lemons. You can mix equal parts of baking soda and water to form a paste, which can help lift paint when applied to the surface. Additionally, combining vinegar with lemon juice creates a powerful solution that can dissolve paint. Always test your mixture on a small area first to ensure it does not damage the underlying surface.
How Do I Safely Apply A Homemade Paint Remover To Different Surfaces Like Wood, Metal, Or Drywall?
To safely apply homemade paint remover, start by testing it on a small, inconspicuous area of the surface to ensure it won’t cause damage. Use a brush or cloth to evenly apply the remover, following manufacturer instructions for your homemade solution. For wood, be gentle to avoid sanding through the finish; for metal, ensure it’s rust-free; and for drywall, apply sparingly to prevent damage. Always wear gloves and a mask for protection, and work in a well-ventilated area.
What Precautions Should I Take When Using A DIY Paint Remover To Avoid Damage To The Underlying Material?
When using a DIY paint remover, always test it on a small, inconspicuous area first to assess any potential damage. Ensure the surrounding surfaces are protected using drop cloths or masking tape to prevent inadvertent exposure. Use gentle application methods, such as a soft cloth or sponge, and avoid scrubbing aggressively. Finally, always follow the manufacturer’s instructions for timing and removal to minimize risks.
How Long Should I Leave A Homemade Paint Remover On Paint Before Scrubbing Or Scraping It Off?
Homemade paint removers typically need to sit for about 20 to 30 minutes to allow the ingredients to penetrate and soften the paint. However, the time may vary depending on the type and thickness of the paint. It’s best to check the paint’s softness after the initial wait and reapply the remover if necessary. Always follow up by scrubbing or scraping gently to avoid damaging the underlying surface.
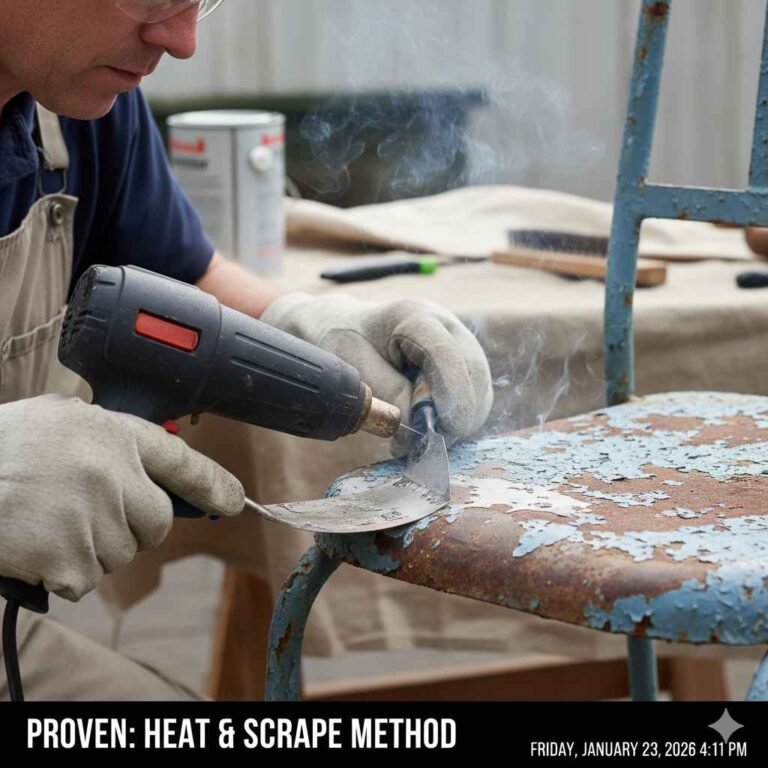
Are There Any Specific Techniques Or Tools That Work Best When Using A DIY Paint Remover For Large Areas?
When using a DIY paint remover for large areas, techniques such as applying the remover with a paint roller can save time and cover more surface evenly. For tools, a plastic scraper is effective for removing softened paint without damaging the underlying surface. Additionally, using a heat gun can help soften paint for easier removal, but it should be done cautiously to prevent burns or fire hazards. Always ensure proper ventilation and wear protective gear to ensure safety during the process.