Can You Wash Latex Paint Brushes In The Sink? Safe Or Not?
Washing latex paint brushes in the sink is generally not recommended due to potential pipe damage and environmental concerns. While some may do it, it’s best to use alternative cleaning methods to protect your plumbing and the environment. Proper cleaning extends brush life.
Understanding Latex Paint and Your Brushes
Latex paint, often called water-based paint, is a popular choice for many home projects. It cleans up more easily than oil-based paints, which is a big plus. This paint is made of tiny plastic particles, called pigment and binder, suspended in water. When the water evaporates, these particles link together. This forms a tough, durable coating on your walls.
Your paint brushes are designed to hold and spread this paint smoothly. The bristles, whether natural or synthetic, have a specific shape. They work to pick up the right amount of paint. They also help apply it evenly without leaving streaks. The way paint sticks to these bristles is key. It’s also why cleaning them properly matters so much.
The Allure (and Danger) of the Sink Rinse
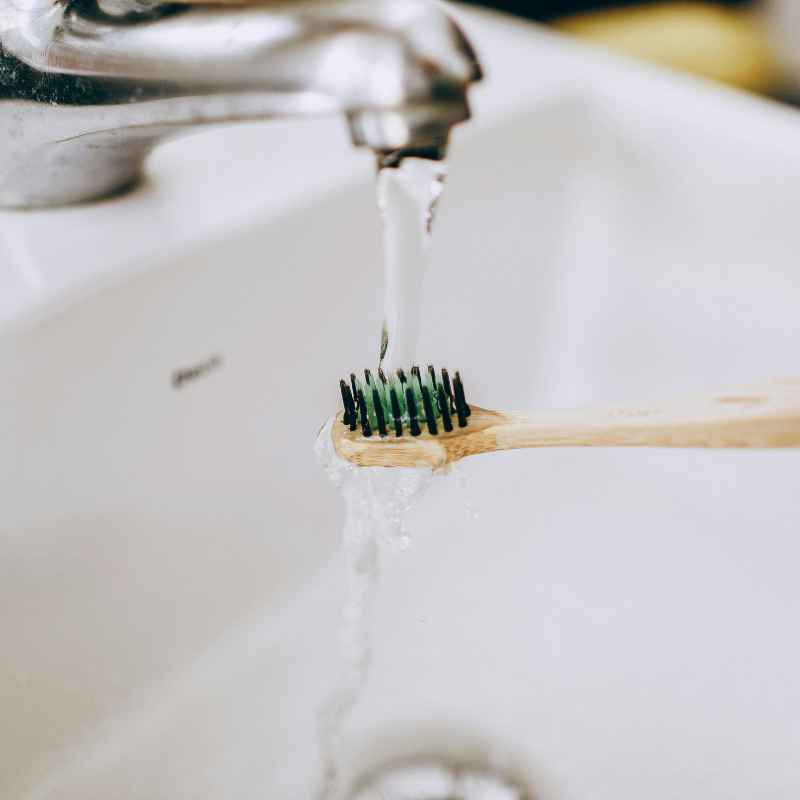
It’s easy to see why rinsing a latex paint brush in the sink seems like the quickest solution. You’re done painting. You just want to put the tools away. A quick swish under the tap, and voilà, right? Well, not exactly. Water-based paint does come out with water when it’s wet. This makes it seem simple.
But here’s the catch. Even though it’s water-based, latex paint isn’t fully water-soluble once it starts to dry. Small bits of paint can go down the drain. These tiny paint particles don’t just disappear. They can stick to the inside of your pipes. Over time, more paint bits join them. This is how clogs start to form.
Think about it like this. Imagine pouring glitter down the drain. A little might go away. But a lot will stick to the sides. Paint bits are similar, but they harden. This is especially true if you’re washing a brush that’s even slightly dried out. The water may not get all of it out.
Why the Sink Isn’t Your Brush’s Best Friend
There are a few main reasons why washing latex paint brushes directly in the sink causes problems. It’s not just about a minor inconvenience. These issues can lead to bigger, more expensive repairs.
Firstly, and most importantly, it’s about your plumbing. As we talked about, latex paint particles can build up in your pipes. This is more than just a nuisance. It can lead to slow drains. In worse cases, it can cause a complete blockage. Clearing these clogs can be tough. It might even need a plumber.
Secondly, there are environmental concerns. Even if you don’t clog your pipes immediately, you’re sending paint into the wastewater system. While wastewater treatment plants do a lot, they aren’t designed to remove every single bit of plastic and pigment. These can end up in our lakes and rivers. This can harm aquatic life.
Thirdly, it’s simply not the best way to clean your brush. Rinsing in the sink often doesn’t get all the paint out. The bristles might still have residue. This leftover paint can dry hard. It makes the brush stiff. It can ruin its shape and its ability to apply paint smoothly next time.
Sink vs. Proper Cleaning: A Quick Look
Sink Method (Risky):
- Easy, fast
- Can clog pipes
- Bad for the environment
- Brush might not get fully clean
Proper Method (Safe & Effective):
- Takes a little more time
- Protects pipes and planet
- Keeps brushes like new
- Longer lasting tools
The Right Way to Clean Latex Paint Brushes
Okay, so the sink is out. What’s the better way? Cleaning latex paint brushes is actually quite straightforward. It just requires a few extra steps and some basic supplies. Doing it right ensures your brushes stay in great shape for your next project.
The key is to remove as much paint as possible before you start rinsing. This means using something to scrape off the bulk of the paint. Then, you’ll use water and soap. You’ll want to work the soap into the bristles thoroughly.
Here’s a step-by-step guide to cleaning your latex paint brushes the smart way. You’ll need a few things: a bucket or a large container, some mild soap or brush cleaner, and a rag or paper towels.
Step 1: Scrape Off Excess Paint
As soon as you finish painting, take your brush. Hold it over your paint tray or a piece of scrap cardboard. Use a putty knife or a paint scraper. Gently scrape as much paint as you can from the bristles. You can also tap the brush on the edge of the tray. Get out as much wet paint as possible. This step is super important. It makes all the other steps easier.
Step 2: Rinse and Repeat (Away from the Sink)
Now, find a safe place to rinse your brush. This might be outdoors if you have a garden hose. Or, use a bucket of water. Fill a bucket with clean water. Dip the brush into the water. Swish it around. You’ll see more paint come out.
Pour out the dirty water. Refill the bucket with fresh water. Dip the brush again. Swish and repeat. Keep doing this until the water you rinse out looks mostly clear. This can take a few rinses. You might need to use a couple of buckets.
Infographic: The Brush Cleaning Flow
1. Scrape Smart
Remove most paint with a scraper. Tap off excess.
2. Bucket Rinse
Use a bucket of water. Swish brush. Change water often.
3. Soap It Up
Add mild soap or cleaner. Work into bristles well.
4. Final Rinse
Rinse thoroughly until no soap is left.
5. Shape & Dry
Shape bristles. Hang to dry. Store flat or bristles up.
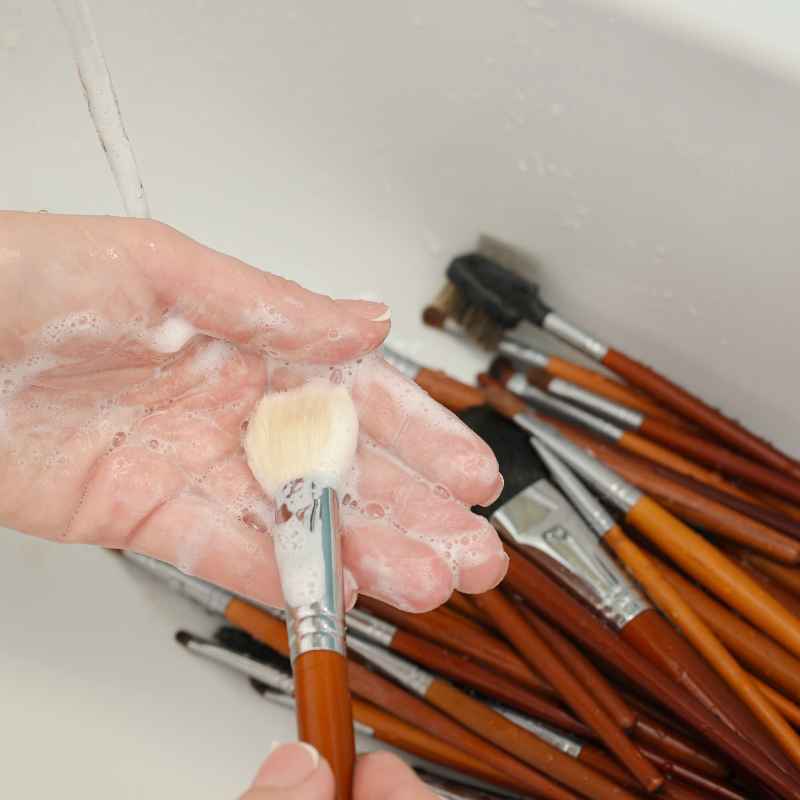
Step 3: Lather Up with Soap
Once the water runs pretty clear, it’s time for soap. Add a small amount of mild dish soap to the wet bristles. You can also use a specialized brush cleaner. Gently work the soap into the bristles with your fingers. You want to create a good lather. This helps lift any remaining paint residue. Make sure to get deep into the base of the bristles.
Step 4: Rinse Again Until Spotless
Now, rinse the brush thoroughly. Use clean water. Keep rinsing until all the soap is gone. You should not see any more suds. Feel the bristles. They should feel clean and smooth. If there’s still a bit of paint, repeat the soaping and rinsing steps. Patience here pays off.
Step 5: Shape and Dry Properly
This is a crucial step for keeping your brush in good condition. After rinsing, gently squeeze out excess water. Use a clean rag or paper towel. Then, carefully reshape the bristles with your fingers. Try to get them back into their original shape.
Next, you need to let the brush dry completely. The best way is to hang it. You can use a brush hanger. Or, lay it flat on a surface with the bristles hanging off the edge. Avoid standing the brush upright on its bristles. This can bend them. Let it air dry fully. This might take overnight.
The Problem with Paint Trapped in Pipes
Let’s dive a little deeper into why paint in the pipes is such a big deal. When latex paint dries, it becomes a plastic-like substance. This substance is not easily dissolved by water. Think about that old paint can you might have. If you don’t clean it out, the paint hardens at the bottom. Your pipes can become like miniature versions of that.
Over time, even small amounts of paint washed down the drain can stick to the inside of your PVC or metal pipes. This creates rough spots. More paint and other debris can then grab onto these rough spots. It’s like a snowball effect. The clog grows larger and larger.
In kitchen sinks, grease and food scraps add to the problem. They can mix with the paint particles. This creates a thick, sticky mess. Bathroom sinks might have hair and soap scum. These also combine with paint residue. Together, they form a very stubborn blockage.
I remember a time when I was helping a friend renovate their kitchen. They had been doing a lot of painting. They admitted to rinsing their brushes in the sink a few times. Weeks later, their kitchen sink started draining super slow. Then, it backed up completely. The plumber found a solid mass of hardened paint and grease. It took hours to clear. It was a costly lesson for them.
Contrast Matrix: Sink vs. Dedicated Bucket
| Aspect | Washing in Sink | Washing in Bucket |
|---|---|---|
| Pipe Health | High risk of clogs, future damage. | Protects pipes, prevents clogs. |
| Environmental Impact | Paint residue goes into wastewater. | Water can be disposed of responsibly (e.g., on gravel, away from drains). |
| Brush Longevity | May leave residue, stiffen bristles. | Keeps bristles clean, soft, and flexible. |
| Effort Level | Seems quicker, but cleanup of clogs is hard. | Slightly more setup, but easier overall. |
What About Canned Paint Water?
Many people ask about disposing of leftover paint water. When you rinse your brush in a bucket, the water gets dirty. It contains tiny bits of paint and soap. You can’t just pour this down the drain. The U.S. Environmental Protection Agency (EPA) advises against this. They suggest letting the water evaporate.
Once the water is gone, you’re left with a thick sludge of dried paint at the bottom of the bucket. This dried paint can then be safely disposed of in your household trash. It’s considered solid waste. This is a much safer method than sending liquid paint down your drain.
You can speed up evaporation by leaving the bucket in a warm, well-ventilated area. Some people even add kitty litter or sawdust to the water. This helps absorb the liquid and makes the paint sludge easier to handle and dispose of. Always check your local regulations for paint disposal. But letting it dry out is a common and safe practice.
Brush Types and Cleaning Differences
While we’re talking about latex paint, it’s worth noting that the type of brush matters a little. Most modern latex paints are designed to work well with synthetic bristles. These brushes are often red or yellow. They are specifically made to handle water-based paints.
Natural bristle brushes, often found in more traditional or higher-end paint sets, can also be used for latex paint. However, they might require a bit more care. Natural bristles can swell when wet. If not dried and shaped properly, they can lose their form.
The cleaning process remains largely the same for both types. The key is to remove the paint thoroughly. Use soap and water. Always reshape and dry them carefully. A well-cared-for brush, regardless of bristle type, will perform better.
When to Use Special Brush Cleaners
For most latex paint jobs, a simple dish soap is perfectly fine. It’s effective at breaking down the paint binder and lifting residue. However, if you’ve used a particularly thick or sticky latex paint, or if your brush has sat for a while with some dried paint, a specialized brush cleaner can be a good investment.
These cleaners are formulated to be more potent. They can help dissolve stubborn paint without damaging the bristles. When using a commercial brush cleaner, always follow the product instructions carefully. They often require a bit of soaking or a different rinsing process.
My Own Brush Cleaning Fails (and What I Learned)
I’ll admit it. Early in my DIY journey, I was guilty of the quick sink rinse. I was painting a small room. It was late. I was tired. My brushes looked okay. I thought I was being efficient. Fast forward a few months. I pulled out one of those brushes for a touch-up job. The bristles were stiff. They were splayed out. It was unusable.
That was a wake-up call. I realized that those quick rinses were actually costing me. I had to buy new brushes. It felt wasteful. Since then, I’ve become a bit of a brush cleaning evangelist. I always have a bucket ready. I scrape. I rinse multiple times. I use soap. I shape.
It really doesn’t add much time to the overall job. Maybe an extra 5-10 minutes per brush. But the payoff is huge. My brushes last years. They perform beautifully every time. It’s about treating your tools with respect. And frankly, it saves money and reduces frustration in the long run.
Dealing with Dried-On Latex Paint
What if you find a brush that’s already dried out? Don’t despair! While it’s harder, you can sometimes revive it. You’ll need a stronger approach. Specialized brush conditioners or removers are designed for this. You might also try soaking the brush head in warm water with a good amount of soap for an hour or two.
Then, gently work the bristles with your fingers or a brush comb. You’re trying to loosen the dried paint. It might take several attempts. If the paint is completely hardened and deeply embedded, the brush might be beyond saving. In that case, it might be time to replace it. But it’s worth a try first.
Stacker: Quick Brush Care Checklist
Have cleaning supplies ready before you start painting.
Scrape off as much paint as possible right after use.
Use a dedicated bucket for rinsing, not your sink.
Use mild soap and work it into the bristles thoroughly.
Ensure all paint and soap residue is gone.
Reshape the bristles and hang to dry.
What This Means for Your Home Projects
Understanding how to clean your latex paint brushes properly has direct benefits for your home projects. First, it saves you money. Good brushes aren’t cheap. By taking care of them, you extend their lifespan. You won’t have to buy replacements as often.
Second, it ensures better painting results. A clean, well-maintained brush applies paint more smoothly. It creates a more professional finish. This means fewer touch-ups and more pride in your work.
Third, it protects your home. By avoiding sink clogs, you prevent potential water damage and costly plumbing repairs. It’s a small effort that avoids big headaches.
When Is a Brush Truly Beyond Repair?
Sometimes, a brush is just too far gone. If the bristles are permanently bent, splayed out, or stiff with dried paint that won’t come out, it’s probably time to let it go. Trying to force a ruined brush to work will only lead to frustration and a poor paint job.
This is especially true for cheaper brushes. They may not be designed for extensive cleaning and reuse. Investing in a few good quality brushes can save you money in the long run. They will withstand proper cleaning and many uses.
Quick Tips for Brush Longevity
Buy quality brushes: Better bristles and construction mean better performance and durability.
Clean immediately: Don’t let paint dry on the brush.
Use the right cleaner: Mild soap is usually fine for latex.
Scrape thoroughly: Get off as much paint as possible before washing.
Rinse completely: No paint or soap should remain.
Reshape and hang: Proper drying maintains bristle integrity.
Store correctly: Keep brushes clean and protected when not in use.
Frequently Asked Questions About Washing Latex Paint Brushes
Can I really not wash latex paint brushes in the sink at all?
It is strongly advised against washing latex paint brushes directly in the sink. The paint particles can build up in your pipes over time, leading to clogs and potential damage. It’s also not great for the environment.
Using a bucket for cleaning is a much safer and more responsible method.
How do I dispose of the dirty water from cleaning my brush?
Never pour paint-laden water down the drain. The best method is to let the water evaporate in a bucket. Once the water is gone, you’ll be left with dried paint sludge.
This can then be safely thrown in your household trash. Always check your local guidelines for specific disposal rules.
What kind of soap should I use for latex paint brushes?
Mild dish soap is usually sufficient for cleaning latex paint brushes. Brands like Dawn are often recommended because they are good at cutting through grease and paint residue. For very stubborn paint, you might consider a specialized brush cleaner, but start with dish soap.
How long does it take to clean a latex paint brush?
Cleaning a latex paint brush properly takes about 5 to 10 minutes, depending on how much paint is on the brush and how thoroughly you rinse. It’s a small investment of time compared to the cost of replacing brushes or fixing plumbing issues.
My brush bristles are splayed. Can I fix them?
If the bristles are just slightly out of shape, you can usually reshape them with your fingers while the brush is wet and after washing. For severely splayed or bent bristles from dried paint, specialized brush conditioners or removers might help, but sometimes a brush is beyond repair.
Can I reuse the same water for multiple brushes?
You can reuse the rinse water for multiple brushes if you are only cleaning a few at a time. However, you will need to change the water once it becomes very cloudy or full of paint. For best results, start with clean water for each brush or when the water becomes too dirty.
Conclusion: Brush Care for Better Painting
Taking care of your paint brushes is a small but significant part of any painting project. While the sink might seem convenient, it’s a path that leads to potential plumbing problems and environmental concerns. By adopting simple practices like scraping excess paint and using a dedicated bucket for cleaning, you protect your pipes and your planet. You also ensure your tools stay in top condition, leading to better painting results and saving you money in the long run. Treat your brushes well, and they’ll serve you faithfully on many projects to come.