How To Remove Varnish From Wood With Vinegar (Does It Work?)
Vinegar is a weak acid that can etch some surfaces. While it might soften very thin, old, or damaged varnish layers, it’s generally not strong enough to fully remove hardened, modern varnish from wood. For effective and safer varnish removal, dedicated removers or gentler methods are usually needed.
Understanding Varnish and Vinegar
Varnish is a type of wood finish. It is made of a resin dissolved in a solvent. When you apply it, the solvent evaporates.
This leaves a hard, protective layer. This layer shields the wood from moisture, dirt, and wear. Think of it like a clear plastic coating for your furniture.
It can be oil-based or water-based. Each type has its own toughness.
Vinegar, on the other hand, is a common kitchen staple. It’s made by fermenting alcohol. This process creates acetic acid.
This acid is what gives vinegar its tangy taste and smell. It’s also what makes it a mild cleaning agent. People use it to clean windows, descale coffee makers, and even tenderize meat.
Its acidity can break down some types of grime and buildup.
The idea is that vinegar’s acid might attack the resin in varnish. It could potentially weaken the bond between the varnish and the wood. This could make the varnish easier to scrape or wipe away.
However, varnish is designed to be tough. It’s meant to resist chemicals and wear. So, the strength of vinegar might not be enough for most varnished surfaces.
Can Vinegar Actually Remove Varnish?
Let’s get straight to the point. For most modern, well-applied varnish, vinegar is unlikely to be a complete solution. You’ll probably find it doesn’t strip the varnish effectively on its own.
It might soften a very thin, old, or already damaged layer of varnish. If the varnish is peeling or worn in spots, vinegar might help lift those loose bits.
However, if you have a thick coat of varnish that is still firmly attached to the wood, vinegar will likely disappoint you. You might see some slight bubbling or softening. But you will likely still need to do a lot of scraping.
And even then, it won’t remove the entire finish cleanly. You’ll probably end up with a patchy, sticky mess.
Why is this the case? Varnish is made to be durable. It’s built to withstand more than a mild acid.
Commercial varnish removers use much stronger chemicals. These chemicals are designed to break down the resin polymers in varnish quickly and completely. Vinegar just doesn’t have that kind of power.
It’s more like a gentle scrub than a stripping agent.
So, while you might find some anecdotal success online, especially with older, brittle finishes, it’s not a reliable method. Relying on vinegar for a whole project could waste your time and create more work. It might even damage the wood if left on too long, as its acidity can still etch the wood surface.
My Experience with DIY Varnish Removal
I remember tackling an old wooden chest I found at a flea market. It was beautiful, but the varnish was cracked and dull. I was eager to restore it.
Being on a tight budget, I searched online for cheap ways to strip varnish. That’s where I first stumbled upon the vinegar trick. The posts I read made it sound so simple.
Just soak a rag, apply, and wipe!
So, I gathered my supplies: a bottle of white vinegar, some old rags, and a scraper. I decided to test it on a small, inconspicuous corner of the chest first. I poured vinegar onto a rag and pressed it against the varnish.
I let it sit for about 15 minutes, as some guides suggested. Then, I tried to wipe it away. Nothing much happened.
A little frustrated, I tried applying more vinegar and letting it soak for longer. I even tried using steel wool with the vinegar. I could see a tiny bit of the varnish starting to get gummy.
But it wasn’t lifting cleanly. It was just making a sticky, weak mess. After an hour of trying, that small section still had a lot of dull, patchy varnish left.
My hands were sticky, and the vinegar smell was strong. I felt defeated and a little annoyed that I’d wasted so much time. It was clear then that this method wasn’t going to work for the whole chest.
It was a good lesson in managing expectations with DIY fixes.
Vinegar as a Cleaner vs. Stripper
Vinegar’s Strength: Mild acid.
Good For: Everyday cleaning, removing light grease, soap scum, hard water stains. It can also help sanitize surfaces.
Not Good For: Tough finishes like paint, epoxy, or hardened varnish. It lacks the power to break down these robust materials.
Why the Confusion? Many online guides mix up “cleaning” with “stripping.” Vinegar cleans well, but stripping requires dissolving the entire finish layer.
When Vinegar Might Offer a Little Help (With Caveats)
As I mentioned, vinegar isn’t a miracle stripper. But in very specific, limited situations, it might assist a little. These are usually cases where the varnish is already failing or is of a type that is very sensitive.
Old, Brittle Varnish: If you have a very old piece of furniture, the varnish might have become brittle over time. Heat and age can degrade its structure. In these cases, vinegar might help to soften the brittle parts just enough to scrape them off more easily.
You’d still need a scraper or putty knife.
Water-Based Varnish (Sometimes): Some older types of water-based varnishes might be slightly more susceptible to acidic solutions than oil-based ones. However, even these are generally formulated to be water-resistant once cured. So, this is still a long shot.
As a Pre-treatment (Maybe): Some people suggest using vinegar as a first step before a proper stripper. The idea is to etch the surface slightly to help the stronger stripper penetrate better. However, dedicated strippers are usually powerful enough on their own.
Adding vinegar might not improve their performance significantly and could introduce unnecessary risks.
The Key is Low Expectations: If you decide to try vinegar, understand its limitations. It is best viewed as a potential aid for very weak finishes, not a standalone solution. You will likely still need mechanical removal (scraping) and perhaps even a stronger chemical stripper afterward.
Vinegar vs. Other Household Items for Stripping
Baking Soda: A mild abrasive. Can help scrub away loose debris but won’t dissolve varnish.
Rubbing Alcohol: Can soften some finishes, but usually requires significant scrubbing. Better for shellac than varnish.
Lemon Juice: Similar to vinegar, a weak acid. Not strong enough for most varnishes.
Mineral Spirits: Can help clean brushes and sometimes thin or soften certain oil-based finishes, but not a true stripper.
Why Not Use a Dedicated Varnish Remover?
So, if vinegar isn’t very effective, what should you use? The best and most reliable way to remove varnish is to use a product specifically designed for the job: a varnish remover or stripper. These products are formulated with strong chemicals that are proven to break down varnish effectively and efficiently.
Types of Varnish Removers:
- Solvent-Based Strippers: These are typically the strongest. They use powerful chemicals like methylene chloride (though this is being phased out due to health concerns), N-methyl-2-pyrrolidone (NMP), or dimethylene sulfoxide (DMSO). They work by dissolving the varnish polymers. They often come in gel or liquid forms.
- Citrus-Based Strippers: These are a more eco-friendly option. They use d-limonene, which is derived from citrus peels. They are generally less harsh than solvent-based strippers but can take longer to work. They are often considered safer for users and the environment.
- Caustic Strippers: These use lye (sodium hydroxide) to saponify the varnish. They are very effective but can be harsh on wood and require careful neutralization afterward. They are less common for DIY users.
How They Work: These removers penetrate the varnish layer. They break the chemical bonds that hold the finish together and attach it to the wood. This turns the hard varnish into a soft, mushy substance.
This allows you to easily scrape or wipe it away.
Why They Are Better:
- Effectiveness: They actually work. They get the job done thoroughly.
- Speed: They typically work much faster than DIY methods.
- Cleaner Finish: They leave the wood cleaner and ready for refinishing.
Using the right tool for the job saves you time, effort, and potential frustration. While the initial cost might seem higher than a bottle of vinegar, the results are worth it.
Safety First When Stripping Varnish
It’s really important to talk about safety. Whether you’re using vinegar or a commercial stripper, you need to be careful. Varnish removers contain strong chemicals.
Even vinegar, while mild, can cause irritation if not handled properly.
Ventilation is Key: Always work in a well-ventilated area. Open windows and doors. If working indoors, consider using fans to circulate air.
Chemical fumes can be harmful to inhale.
Wear Protective Gear:
- Gloves: Use chemical-resistant gloves. Nitrile or butyl rubber gloves are good choices. Avoid latex gloves, as they offer little protection against strong solvents.
- Eye Protection: Wear safety glasses or goggles. Splashes can cause serious eye injury.
- Respirator: For solvent-based strippers, a respirator mask with organic vapor cartridges is highly recommended.
- Old Clothing: Wear old clothes that you don’t mind getting stained or damaged.
Read Product Labels: If you use a commercial stripper, always read and follow the manufacturer’s instructions carefully. They will provide specific safety warnings and application tips for their product.
Disposal: Dispose of leftover stripper and contaminated rags properly. Check with your local hazardous waste disposal guidelines. Do not pour solvents down the drain or into the environment.
Even with vinegar, prolonged contact can irritate your skin. And inhaling strong vinegar fumes can be unpleasant. So, always use basic precautions.
Spotting Potential Varnish Issues
Peeling: Varnish is lifting away from the wood in sheets or flakes. This often indicates a failure in adhesion.
Cracking/Checking: Small lines or fissures appear on the surface. This can be due to age, drying too quickly, or changes in humidity.
Cloudiness/Blushing: The varnish turns white or milky. This usually happens when moisture gets trapped in the finish, often due to high humidity during application.
Scratches and Dents: Surface damage that penetrates the varnish layer and reaches the wood.
Alternative Methods for Removing Varnish
If you’re hesitant about harsh chemicals or want to explore other options, there are indeed alternatives. Some are safer, while others require different tools and techniques.
1. Chemical Varnish Strippers (Recommended Safer Options)
As discussed, these are the most effective. When choosing, consider the safer, eco-friendlier citrus-based or newer bio-based removers. They still require safety precautions but are generally less toxic than older methylene chloride formulas.
2. Heat Gun
A heat gun can soften varnish. You hold the gun a few inches away from the surface and move it constantly. As the varnish softens, you scrape it away with a putty knife or scraper.
This method works best on flat surfaces. It can be tricky on curved areas. Be careful not to scorch the wood.
Proper ventilation is still important due to fumes.
3. Sanding
Sanding is a very common method, but it has its pros and cons for varnish removal.
- Pros: Can remove all finishes, including thick varnish. It smooths the wood surface at the same time.
- Cons: It’s a messy, dusty process. You need to start with coarse-grit sandpaper (like 80-grit) and work your way up to finer grits (like 120-150 or even 220-grit) to prepare for refinishing. Sanding too aggressively or unevenly can damage the wood, especially on veneers or soft woods. It can also clog sandpaper quickly with softened varnish.
If you choose to sand, use a random orbital sander for larger areas. For details, use sanding sponges or folded sandpaper. Always wear a dust mask or respirator rated for fine dust.
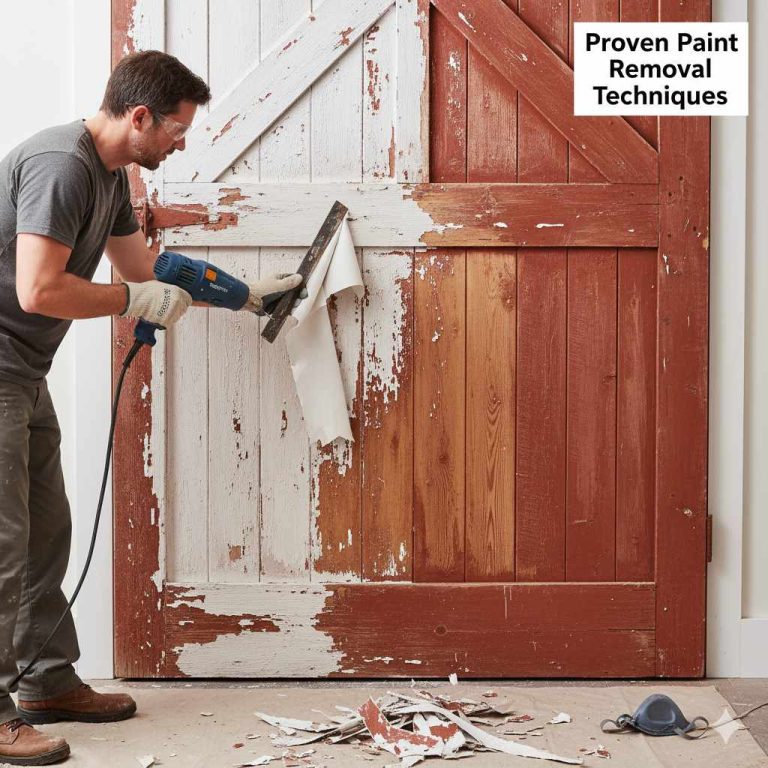
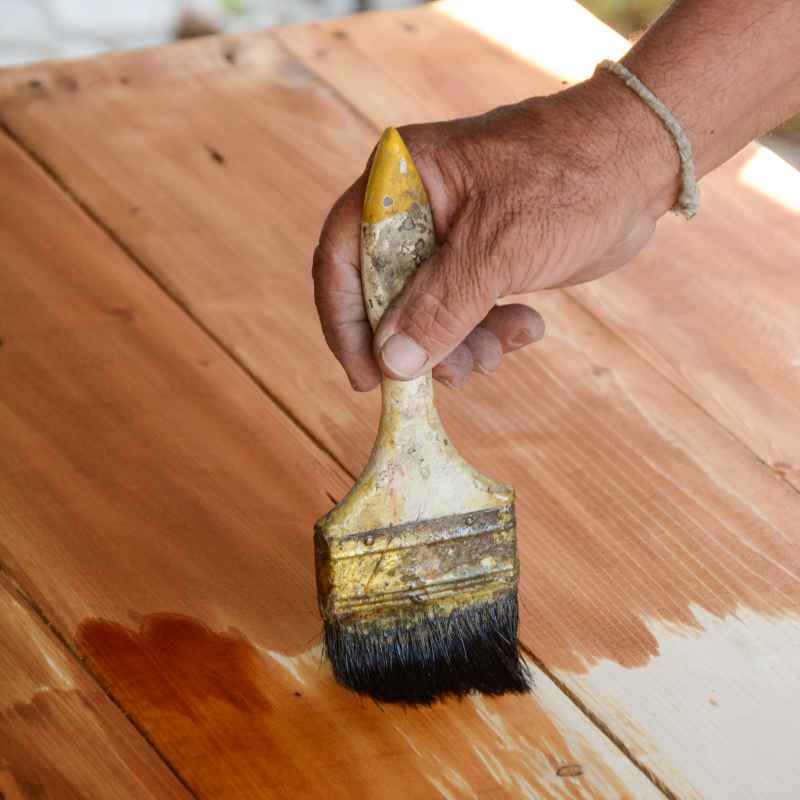
4. Scraping
This is often used in conjunction with chemical strippers or heat guns. A sharp putty knife, scraper, or specialized stripping knife can be used. The key is to use a tool with a clean, sharp edge.
Hold it at a low angle to the wood. Push gently to lift the softened varnish without gouging the wood. This is a more physical method.
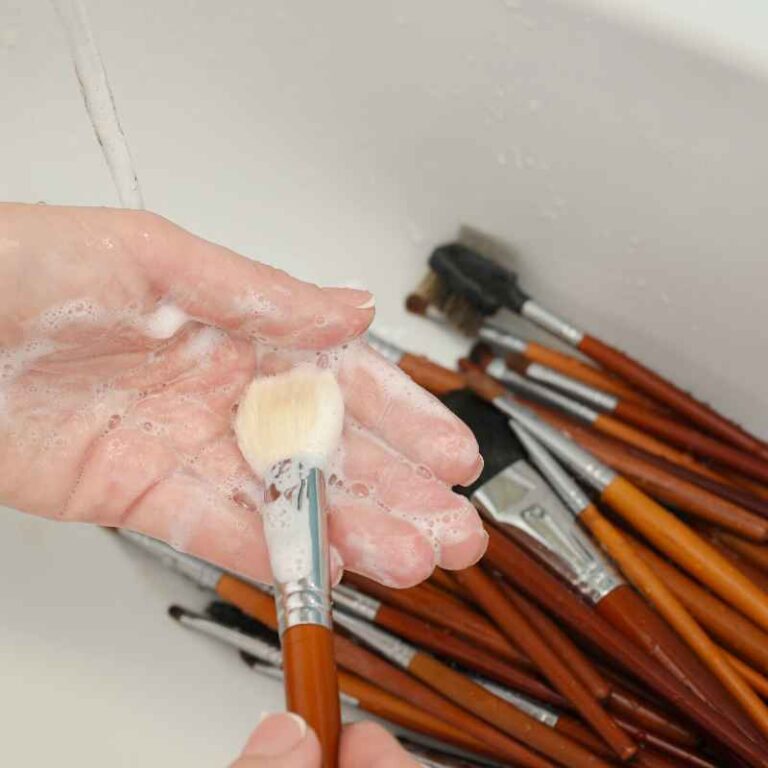
5. Water and Steel Wool (For Certain Finishes Only)
This method is more effective for removing finishes like shellac, not typically varnish. Some older, water-soluble finishes might respond. You’d use fine-grade steel wool (0000) dipped in water or mineral spirits.
You then rub the finish. It’s a very gentle approach and unlikely to work on tough varnishes.
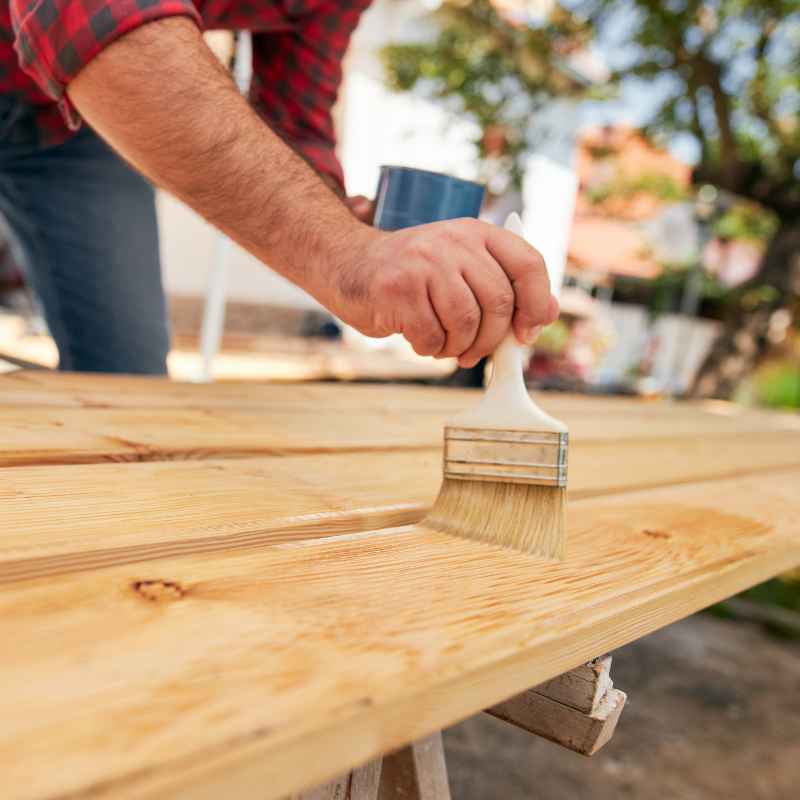
Steps for Properly Removing Varnish (Using a Recommended Method)
Since vinegar isn’t the best option, here’s a general guide using a more effective method like a chemical stripper (especially citrus-based for safety).
Step 1: Preparation
Clear your workspace. Cover surrounding areas with drop cloths. Ensure good ventilation.
Put on your safety gear: gloves, eye protection, and possibly a respirator. Identify the type of varnish if possible, though most modern removers work on a variety.
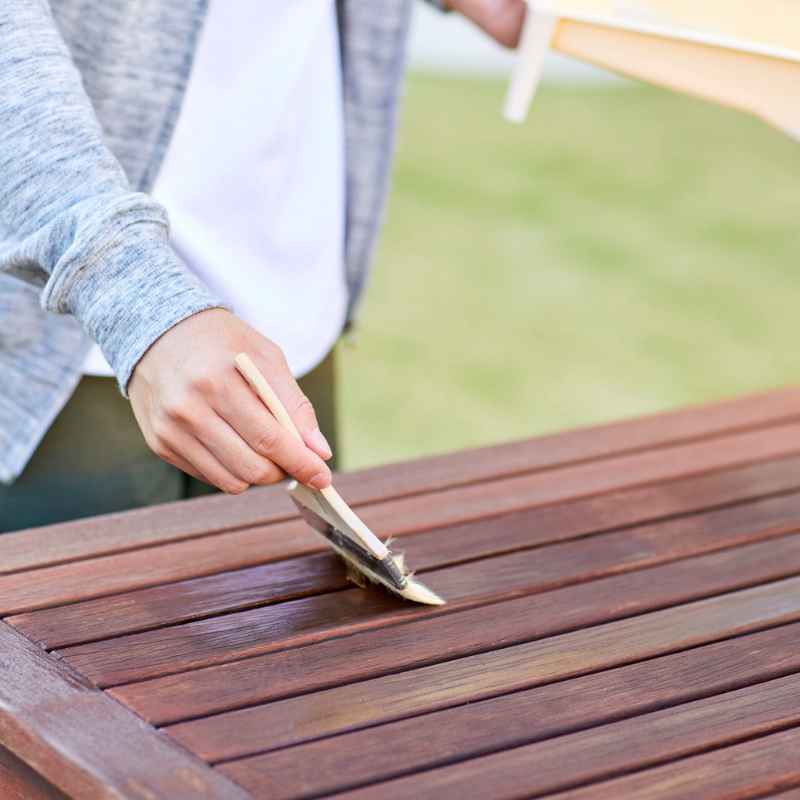
Step 2: Apply the Remover
Using a brush, apply a thick, even coat of the varnish remover. Don’t brush it out too thinly. Let it sit for the time recommended on the product label.
This is crucial for the chemicals to work.
Step 3: Test and Scrape
After the recommended time, test a small area with your scraper. If the varnish is softened and gummy, it’s ready. Gently scrape the softened varnish away.
Work in the direction of the wood grain. Use a putty knife or scraper.
Step 4: Repeat if Necessary
Some thick or stubborn layers might need a second application of remover. You might also need to use steel wool (grade 0000) with the remover to get into grain patterns or remove stubborn bits.
Step 5: Clean Up the Residue
Once all the varnish is removed, you need to clean the wood. Follow the stripper manufacturer’s instructions for this. Many require washing the wood with mineral spirits, denatured alcohol, or a specific neutralizing solution.
This removes any remaining stripper residue.
Step 6: Let the Wood Dry
Allow the wood to dry completely. This can take 24 hours or more. Ensure it’s in a dust-free environment.
Check for any remaining fuzz or residue.
Step 7: Prepare for Refinishing
Lightly sand the wood with fine-grit sandpaper (180-220 grit). This smooths the surface and removes any remaining imperfections. Clean off the sanding dust thoroughly with a tack cloth.
Quick Guide: What NOT to Do When Removing Varnish
Don’t use harsh wire brushes: They can deeply scratch the wood.
Don’t skip ventilation: Fumes are dangerous.
Don’t use excessive force: This can damage the wood grain.
Don’t use bleach: Bleach is for whitening wood, not removing finishes.
Don’t apply new finish over old: Always remove the old finish completely for best results.
When is Vinegar Truly Useless for Varnish?
Let’s be really clear about when vinegar is just not going to cut it. If you’re looking at furniture that has a modern, durable finish, vinegar is likely to be a waste of your time. This includes most polyurethane varnishes, which are very tough.
They form a strong, plastic-like barrier.
Also, if the varnish has been applied correctly and is still in good condition, vinegar won’t be able to penetrate and break it down. Think about that nice, smooth sheen on a coffee table or a dining chair. That finish is designed to resist spills and wear.
Vinegar’s mild acidity just isn’t equipped for that level of protection.
If you’ve already tried vinegar and it hasn’t done much, don’t keep applying more. You’ll likely just end up with sticky, gummy residue that’s harder to clean off than the original varnish. This can interfere with proper stripper application later.
It’s like trying to wash a car with dish soap when it’s covered in tar – it just doesn’t have the power.
In short, if your goal is to strip varnish completely and cleanly, vinegar is almost certainly not the right tool for the job. It’s much better suited for light cleaning tasks.
Real-World Scenarios Where Vinegar Might Seem to Work
You might see stories online about vinegar removing varnish. These often come from specific situations:
Scenario 1: The Inherited Piece with Damaged Finish
Someone inherits a piece of furniture. The varnish is already cracked, peeling, and very dull. It looks like it’s on its last legs.
In this case, a lot of the varnish is already compromised. A weak acid like vinegar might help to lift those already-loosened flakes. It’s not truly stripping a strong finish; it’s helping remove a finish that’s already failing.
Scenario 2: A Very Old, Natural Varnish
Some antique furniture might have shellac or older, natural resin finishes. These can be more sensitive. If the piece has been stored in poor conditions or has had spills, these finishes can degrade.
Vinegar might have a slight effect on these older, less robust finishes compared to modern polyurethanes.
Scenario 3: A Mistake with Clear Coat, Not Varnish
Sometimes, people might confuse a thin, clear spray paint or a light sealant with varnish. These might be more susceptible to mild solvents or acids. What looks like varnish to one person might be a simpler coating to another.
Scenario 4: Partial Removal for Repairs
If someone only needs to remove a small, damaged area of varnish to make a repair, they might try vinegar. If it helps lift a few loose bits around the damaged spot, they might consider it a success. But they aren’t trying to strip the whole piece.
These scenarios highlight that when vinegar seems to work, it’s usually because the varnish was already significantly weakened or of a type that is more easily affected. It’s rarely the primary agent for a full, clean removal of a robust finish.
The Verdict: Is Vinegar Worth Trying for Varnish?
After all this, let’s answer the question directly. Can you remove varnish from wood with vinegar? The honest answer is: Probably not effectively, and certainly not reliably.
Vinegar is a good cleaner. It’s useful for many household tasks. But when it comes to hardened, cured varnish, it lacks the necessary strength.
You’re much more likely to end up frustrated, with sticky residue and a lot of wasted time.
If you’re looking to refinish a piece of furniture, your best bet is to invest in a proper varnish remover. These products are designed for the job. They will save you a significant amount of time and effort.
They will also give you a much cleaner surface to work with for your new finish.
Think of it this way: you wouldn’t try to cut through steel with a butter knife. Similarly, you shouldn’t expect a mild household acid to dissolve a tough, protective coating like varnish. Use the right tool for the job, and you’ll get much better results.
Frequently Asked Questions About Varnish Removal
Can I use vinegar and baking soda to remove varnish?
While combining vinegar and baking soda creates a fizzing reaction, it’s not effective for stripping varnish. Baking soda is a mild abrasive, and vinegar is a weak acid. Together, they might help lift some very light dirt or grime, but they won’t dissolve a hard varnish layer.
How long should I let vinegar soak on varnish?
If you decide to test vinegar, soaking it for 15-30 minutes might be the maximum you’d want to try. Letting it soak for much longer could potentially damage the wood itself due to its acidity, without much added benefit for varnish removal.
What is the fastest way to remove varnish from wood?
The fastest and most effective way to remove varnish is typically using a strong chemical varnish stripper, especially solvent-based ones, or a heat gun combined with a scraper. These methods actively break down or soften the varnish for quick removal.
Will vinegar damage my wood furniture?
Vinegar is acidic. While it’s mild, prolonged contact, especially on unfinished or delicate wood, can etch or lighten the wood surface. It’s best to avoid soaking wood in vinegar for extended periods.
Is there a difference between varnish stripper and paint remover?
Yes, there can be. While some products are multi-purpose, varnish removers are specifically formulated to break down the resins and solvents found in varnishes. Paint removers are designed for paint, which has a different chemical composition.
Can I use alcohol to remove varnish?
Rubbing alcohol or denatured alcohol can sometimes soften certain finishes, like shellac. However, it’s generally not very effective for removing cured varnish. You would need a lot of scrubbing, and it likely wouldn’t remove it completely.
Conclusion
While the idea of using a common household item like vinegar to strip varnish is appealing, it’s not a practical solution. Vinegar’s mild acidity is not strong enough to tackle hardened varnish effectively. You’ll likely find yourself with disappointing results and a sticky mess.
For successful varnish removal, opt for dedicated removers. These are designed to do the job safely and efficiently, saving you time and effort in the long run.