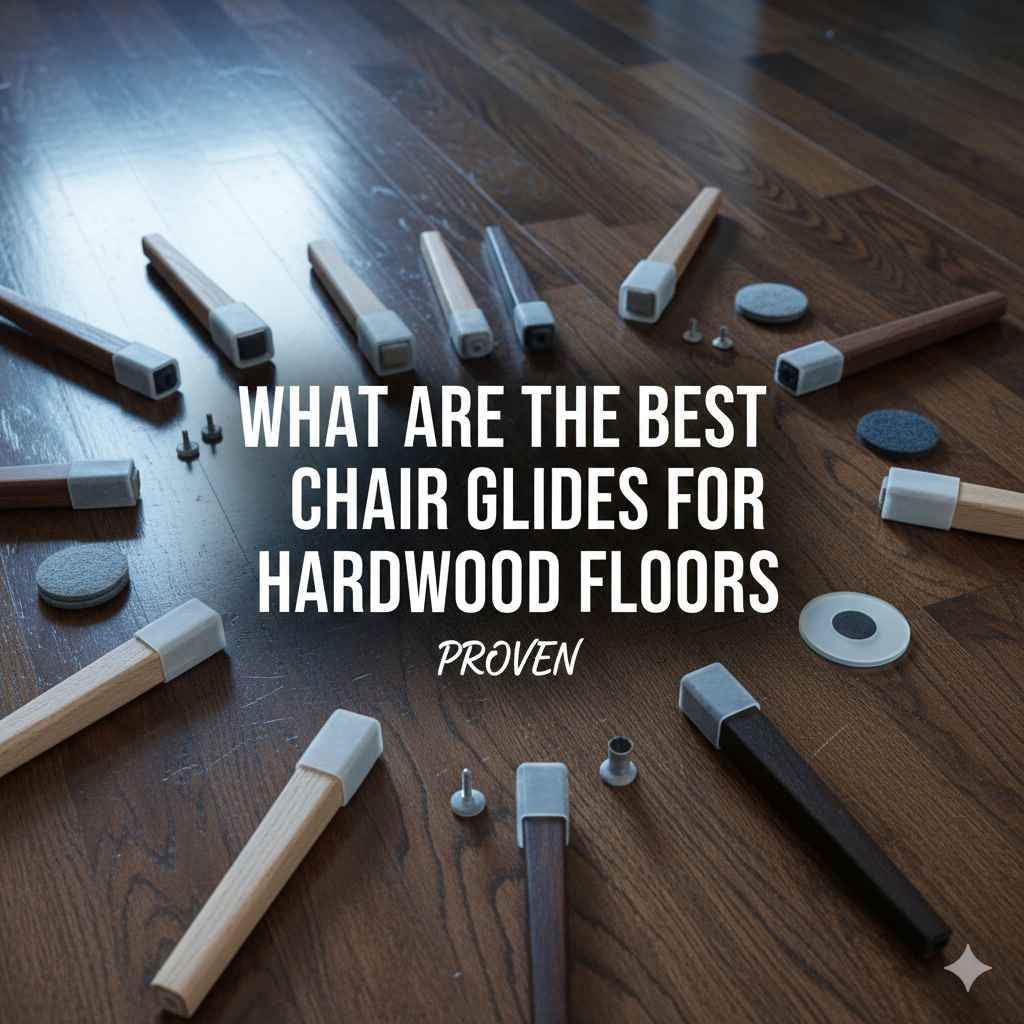
What Are The Best Chair Glides For Hardwood Floors: Proven
The best chair glides for hardwood floors are tap-in felt glides. They offer superior protection against scratches, reduce noise, and are far more durable than stick-on pads. For metal or angled legs, high-quality silicone booties with felt bottoms provide a secure fit and excellent floor safety without adhesives or nails.
Hello there! I’m Md Meraj, and I’m so glad you’re here. Hardwood floors are a beautiful investment in any home, but that first cringe-worthy scrape of a chair leg across the wood is enough to make anyone panic. It’s a common problem, but thankfully, it has a very simple and affordable solution.
You don’t need to be a pro woodworker to protect your floors. In this guide, I’ll walk you through everything you need to know about choosing and installing the perfect chair glides. We’ll look at the best types, what to avoid, and how to get it done right the first time. Let’s make sure your floors stay beautiful for years to come!
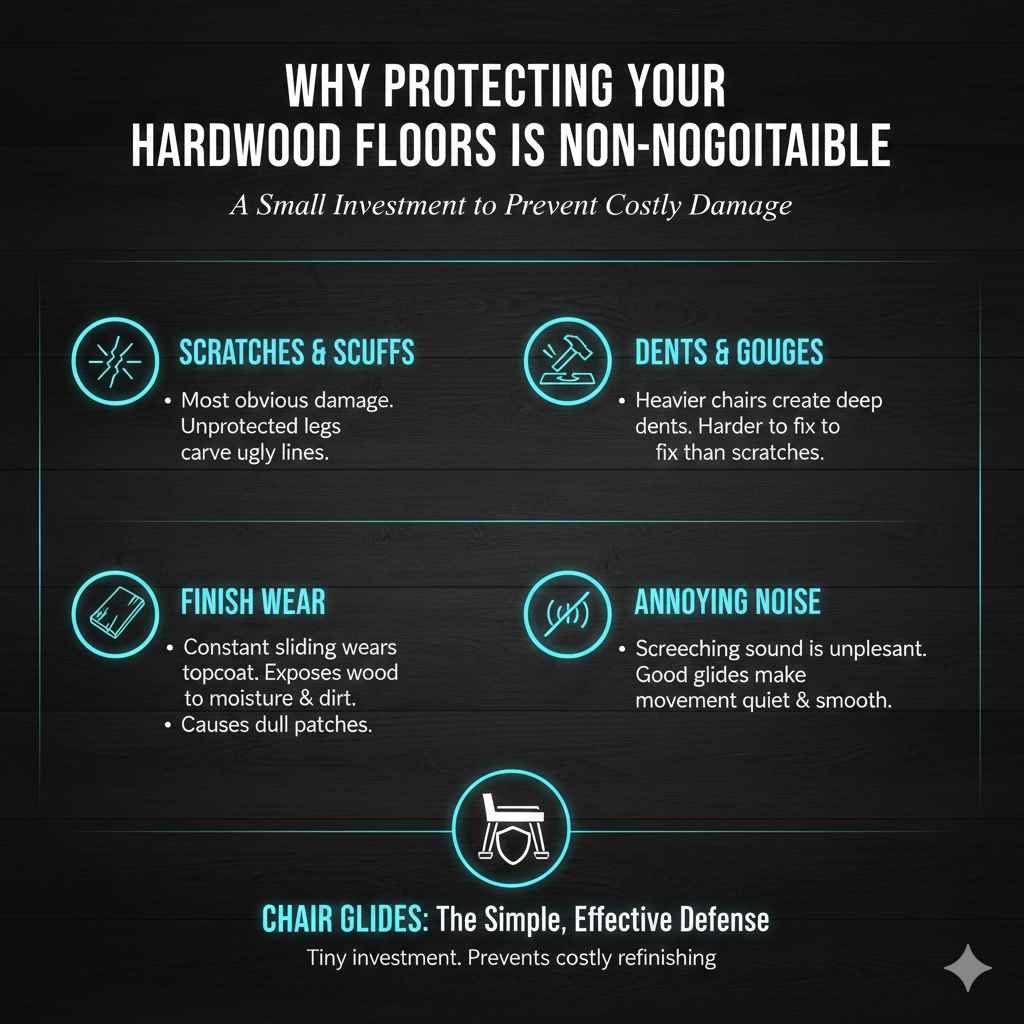
Why Protecting Your Hardwood Floors is Non-Negotiable
Think of your hardwood floor like a piece of fine furniture. It’s strong, but it’s not invincible. Every time you pull a chair out or push it in, the leg can act like sandpaper on the floor’s delicate finish. Over time, this constant friction causes:
- Scratches and Scuffs: These are the most obvious signs of damage. Even small, unprotected chair legs can carve ugly lines into the wood.
- Dents and Gouges: Heavier chairs or a sudden movement can create deep dents that are much harder to fix than simple surface scratches.
- Finish Wear: Constant sliding wears down the protective topcoat (polyurethane) on your floors, leaving the raw wood exposed to moisture and dirt. This is what leads to those dull, high-traffic patches.
- Annoying Noise: The screeching sound of a chair dragging on a wood floor is unpleasant for everyone. Good glides make movement quiet and smooth.
The good news? A simple set of chair glides is the most effective defense you have. It’s a tiny investment that prevents costly floor refinishing down the road.
The Different Types of Chair Glides: Finding Your Perfect Match
Not all chair glides are created equal. The right one for you depends on your chair type, how often it’s used, and your personal preference. Let’s break down the most popular options for hardwood floors.
1. Felt Glides (The Classic Protector)
Felt is the go-to material for protecting hardwood. It’s soft, quiet, and provides an excellent buffer between the chair leg and the floor. They come in two main styles:
- Stick-On Felt Pads: These are the easiest to apply. You just peel and stick. They are great for chairs that aren’t moved often or for renters who can’t make permanent changes. However, their adhesive can wear out, causing them to slip or collect dust around the edges.
- Tap-In (Nail-On) Felt Glides: This is my top recommendation for most wooden chair legs. A small nail or screw secures the glide permanently to the chair leg. They are far more durable, stay in place, and offer the most reliable long-term protection.
2. PTFE (Teflon) Glides
You might know PTFE by its brand name, Teflon. These glides are made from a super-slick plastic that allows chairs to slide effortlessly. While they are amazing for moving heavy furniture on carpet, they can be a bit too slippery for hardwood floors, especially for dining chairs where you want some stability. They are very durable but don’t offer the same soft, cushioning protection as felt.
3. Silicone & Rubber Caps (The Snug Booties)
These are a fantastic modern solution, especially for chairs with metal or oddly shaped legs. They are like little socks or boots that stretch over the end of the chair leg. The best ones have a reinforced felt pad fused to the bottom, combining the secure fit of silicone with the proven protection of felt.
These are a great choice because:
- They don’t use adhesive that can fail.
- They fit snugly and are unlikely to fall off.
- They provide excellent protection and noise reduction.
- They are perfect for angled chair legs where stick-on pads fail.
4. Soft Caster Wheels
If you have an office chair or rolling cart on a hardwood floor, you must avoid hard plastic or metal casters. These will destroy a wood floor. Instead, look for caster wheels made from soft polyurethane or rubber. These “hardwood safe” casters are designed to roll smoothly without scratching or leaving marks. It’s an easy and essential upgrade for any rolling chair.
Comparing the Best Chair Glide Options
Let’s put the most common options side-by-side to make your choice even easier.
| Glide Type | Protection Level | Durability | Noise Reduction | Best For |
|---|---|---|---|---|
| Tap-In Felt Glides | Excellent | Excellent | Excellent | Wooden dining chairs, kitchen stools, and frequently moved furniture. |
| Stick-On Felt Pads | Good | Fair | Good | Lightweight furniture, infrequently moved items, or temporary use. |
| Silicone Caps with Felt | Excellent | Very Good | Excellent | Metal legs, angled legs, and chairs where tap-in glides won’t work. |
| PTFE (Teflon) Glides | Fair | Excellent | Fair | Heavy furniture you need to slide easily (better on carpet than wood). |
How to Choose the Right Chair Glides in 4 Simple Steps
Feeling confident? Great! Follow these four steps to pick the perfect glides without any guesswork.
Step 1: Look at Your Chair Legs
First, identify what kind of chair legs you have. This is the most important step!
- Straight Wooden Legs: You have the most options! Tap-in felt glides are the best choice for durability.
- Angled Wooden Legs: Stick-on pads will fail quickly on angled legs. Look for tap-in glides with a swivel base or, better yet, silicone caps with felt bottoms.
- Metal Legs (Hollow or Solid): Do not use tap-in glides here. Silicone caps are the perfect solution. Some metal legs might accept special insert glides, but caps are simpler and more effective.
- Square or Rectangular Legs: You can find felt pads and silicone caps in all shapes and sizes. Just be sure to measure correctly.
Step 2: Measure Carefully
Don’t just guess the size. An ill-fitting glide will fall off or fail to protect your floor. Grab a ruler or tape measure.
- For Round Legs: Measure the diameter (the distance straight across the bottom).
- For Square Legs: Measure the length of one side.
Write down the measurement. When you shop, choose a glide that matches this size exactly. For silicone caps, it’s often best to choose a size that is slightly smaller than the leg so it stretches for a tight fit.
Step 3: Consider How You Use the Chair
Think about how much action these chairs see.
- High-Traffic (Kitchen/Dining Chairs): These chairs are moved multiple times a day. You need the most durable option available. This is where tap-in felt glides or high-quality silicone caps truly shine. Avoid basic stick-on pads.
- Low-Traffic (Accent Chairs, End Tables): For furniture that rarely moves, a good quality adhesive felt pad is perfectly fine and super easy to install.
Step 4: Pick Your Installation Method
Based on the steps above, you should have a clear winner.
- For the most durable, set-and-forget solution on wood legs: Choose tap-in glides.
- For the easiest, quickest fix on low-traffic items: Choose stick-on glides.
- For metal, angled, or oddly shaped legs: Choose slip-on silicone caps with felt pads.
How to Install Chair Glides Like a Pro
Alright, you’ve chosen your glides! Now for the easy part—putting them on. The key to a long-lasting installation is a clean surface.
Method 1: Installing Stick-On Felt Pads
- Clean the Leg Bottom: This is critical! Turn the chair upside down. Use a cloth with a little rubbing alcohol to thoroughly clean the bottom of the chair leg. This removes any dust, grease, or old adhesive. Let it dry completely.
- Peel the Backing: Peel the paper backing off the felt pad, being careful not to touch the sticky side.
- Press Firmly: Center the pad on the leg and press down hard for at least 30 seconds. This helps the adhesive create a strong bond.
- Let it Cure: If possible, let the chair sit for a few hours (or even overnight) before using it. According to adhesive manufacturers like 3M, allowing pressure-sensitive adhesives time to cure significantly increases bond strength.
Method 2: Installing Tap-In (Nail-On) Glides
This method provides a much more secure attachment and is my preferred choice for wooden chairs.
- Remove Old Glides: If there’s an old plastic or metal glide, use pliers to gently pull it out.
- Clean the Surface: Wipe the bottom of the leg clean.
- Position the New Glide: Place the new felt glide in the center of the leg. If there was a hole from an old glide, use it.
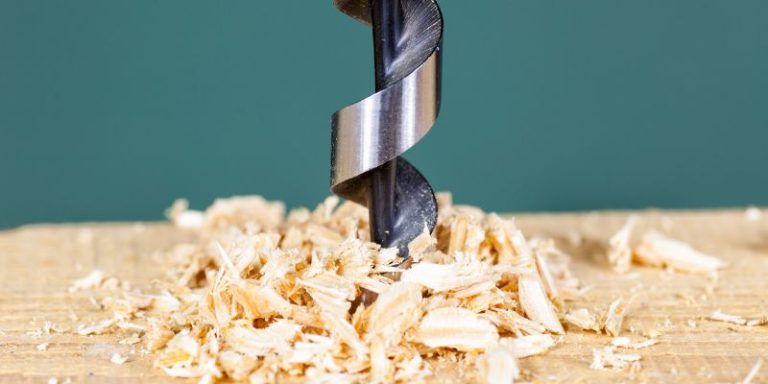
- (Optional) Drill a Pilot Hole: If you are working with very hard wood (like oak or maple), drilling a tiny pilot hole can prevent the wood from splitting. Use a drill bit that is smaller than the nail on the glide.
- Tap Gently: Use a rubber mallet or a hammer with a cloth over the head to gently tap the glide straight into the leg until it sits flush. Don’t hit it too hard!
Method 3: Installing Slip-On Silicone Caps
This is the simplest installation of all.
- Clean the Leg: Wipe down the chair leg to remove any dust or grime.
- Stretch and Slide: The silicone is stretchy. Simply stretch the opening of the cap and slide it up onto the chair leg until it fits snugly against the bottom. That’s it!
Quick Comparison: Tap-In vs. Stick-On Felt Glides
| Feature | Tap-In Felt Glides | Stick-On Felt Glides |
|---|---|---|
| Attachment | Mechanical (Nail/Screw) | Adhesive |
| Durability | High – Stays on for years. | Low to Medium – Adhesive wears out. |
| Installation | Requires a hammer; takes a few minutes. | Very easy; peel and stick. |
| Cost | Slightly more expensive upfront. | Very cheap. |
| Best For | High-use chairs (dining, kitchen). | Low-use items (end tables, decor). |
Maintaining Your Chair Glides for Long-Lasting Protection
Once your glides are installed, a little bit of maintenance will make them last even longer.
- Check Them Regularly: Every month or two, quickly flip over your chairs and check the glides. Make sure they are still secure and not worn down.
- Clean Felt Pads: Felt pads can pick up dust, hair, and grit. If you see debris stuck to them, use a stiff brush or a vacuum cleaner attachment to clean it off. A piece of tape can also work to lift off stubborn particles. This prevents that collected grit from scratching your floor.
- Replace When Worn: Don’t wait until the felt is completely worn through. If a felt pad is compressed, thin, or peeling, it’s time to replace it. Having extras on hand makes this a quick two-minute job. The Wood Database, a trusted resource for wood science, emphasizes that clean and intact protectors are key to preventing abrasions.
Glides to Absolutely Avoid on Hardwood Floors
Just as important as knowing what to use is knowing what to avoid. The following types of glides can cause serious damage to your beautiful wood floors:
- Hard Plastic Glides: These are terrible for wood. They don’t slide smoothly and can easily scratch or dent the floor’s finish. They are often the default glides that come on new chairs—remove them immediately!
- Metal Glides: Metal on wood is a recipe for disaster. These will leave deep scratches and gouges that can only be fixed by sanding and refinishing the entire floor.
- Bare Wood or Metal Legs: Never leave a chair leg unprotected. Even a smoothly sanded wooden leg will eventually wear down the floor’s finish.

Frequently Asked Questions (FAQ)
1. How often should I replace felt chair glides?
For high-use chairs like those in your kitchen, check them every 2-3 months and plan to replace them every 6-12 months, or whenever they look flat and dirty. For furniture that doesn’t move much, they can last for years.
2. Can I use stick-on felt pads on angled chair legs?
It’s not recommended. The uneven pressure will cause the adhesive to fail very quickly. The pad will slide off, leaving sticky residue and an unprotected chair leg. For angled legs, use swivel-base tap-in glides or silicone caps with felt bottoms.
3. Are “chair socks” a good option for hardwood floors?
Chair socks (knitted booties) can work, but they have downsides. They get dirty very quickly, can slide off easily, and the fabric can wear through, leaving the floor unprotected. Silicone caps with integrated felt pads are a much more durable and clean-looking solution.
4. My stick-on pads keep falling off. What am I doing wrong?
This is usually due to one of three things: the chair leg wasn’t cleaned properly before application, the pads are low-quality, or the chair is used too frequently for an adhesive to hold. Make sure you clean the leg with rubbing alcohol first. If they still fall off, it’s time to upgrade to tap-in glides or silicone caps.
5. What if my chair leg is a weird shape?
For non-standard shapes, your best bet is to either use a large sheet of adhesive felt and cut it to the exact shape and size of your chair leg or find a stretchy silicone cap that can conform to the leg’s shape.
6. Do I need to remove the old plastic cap on my chair leg before installing a new glide?
Yes, absolutely. Most chairs come with a small, hard plastic shipping cap. Use pliers or a flathead screwdriver to pry this off before installing a proper felt glide. Installing a felt pad over this plastic cap will make it unstable and likely to fail.
7. Can I put felt glides on my bar stools?
Definitely! Bar stools are moved constantly and are a major cause of floor scratches. Tap-in glides or silicone/felt caps are perfect for protecting the floor around your kitchen island or bar area. Just make sure to measure the legs accurately.
Your Floors Are Now Safe and Sound
There you have it! Protecting your hardwood floors doesn’t have to be complicated or expensive. By taking a few minutes to choose the right glides and install them properly, you can prevent years of damage and keep your floors looking brand new.
Whether you choose the ultra-durable tap-in felt glides or the versatile silicone caps, you’re making a smart choice for your home. You’ve now got the knowledge to tackle this project with confidence. Go ahead and give your chairs the upgrade they need—your beautiful floors will thank you for it!