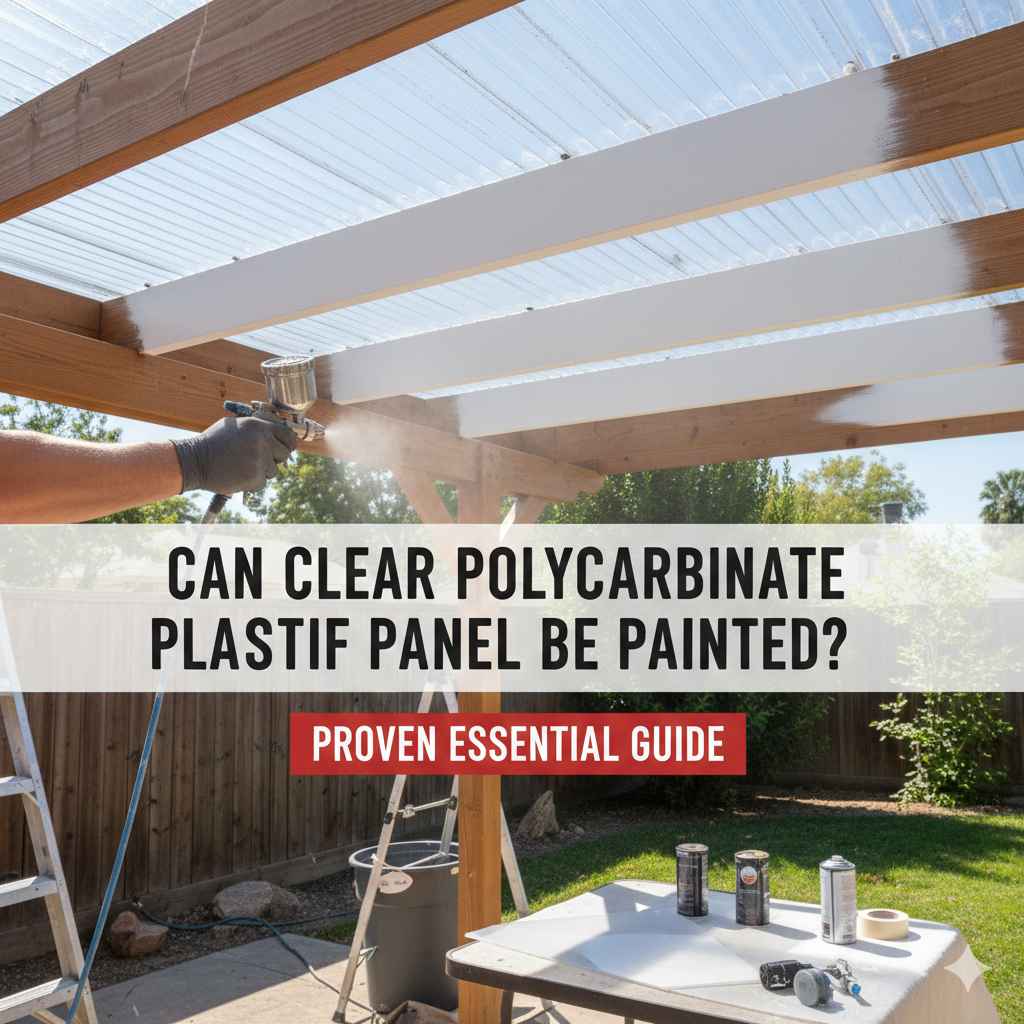
Can Clear Polycarbonate Plastic Roof Panel Be Painted? Proven Essential Guide
Yes, you absolutely can paint clear polycarbonate roof panels, but it requires very specific preparation and the right type of paint designed for plastics. Proper surface cleaning, light sanding, and using a specialty bonding primer are essential steps to ensure the paint sticks well and doesn’t peel off prematurely. Follow these steps for a lasting finish.
If you have clear polycarbonate panels covering your patio, greenhouse, or carport, you might find they let in too much sun, or maybe you just want a fresh look. Painting them seems like an easy fix, right? Well, it can be tricky! Polycarbonate plastic is smooth and non-porous, meaning regular paint often just slides right off or cracks as the plastic expands and contracts with the weather. This often leaves homeowners frustrated with peeling paint jobs.
Don’t worry! With the right knowledge and simple, practical steps, painting these tough panels is totally doable. I’m Md Meraj, and I’ve guided many folks through projects that seem impossible at first glance. We are going to walk through exactly what materials you need and the easy-to-follow process to get paint to actually stick to that slick polycarbonate surface, giving you confidence for this job. Let’s turn that clear roof into something special!
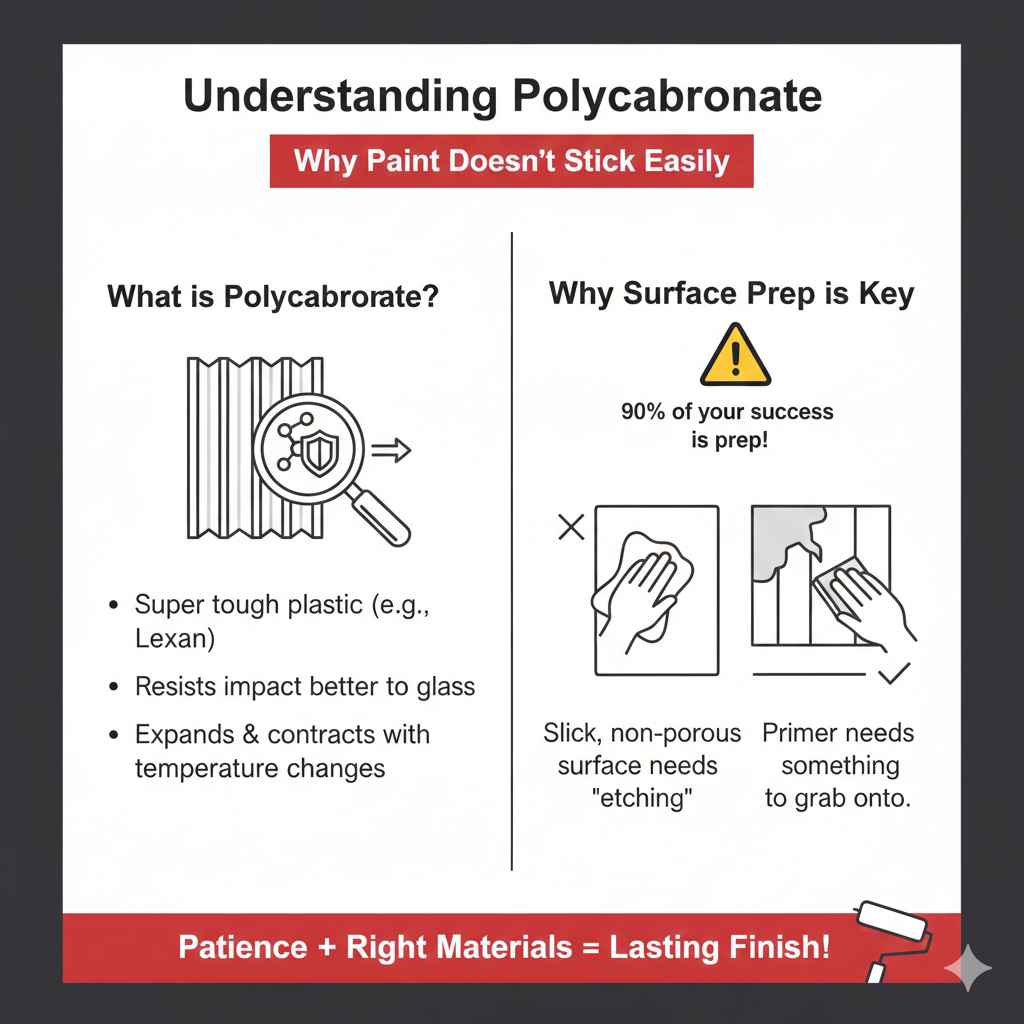
Understanding Polycarbonate: Why Paint Doesn’t Stick Easily
Before we grab a roller, we need to understand what we are working with. Polycarbonate (often known by brand names like Lexan) is super tough—it resists impact better than glass. That toughness is also what makes painting hard. Think about trying to paint a slick, brand-new car hood; the paint doesn’t have much to grip onto.
This material also reacts to temperature changes more than wood or metal. When the sun hits it, the plastic expands; when it cools down, it shrinks. If your paint layer is too thick or not flexible enough, it can’t handle this constant movement and will crack or peel away. Safety first: when working on a roof, always use a stable ladder and consider safety harnesses, especially if the panels are slick when wet.
The Key Difference: Surface Preparation is Everything
For most DIY projects, a quick wipe-down is enough. Not here! For polycarbonate, 90% of your success depends on how well you prepare that surface. We need to change the surface texture just enough so the primer has something to grab onto.
Essential Tools and Materials Checklist
Gathering the right supplies upfront saves time and prevents messy do-overs. Think quality materials here—cheap paints or thin sandpaper won’t hold up against the elements these roof panels face.
Materials You Must Have:
- Specialty Plastic Cleaner or Mild Soap/Water mixture (e.g., dish soap).
- Denatured Alcohol or Isopropyl Alcohol (90% or higher) for final degreasing.
- Fine Grit Sandpaper (220-grit or 320-grit).
- Plastic Adhesion Promoter or Bonding Primer (crucial for polycarbonate).
- Paint specifically formulated for plastic, or a high-quality Exterior Acrylic Latex paint.
- Painter’s tape and drop cloths.
Tools for Application:
- Clean, soft rags or lint-free cloths.
- A handheld orbital sander (optional, for large areas) or sanding block.
- High-quality synthetic bristle paint brushes or a quality paint sprayer (recommended for an even coat).
- Safety gear: Safety glasses, gloves, and a dust mask.
Pro Tip on Paint Choice: While specialized plastic paints exist (often used on car bumpers), high-quality exterior acrylic latex paint mixed with a flexible additive can work well, provided you use the right primer. Always check the paint manufacturer’s guidance on priming plastic surfaces. Reputable building resources, like those from the Department of Energy on building material considerations, emphasize surface compatibility for energy efficiency coatings, which often touch upon proper paint adhesion principles.
Step-by-Step Guide: How to Successfully Paint Polycarbonate Panels
Follow these steps precisely. We are layering preparation, bonding, and color application to ensure a finish that lasts through sun, rain, and temperature swings.
Phase 1: Deep Cleaning and Degreasing
This is non-negotiable. Any dust, dirt, silicone residue, or mold spores will act as a barrier, causing your paint to fail later.
- Wash Thoroughly: Mix a gentle solution of water and mild dish soap. Use a soft sponge or cloth to gently scrub the entire surface area you plan to paint. Work top-to-bottom.
- Rinse Completely: Rinse the panels multiple times with clean water. Do not let soap residue dry on the surface.
- Dry Time: Allow the panels to air dry completely. Use a clean, soft chamois or towel to remove standing water, but be careful not to scratch the surface.
- Final Degreasing Wipe: Once dry, wipe down the surface one final time using denatured alcohol or strong isopropyl alcohol on a clean cloth. This removes microscopic oils and residue that water alone cannot touch. Let the alcohol evaporate fully (this happens fast).
Phase 2: Creating a “Tooth” (Light Abrasion)
Since plastic is so smooth, we need to gently rough it up so the primer has tiny peaks and valleys to grip. We are not trying to scratch it deeply.
- Choose Your Grit: Use 220-grit or 320-grit sandpaper. If you have a very large area, you might use an orbital sander on the lowest speed setting, but sanding by hand ensures you don’t accidentally create deep gouges.
- Sanding Technique: Use light, gentle pressure. Move in smooth, consistent motions—either overlapping circular patterns or light, long, straight strokes. The goal is just to dull the shiny surface so it looks uniformly hazy, not deeply scratched.
- Clean Dust Off: Once sanding is complete across all areas, use a tack cloth (a sticky cloth designed for painting prep) or compressed air (if available) to remove every speck of sanding dust. Do not use a dry rag, as it will just redistribute the fine plastic dust.
Phase 3: Priming for Adhesion (The Most Important Step)
If you skip the primer, the paint will fail, guaranteed. You need a primer that chemically bonds to plastic and remains flexible.
- Select the Right Primer: Purchase a high-quality primer specifically labeled as an “Adhesion Promoter” or “Paintable Primer for Polycarbonate/Plastic.” (For example, products used in the automotive restoration sector often work best.)
- Application: Apply the primer in thin, even coats. If spraying, follow the can’s instructions regarding distance and speed. If rolling or brushing, use a very soft brush to avoid streaking. Thin coats adhere better than one thick coat.
- Recoat Times: Allow the primer to cure fully according to the manufacturer’s instructions. This might take 2–4 hours, depending on humidity. Never rush this curing time.
- Optional Second Coat: If the primer instructions allow, apply a second thin coat of primer for maximum bonding insurance.
Phase 4: Painting and Sealing
Now that you have a firmly bonded base, you can apply your topcoat color.
- Choose Topcoat: Use a high-quality exterior-grade paint. If you want a specific color block, use a paint designed for plastics. If you are tinting for solar heat reduction, look into reflective ceramic or solar reflective coatings designed for roofing materials—though these often require professional installation, specialized paint can mimic the effect.
- Apply Topcoats: Apply the topcoat in thin layers, just as you did with the primer. Multiple thin coats are far more durable than one thick coat. Allow full drying time between coats.
- Check for Streaks: Inspect your work carefully after the first coat. If you see runs or streaks, gently feather them out with a very light sanding (using 400-grit) before the next coat goes on.
- Curing Time: Allow the final coat to cure completely. This might take several days before the panel can handle exposure to heavy rain or extreme temperature changes without issue.
Paint Adhesion Comparison Table
Understanding why certain paints fail compared to specialized primers helps explain why preparation is key.
| Paint Type | Adhesion to Polycarbonate | Flexibility | Expected Lifespan (Exterior Use) |
|---|---|---|---|
| Standard Oil-Based Paint | Very Poor | Low (Brittle) | Weeks to Months (Will peel) |
| Standard Latex Wall Paint | Poor | Medium | Few Months (Prone to washing off) |
| Specialty Plastic Spray Paint (Unprimed) | Fair to Good | Good | 1–2 Years |
| Primer + Exterior Acrylic Latex | Good | Good | 3–5 Years |
| Primer + Paint Specially Formulated for Plastic | Excellent | Excellent | 5+ Years |
Tinting Polycarbonate vs. Painting Polycarbonate
Many people who want to paint their clear panels are actually trying to solve two problems: reducing glare/heat or changing the color. It’s worth noting the difference between painting (which applies an opaque layer) and tinting (which changes light transmission).
Tinting (Using Films or Tinting Agents)
- UV Window Films: These are often easier to apply than paint, especially on large, flat surfaces. They are highly effective at blocking UV rays and solar heat gain. You apply them like large decals.
- Dyes/Pigments Added to the Resin: This is how factory-colored polycarbonate is made. It’s not something you can typically do on a finished panel at home without specialized equipment, but it offers the most durable result.
Painting (Opacity and Color Change)
- Painting offers complete, opaque color coverage, which is great for creating privacy or blocking light entirely.
- The challenge, as we discussed, is durability against the elements when applied externally.
If your primary goal is simply to reduce solar gain without full color change, investigate high-quality, clear, heat-rejecting films first. If you need solid color or privacy, painting is your route, provided you follow the meticulous prep steps.
Safety Considerations for Roofing Work
Working above ground on a roof surface presents specific hazards. Please take these seriously. Your DIY success is best when everyone stays safe.
Working on Ladders and Roofs:
- Ladder Stability: Ensure your ladder is on solid, level ground. Have a helper stabilize it if possible. Always maintain three points of contact (two hands and one foot, or vice versa) when climbing or descending.
- Weather Check: Never paint if rain is forecasted within 24 hours, or if the surface is wet. High winds also make ladder work dangerous.
- Respirator Use: When sanding plastic dust and using primers/solvents (like alcohol or specialized aerosol paints), you must wear a good quality respirator mask, not just a simple dust mask. This protects against inhaling fine particles and chemical fumes. Always check the Safety Data Sheet (SDS) for the specific primer or paint you choose.
- Weight Distribution: Remember that painted polycarbonate panels might feel slicker to walk or work on, even when dry, compared to the bare, slightly textured surface. Distribute your weight carefully, or better yet, work from a secured scaffold or ladder platform.
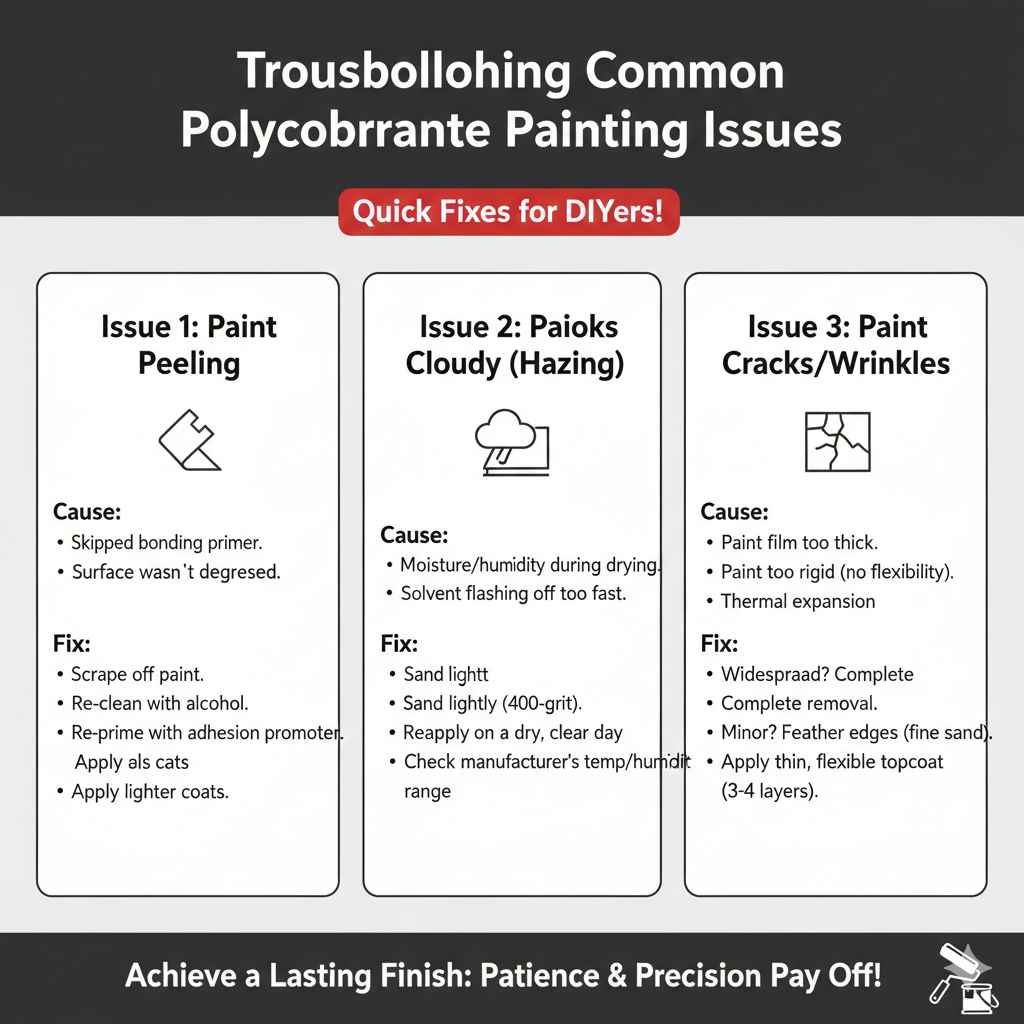
Troubleshooting Common Polycarbonate Painting Issues
Even with good prep, things can sometimes go sideways. Here are fixes for the most common problems DIYers face.
Issue 1: Paint Peeling Immediately After Drying
Cause: You likely skipped or rushed the bonding primer step, or the surface wasn’t completely degreased before priming. The paint is sitting on top of the plastic rather than bonding to it.
Fix: Scrape off the peeling paint using a plastic scraper or dull edge. Re-clean the area thoroughly with alcohol. Re-prime using a high-adhesion promoter specifically for plastics, ensuring adequate dry time. Apply the topcoat in lighter coats.
Issue 2: Paint Looks Cloudy or Milky (Hazing)
Cause: This often happens when painting outdoors. Moisture (humidity or dew) settled on the surface while the solvent in the paint or primer was still flashing off. This is called “blushing.”
Fix: Blushing is usually cosmetic and happens more with certain lacquers, but it can happen with acrylics in high humidity. You may need to wait for a very dry day, sand the affected area lightly (400-grit), clean, and reapply the paint on a clear day, ensuring the ambient temperature and humidity are within the paint manufacturer’s recommended range. Check resources like Building Science Corporation for optimal environmental conditions for exterior coatings.
Issue 3: Paint Cracks or Wrinkles After a Week
Cause: The paint film is too thick, or it’s too rigid and can’t handle the thermal expansion of the polycarbonate panel.
Fix: If the cracking is widespread, complete removal is necessary. If it’s minor, you can often feather the edges with fine sandpaper and apply a very thin, flexible topcoat over the area. For future jobs, ensure you use a flexible paint formulation and apply it in 3–4 very thin layers instead of 1–2 thick ones.
Frequently Asked Questions (FAQ) About Painting Polycarbonate Roofs
Q1: Can I just use spray paint from the hardware store on my clear polycarbonate roof?
A: Standard spray paint meant for metal or wood usually fails quickly. You must use spray paint specifically labeled for “exterior plastics” or, better yet, use a dedicated plastic bonding primer first, even if the topcoat is spray-applied.
Q2: How long does the paint last after I paint my polycarbonate panel correctly?
A: When you meticulously follow the prep (clean, sand, prime), expect a quality exterior paint job to last anywhere from 3 to 7 years before fading or minor wear begins to show. Longevity is highly dependent on the quality of the primer and the UV exposure.
Q3: Is sanding the polycarbonate panel really necessary?
A: Yes, sanding is crucial. Polycarbonate is non-porous. Sanding dulls the slick shine, creating a mechanical key—tiny anchor points—for the adhesion promoter or primer to physically grab onto. Without this tooth, the paint will peel.
Q4: Can I paint the panels from the inside (underside) instead of the outside?
A: You can, and sometimes it’s easier because you avoid direct weather exposure. However, if the panel is outside the building envelope (like a carport roof), the painted side must still be prepped correctly. If the exterior surface is smooth, the interior side must be too. If you are painting for heat reduction, painting the exterior surface is generally more effective for reflecting heat.
Q5: What happens if I don’t use a special primer on the plastic?
A: The paint will likely fail. It might look fine for a few weeks or months, but once exposed to sunlight (UV rays) and temperature cycling, the paint will lose adhesion and start peeling, flaking, or bubbling because there is nothing strong holding it to the plastic.
Q6: Can I use paint to add tint for solar heat reduction?
A: Yes, but be cautious. Opaque paint will block light entirely, turning it into a solid roof panel. If you want tinting while maintaining some light transmission, you must use specialized tints or films. If you choose paint for this purpose, select lighter colors (like light gray or white) to maximize solar reflectivity, which keeps the area cooler than dark colors.
Conclusion: Confidence in Your Painted Polycarbonate Roof
See? Painting clear polycarbonate panels isn’t magic; it’s just science applied correctly! The secret to success isn’t about finding a magic can of paint—it’s about treating that slick plastic surface with the respect it demands during preparation. By diligently cleaning away all oils, providing a light “tooth” through gentle sanding, and never skipping that critical adhesion-promoting primer coat, you are setting yourself up for a beautiful, durable, and long-lasting finish.
Take your time with the cleaning and priming phases—that’s where we build the foundation for everything else. Once those steps are done perfectly, applying your chosen color is the fun, straightforward part. You now have the knowledge to tackle this project with confidence, turning those ordinary clear panels into a finished feature that perfectly suits your needs. Grab your gear, follow the steps, and enjoy the satisfaction of a job well done!