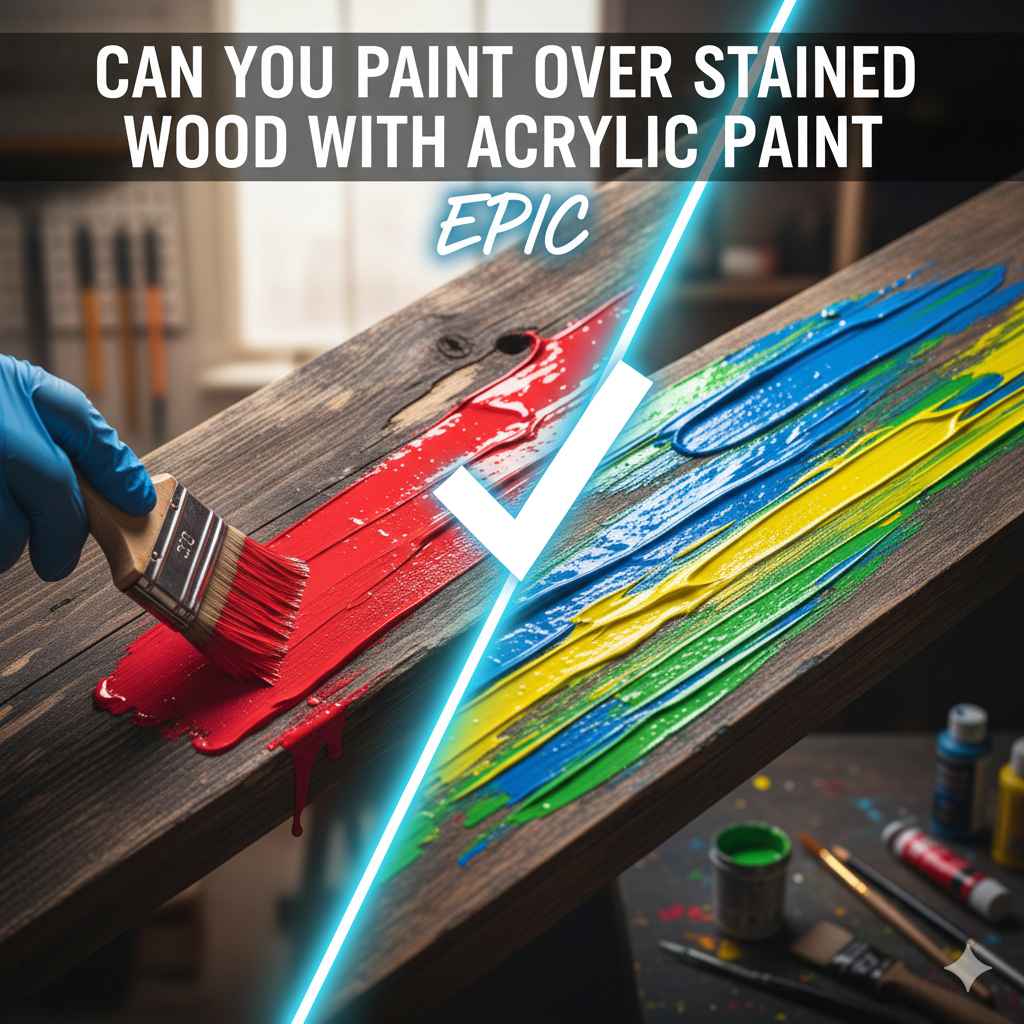
Can You Paint Over Stained Wood With Acrylic Paint: Epic
Yes, you can absolutely paint over stained wood with acrylic paint, and the results can be fantastic! The secret to a durable, professional-looking finish isn’t in the paint alone, but in the preparation. For the paint to stick properly, you must clean, scuff sand, and prime the stained surface first.
Have you ever looked at an old, stained piece of wooden furniture and wished you could give it a fresh, modern look? Maybe it’s a dated bookshelf, a thrift store dresser, or even your kitchen cabinets. You have a can of acrylic paint ready to go, but you hesitate. Can you just paint right over that dark stain? It’s a question I get all the time, and it’s a great one.
Painting over stained wood seems tricky, and many people worry the paint will just peel right off. I’m here to tell you that with a few simple steps, you can get a beautiful and long-lasting finish. You don’t need to be a professional woodworker to do this! This guide will walk you through everything, step-by-step, so you can feel confident and get amazing results. Let’s turn that old piece into something you’ll love.
Can You Paint Over Stained Wood With Acrylic Paint (3)
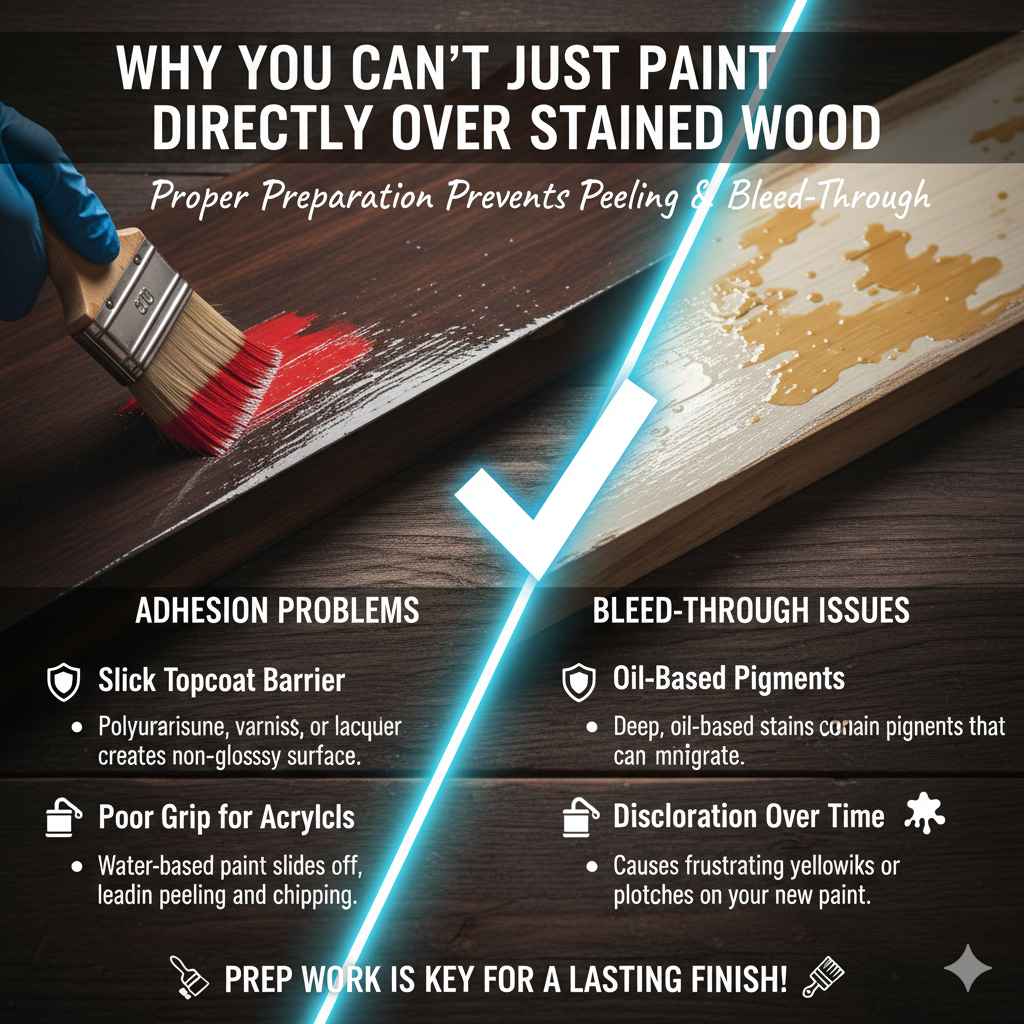
Before we grab our brushes, it’s important to understand why we can’t just slap a coat of acrylic paint directly onto a stained piece of furniture. If you try, you’ll likely end up with a peeling, chipping mess in a few months. The problem usually isn’t the stain itself, but what’s on top of it.
Most stained wood is sealed with a protective topcoat like polyurethane, varnish, or lacquer. This topcoat creates a smooth, non-porous, and often glossy surface. Think of it like a thin layer of plastic protecting the wood. Acrylic paint, which is water-based, has a very hard time gripping onto this slick surface. It needs something to hold onto, a quality called “adhesion.”
Additionally, some deep, oil-based stains contain pigments that can slowly seep through water-based paint over time, a frustrating issue called “bleed-through.” This can cause yellowish or pinkish splotches to appear on your beautiful new paint job. Proper preparation solves both of these problems, ensuring your paint sticks tight and the color stays true.
Understanding the Key Players: Stain, Sealer, and Acrylic Paint
To get the best results, it helps to know a little about the materials you’re working with. It’s super simple when you break it down.
What is Wood Stain?
Wood stain is not a paint. Instead of sitting on top of the wood, it soaks into the wood fibers to change their color. It’s designed to enhance the natural wood grain, not hide it. Stains come in two main types:
- Oil-Based Stains: These soak deep into the wood and have a rich color. They take longer to dry.
- Water-Based Stains: These dry much faster and have less odor, but they don’t penetrate as deeply as oil-based stains.
The stain itself isn’t the main barrier for your paint, but its color can be a challenge if you don’t block it properly.
What is a Sealer or Topcoat?
This is the clear, protective layer applied over the stain. It’s the real gatekeeper you need to deal with. The topcoat seals the stain in and protects the wood from moisture, scratches, and wear. Common types include polyurethane, varnish, and lacquer. This layer is what makes the surface hard and slick, preventing your new paint from sticking.
What is Acrylic Paint?
Acrylic paint is a fantastic choice for furniture projects. It’s a water-based paint, which means it dries quickly, has low fumes, and is easy to clean up with just soap and water. It comes in a huge range of colors and sheens, from flat matte to high gloss. However, as we’ve learned, it needs a properly prepared surface to bond to for a lasting finish.
Your Essential Toolkit: Gathering Your Supplies
Having all your tools ready before you start makes any project go smoother. You don’t need a lot of expensive equipment for this job. Here’s a simple checklist of what you’ll need.
- Safety First:
Gloves to protect your hands.
A dust mask for sanding.
Safety glasses to protect your eyes.
- Cleaning Supplies:
A good degreasing cleaner. Trisodium Phosphate (TSP) is a powerful choice, but a simple solution of warm water and dish soap can work for less grimy pieces.
Clean, lint-free rags or cloths.
A bucket for your cleaning solution.
- Sanding Supplies:
Medium-grit sandpaper (120 to 150-grit) for the initial scuffing.
Fine-grit sandpaper (220-grit) for smoothing the primer.
A sanding block or an electric orbital sander to make the job easier and more even.
A tack cloth or a damp rag for wiping away dust.
Priming & Painting Supplies:
A high-quality bonding primer. A stain-blocking formula is your best friend here!
Your choice of acrylic paint (latex or acrylic enamel for furniture is great).
Good quality paintbrushes (an angled brush is great for corners and details).
Small foam rollers for a smooth finish on flat surfaces.
Paint trays.
- Finishing Touch (Highly Recommended):
A clear, water-based topcoat like Polycrylic to protect your finished paint job.
The Step-by-Step Guide to Painting Over Stained Wood
Ready to transform your furniture? Just follow these simple steps. Don’t rush the prep work—it’s the most important part of the whole process and guarantees a beautiful result.
Find a well-ventilated area to work in, like a garage with the door open or even outside on a calm, clear day. Good airflow is important, especially when cleaning and priming. The Environmental Protection Agency (EPA) emphasizes the importance of ventilation to reduce exposure to fumes. Lay down drop cloths to protect your floors from drips and dust.Step 2: Clean the Wood Thoroughly
This step is non-negotiable! Over the years, furniture collects a layer of dust, grease, oils from our hands, and residue from cleaning sprays. Paint cannot stick to grime. Mix your cleaner (like TSP or soapy water) according to the directions. Dip a clean rag in the solution, wring it out, and scrub down the entire piece. Get into all the nooks and crannies. Afterward, wipe the surface with a separate rag dampened with clean water to remove any soap residue. Let the piece dry completely.Step 3: Scuff Sand the Surface
Now it’s time to sand. Remember, your goal is not to remove the old stain or finish completely. You are simply “scuffing” the surface to remove the gloss and create a slightly rough texture for the primer to grip onto. This texture is often called a “tooth.” Use your 120 or 150-grit sandpaper and sand in the direction of the wood grain. The entire surface should look dull and feel slightly rough when you’re done. If you see any shiny spots, go over them again gently.Step 4: Wipe Away All the Dust
Sanding creates a lot of fine dust. If you paint over this dust, you’ll get a gritty, bumpy finish. Use a vacuum with a brush attachment to remove most of the dust. Then, follow up with a tack cloth or a slightly damp, lint-free rag to wipe down every surface one last time. Make sure the piece is perfectly clean and dust-free before moving on.Step 5: Apply a High-Quality Primer
Primer is the magic that makes this whole project work. It does two critical jobs: it sticks to the old surface, and it provides the perfect surface for your new paint to stick to. It also blocks any old stain from bleeding through your new color. Using a high-quality stain-blocking primer is the key to success. Apply a thin, even coat of primer with a brush or roller. Don’t try to get perfect coverage in one coat. Let it dry completely according to the can’s instructions—don’t rush this!Step 6: Lightly Sand the Primer (Optional but Recommended)
For an ultra-smooth, professional-looking finish, give the dried primer a very light sanding with your fine-grit (220-grit) sandpaper. This will knock down any small bumps or brush strokes in the primer, creating a perfect canvas for your paint. Be gentle—you only want to smooth it, not remove it. Wipe away the dust with your tack cloth again.Step 7: Apply Your Acrylic Paint
This is the fun part! Your piece is prepped and ready for its new color. Stir your acrylic paint well. Apply your first coat in a thin, even layer. Two or three thin coats are always better than one thick, gloppy coat. A thick coat can lead to drips and takes much longer to cure properly. Let the first coat dry completely before applying the next. Check the paint can for recommended drying times between coats.Once your final coat of paint is fully dry, it’s a great idea to add a protective topcoat. This is especially important for high-traffic items like tabletops, chairs, or dressers that will see a lot of use. A water-based clear coat like Polycrylic is easy to apply, dries clear, and won’t yellow over time. Apply two or three thin coats, letting each one dry in between, for a durable finish that will protect your hard work for years.
Choosing the Right Primer: Your Secret Weapon
The success of your project truly hinges on choosing the right primer. With so many options at the hardware store, it can feel overwhelming. Let’s break down the main types so you can pick the perfect one for your job.
Why Primer is Non-Negotiable
As we’ve discussed, primer is the bridge between the old surface and the new paint. It solves two major problems:
- Adhesion: It is specially formulated to stick to difficult surfaces (like a sealed stain) and create a surface that paint loves to stick to.
- Stain-Blocking: It creates a barrier that stops tannins from the wood and pigments from the old stain from leaching through and discoloring your new paint.
Types of Primer for Stained Wood
Here’s a look at the three main types of primer you might consider for painting over stained wood. Each has its strengths, so you can choose based on your specific project and comfort level.
| Primer Type | Best For | Cleanup | Pros | Cons |
|---|---|---|---|---|
| Water-Based (Latex) Primer | General projects, light-colored stains, pieces in good condition. | Soap & Water | Low odor, fast-drying, easy to use and clean. | May not be strong enough to block very dark or stubborn stains like cherry or mahogany. |
| Oil-Based Primer | Oily woods like pine, dark stains, pieces with heavy bleed-through potential. | Mineral Spirits | Excellent adhesion, fantastic at blocking tough stains and wood tannins. | Strong fumes, requires mineral spirits for cleanup, longer dry time. |
| Shellac-Based Primer | The toughest jobs: severe stains, smoke or water damage, sealing wood knots, blocking strong odors. | Denatured Alcohol | The ultimate stain and odor blocker, sticks to almost anything, dries very fast. | Very strong fumes (requires excellent ventilation), brittle finish, requires special cleanup. |
For most beginner projects involving stained wood, a high-quality water-based bonding and stain-blocking primer or an oil-based primer is a fantastic choice. They offer a great balance of performance and ease of use.
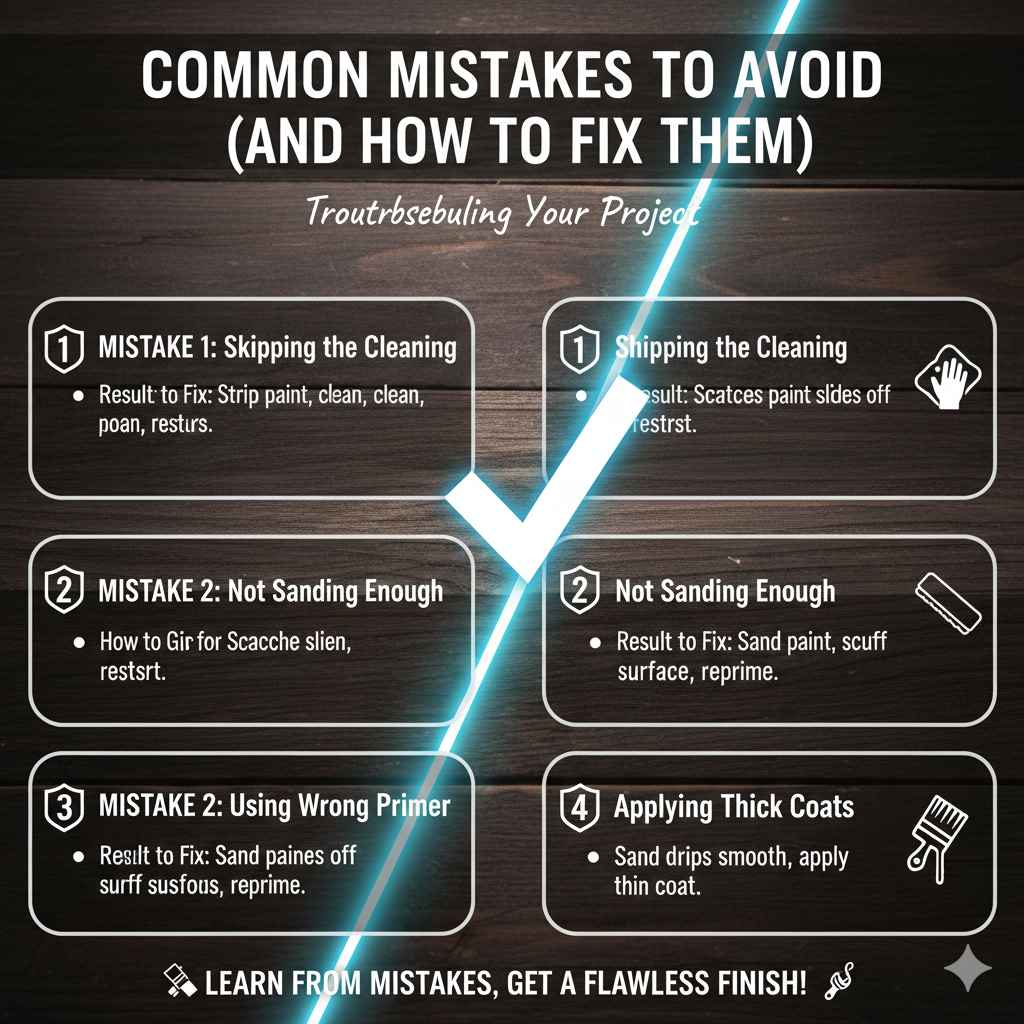
Common Mistakes to Avoid (And How to Fix Them)
Even with the best instructions, mistakes can happen. The good news is that most are easily avoidable or fixable. Here are a few common pitfalls to watch out for.
-
Mistake 1: Skipping the Cleaning. You’re excited to start painting and decide to skip the “boring” cleaning step.Result: The paint sticks to the grime instead of the wood, leading to peeling and chipping later on.
How to Fix: Unfortunately, the only real fix is to strip or sand the peeling paint off, clean the surface properly, and start over. -
Mistake 2: Not Sanding Enough (or at all). You give the piece a quick wipe with sandpaper but leave lots of shiny spots.Result: The primer and paint don’t have anything to grip, so the finish scratches off easily.
How to Fix: If you catch it early, you can sand the new paint off, scuff the surface properly, and re-prime and repaint. -
Mistake 3: Using the Wrong Primer (or No Primer). You use a regular wall primer or just a “paint-and-primer-in-one” product.Result: The old dark stain color starts to seep through your new light paint, creating ugly splotches.
How to Fix: You don’t have to strip it! You can apply a coat of a true stain-blocking primer (like oil-based or shellac) right over the bled-through paint. Let it dry, then repaint with your color. -
Mistake 4: Applying Thick Coats of Paint. You try to get full coverage in one go by laying the paint on really thick.Result: The paint sags and drips, takes forever to dry, and creates an uneven, bumpy texture.
How to Fix: Wait for the thick coat to dry completely. Sand the drips and bumps smooth with fine-grit sandpaper, wipe away the dust, and then apply another thin, even coat.
Frequently Asked Questions (FAQ)
1. Do I absolutely have to sand before painting over stain?
Yes, sanding is a critical step. You don’t need to sand down to bare wood, but you must “scuff sand” the surface to remove the gloss from the topcoat. This creates a rough texture that allows the primer to grip firmly. Skipping this step is the most common reason for paint peeling.
2. What kind of acrylic paint is best for furniture?
Look for a high-quality acrylic latex paint or an acrylic enamel. These are formulated to be more durable and create a harder finish that can stand up to the wear and tear furniture endures. Many brands offer lines specifically for cabinets and furniture.
3. Can I use chalk paint instead of acrylic?
Yes, you can. Chalk paint is famous for its ability to adhere well with minimal prep. However, for the most durable, long-lasting finish on a previously stained and sealed piece, it is still highly recommended to clean and lightly scuff sand the surface first. Chalk paint also must be sealed with a wax or topcoat to be durable.
4. How do I know if the stain is oil-based or water-based?
The topcoat is usually the more important factor, but if you want to test the stain itself (on a spot where the topcoat has worn away), you can do a simple test. Dab a small amount of denatured alcohol on a cotton ball and rub it on an inconspicuous spot. If some color comes off, it’s likely a water-based or shellac finish. If nothing comes off, it’s likely an oil-based stain with a polyurethane or varnish topcoat.
5. What’s the difference between paint “drying” and “curing”?
This is a great question! “Drying” means the water or solvents have evaporated, and the paint feels dry to the touch (usually within a few hours). “Curing” is the process of the paint hardening to its maximum durability, which can take several days or even weeks. Be gentle with your newly painted piece for the first few weeks to avoid dents or scratches while it fully cures.
6. Can I just use a paint-and-primer-in-one product?
While these products are great for painting over previously painted walls, they are not the best choice for painting over a sealed, stained surface. They do not have the powerful adhesion and stain-blocking properties of a dedicated, standalone primer. For a job like this, always use a separate primer.
7. How long should I wait between coats of paint?
Always check the instructions on the paint can, as times can vary by brand and environment (humidity and temperature matter). Generally, you should wait at least 2 to 4 hours between coats of acrylic paint. Rushing this can cause the new coat to pull up the still-soft coat underneath.
Conclusion: Go Ahead and Paint!
So, can you paint over stained wood with acrylic paint? The answer is a resounding YES! That dated wooden furniture you’ve been wanting to change doesn’t have to stay that way. With the right preparation, you can confidently give it a vibrant new life with a beautiful coat of acrylic paint.
Remember the simple but powerful mantra: Clean, Sand, and Prime. These three steps are the foundation of a durable, professional-looking finish that won’t chip, peel, or let old stains ruin your hard work. It might seem like a lot of prep, but taking your time here will save you headaches down the road and reward you with a piece you can be proud of for years to come.
Now you have the knowledge and the step-by-step plan to tackle this project. So grab that old dresser or those dated kitchen cabinets, gather your supplies, and get ready to create something amazing. You’ve got this!