Can You Polyurethane Over Acrylic Paint: Ultimate Guide for Protection
Yes, you absolutely can apply polyurethane over acrylic paint for a durable, protective finish! This guide walks you through everything you need to know, making your DIY projects shine safely and beautifully.
Can You Polyurethane Over Acrylic Paint? Your Ultimate Guide for Protection
Hey there, fellow DIY enthusiasts and home improvers! Md Meraj here, ready to dive into a question I get asked a lot: Can I put polyurethane over acrylic paint? The short answer is a resounding YES! It’s a fantastic way to add a protective layer to your painted projects, giving them that extra bit of durability and shine. Think of it like giving your beautiful acrylic paint job a tough, clear superhero cape.
Whether you’re revamping an old dresser, adding a splash of color to your kitchen cabinets, or creating a unique piece of art, understanding how to properly finish your work is key. Acrylic paints are wonderfully versatile, but they can sometimes be a bit delicate. That’s where polyurethane comes in. It’s like a trusty sidekick, ready to guard your creation against everyday wear and tear, moisture, and even those accidental spills.
Why Polyurethane Over Acrylic Paint? The Benefits
So, why go through the extra step of adding polyurethane? Let’s break down the awesome benefits:
- Durability: Polyurethane creates a hard, protective film that’s much more resistant to scratches, scuffs, and chips than acrylic paint alone. This is especially important for high-traffic items like tables, chairs, or doors.
- Water Resistance: It seals the surface, making it less susceptible to moisture damage. This is a big plus for pieces that might encounter splashes, like bathroom vanities or kitchen counters.
- UV Protection: Many polyurethanes contain UV inhibitors that help prevent the underlying paint from fading when exposed to sunlight.
- Enhanced Appearance: Polyurethane can add a lovely sheen, from a subtle satin to a high-gloss finish, which can really make your painted colors pop.
- Easier Cleaning: A polyurethaned surface is typically smoother and easier to wipe clean with a damp cloth.
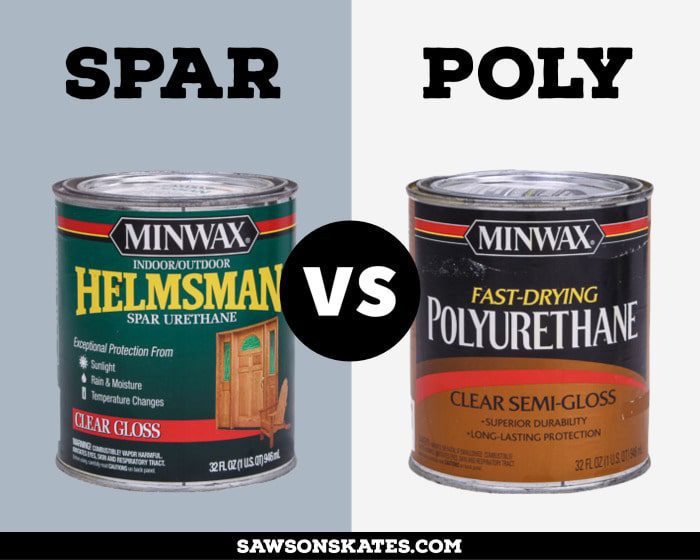
Choosing the Right Polyurethane: Oil-Based vs. Water-Based
When you head to the hardware store, you’ll see two main types of polyurethane: oil-based and water-based. Each has its own pros and cons, and the best choice often depends on your project and personal preference.
| Feature | Oil-Based Polyurethane | Water-Based Polyurethane (also called Polycrylic or Polyurethane for Latex Paint) |
|---|---|---|
| Durability & Hardness | Generally considered more durable and provides a harder finish. | Very durable, but might be slightly less hard than oil-based. Modern water-based formulas are excellent. |
| Yellowing Tendency | Can yellow over time, especially in low-light areas. This can add a warm, amber tone to lighter colors. | Dries crystal clear and will not yellow over time. Ideal for white or very light-colored paints. |
| Drying Time | Slower drying time, usually 24 hours between coats. | Dries much faster, often 2-4 hours between coats. |
| Odor | Strong odor, requires good ventilation. Needs mineral spirits for cleanup. | Low odor, easier cleanup with soap and water. |
| Application | Can be more forgiving to apply, may self-level better. | Can sometimes show brush strokes if not applied carefully. |
For most DIY projects involving acrylic paint, especially if you’re using lighter colors or want a perfectly clear finish, a high-quality water-based polyurethane (often labeled as polyurethane for latex paint or polycrylic) is usually the best bet. It’s easier to work with, dries quickly, and won’t alter the color of your paint.
How to Apply Polyurethane Over Acrylic Paint: Step-by-Step
Getting that smooth, protective finish is all about preparation and technique. Don’t worry, it’s not as daunting as it sounds! Follow these steps, and you’ll be golden:
-
Prepare Your Painted Surface
This is crucial! Ensure your acrylic paint is completely dry and cured. Check the paint can for its recommended drying and curing times – curing can take several days or even weeks. The surface should also be clean and free of dust, grease, or any debris. A gentle wipe-down with a tack cloth or a slightly damp, lint-free cloth works wonders.
-
Lightly Sand (Optional but Recommended)
For the best adhesion, a very light sanding can make a big difference. Use a fine-grit sandpaper (220-grit or higher) or a fine sanding sponge. The goal isn’t to remove the paint, but to create a slightly tooth surface for the polyurethane to grip onto. After sanding, wipe away all dust with a tack cloth.
-
Stir, Don’t Shake!
This is a common mistake! Shaking polyurethane introduces air bubbles, which can lead to an uneven finish. Gently stir the polyurethane with a stir stick, making sure to get to the bottom of the can. If you see any foam on the surface, let it sit for a few minutes to dissipate.
-
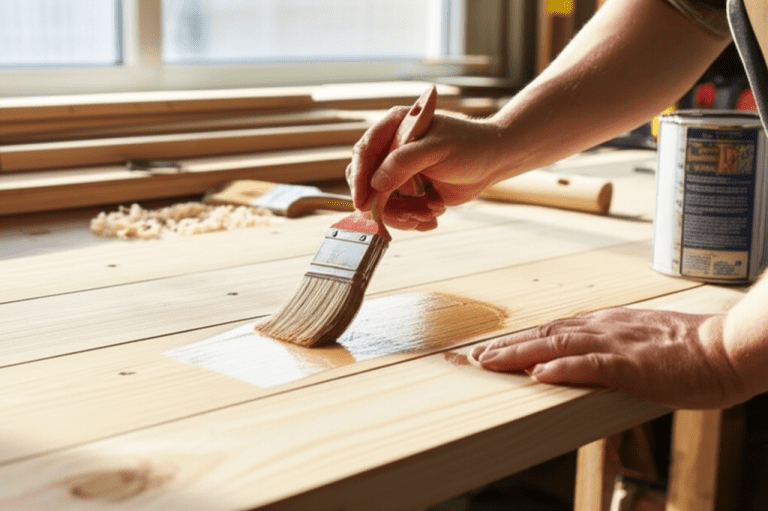
Apply the First Coat
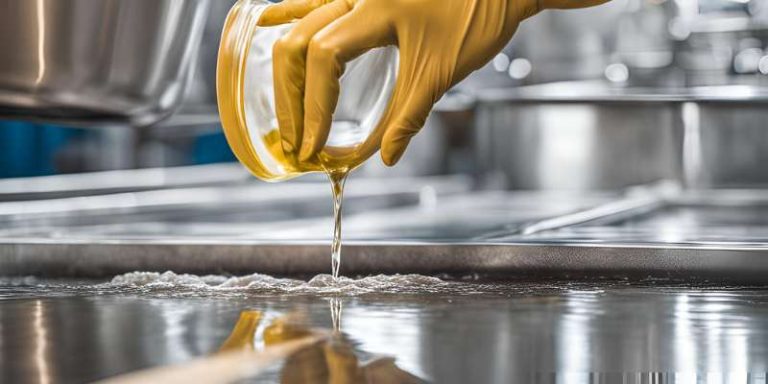
Use a good quality synthetic bristle brush or a foam brush for water-based polyurethane. For oil-based, a natural bristle brush is often recommended. Apply a thin, even coat. Work in the direction of your brush strokes on the paint. Avoid overworking the product or applying it too thickly, as this can lead to drips and an uneven finish.
-
Allow to Dry
Let the first coat dry completely according to the manufacturer’s instructions. This is usually a few hours for water-based and longer for oil-based.
-
Lightly Sand Between Coats
Once the coat is dry, lightly sand the surface again with your fine-grit sandpaper (220-grit or higher). This step smooths out any imperfections, removes any dust nibs that may have settled, and helps the next coat adhere better. Wipe away all dust thoroughly with a tack cloth.
-
Apply Subsequent Coats
Apply two to three more thin, even coats, following the same process: apply, dry, and lightly sand between each coat. Most projects will benefit from at least three coats for optimal protection.
-
Final Curing
While the finish will be dry to the touch after a few hours, polyurethane takes time to fully cure and reach its maximum hardness. This can take anywhere from 7 to 30 days, depending on the product and environmental conditions. During this time, be gentle with your project to avoid damage.
Tips for a Flawless Finish
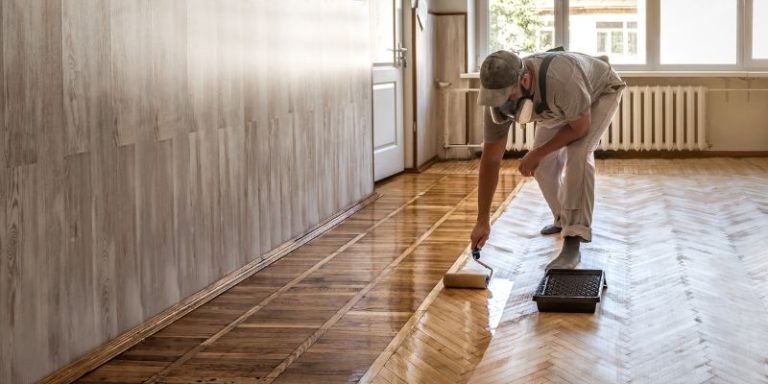
- Ventilation is Key: Always work in a well-ventilated area, especially with oil-based polyurethane. Open windows and doors, or work outdoors if possible.
- Temperature Matters: Avoid applying polyurethane in extreme temperatures or high humidity. Check the product label for recommended application temperatures.
- Test First: If you’re unsure, test your chosen polyurethane on a scrap piece of wood painted with the same acrylic paint. This helps you see how it looks and performs.
- Keep It Clean: Dust is your enemy! Keep your work area as clean as possible.
- Thin Coats are Better: Resist the urge to slap on a thick coat. Thin, even coats build up to a superior finish.
Frequently Asked Questions (FAQs)
Q: Can I use a spray polyurethane over acrylic paint?
A: Yes, spray polyurethane is a great option for a smooth, even finish, especially on intricate items. Make sure to follow the can’s instructions, apply in thin, even coats, and work in a well-ventilated area.
Q: Will polyurethane change the color of my acrylic paint?
A: Water-based polyurethane dries clear and won’t change the color. Oil-based polyurethane can impart a slight amber or yellowish hue, especially over lighter colors, giving it a warmer tone.
Q: How many coats of polyurethane do I need?
A: For most projects, 3 coats are recommended for good durability. High-traffic areas or surfaces prone to wear might benefit from 4 or more coats.
Q: What is the difference between polyurethane and polycrylic?
A: Polycrylic is a type of water-based polyurethane. It’s known for drying clear and having low odor, making it a popular choice for DIYers working with acrylic or latex paints.
Conclusion: Protect Your Masterpiece!
So there you have it! Applying polyurethane over acrylic paint is a fantastic and achievable way to enhance the beauty and longevity of your DIY projects. By understanding the differences between oil-based and water-based options and following a few simple preparation and application steps, you can confidently add a durable, protective, and beautiful finish to your creations. Don’t be afraid to experiment and enjoy the process – your hard work deserves to be protected!