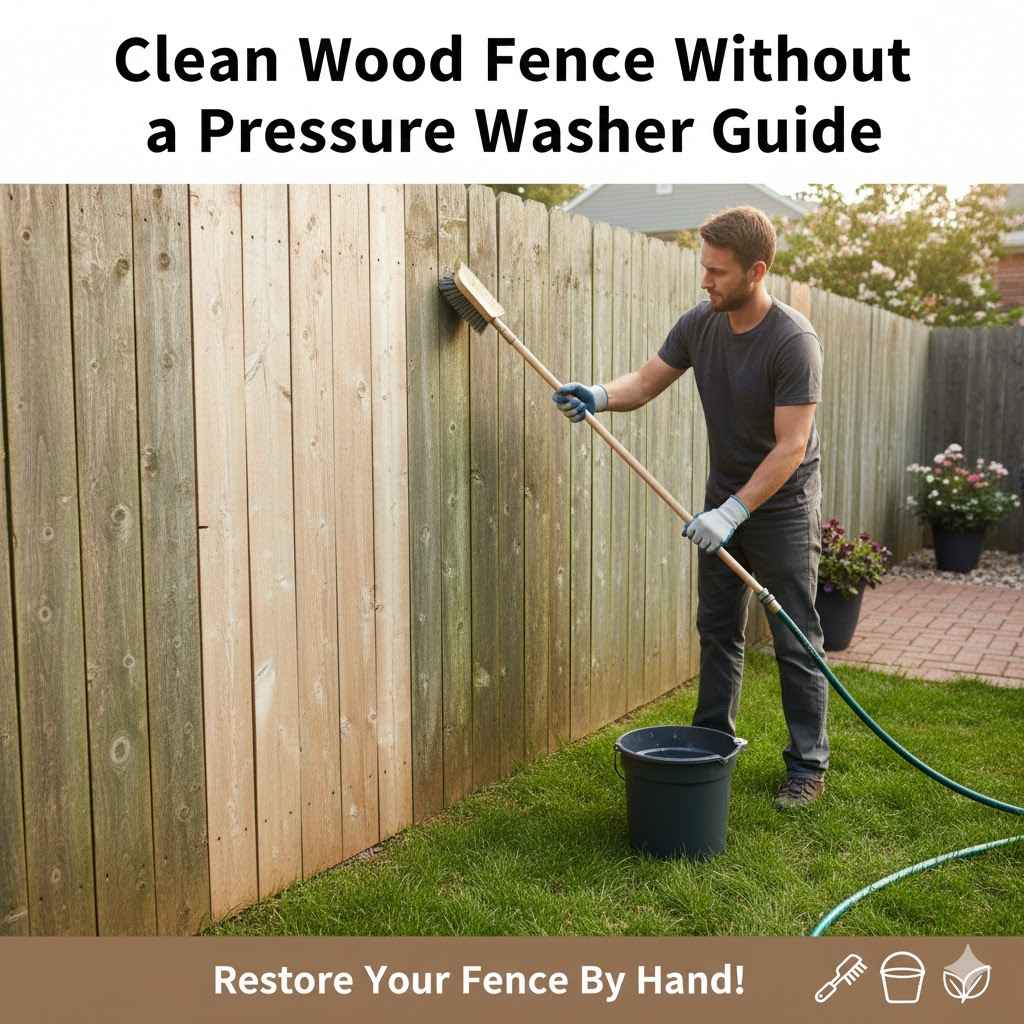
Clean Wood Fence Without a Pressure Washer Guide
Lots of folks want to get their wooden fences looking great again, but the idea of using a pressure washer can seem a bit scary. You might worry about damaging the wood, or maybe you just don’t have one handy. That’s perfectly okay.
This guide will show you simple, easy ways to get that clean wood fence without a pressure washer. We’ll walk through it step by step so you can have a beautiful fence with stuff you likely already own.
Easy Steps To Clean Wood Fence Without Pressure Washer
Cleaning a wooden fence can seem tough, especially when you’re trying to avoid harsh tools like pressure washers. Many people worry about the damage high-powered water jets can cause to the wood’s grain and structure. It’s a common concern for those who want to refresh their fence’s look but are new to this kind of DIY project.
This section will break down the process into simple, manageable steps. You’ll learn how to prepare your fence, choose the right cleaning solutions, and apply them effectively. The goal is to achieve a clean, revitalized fence without risking harm, making the task accessible and successful for everyone.
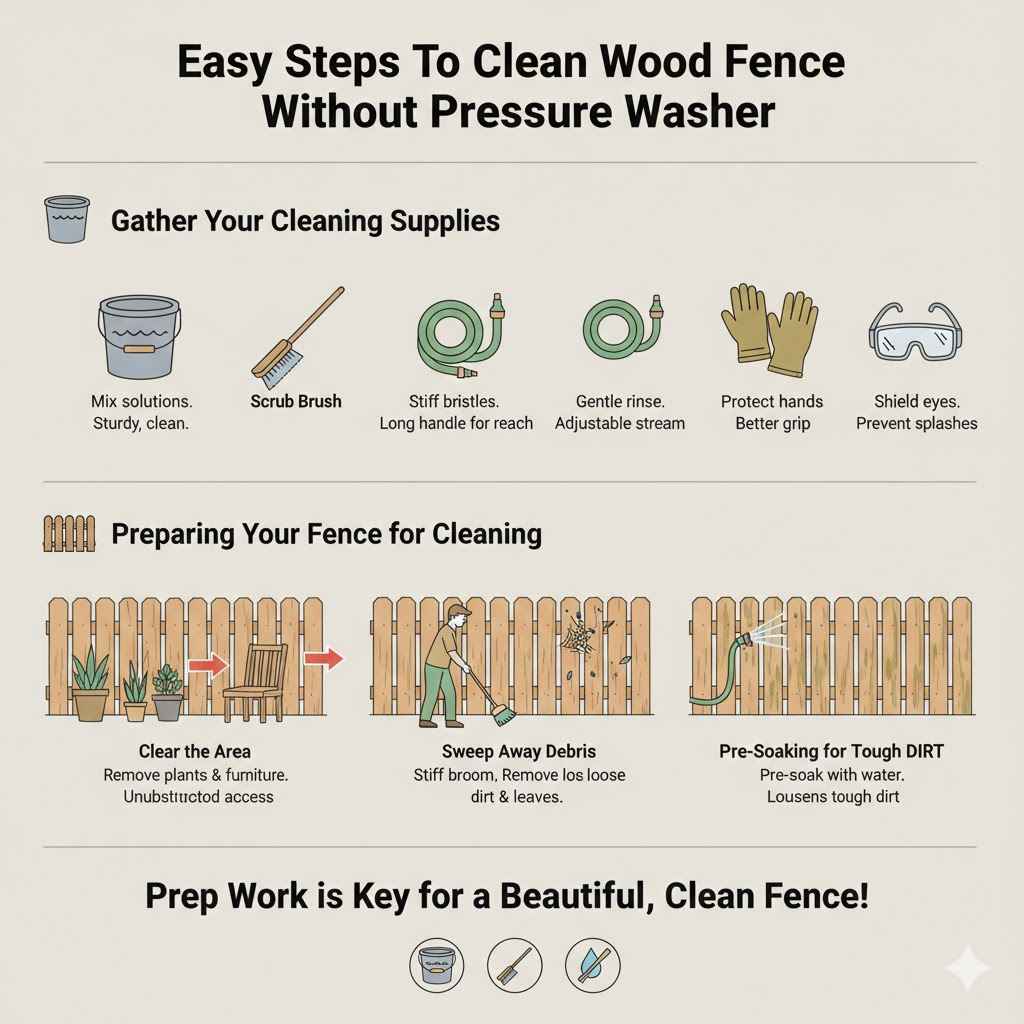
Gather Your Cleaning Supplies
Before you start cleaning, it’s important to have all your tools and materials ready. This makes the whole process much smoother and more efficient. You won’t have to stop halfway through to look for something you forgot.
Having everything at hand ensures you can follow the steps in order and tackle the cleaning job without interruptions. This preparation is key to a successful and stress-free project.
Bucket: You’ll need a sturdy bucket to mix your cleaning solutions. A five-gallon bucket is usually a good size. It should be large enough to hold enough solution for a decent section of your fence, and strong enough that it won’t crack or leak when you’re carrying it around. Make sure it’s clean before you start, so you don’t add any unwanted dirt or debris to your fence.
Scrub Brush: A stiff-bristled scrub brush is essential for lifting dirt and grime from the wood. Look for one with bristles that are firm enough to scrub effectively but not so stiff that they will scratch the wood. A brush with a long handle can be very helpful for reaching higher sections of the fence without straining yourself. You might also consider a smaller hand brush for detailed areas or stubborn spots.
Hose with Spray Nozzle: A regular garden hose with an adjustable spray nozzle is perfect for rinsing. You don’t need high pressure; a gentle stream or shower setting is all you need. This allows you to control the water flow and rinse away the cleaning solution and loosened dirt without being too harsh on the wood. Make sure your hose reaches all areas of the fence you plan to clean.
Gloves: Protect your hands from the cleaning solutions and any rough wood surfaces. Work gloves are ideal. They offer protection and a better grip on your tools. They also prevent your skin from drying out or becoming irritated by the cleaning agents you will be using. Consider wearing old clothes as well, as cleaning can sometimes be messy.
Safety Glasses: It’s always a good idea to wear safety glasses to protect your eyes from any splashes of cleaning solution or flying debris. Your eyes are very sensitive, and even a small amount of cleaning solution can cause irritation or injury. Wearing them ensures that your vision remains safe throughout the entire cleaning process.
Preparing Your Fence for Cleaning
Before you apply any cleaning solution to your fence, taking a few minutes to prepare it will make a big difference. This involves clearing away any obstacles and doing a quick sweep. It ensures that your cleaning efforts are focused directly on the fence itself.
Proper prep work prevents you from having to clean around garden decorations or re-clean areas where debris has fallen. This thoughtful preparation sets you up for a more effective and efficient cleaning experience.
Clear the Area: Remove any plants, furniture, or garden decorations that are close to the fence. This gives you unobstructed access to the entire fence surface. It also protects your belongings from accidental splashes of cleaning solution. You’ll be able to move freely and scrub every part of the fence without awkward maneuvering.
Sweep Away Debris: Use a stiff broom to sweep away loose dirt, leaves, cobwebs, and any other surface debris. This initial cleaning removes material that could otherwise turn into mud when wet. It also prevents you from scrubbing embedded dirt, making your main cleaning task easier. A quick sweep makes a noticeable difference before you even get to the wet cleaning stage.
Choosing Your Cleaning Solutions
Selecting the right cleaning solution is vital for effectively cleaning your wood fence without causing damage. Many common household items can be surprisingly effective. The key is to use solutions that can break down dirt, mold, and mildew without stripping the wood’s natural oils or causing discoloration.
This section explores various cleaning agents, from mild to slightly stronger, all safe for wood when used correctly. We’ll guide you on how to choose the best option for your fence’s condition and what you have available.
Mild Cleaning Solution for General Grime
For most general cleaning needs, a simple, mild solution is often all that’s required. This approach is best for fences that are just a bit dirty from everyday exposure to the elements. It’s also a good starting point if you’re unsure about the condition of your wood.
Using a mild solution is less likely to harm the wood or surrounding plants. It’s a gentle yet effective way to lift away surface dirt and light mildew, restoring a cleaner appearance.
Water and Mild Dish Soap: This is your go-to for light cleaning. Mix a few tablespoons of mild dish soap (like Dawn or a similar gentle brand) into a bucket of warm water. This solution is effective at breaking down grease and light dirt without being harsh. The soap helps to lift grime from the wood surface, making it easier to scrub away.
Application Method: Dip your scrub brush into the soapy water, scrub the fence in manageable sections, and then rinse thoroughly with a hose on a gentle setting. Work from top to bottom. This ensures that dirt and soap suds are washed down and away. Don’t let the soapy water dry on the wood, as it can leave a residue.
Benefits: This method is very affordable, uses readily available materials, and is environmentally friendly. It’s also safe for most types of wood and won’t damage nearby plants if you rinse them well afterward. It’s a great way to maintain your fence’s appearance regularly.
Stronger Solution for Mildew and Tough Stains
When your fence shows signs of mildew, algae, or stubborn stains, a slightly stronger cleaning solution might be necessary. These problems are common, especially in damp or shaded areas, and can make a fence look quite worn. The right solution can tackle these issues effectively, revitalizing the wood’s natural color.
However, it’s important to use these stronger solutions with care to avoid damaging the wood.
Water and White Vinegar: A mixture of one part white vinegar to one part water is excellent for tackling mold and mildew. Vinegar is a natural disinfectant and a mild acid that can break down these organic growths. It also helps to neutralize odors. This solution is stronger than soap but still relatively gentle on wood compared to bleach.
Application Method: Apply the vinegar solution with your scrub brush. Let it sit for about 10-15 minutes to work on the mildew. Then, scrub the affected areas vigorously and rinse thoroughly with clean water. Ensure all vinegar solution is washed off, as prolonged contact can affect the wood.
Water and Oxygen Bleach: For more persistent mildew and stains, a solution of oxygen bleach (like OxiClean) and water can be very effective. Follow the package instructions for mixing. Oxygen bleach is color-safe and generally considered less harsh than chlorine bleach on wood. It works by releasing oxygen that breaks down stains and organic matter.
Application Method: Mix the oxygen bleach according to the product’s directions. Apply it to the fence with your brush or a garden sprayer. Let it sit for the time recommended on the package, typically 15-30 minutes. Scrub any remaining stains and then rinse the fence completely with a hose.
Using Bleach Safely (When Necessary)
Chlorine bleach can be a powerful tool for killing stubborn mold and mildew, but it must be used with extreme caution on wood. It can weaken wood fibers and lighten the wood’s color unevenly if not diluted properly or rinsed thoroughly. Therefore, it’s usually a last resort and should only be considered for heavily infested areas after other methods have failed.
Always prioritize gentler options first.
Dilution is Key: Never use straight bleach. A common ratio is one part chlorine bleach to three parts water. For instance, if you’re using a gallon bucket, put in a quart of bleach and three quarts of water. Too much bleach can cause irreversible damage.
Test a Small Area: Before treating the entire fence, test the diluted bleach solution on an inconspicuous spot. This helps you see how the wood reacts to the solution. Wait to see if there’s any discoloration or damage before proceeding. This is a crucial step in preventing widespread problems.
Application and Rinsing: Apply the diluted bleach solution with a brush or sponge, working in small sections. Allow it to sit for only 5-10 minutes. Scrub gently if needed, and then rinse the area immediately and thoroughly with plenty of clean water. Prolonged contact with bleach can degrade wood fibers.
Protect Surroundings: Bleach can harm plants and grass. Wet down any nearby vegetation with plain water before and after applying bleach, and rinse them thoroughly to dilute any bleach that might splash on them. You might also consider covering delicate plants with plastic sheeting.
The Cleaning Process Step By Step
Now that you’ve got your cleaning solutions ready, it’s time to get down to the actual cleaning. This process involves careful application and scrubbing, followed by thorough rinsing. We’ll break it down into simple steps to ensure you achieve a great result.
Following these steps will help you work efficiently and effectively. This approach ensures that you get the best possible clean for your wood fence without any issues.
Step 1 Applying the Cleaning Solution
The first active step in cleaning your fence is applying the chosen solution. This needs to be done evenly to ensure consistent cleaning. You want to wet the surface thoroughly but without creating excessive runoff.
The way you apply the solution can greatly impact how well it works and how easy the next steps will be. A good application means the cleaner can start breaking down the dirt and grime from the moment it touches the wood.
Dip and Scrub: Dip your scrub brush into your prepared cleaning solution. Don’t saturate the brush completely, just enough to hold a good amount of liquid. You want the brush to be wet, not dripping everywhere.
Work in Sections: Apply the solution to the fence by scrubbing in small, manageable sections. This ensures that the cleaner has enough contact time with the wood. It also prevents the solution from drying out before you can scrub it. Aim for a consistent application across each section.
Consistent Application: Make sure you apply the solution evenly over the surface of the wood. Don’t miss spots or apply too heavily in one area. This evenness is crucial for achieving a uniform clean. You’ll see the difference as you move from one well-cleaned section to the next.
Step 2 Scrubbing the Fence
Scrubbing is where the actual cleaning power comes from. It’s the physical action that loosens and lifts the dirt, mold, and mildew from the wood’s surface. The technique you use here is as important as the solution itself.
You need to apply enough pressure to do the job but avoid being so aggressive that you damage the wood. Gentle yet firm scrubbing is the goal for the best results.
Follow the Grain: Always scrub in the direction of the wood grain. This helps to lift dirt more effectively and prevents the bristles from causing splintering or damage. Scrubbing against the grain can leave unwanted marks or roughen the wood’s surface.
Apply Moderate Pressure: Use firm but not excessive pressure. You want to feel the brush working, but you shouldn’t be forcing it into the wood. If the wood feels like it’s being gouged or splintered, you’re pressing too hard. Adjust your pressure as needed for different parts of the fence.
Address Stubborn Areas: For areas with heavy mildew or tough stains, you may need to scrub a little longer or more vigorously. Reapply solution to these spots if they start to dry out. Sometimes a second pass with the brush is all that’s needed.
Step 3 Rinsing the Fence
Rinsing is a critical step to remove all the loosened dirt and cleaning solution from the fence. If you don’t rinse thoroughly, the dirt can resettle, and cleaning residue can be left behind, leading to streaks or discoloration. Using a hose with a gentle spray setting is ideal.
It allows you to wash away everything without being too harsh on the wood. A good rinse ensures a clean finish.
Gentle Water Flow: Use your garden hose with a spray nozzle set to a gentle shower or mist setting. Avoid using a high-pressure jet, as this can damage the wood. The aim is to wash away the residue, not to blast it.
Work From Top to Bottom: Start rinsing from the top of the fence and work your way down. This allows the water to carry the dirt and cleaning solution downwards, preventing streaks. Ensure all areas are covered.
Thorough Rinsing: Spend enough time rinsing to ensure all traces of the cleaning solution are gone. You might need to rinse the same section multiple times. Check for any remaining suds or dirt. A clean rinse is vital for the final look of your fence.
Step 4 Drying and Inspection
Once the fence is rinsed, it needs to dry completely. This is the final stage before you can assess the results. Proper drying allows you to see the true outcome of your hard work.
It’s also the perfect time to inspect for any spots you might have missed or areas that need a little extra attention. This inspection ensures you’re satisfied with the clean and can plan any further steps if necessary.
Allow Natural Drying: Let the fence air dry completely. This usually takes several hours, depending on the weather conditions like humidity and sunlight. Avoid touching or leaning anything against the fence while it’s still wet.
Inspect for Missed Spots: Once dry, walk along the fence and carefully inspect it. Look for any remaining dirt, mildew, or discoloration. Note any areas that might need a touch-up cleaning.
Touch-Up Cleaning: If you find any spots that didn’t come clean, you can repeat the scrubbing and rinsing process on just those areas. Use the same cleaning solution and technique you used before. This ensures a uniform clean across the entire fence.
Post-Cleaning Care and Maintenance
After you’ve successfully cleaned your wood fence, taking a few steps for aftercare will help maintain its fresh look. This involves protecting the wood and setting up a routine for future cleanings. Proper care ensures your fence stays looking good for longer, saving you time and effort down the line.
This maintenance is key to preserving the beauty and integrity of your wooden fence.
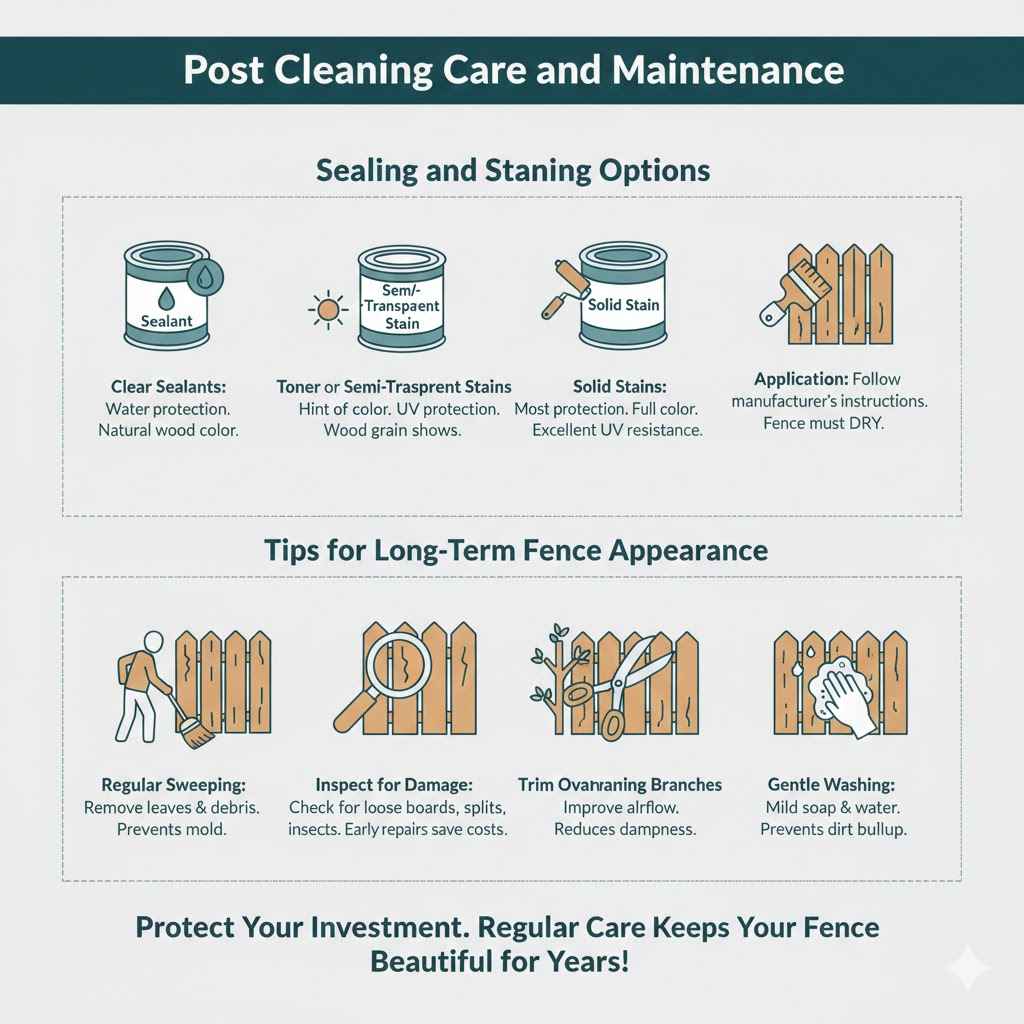
Sealing and Staining Options
Once your fence is clean and dry, you might consider sealing or staining it. This not only enhances its appearance but also protects it from the elements. Sealing helps to repel water, preventing rot and mildew from returning quickly.
Staining can add color and UV protection, further extending the life of your fence. There are many options available, so choosing the right one depends on your desired look and level of protection.
Clear Sealants: These provide water protection without altering the wood’s natural color. They offer a barrier against moisture, which is a primary cause of rot and mildew. Clear sealants are a good choice if you like the natural look of your wood and want to preserve it.
Toner or Semi-Transparent Stains: These add a hint of color and some UV protection while still allowing the wood grain to show through. They offer a balance between protection and natural appearance. This is a popular choice for many homeowners.
Solid Stains: These offer the most protection, acting much like paint. They provide full color coverage and excellent UV resistance. Solid stains are ideal for older or unevenly colored wood where you want a uniform, opaque finish.
Application: Always apply sealants or stains according to the manufacturer’s instructions. This usually involves using a brush, roller, or sprayer. Ensure the fence is completely dry before applying any finish. Proper application ensures even coverage and maximum protection.
Tips for Long-Term Fence Appearance
Keeping your fence looking its best over time is about consistent, simple care. Regular light cleaning prevents the buildup of dirt and grime that can lead to bigger problems later. Addressing small issues as they arise stops them from becoming major repair jobs.
A little attention now and then will go a long way in maintaining your fence’s beauty and durability. These habits make future cleaning much easier.
Regular Sweeping: Periodically sweep your fence to remove loose leaves, dirt, and debris. This prevents moisture from being trapped against the wood, which can encourage mold and mildew growth. A quick sweep takes only a few minutes.
Inspect for Damage: Make it a habit to walk around your fence every few months and check for loose boards, split wood, or insect damage. Addressing these issues early can prevent them from worsening and becoming costly repairs.
Trim Overhanging Branches: Keep tree branches and bushes trimmed back from the fence. Overhanging foliage can cast shade, keeping the fence damp, and also drop leaves and debris onto it. Good airflow around the fence is beneficial.
Gentle Washing: If you notice minor dirt buildup or a few spots of mildew, a quick wash with a mild soap and water solution can keep the fence looking fresh. This prevents minor issues from becoming major cleaning challenges.
Frequently Asked Questions
Question: Can I clean my wood fence with just water and a brush
Answer: Yes, for very light dirt or dust, a stiff brush and plain water can sometimes be enough to remove surface grime. However, for most common issues like mildew, algae, or tougher stains, you’ll likely need a mild cleaning solution to effectively lift and remove the contaminants.
Question: How often should I clean my wood fence
Answer: It depends on your climate and location, but generally, cleaning your wood fence once a year is a good practice. If it’s in a damp, shaded area or prone to mildew, you might need to clean it more frequently, perhaps twice a year.
Question: Will vinegar damage my wood fence
Answer: When diluted with water, white vinegar is generally safe for wood fences and effective against mildew. However, it’s always best to test on a small, inconspicuous area first. Make sure to rinse thoroughly with water afterward to remove all traces of the vinegar.
Question: Can I use my regular household mop to clean the fence
Answer: While a mop might seem convenient, a stiff-bristled scrub brush is much more effective for cleaning wood fences. The brush can get into the wood grain to loosen dirt and grime. A mop’s fibers might not provide enough scrubbing power for tougher jobs.
Question: How long does it take for a wood fence to dry after cleaning
Answer: The drying time can vary significantly based on the weather. On a warm, sunny, and breezy day, your fence might dry in a few hours. However, on a humid or cloudy day, it could take a day or even longer for the wood to dry completely.
Summary
Cleaning your wood fence without a pressure washer is totally achievable. You can tackle dirt, mildew, and stains using simple household items and a good scrub brush. By preparing your fence properly, choosing the right mild cleaning solution, and working methodically through the steps of applying, scrubbing, and rinsing, you’ll restore its beauty.
Consistent care afterward will keep it looking great.