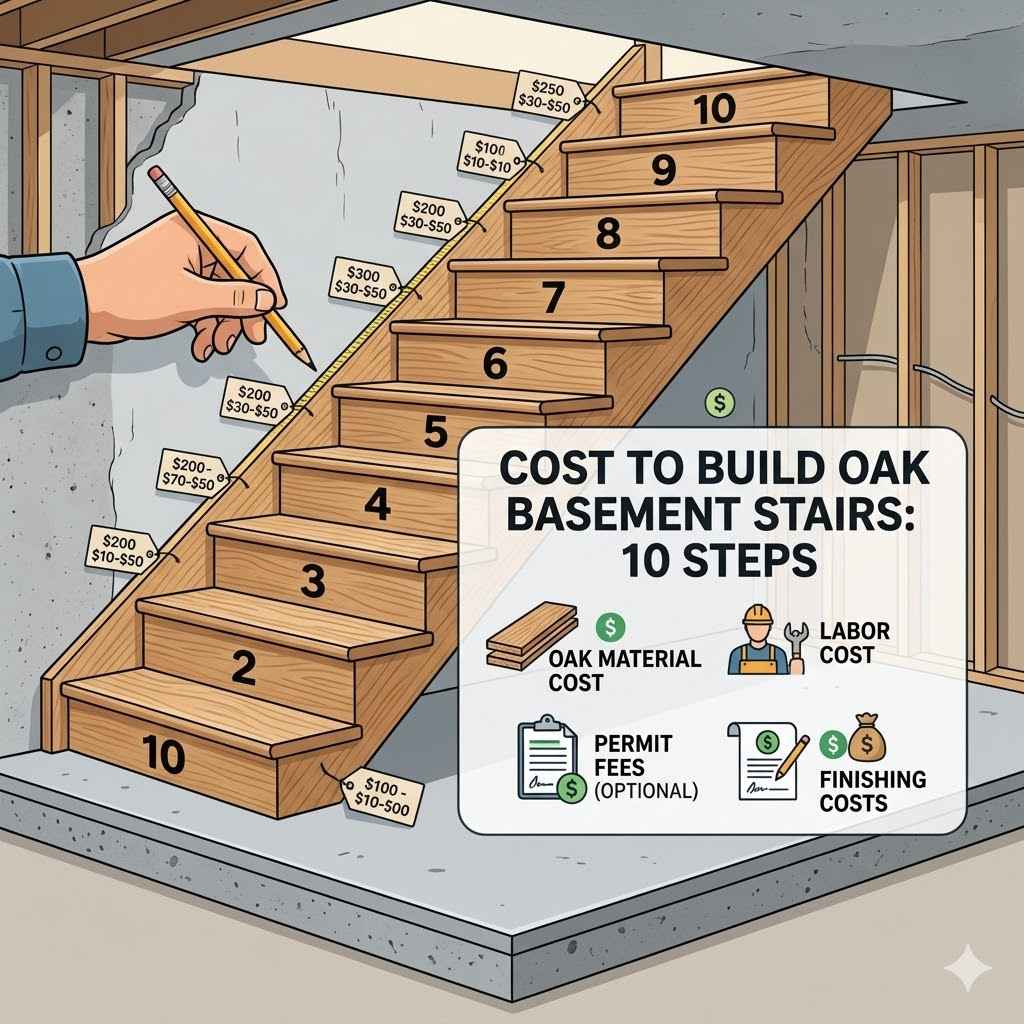
Cost to Build Oak Basement Stairs 10 Steps
Figuring out the Cost to Build Oak Basement Stairs (10 Steps) can feel a bit tricky, especially if you’re new to home projects. You might wonder about all the little costs that add up. But don’t worry!
We’re going to break it all down for you super simply. We’ll show you exactly what to expect, step by step, so you know what you’re getting into. Get ready to see how easy it can be to plan your new oak basement stairs.
Understanding Oak Basement Stair Costs
When you think about building oak basement stairs, a big part of the puzzle is knowing the price. This isn’t just about the wood; it’s about everything that goes into making safe and good-looking stairs. For beginners, this can seem like a lot to think about, with so many little pieces and decisions.
We will cover the main things that affect how much you will spend.
Factors Influencing Oak Stair Prices
Several things can make the Cost to Build Oak Basement Stairs (10 Steps) go up or down. The type of oak you pick is a big one. Red oak is usually less costly than white oak, but both look great.
Then there’s the complexity of the design. A simple straight set of stairs will cost less than stairs with a turn or landing.
The length and height of the stairs also play a role. Longer stairs need more wood and more labor to build. The finish you choose can also add to the cost.
Do you want a simple clear coat, or a custom stain that matches your home’s decor? Each choice has a price tag attached.
Materials beyond the oak itself are important too. Think about things like the wood for the stringers (the sides that hold the steps), the risers (the vertical parts), and the treads (the parts you step on). You might also need screws, nails, glue, and finishing supplies.
Don’t forget about the cost of any hardware, like railings or balusters, if you plan to add them.
Wood Grade and Species
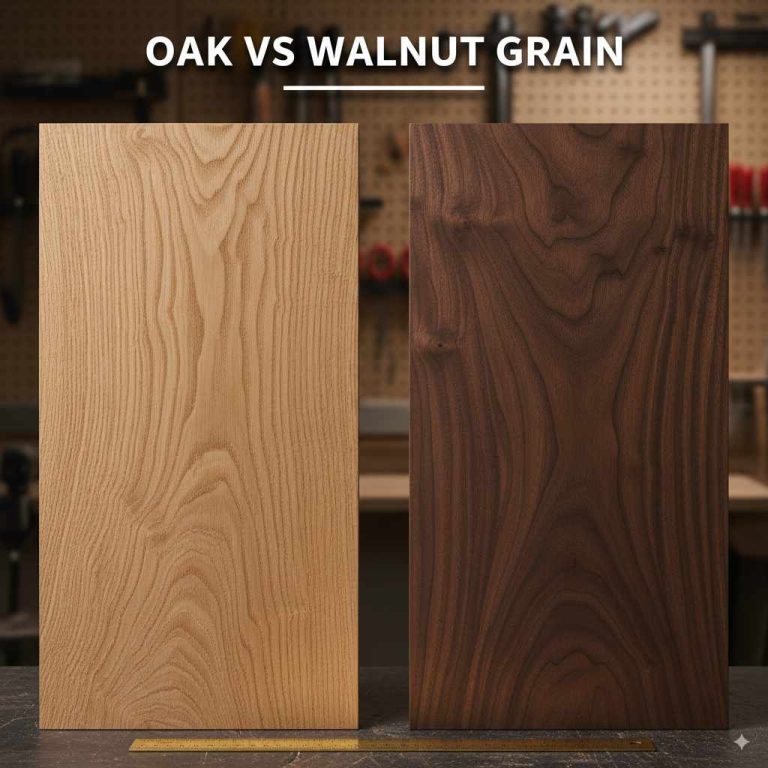
The grade of oak lumber you select makes a significant difference in price. Higher grades, like Select and Better, have fewer knots and defects, leading to a more uniform and attractive appearance, but at a higher cost. Common grades might have more character with knots, which some homeowners prefer, and are typically more budget-friendly.
For basement stairs, where appearance might be less critical than in a main living area, a common grade might be perfectly suitable and save money.
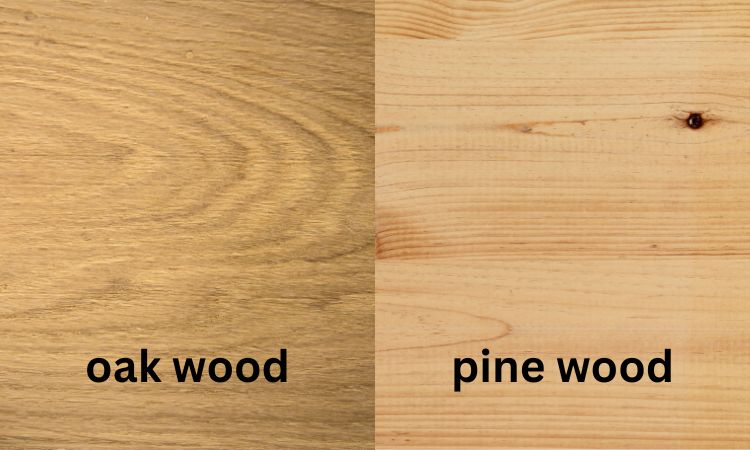
The species of oak also impacts the cost. Red oak is widely available and generally more affordable than white oak. White oak is known for its hardness, durability, and resistance to moisture and rot, making it a premium choice.
Its beautiful, light color and straight grain pattern are highly sought after. However, for many basement stair applications, red oak provides excellent value and a beautiful finish.
Example: A homeowner might compare the price of red oak treads at $20 per linear foot versus white oak treads at $35 per linear foot for a 15-foot run of stairs. This difference of $15 per foot adds up to an extra $225 for white oak, not including other materials.
Stair Design and Complexity
A basic straight run of stairs is the most straightforward and generally the least expensive to build. They require fewer cuts, less material, and less intricate joinery. This simplicity translates into lower labor costs and material waste.
Stairs with turns, such as L-shaped or U-shaped stairs, involve landings and angled cuts, increasing complexity. These require more planning, precise measurements, and often more material to accommodate the turns. The additional labor for fitting these elements also raises the overall cost.
Spiral staircases or custom-designed helical stairs are the most complex and costly. They demand specialized skills and are often built to order, significantly increasing the price due to the engineering and craftsmanship involved. For most basement renovations, straight or L-shaped stairs are the most common choices.
Length and Rise Height
The total length of your staircase directly influences the amount of lumber needed. A longer staircase will require more treads, risers, and stringers, increasing material costs. Similarly, a greater overall rise height means more steps and more material.
The “rise” of each step is the vertical distance from the top of one tread to the top of the next. Building codes typically dictate a maximum rise for each step, usually around 7 to 7.75 inches. If your basement ceiling height is greater than average, you might need more steps to stay within code, thus increasing the stair length and material needs.
The “run” of each step is the depth of the tread. Building codes also specify minimum and maximum run dimensions, typically between 10 and 11 inches. This affects the total horizontal length of the stair run.
Calculating Material Costs
To get a good estimate for the Cost to Build Oak Basement Stairs (10 Steps), you need to break down the material expenses. This involves estimating the quantity of each component needed and then finding current market prices.
Key materials include the treads (the horizontal surfaces you step on), the risers (the vertical boards between treads), and the stringers (the angled supports that the treads and risers attach to). You’ll also need fasteners like screws and glue, and potentially finishing materials like stain and sealant.
Consider the standard dimensions for stair components. Treads are often 1 inch thick, and risers are usually 3/4 inch thick. Stringers are typically made from a wider piece of lumber, like a 2×12, and are cut to accommodate the rise and run of each step.
Always buy a little extra material to account for mistakes or unforeseen issues.
Treads and Risers
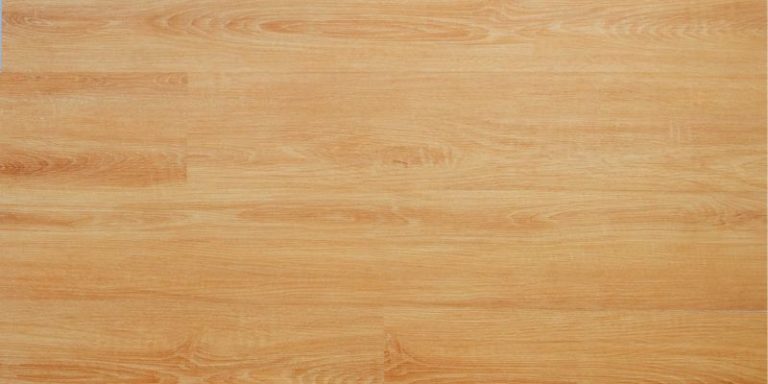
Oak treads are the most visible part of your staircase and often the most expensive component due to the quality of wood required. They need to be strong, durable, and aesthetically pleasing. Standard tread depth is typically between 10 and 11 inches, and they are usually 1 inch thick.
Risers, while less prominent, are still important for the staircase’s structure and appearance. They are usually 3/4 inch thick and fill the gap between treads. The height of each riser is determined by the total vertical rise of the stairs divided by the number of steps.
Building codes usually limit the maximum riser height to prevent tripping hazards.
When calculating costs, measure the total length of your staircase and the number of treads and risers needed. Multiply these quantities by the current price per board foot or per linear foot for oak lumber of the desired grade and species.
Example: If you need 10 treads, each 3 feet long, that’s 30 linear feet of tread material. If oak treads cost $25 per linear foot, that’s $750 for just the treads. For risers, if you need 9 risers, each 3 feet long, that’s 27 linear feet of riser material.
At $15 per linear foot for oak risers, that’s $405.
Stringers and Support Lumber
Stringers are the backbone of your staircase, providing the structural support for the treads and risers. They are typically cut from 2×12 lumber. The number of stringers needed depends on the width of the staircase; usually, two are sufficient for standard widths, with potentially a third for wider stairs or those supporting significant weight.
The cost of stringer lumber will depend on its grade and type. While oak can be used for stringers, many builders opt for a stronger, less expensive wood like fir or pine for structural components, especially if they will be hidden behind finished risers and treads. This can significantly reduce the overall material cost.
When calculating costs, determine the length of the stringer needed based on the staircase’s total run and rise. Then, multiply this length by the number of stringers required. Factor in waste from the angled cuts needed to create the step notches.
Fasteners and Finishing Supplies
Don’t overlook the smaller, but essential, costs. You’ll need strong wood screws to attach the treads and risers to the stringers. The length and type of screws will depend on the thickness of your materials.
Wood glue is also critical for creating strong, durable joints.
Finishing supplies are also a necessary expense. This includes sandpaper in various grits for smoothing the wood, a wood filler or putty for covering screw holes or minor imperfections, and your chosen finish. Options range from clear polyurethane or varnish to wood stains in a variety of colors.
The cost of these supplies might seem minor individually, but they add up. Buying in bulk or choosing cost-effective brands can help manage these expenses. For example, a gallon of good quality wood stain might cost $30-$50, and a quart of polyurethane could range from $20-$40.
Labor Costs and Installation
Labor is often the largest single expense when building any part of your home, including stairs. The Cost to Build Oak Basement Stairs (10 Steps) can vary widely based on whether you hire a professional carpenter, a general contractor, or attempt a DIY installation.
Professional installation ensures the stairs are built to code, are structurally sound, and look good. However, this comes at a premium price. A DIY approach can save money on labor, but requires significant skill, time, and the right tools.
If you’re not experienced, mistakes can be costly and even dangerous.
The complexity of the stair design also impacts labor costs. Stairs with landings, turns, or custom features will take longer to build and install, thus increasing the labor expense. A straightforward straight run is usually the most economical in terms of labor.
Professional Carpenter vs. DIY
Hiring a professional carpenter is often recommended for stair construction due to the structural integrity and safety requirements. A skilled carpenter will understand building codes, ensure proper load-bearing, and create a polished finish. Their expertise can prevent costly errors down the line.
The cost for a professional carpenter can range significantly based on location and experience. You might expect to pay anywhere from $50 to $150 per hour for their services. For a complex project, this can add up quickly.
A DIY approach means you are your own carpenter. This saves on direct labor costs, but you need to factor in the cost of tool rental or purchase, potential mistakes that require re-purchasing materials, and the value of your own time. If you have basic carpentry skills and the right tools, a DIY project can be feasible, but it’s a substantial undertaking.
Permits and Inspections
In many areas, building permits are required for structural changes like adding or altering staircases. The cost of a permit varies by municipality but can range from $100 to several hundred dollars. This fee often includes the cost of inspections to ensure the work meets local building codes.
Failing to obtain necessary permits can lead to fines, the requirement to tear out and redo work, or problems when you sell your home. It’s always best to check with your local building department before starting any project.
Inspections are crucial for safety. A building inspector will check the structural integrity, tread depth, riser height, railing stability, and overall compliance with safety standards. This ensures your new stairs are safe for use and meet legal requirements.
Estimating Total Cost
To get a clear picture of the Cost to Build Oak Basement Stairs (10 Steps), you need to combine all the individual expenses. This includes materials, labor, and any other associated fees like permits.
A good way to start is by getting quotes from several professional carpenters or contractors. This gives you a benchmark for labor costs in your area. Then, research the prices of the specific oak lumber and other materials you want to use.
Consider a price range. For a simple set of oak basement stairs, you might be looking at a total cost anywhere from $1,500 to $5,000 or more, depending heavily on the factors we’ve discussed.
Average Cost Range
The average cost for building oak basement stairs can vary greatly, but a general range often falls between $2,000 and $5,000. This estimate typically includes mid-range oak quality, standard straight stair design, and professional installation. Projects using higher-grade oak, custom designs, or complex layouts can easily push the cost above $5,000.
For a DIY project where labor costs are eliminated, the primary expenses are materials, which could range from $800 to $2,500 depending on the specifics. However, this does not account for tool acquisition or potential mistakes. Understanding this range helps in budgeting effectively.
Statistic: According to industry reports, the average cost to install a new wooden staircase in a home is between $3,000 and $6,000. Oak stairs, being a premium wood, often fall within the higher end of this spectrum.
DIY vs. Professional Cost Comparison
To illustrate the difference, let’s compare two scenarios for a standard 12-step oak staircase:
- Professional Installation: Materials might cost $1,000-$2,000. Professional labor could add $2,000-$4,000, bringing the total to $3,000-$6,000.
- DIY Project: Materials remain $1,000-$2,000. If you factor in tool rentals or purchases, this could add another $200-$500. The saving is on labor, but it requires significant time and skill. Total DIY cost might be $1,200-$2,500, but with the risk of errors.
The decision between DIY and professional installation often hinges on your budget, your woodworking skills, and the time you have available. For a project as important as stairs, safety and quality are paramount, making professional installation a wise investment for many.

The 10 Steps to Building Oak Basement Stairs
Now that we’ve looked at the costs, let’s walk through the actual process. Building oak basement stairs involves a series of steps, from planning to the final touches. This guide outlines the key stages, giving you a clear roadmap.
Each step requires careful attention to detail. Accuracy in measurements and cuts is crucial for both safety and appearance. We will explain what happens at each stage of building your new oak stairs.
Step 1 Planning and Design
This is the most critical phase. You need to determine the exact dimensions of your staircase. This includes the total vertical rise (from the basement floor to the main floor), the total horizontal run (the space the stairs will occupy on the floor), and the width of the stairs.
Consult local building codes for requirements regarding riser height, tread depth, and stair width. These codes are in place to ensure safety. A typical riser height is around 7 inches, and a tread run is about 10-11 inches.
Stair width is often a minimum of 36 inches.
Sketch out your design. Will it be a straight run, or will it have a landing or turn? Consider the headroom clearance at the top and bottom of the stairs.
Ensure there’s enough space for doors to open without obstruction.
Measuring the Space Accurately
Begin by measuring the height from the finished basement floor to the finished main floor. This is your total rise. Then, estimate the total run needed.
This will depend on the rise per step and the desired tread depth. A formula often used is 2 x Rise + Run = 24 to 25 inches, which is comfortable for most people to walk on.
Measure the width of the intended stair opening. Ensure this width accommodates your desired stair width plus any necessary wall space. Double-check all measurements at least twice.
It’s better to measure more than once to avoid costly mistakes.
Consulting Building Codes
Building codes are essential for safety and legal compliance. They dictate the maximum riser height (e.g., 7.75 inches), minimum tread depth (e.g., 10 inches), and minimum stair width (e.g., 36 inches). Codes also cover railing height and baluster spacing (e.g., balusters must be spaced so a 4-inch sphere cannot pass through).
Familiarize yourself with your local building department’s specific requirements. Websites for your city or county building department often have this information available. Understanding these rules upfront prevents costly rework later.
Step 2 Creating a Cut List
Once you have your measurements and design, you can create a detailed cut list for all the lumber you’ll need. This list specifies the exact dimensions for each component of the staircase.
Key components include the treads, risers, and stringers. You’ll also need material for any railings, balusters, or newel posts if you plan to include them.
Having a precise cut list helps minimize material waste and ensures that all the pieces fit together correctly. It also forms the basis for purchasing your lumber.
Calculating Stringer Dimensions
Stringers are the notched boards that support the treads and risers. To calculate their dimensions, you’ll use the total rise, total run, and the rise and run of each individual step. This involves some trigonometry or using a framing square designed for stair building.
For example, if your total rise is 108 inches and you want each riser to be 7 inches high, you’ll have 108 / 7 = approximately 15.4 steps. You’ll likely round this to 15 steps, meaning each riser will be 108 / 15 = 7.2 inches high. The run of each step will then be determined based on your desired comfort ratio (e.g., 2R + Run = ~25).
Determining Tread and Riser Sizes
Treads are typically 1 inch thick and range from 10 to 11 inches deep. Risers are usually 3/4 inch thick. The length of each tread and riser will match the width of your staircase.
Remember to account for the thickness of the riser when calculating the tread depth to ensure the total run of each step is consistent.
For instance, if you have a 36-inch wide staircase, each tread and riser will be 36 inches long. If you’re using oak, ensure you purchase enough board footage to cover all treads and risers, plus a bit extra for any mistakes.
Step 3 Purchasing Materials
With your cut list in hand, it’s time to buy your lumber and other supplies. It’s often best to purchase all your lumber at once to ensure consistency in color and grain. Visit a reputable lumber yard for the best selection and quality.
Beyond oak for treads and risers, you’ll need lumber for stringers, possibly railings, and any support structures. Don’t forget screws, wood glue, sandpaper, and finishing products.
Consider the grade of oak carefully. For visible treads, a higher grade (like Select or FAS) will provide a smoother, more uniform look. For less visible parts like risers or stringers (if not oak), a common grade may suffice and save money.
Selecting Quality Oak Lumber
When selecting oak lumber, look for boards that are straight, with minimal warping, twisting, or cupping. Check for a consistent grain pattern if a uniform look is desired. Inspect for any significant knots, cracks, or other defects that could compromise the strength or appearance of the finished stairs.
Ask about the moisture content of the lumber. Kiln-dried lumber is generally preferred as it is more stable and less likely to shrink or expand after installation. Lumber with a moisture content between 6-8% is ideal for interior use.
Gathering Tools and Hardware
Essential tools for building stairs include a tape measure, a carpenter’s pencil, a circular saw or miter saw for precise cuts, a jigsaw for cutting notches in stringers, a drill/driver, a level, a speed square or stair gauge, and safety glasses. You may also need a router for easing edges or creating a profile on treads, and a sander.
Hardware includes wood screws specifically designed for structural applications, wood glue, and possibly stair clips or brackets for attaching stringers to the floor joists. If you are installing a railing system, you will need newel posts, balusters, and handrail material.
Step 4 Cutting the Stringers
This is a foundational step. Stringers are the long, notched boards that form the sides of the staircase. They need to be cut precisely to create the correct rise and run for each step.
Use your calculated dimensions and a framing square or stair gauge to mark the cuts on your lumber. Accuracy here is paramount, as any errors will affect the alignment and stability of the entire staircase. Often, one stringer is cut first, and then used as a template for the others to ensure consistency.
Using a Stair Gauge or Framing Square
A stair gauge is a specialized tool that attaches to a framing square, allowing you to easily mark consistent rise and run measurements for your stringer notches. Set the gauge to your desired rise and run, then run it along the edge of your board, marking each step’s cut line.
Alternatively, you can use a standard framing square and a tape measure. Mark the rise on one edge of the square and the run on the other. Position the square along the edge of your stringer board and draw the cut lines.
Repeat this process for every step.
Making Precise Saw Cuts
Once the lines are marked, use a circular saw or a jigsaw to make the cuts. For the notches, it’s often easiest to make a series of straight cuts to remove the waste wood, then clean up the corners with a chisel or a handsaw. Ensure your blade is sharp for clean cuts that will make fitting the treads easier.
It is common to cut a slight angle (known as a kick) on the bottom of the stringer where it meets the floor to ensure it sits flush. Also, ensure the top of the stringer is cut to sit snugly against the header joist or rim joist at the top.
Step 5 Installing the Stringers
With the stringers cut, it’s time to secure them in place. This involves attaching them firmly to the header joist (at the top) and the subfloor or foundation (at the bottom).
Ensure the stringers are plumb and level, and that they are spaced correctly according to your staircase’s width. If using two stringers, they should be parallel and set in from the edges of the treads by about 1/2 inch on each side. This allows for the treads to overhang slightly.
Attaching to Header Joists
At the top, the stringers should be securely fastened to the floor joists of the upper level. This often involves toenailing or using metal joist hangers. Ensure the connection is strong enough to support the weight of the stairs and anyone using them.
The stringers should be positioned so that the top step is flush with the finished floor of the upper level. This might require trimming the very top of the stringer to meet the header perfectly.
Securing to the Floor
At the bottom, stringers can be attached to the subfloor, a concrete slab, or a specially built landing. You might need to cut a notch or use a stair bracket to create a secure connection that prevents the stringers from shifting. Ensure the bottom of the stringers rest on a solid, level surface.
If your basement floor is concrete, you may need to use concrete anchors or a wooden sill plate attached to the floor to provide a secure mounting point for the stringers.
Step 6 Cutting and Fitting Treads
Now you’ll cut the oak treads to their final dimensions. Measure the width of your staircase and the depth of your desired tread overhang. The treads should fit snugly between the stringers, with a slight overhang at the front edge for a finished look.
It’s best to cut treads slightly longer than needed and then trim them to fit perfectly once they are placed. This accounts for any slight variations in the stringer notches.
Miter Cuts for Overhang
A professional look often involves a slight overhang of the tread past the riser. This can be achieved with simple square cuts, or for a more refined look, with miter cuts at the ends of the treads if they are exposed or if you want a specific corner detail.
The most common method is a simple straight cut for the tread to rest on the stringer notches. The front edge of the tread will then extend beyond the face of the riser. Ensure this overhang is consistent on all steps.
Attaching Treads
Apply a generous amount of wood glue to the stringer notches where the tread will sit. Place the tread onto the notches, ensuring it’s flush with the front of the stringer and has the desired overhang at the front. Secure the tread with screws driven from the top into the stringers.
Countersink the screws and fill the holes with wood filler for a seamless finish.
Some builders also add an apron or skirt board to the side of the staircase, covering the stringers for a cleaner appearance. This requires careful measurement and attachment.
Step 7 Cutting and Fitting Risers
Risers are the vertical boards that fit between the treads. They add a finished look and prevent items from falling through the stair opening. They are typically made from 3/4-inch thick oak.
Cut each riser to the exact width of the staircase. The height should correspond to the rise of each step. It’s important that the risers fit snugly against the back of the tread above and the top of the tread below.
Securing Risers
Apply wood glue to the back of the riser and to the edge of the tread below. Position the riser, ensuring it is square and flush. Secure it by driving screws from the front into the back of the tread below, and also from the back into the stringer and the riser of the step below it.
Again, countersink screws and fill holes.
Make sure the riser is tight against the bottom of the tread above it to prevent any squeaking or movement. This connection is crucial for the stair’s durability.
Step 8 Installing Railings and Balusters
Once the treads and risers are in place, it’s time to install the handrail system. This is a critical safety feature and a significant aesthetic element of your staircase.
This typically involves attaching newel posts, which are the main support posts for the railing. Then, the handrail is attached to the newel posts and any wall-mounted brackets. Finally, balusters (the vertical spindles) are installed between the treads and the handrail.
Attaching Newel Posts
Newel posts are usually installed at the beginning and end of the staircase, and sometimes at turns or landings. They are typically secured to the subfloor or the framing with lag bolts or specialized hardware to ensure they are very stable. They must be plumb and straight.
The placement of newel posts is guided by the design of the railing system and building codes. They form the main structural support for the entire handrail assembly.
Fitting Balusters and Handrails
Balusters are spaced according to code to prevent small children from falling through. They can be attached directly to the treads and the underside of the handrail, or sometimes to a rail along the bottom. Ensure they are plumb and securely fastened.
The handrail should be at a consistent height (usually 34-38 inches above the nose of the tread) and easy to grip. It should be securely fastened to the newel posts and any wall brackets. Test the entire system for stability by applying firm pressure.
Step 9 Sanding and Finishing
With the structure complete, the next step is to prepare the wood for finishing. This involves thorough sanding to smooth out any rough spots, remove pencil marks, and prepare the surface for stain or sealant.
Start with a coarser grit sandpaper (e.g., 80 or 100 grit) to remove any imperfections and level the surfaces. Progress to finer grits (e.g., 150, 180, and finally 220 grit) to achieve a smooth, polished finish.
Preparing Surfaces
Wipe down the entire staircase with a tack cloth or a damp rag after each sanding stage to remove all dust. This is crucial for a clean finish. Fill any screw holes or small imperfections with wood filler that matches the color of the oak.
Allow the filler to dry completely before proceeding with sanding.
Pay attention to the edges and corners, ensuring they are smooth to the touch. For a truly professional look, you might consider using a random orbital sander for large surfaces and a detail sander for tight areas.
Applying Stain and Sealant
Choose your desired stain color and apply it evenly according to the manufacturer’s instructions. Allow the stain to dry completely. If you want a darker or richer color, you may need to apply a second coat.
Once the stain is dry, apply several coats of a durable protective finish, such as polyurethane or a water-based sealant. This will protect the wood from wear and tear, spills, and moisture. Lightly sand between coats with a very fine grit (320 or higher) and wipe with a tack cloth for a smooth, durable finish.
Step 10 Final Inspection and Cleanup
The final step is to conduct a thorough inspection of the entire staircase. Check for any loose screws, uneven finishes, or sharp edges. Ensure all components are securely fastened and stable.
Also, take this time to clean up the work area. Remove any sawdust, tools, and leftover materials. A clean space makes the new stairs stand out and provides a safe environment.
Checking for Stability and Safety
Walk up and down the stairs several times, paying attention to any squeaks or wobbles. Test the handrail by applying firm pressure in various places. Ensure all balusters are firmly attached and meet code requirements for spacing.
Confirm that the rise and run of each step are consistent. Any irregularities could be a tripping hazard. Double-check that there are no protruding nails or screws that could snag clothing or cause injury.
Cleanup and Enjoyment
Dispose of or store any leftover materials and tools properly. Sweep and vacuum the area thoroughly to remove all dust and debris. The result of your hard work is a beautiful, functional, and safe set of oak basement stairs.
Take pride in your accomplishment! These stairs will not only improve the access to your basement but also add significant value and aesthetic appeal to your home.

Frequently Asked Questions
Question: How much does it typically cost to build oak basement stairs?
Answer: The cost can range from $1,500 to $5,000 or more. This depends on oak grade, design complexity, length, and whether you hire professionals or do it yourself.
Question: What are the main factors affecting the price of oak basement stairs?
Answer: Key factors include the type and grade of oak, the complexity of the stair design (straight vs. turns), the total length and height, and labor costs for installation.
Question: Is it cheaper to build oak basement stairs myself?
Answer: Doing it yourself saves on labor costs, potentially cutting the total price in half. However, you need the right tools, skills, and significant time. Mistakes can also increase material costs.
Question: What is the most expensive part of building oak basement stairs?
Answer: The oak lumber for the treads is often the most expensive material due to its quality and appearance requirements. Professional labor costs can also be a significant portion of the total price.
Question: Do I need a building permit for basement stairs?
Answer: In most areas, yes, a building permit is required for structural changes like adding or altering staircases. It’s best to check with your local building department for specific requirements.
Summary
The Cost to Build Oak Basement Stairs (10 Steps) involves careful planning, material selection, and precise execution. By understanding material costs, labor rates, and following each step diligently, you can achieve beautiful and safe stairs. Oak provides lasting value and elegance, making the investment worthwhile for your home.