How Is Track Lighting Load In Residences Calculated: Essential Guide
Quick Summary: Calculating track lighting load in residences involves adding up the wattage of all fixtures on the track and multiplying by the number of tracks. This total wattage, expressed in volt-amperes (VA), determines the required circuit capacity to ensure safe and efficient operation without overloading your home’s electrical system.
Ever looked at a sleek track lighting system and wondered how much power it actually uses? It’s a common question for DIYers and homeowners planning renovations. You want that modern look, but you also need to make sure your home’s electrical system can handle it. Don’t worry, figuring out the load isn’t as complicated as it sounds! We’ll break it down step-by-step, so you can confidently plan your lighting projects. Let’s make sure your beautiful new lights shine bright without any electrical headaches.
Understanding Track Lighting Load
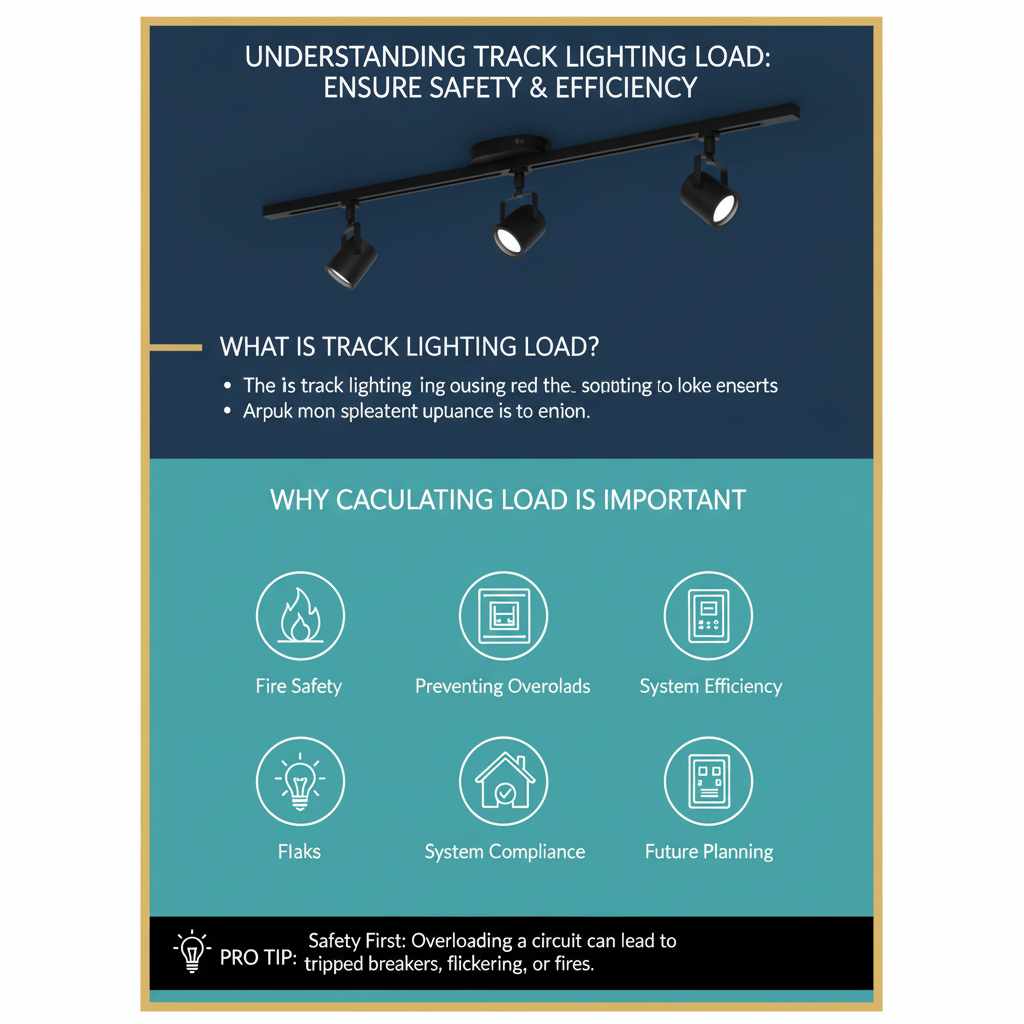
When we talk about “track lighting load,” we’re essentially talking about the total amount of electrical power that your track lighting system will draw from your home’s circuits. Think of it like this: every light bulb or fixture has a certain appetite for electricity, measured in watts. When you add up the “appetite” of all the fixtures on a single track, and then consider how many tracks you’re installing, you get the total load. This is crucial information for electricians and for you, as a homeowner, to ensure your home’s wiring is up to the task. Overloading a circuit can lead to tripped breakers, flickering lights, or even more serious safety issues. So, getting this calculation right is a key step in any lighting project.
Why Calculating Load is Important
Safety is always the top priority when working with electricity. Every electrical circuit in your home has a maximum capacity, usually rated in amperes (amps). If the total “load” of your appliances and lights exceeds this capacity, the circuit breaker trips to prevent overheating and potential fires. For track lighting, especially if you plan on using many powerful fixtures or multiple tracks, understanding the load is essential for:
- Preventing Overloads: Ensures you don’t exceed the circuit’s capacity.
- Fire Safety: Reduces the risk of electrical fires caused by overheating wires.
- System Efficiency: Guarantees your lights operate at their intended brightness without dimming due to insufficient power.
- Compliance: Helps meet electrical code requirements for safe installations.
- Future Planning: Allows you to understand if your existing electrical panel can handle the new load or if upgrades are needed.
Components of Track Lighting Load
Before we dive into the calculation, let’s understand what contributes to the load. It’s not just the bulbs themselves; other factors can play a role, though for typical residential track lighting, the primary contributor is the wattage of the light sources.
1. Light Fixtures (Heads)
These are the individual lights that attach to the track. Each fixture houses a bulb or an integrated LED module. The power consumption of each fixture is usually indicated by its wattage (W).
2. Integrated LED Modules
Many modern track lights use integrated LEDs, meaning the light source is built directly into the fixture. These are often more energy-efficient than traditional bulbs. Their wattage is typically listed directly on the fixture or in its specifications.
3. Ballasts and Transformers (Less Common in Modern Residential Systems)
Older track lighting systems might have used incandescent, halogen, or low-voltage bulbs that required a transformer or ballast to regulate the power. While less common now with LED technology, if your system uses these, their power consumption would also need to be factored in. However, for most new residential installations, you can focus on the fixture’s stated wattage.
Step-by-Step Guide to Calculating Track Lighting Load
Calculating the load for your track lighting system is straightforward. We’ll break it down into simple steps. You’ll need a few pieces of information, which are usually readily available.
Step 1: Identify the Wattage of Each Fixture
This is the most crucial piece of information. You’ll need to find the wattage rating for each individual track light fixture you plan to use. This information can usually be found:
- On the fixture itself (often on a sticker or imprinted on the base).
- In the product’s packaging or manual.
- On the manufacturer’s website or product listing if you’re buying online.
Example: Let’s say you have 5 track light fixtures.
- Fixture 1: 10W LED
- Fixture 2: 10W LED
- Fixture 3: 15W LED
- Fixture 4: 15W LED
- Fixture 5: 12W LED
Step 2: Sum the Wattage for One Track
Once you have the wattage for each fixture, add them all up to find the total wattage for a single track. If you have multiple identical tracks, you can calculate the load for one and then multiply.
Calculation: 10W + 10W + 15W + 15W + 12W = 62 Watts per track.
Step 3: Calculate the Total Load for All Tracks
If you are installing more than one track, multiply the total wattage per track by the number of tracks you are installing.
Example: If you are installing 2 identical tracks:
62 Watts per track 2 tracks = 124 Watts total load.
Step 4: Convert Watts to Volt-Amperes (VA)
In electrical calculations, especially when dealing with AC power, it’s standard practice to use Volt-Amperes (VA) for load calculations, particularly when dealing with circuits and circuit breakers. For purely resistive loads (like most simple LED bulbs), Watts and VA are often very close. However, for a more precise calculation, especially if there are any inductive or capacitive components (less common in simple LED track lights but good practice to be aware of), the conversion is important. For residential lighting, a common approach is to assume a power factor close to 1. This means Watts is often used interchangeably with VA for simplicity in many DIY contexts, but understanding the distinction is good.
Formula: VA = Watts / Power Factor
For most modern LED lighting, the power factor is very high, often 0.9 or above. For practical residential purposes, and especially for beginner-friendly guides, we can often approximate VA ≈ Watts, or use a conservative power factor of 0.9 if we want to be slightly more precise and account for potential inefficiencies.
Calculation (using VA ≈ Watts for simplicity): 124 Watts ≈ 124 VA
Calculation (using a power factor of 0.9): 124 Watts / 0.9 ≈ 137.8 VA
For most home DIY calculations, using the total wattage as your VA figure is acceptable and will give you a safe estimate. If you are unsure or dealing with complex fixtures, always consult a qualified electrician.
Step 5: Determine the Circuit Requirement
Now that you have your total load in VA, you need to compare it to the capacity of the electrical circuit that will power the track lighting. Standard household circuits are typically 15-amp or 20-amp breakers.
The formula to calculate the total amperage a circuit can handle is:
Amps = VA / Volts
In the United States, standard household voltage is 120V.
Calculation (using 124 VA and 120V):
Amps = 124 VA / 120V ≈ 1.03 Amps
This calculation tells you how much of the circuit’s capacity your track lighting will use. A 15-amp circuit can handle approximately 1800 VA (15A 120V), and a 20-amp circuit can handle approximately 2400 VA (20A 120V).
Important Note on Continuous Load: Electrical codes often recommend that circuits not be loaded beyond 80% of their capacity for continuous loads (loads that run for 3 hours or more). For lighting, this is a good safety margin to maintain. So, for a 15A circuit, you’d aim to use no more than 12A (15A 0.8 = 12A), which translates to about 1440 VA (12A 120V).
In our example, 1.03 amps is a very small load, well within the capacity of a standard 15-amp or 20-amp circuit. This means that for this specific setup, you likely won’t need a dedicated circuit unless other significant loads are already on the same circuit.
Example Scenarios
Let’s look at a couple more examples to solidify your understanding.
Scenario 1: Small Accent Lighting
You want to install one 4-foot track with 3 LED spotlights, each rated at 8W.
- Wattage per fixture: 8W
- Number of fixtures: 3
- Total wattage per track: 8W 3 = 24W
- Total VA (assuming VA ≈ Watts): 24 VA
- Amperage: 24 VA / 120V = 0.2 Amps
Conclusion: This load is extremely low and can easily be added to an existing general lighting circuit. You would still need to ensure the total load on that circuit (including the new track lights) doesn’t exceed 80% of 15A or 20A.
Scenario 2: Multiple Tracks with Brighter Lights
You’re planning a kitchen renovation and want two 8-foot tracks, each with 6 LED spotlights, each rated at 20W.
- Wattage per fixture: 20W
- Number of fixtures per track: 6
- Total wattage per track: 20W 6 = 120W
- Number of tracks: 2
- Total wattage for all tracks: 120W 2 = 240W
- Total VA (assuming VA ≈ Watts): 240 VA
- Amperage: 240 VA / 120V = 2 Amps
Conclusion: This is still a relatively low load for your home’s electrical system. Two amps is minimal. However, if these tracks are in the kitchen, you need to consider other kitchen appliances that might share a circuit. It’s often wise to dedicate circuits to specific task lighting in kitchens to avoid nuisance tripping.
Scenario 3: High-Power Track Lighting
You want to install a long 10-foot track with 8 high-output LED fixtures, each rated at 50W, in a retail space or a very large room.
- Wattage per fixture: 50W
- Number of fixtures: 8
- Total wattage per track: 50W 8 = 400W
- Total VA (assuming VA ≈ Watts): 400 VA
- Amperage: 400 VA / 120V = 3.33 Amps
Conclusion: Even with higher wattage fixtures, the load is still manageable. However, for a single track with 400W, it’s good practice to consider placing it on its own circuit, especially if you plan to use it for extended periods, to adhere to the 80% rule for continuous loads (400W is about 3.33A, well below the 9.6A 80% limit for a 15A circuit, or 16A for a 20A circuit). This ensures longevity and prevents potential issues.
Tools and Resources
To help you with your track lighting calculations and installation, here are some useful tools and resources:
- Product Manuals and Specifications: Always refer to the manufacturer’s documentation for exact wattage and installation guidelines.
- Electrical Tape Measure: For measuring track length and planning fixture placement.
- Calculator: For performing the wattage and amperage calculations.
- Voltage Tester (Non-Contact): Crucial for safety when working with electrical wiring. Always ensure power is off before touching wires.
- National Electrical Code (NEC): For understanding the official safety standards and requirements. While complex, understanding basic principles can be beneficial. You can find information on the NFPA website, which publishes the NEC.
- Local Building Department: For any specific local electrical codes or permit requirements.
Factors Affecting Load Calculation
While the wattage of the fixtures is the primary factor, a few other things can influence your decisions and understanding of load:
- Dimmers: If you plan to use a dimmer, ensure it’s compatible with your LED fixtures and rated for the total wattage of the lights it controls. Some dimmers have minimum load requirements, and LEDs can sometimes behave differently than incandescent bulbs with dimmers.
- Track Connectors and Power Feed: The power feed unit that connects to the track also has a maximum amperage rating. Ensure it can handle the total load of the track it’s powering.
- Voltage Drop: For very long tracks or runs of wire, voltage can drop, meaning the lights might receive slightly less power. While usually not a significant issue for typical residential track lengths (under 10-15 feet), it’s something to be aware of for commercial or extremely long installations.
- Future Expansion: Consider if you might want to add more fixtures later. It’s often easier to account for a slightly higher load now than to re-wire later.
When to Call a Professional Electrician
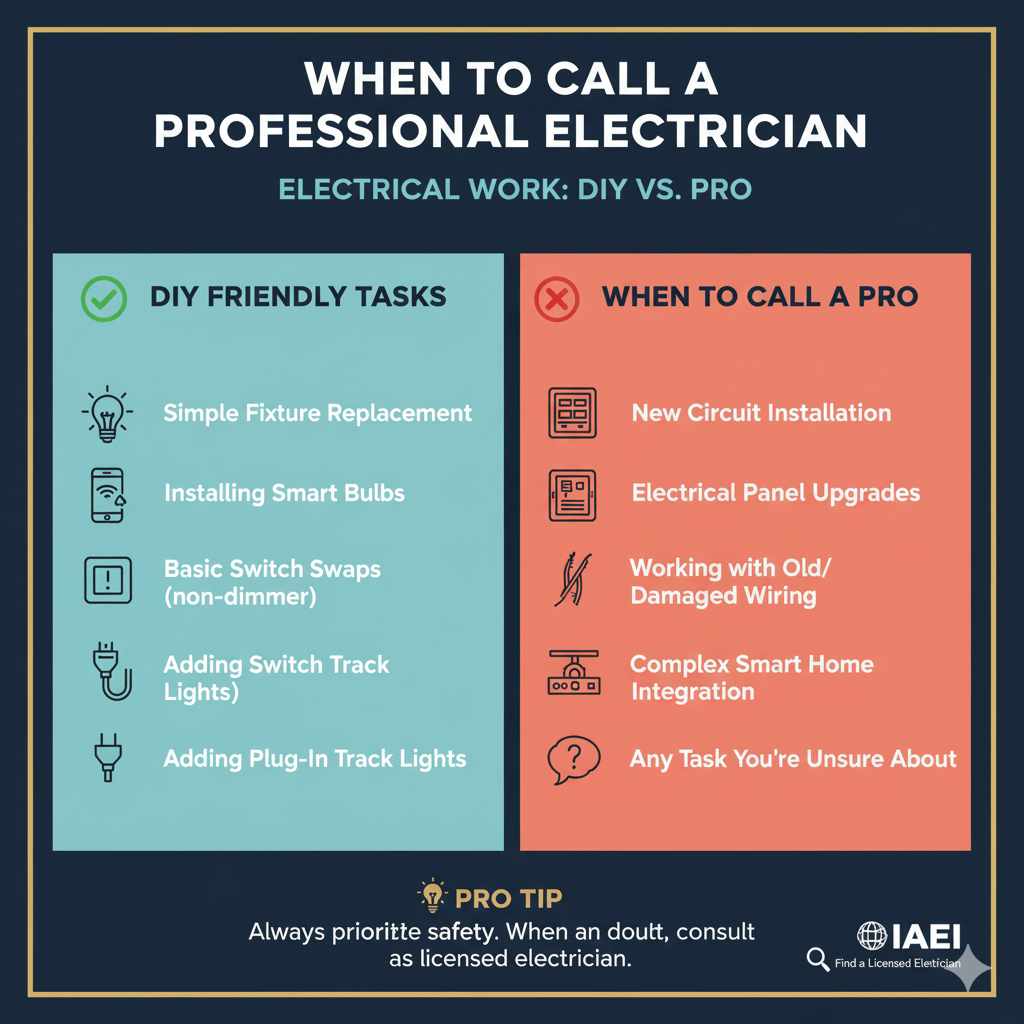
While calculating the load for your track lighting is a DIY-friendly task, there are times when it’s best to bring in a professional:
- Uncertainty: If any part of the calculation or the process feels confusing or overwhelming.
- New Circuit Installation: If your calculation shows that you need a new circuit or if you’re upgrading your electrical panel, this is a job for a licensed electrician.
- Old Wiring: If your home has older wiring, it might not be able to safely handle modern lighting loads, and an electrician can assess and advise on necessary upgrades.
- Complex Systems: For very large installations, multiple zones, or integration with smart home systems that involve significant electrical work.
- Code Compliance: To ensure your installation meets all local building and electrical codes, which can vary.
A qualified electrician can ensure your installation is safe, code-compliant, and will function reliably for years to come. You can find resources for finding a licensed electrician through organizations like the International Association of Electrical Inspectors (IAEI), which can sometimes help guide homeowners in finding qualified professionals.
Frequently Asked Questions (FAQ)
Q1: What is the maximum wattage for a single track lighting fixture?
A1: The maximum wattage for a single track lighting fixture can vary widely. Basic LED spotlights might be 5W-15W, while higher-powered fixtures for accent lighting or task lighting can range from 20W up to 50W or even more for specialized applications. Always check the fixture’s specifications.
Q2: Can I put track lighting on any existing circuit?
A2: You can potentially put track lighting on an existing circuit if the total calculated load (including other devices on that circuit) does not exceed 80% of the circuit breaker’s rating (e.g., 12A for a 15A circuit, 16A for a 20A circuit). It’s crucial to sum up the wattage of all* devices on that circuit.
Q3: Do LED track lights use less power than traditional bulbs?
A3: Yes, LED track lights are significantly more energy-efficient than traditional incandescent or halogen bulbs. For example, a 10W LED can produce the same amount of light as a 60W incandescent bulb, saving considerable energy and reducing the electrical load.
Q4: How do I find the wattage of my track light bulbs?
A4: Look for a label on the bulb itself, the fixture, or in the product manual. For integrated LEDs, the wattage is usually printed directly on the fixture. If you’re replacing a bulb, the wattage will be printed on the bulb itself.
Q5: What is a “power factor” and why does it matter for track lighting?
A5: Power factor is a measure of how efficiently electrical power is being used. For simple resistive loads like incandescent bulbs, the power factor is 1 (or 100%). Many modern electronics, including LED drivers, have power factors less than 1. While you can use Watts as an approximation for VA in many residential DIY calculations, a lower power factor means the system draws more apparent power (VA) than real power (Watts), which is important for electricians sizing circuits.
Q6: Do I need a special dimmer for LED track lights?
A6: Yes, if you plan to use dimmers, you must use a dimmer specifically designed for LED lights. Standard dimmers for incandescent bulbs may not work correctly with LEDs and can cause flickering, buzzing, or damage to the lights or dimmer.
Q7: What are the safety guidelines for installing track lighting?
A7: Always turn off the power to the circuit at the breaker box before installation. Use insulated tools. Ensure all connections are secure and properly insulated. If you are uncomfortable with any part of the electrical work, hire a licensed electrician. Always follow the manufacturer’s installation instructions.
Conclusion
Calculating the load for your residential track lighting is a fundamental step towards a safe, effective, and beautiful lighting installation. By understanding the wattage of each fixture, summing them up for each track, and considering the total number of tracks, you can easily determine the total VA and the amperage draw. This knowledge empowers you to make informed decisions about circuit capacity, whether you can use existing circuits, or if a new dedicated circuit is necessary. Remember, when in doubt, especially concerning new circuit installations or older electrical systems, always consult with a qualified electrician. With this guide, you’re well-equipped to plan your track lighting project with confidence, ensuring it adds both style and function to your home for years to come.