How to Fix Lamp Shade: Your Guide for Automotive Spaces
Hey there, friend! So, you’re wondering how to fix a lamp shade? I’m super excited to dive into this with you because it’s one of those little projects that can make a big difference, especially for us car folks who love a cozy, well-lit garage or shop. I still remember the first time I noticed my old lamp shade in my garage was torn and wobbly—it was dimming my workspace and cramping my style!
After years of wrenching, tinkering, and sprucing up my automotive spaces, I’ve learned all the tricks to repair, restore, or even upgrade a lamp shade. Whether you’re fixing a shade for your shop’s workbench, a carport light, or a display lamp for your classic ride, this guide’s got you covered. Let’s sit down, like we’re chatting over a toolbox with a cold soda, and I’ll walk you through every step in simple terms. This article is packed with practical tips for anyone in the USA looking to brighten their space. Ready to make that lamp shade shine again? Let’s get started!
What Is a Lamp Shade and Why Fix It?
A lampshade is the cover that goes over a light bulb to soften or direct light. It’s usually made of fabric, paper, metal, or plastic. In my garage, my lamp shade makes the light warm and focused, perfect for late-night wrenching sessions. Fixing a lamp shade saves money, keeps your space looking sharp, and ensures good lighting for automotive tasks.
I’ve fixed shades that were torn, dented, or just outdated. A broken shade can dim your light or look tacky next to your polished car. Repairing it is cheaper than buying a new lamp, and it’s satisfying to bring something back to life.
Common Lamp Shade Problems
Lamp shades take a beating, especially in busy shops. Here’s what I’ve seen go wrong:
- Tears or Holes: Fabric or paper shades rip easily. My shade got torn when a wrench fell on it.
- Dents: Metal or plastic shades get bent. I dented one moving a car part.
- Fading: Sunlight or heat fades colors. My old shade looked washed out after years.
- Loose Frame: The metal skeleton wobbles or breaks. My shade sagged when a clip broke.
- Stains: Grease or dirt dirties shades. My shop shade had oil smudges from my hands.
- Wrong Fit: Shades slip off or don’t sit right. I had one that was too big for my lamp base.
Knowing the problem helps you pick the right fix. I’ve tackled all these in my garage, and I’ll show you how.
Tools and Materials for Fixing Lamp Shades
Before you start, grab some supplies. I keep these handy in my shop:
- Fabric or Paper: For patching tears. I used spare fabric from an old shirt.
- Adhesive: Fabric glue, hot glue, or epoxy for repairs. I like $5 fabric glue from Walmart.
- Scissors: For cutting patches or trim. My craft scissors work great.
- Tape: Double-sided or decorative for quick fixes. I got a $3 roll at Dollar Tree.
- Wire Cutters and Pliers: For frame repairs. My $10 tool set handles it.
- Paint or Spray Paint: To refresh faded shades. I used $6 spray paint for a metal shade.
- Cleaning Supplies: Soap, water, and cloths for stains. I keep rags in my shop.
- Replacement Clips or Rings: For loose frames. I bought a $5 clip set online.
- Measuring Tape: To check sizes. My $8 tape measure’s always in my toolbox.
I spent about $30 on supplies for most fixes. Check craft stores like Michaels or hardware stores like Home Depot for deals.
Assessing Your Lamp Shade’s Damage
Start by checking what’s wrong. I always do this before diving in. Here’s my process:
- Inspect the Material: Look for tears, stains, or fading. I found a big rip in my fabric shade.
- Check the Frame: Feel for loose or broken wires. My shade’s top ring was bent.
- Test the Fit: Make sure it sits on the lamp. My shade wobbled because of a loose clip.
- Evaluate Light Output: See if damage dims the light. My torn shade let light escape weirdly.
- Decide to Fix or Replace: Minor issues are fixable; major ones might need a new shade. I fixed mine, but replaced one that was too far gone.
This takes 5 minutes but saves time later. I lay the shade on my workbench to get a good look.
Cleaning a Stained Lamp Shade
Dirty shades are common in shops, and cleaning is often the first step. I’ve saved shades this way. Here’s how:
- Remove the Shade: Take it off the lamp. I unclipped mine easily.
- Vacuum Dust: Use a brush attachment to clear dirt. I vacuumed my fabric shade first.
- Spot Clean: Mix mild soap with water, dip a cloth, and dab stains. I got the grease off with dish soap.
- Dry Thoroughly: Air-dry or use a hairdryer on low. I dried mine outside to avoid dampness.
- Test Light: Put it back and check the brightness. My shade looked new after cleaning.
Cleaning took 15 minutes and cost nothing. For tough stains, I use a $5 upholstery cleaner from Target.
Patching Tears or Holes in Fabric or Paper Shades
Tears dim light and look bad, but patching’s easy. I fixed a rip in my garage shade. Here are the steps:
- Cut a Patch: Use matching fabric or paper, slightly bigger than the tear. I cut a patch from an old curtain.
- Clean the Area: Wipe around the tear with a damp cloth. I made sure mine was dry.
- Apply Adhesive: Spread fabric glue on the patch’s back. I used a $3 glue stick for precision.
- Place Patch: Press it over the tear, smoothing bubbles. I held mine for 30 seconds.
- Dry Fully: Let it sit for an hour. I left mine overnight for strength.
- Trim Excess: Cut any overhang with scissors. I neatened mine for a clean look.
Patching took 20 minutes and cost $3 for glue. I used a patch inside the shade so it’s less visible.
Repairing a Dented Metal or Plastic Shade
Dents make shades look beat-up, but I’ve straightened them. Here’s how I fixed a metal shade:
- Remove Shade: Take it off the lamp. I unscrewed mine from the base.
- Assess Dent: Feel its size and depth. My dent was an inch wide.
- Push Out Dent: Use a soft cloth and your hand or a spoon to push from inside. I tapped gently with a spoon.
- Smooth Edges: Rub with the cloth to blend. I polished mine for shine.
- Repaint if Needed: Spray paint to cover scratches. I used $6 metallic paint for a fresh look.
- Reattach: Put it back and test. My shade looked good as new.
This took 30 minutes. For plastic, I use warm water to soften the dent before pushing, but metal’s sturdier.
Fixing a Loose or Broken Lamp Shade Frame
A wobbly frame makes the shade sag. I fixed a bent ring in my shop. Here’s the process:
- Inspect Frame: Find loose or broken wires. My top ring was detached.
- Tighten Clips: Use pliers to squeeze loose clips. I tightened two on mine.
- Rewire Breaks: Cut a small wire piece and twist it to bridge breaks. I used $2 of craft wire.
- Tape for Stability: Wrap electrical tape around weak spots. I taped my repair for strength.
- Test Fit: Place the shade on the lamp to check. My frame sat firm after fixing.
- Replace Rings if Needed: Buy new rings online. I found a $5 set but didn’t need it.
Fixing took 25 minutes and cost $2. If the frame’s too far gone, I’d replace the shade for $15.
Refreshing a Faded Lamp Shade
Faded shades look tired, but I’ve revived them. Here’s how I updated a fabric shade:
- Clean First: Remove dust or stains. I vacuumed mine to prep.
- Choose Paint: Use fabric spray paint or acrylic for fabric; spray paint for metal. I got $7 of fabric paint at Michaels.
- Test Color: Spray a small spot inside. I tested blue to match my shop.
- Apply evenly: Spray or brush in thin layers, drying between coats. I did three coats outside.
- Add Trim: Glue ribbon or tape around edges for flair. I added $3 black trim.
- Dry Fully: Let it sit for 24 hours. I waited a day before using mine.
Painting took an hour over two days and cost $10. My shade went from dull to vibrant, lighting up my workbench.
Adjusting a Poorly Fitting Lamp Shade
If the shade doesn’t sit right, it’s annoying. I fixed one that was too loose. Here’s how:
- Check Size: Measure the lamp’s harp or socket. My shade was an inch too wide.
- Add Clips: Buy shade clips or adapters for $5. I got clips that grip the bulb.
- Use Foam Tape: Stick adhesive foam inside the ring for a snug fit. I used $2 of tape scraps.
- Replace Harp: Swap the lamp’s harp for a shorter or taller one. I bought a $6 harp at Lowe’s.
- Test Stability: Ensure it doesn’t wobble. My shade stayed put after the clips.
Adjusting took 15 minutes and cost $5. If it’s way off, I’d buy a new shade for $10-$20.
Customizing Your Lamp Shade for Automotive Style
Fixing a shade is a chance to add car flair. I customized mine for my shop. Here are some ideas:
- Car-Themed Fabric: Glue racing stripes or checkered patterns. I used $5 of checkered fabric scraps.
- Stencils: Paint car logos or tire treads. I stenciled a wrench on my shade for $3.
- Metal Accents: Add rivets or chrome tape for a rugged look. I glued $2 rivets for style.
- LED Bulbs: Swap for bright, cool LEDs. I used a $6 LED for better light.
- Vintage Vibe: Distress paint for a retro garage feel. I sanded my painted shade lightly.
Customizing took an hour and cost $10. My shade screams “gearhead” now, perfect for my Mustang corner.
Safety Tips for Fixing Lamp Shades
Safety keeps your project fun. I’ve had close calls, so here’s my advice:
- Unplug Lamp: Always disconnect power. I check with a voltage tester.
- Avoid Heat: Don’t glue near hot bulbs. I let my lamp cool first.
- Use Safe Glues: Pick non-toxic adhesives. My fabric glue’s fume-free.
- Wear Gloves: Protect hands from sharp frames or paint. I wear shop gloves.
- Work in Ventilation: Paint or glue outside. I set up in my driveway.
I keep a first-aid kit in my shop. Safety means I can enjoy my fixed shade without worry.
When to Replace Instead of Repair
Sometimes fixing isn’t worth it. I’ve replaced shades that were too far gone. Here’s when to swap:
- Major Damage: Huge tears or broken frames. My old paper shade crumbled, so I replaced it.
- Bad Fit: If adjustments don’t work. I tossed a shade that was way too big.
- Outdated Style: If it clashes with your shop. I replaced a floral one with a metal shade.
- Dim Light: If repairs block light. My patched shade dimmed, so I got a new one.
- Cost: If fixing costs more than a new shade. I found a $15 shade cheaper than repairs.
New shades cost $10-$30 at Target or Amazon. I weigh time and cost before deciding.
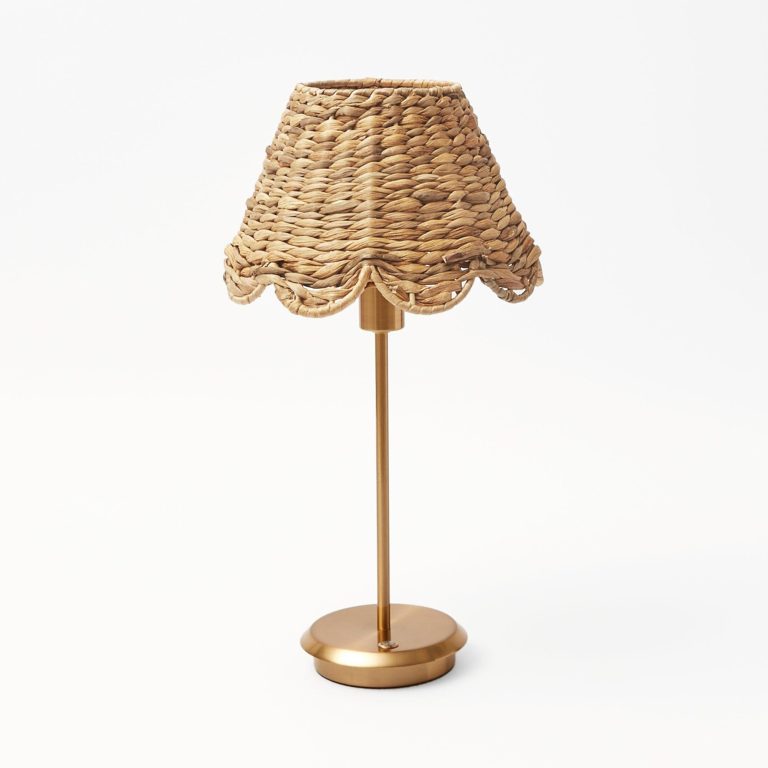
Where to Buy Replacement Lamp Shades
If you need a new shade, I’ve shopped around. Here’s where I look:
- Home Depot: Stocks fabric and metal shades. I got a $12 metal one there.
- Target: Affordable, stylish options. I found a $10 fabric shade.
- Amazon: Huge selection, fast shipping. I bought a $15 industrial shade online.
- Walmart: Budget-friendly basics. I saw a $8 shade in-store.
- Thrift Stores: Unique finds for cheap. I scored a $5 vintage shade at Goodwill.
I check sizes and styles online first. My $12 shade fits my shop’s vibe perfectly.
Cost of Fixing vs. Replacing a Lamp Shade
Fixing is usually cheaper, but let’s break it down. Here’s my experience:
- Fixing: Glue ($5), fabric ($5), paint ($7), clips ($5) = $22 max for most repairs. I spent $10 on my shade.
- Replacing: New shade ($10-$30), harp if needed ($6) = $16-$36. I paid $12 for a new one once.
- Tools: Scissors, pliers, etc., $20 if you don’t own them. I had most already.
Fixing saved me $10-$20 per shade. I only replace if repairs hit $15 or more. Shop sales or thrift stores to keep costs low.
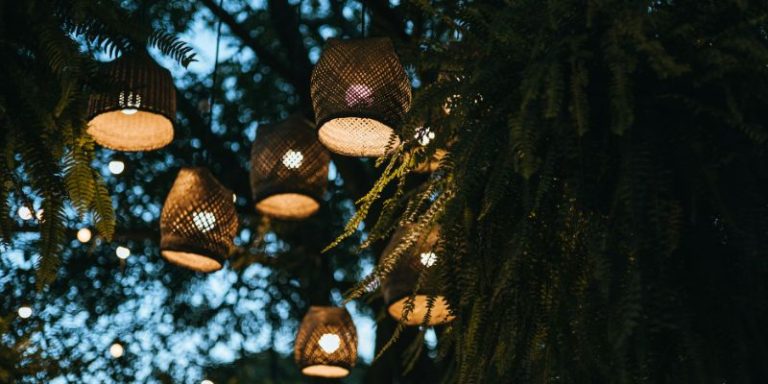
Using Lamp Shades in Automotive Spaces
Lamp shades aren’t just for living rooms—they rock in car spaces. Here’s how I use them:
- Workbench: Focused light for repairs. My shade keeps my tools bright.
- Car Display: Soft light for show cars. My Mustang glows under a custom shade.
- Tool Corner: Lights up storage. My shade brightens my toolbox area.
- Hangout Spot: Cozy vibe for chilling. I use a shade for shop hangouts.
- Carport: Outdoor lamps with shades. My carport lamp shade softens light.
My shop feels like a pro garage with fixed shades, making every task or chill session better.
Table: Fixing vs. Replacing Lamp Shades
Here’s a comparison to help you decide:
| Option | Pros | Cons | Cost | Best For |
|---|---|---|---|---|
| Fixing | Cheap, creative, eco-friendly | Time-consuming, may not last | $5-$22 | Minor damage, custom style |
| Replacing | Quick, fresh look, reliable | More expensive, less unique | $10-$36 | Major damage, bad fit |
I fix most shades, but replace them when the damage is too much. Fixing’s my go-to for shop charm.
Why I Love Fixing Lamp Shades
Fixing lamp shades is like restoring a car part—it’s rewarding and saves cash. I feel like a crafty gearhead when I patch a tear or paint a shade to match my shop’s vibe. They keep my workspace bright, cozy, and unique, perfect for wrenching or showing off my rides. My fixed shades have been with me through countless projects, and I’m hooked on the DIY buzz.
Wrapping It Up with a Bright Glow
Hey, buddy, you’re now a lampshade repair pro! From patching tears to painting fades, you’ve got all the tricks to make your automotive space shine. I remember my first shade fix, fumbling with glue, but now I grin every time my shop lights up just right. Head to your garage, grab that damaged shade, and start fixing with confidence. Whether you’re lighting up a workbench or showcasing your classic car, your shade will look awesome. So, glue that patch, paint that frame, and let your shop glow—I’m cheering you on!
FAQ: Your Questions Answered
How do I fix a torn lamp shade?
Patch it with matching fabric or paper and glue. I used an old shirt to fix mine.
Can I clean a stained lamp shade?
Yes, vacuum dust and dab with soapy water. I got grease off mine with dish soap.
How do I fix a dented metal lamp shade?
Push the dent out with a spoon and repaint. I fixed mine with $6 spray paint.
What if my lamp shade doesn’t fit?
Add clips or foam tape, or replace the harp. I used $5 clips for a loose shade.
Is it cheaper to fix or replace a lampshade?
Fixing costs $5-$22, replacing $10-$36. I saved $10 by fixing mine.
Where can I buy a new lampshade?
Home Depot, Target, Amazon, or thrift stores. I got a $12 shade at Home Depot.
Can I customize a lamp shade for my garage?
Yes, paint or add car-themed fabric. I stenciled a wrench on mine for $3.