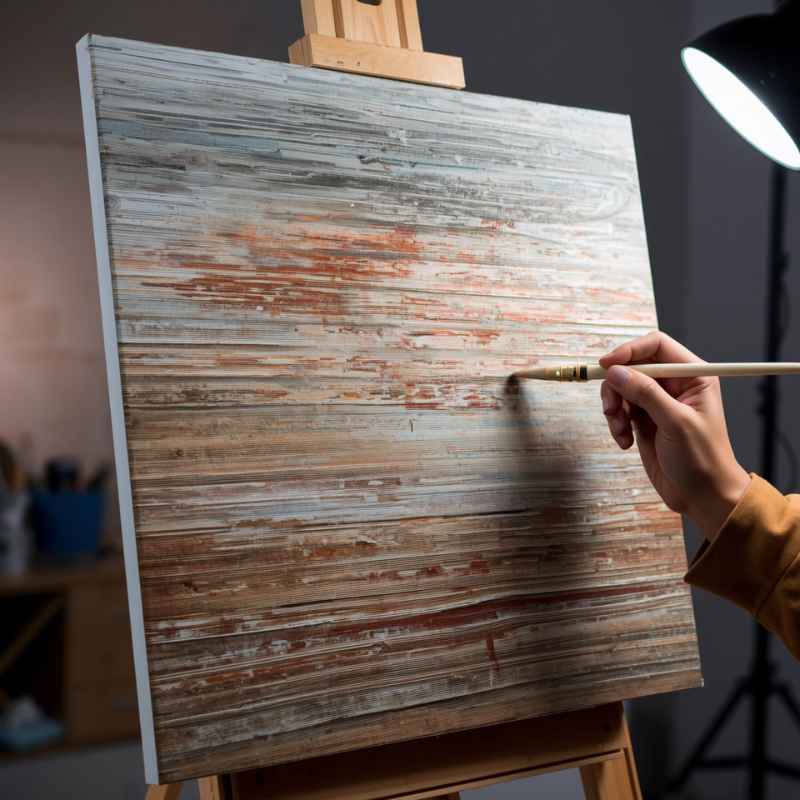
How To Paint A Wood Grain Effect With Acrylics (Easy Guide)
Painting a wood grain effect with acrylics involves layering colors and using tools to mimic natural wood patterns. This guide offers simple steps for beginners to achieve realistic wood textures and finishes on various surfaces.
Understanding Wood Grain
Wood grain is the pattern you see on wood. It comes from how the tree grew. Different trees have different grain patterns.
Some are straight. Others are wavy or swirly. The rings in a tree form the grain.
When wood is cut, these rings show up as lines or patterns. Knowing this helps you paint it better.
Think about different types of wood. Pine often has straight, simple lines. Oak might have more complex patterns.
Maple can be very smooth. Understanding these basic shapes will guide your brush. You’ll see the structure of real wood better.
This helps you copy it. It’s like learning to draw. You first learn basic shapes.
The color of wood also matters. Lighter woods have lighter base colors. Darker woods have deeper base colors.
Wood grain lines are usually a darker shade than the wood itself. Sometimes, they can be lighter, too. This contrast creates the visual effect.
It defines the pattern.
When you paint, you’ll create these contrasts. You’ll use layers. The first layer is the base color.
Then, you add darker lines. You might also add lighter highlights. This layering makes it look real.
It gives it depth. It mimics the natural variations in wood.
The tools you use are important. They help create the texture. You can use brushes.
You can also use special tools. Even everyday items can help. Think about sponges.
Think about combs. They can make interesting marks. They help break up the paint.
This makes it look less like a flat painting.
My First Wood Grain Fiasco
I remember my first attempt. I was making a small wooden box. I wanted it to look like dark cherry wood.
I had my acrylic paints ready. I thought, “How hard can this be?” I painted a dark red base. Then, I tried to draw thin black lines.
They just looked like drawn lines. Not wood at all. They were too perfect.
Too even. They didn’t have any life.
I felt a wave of disappointment. It looked so flat. So artificial.
I had rushed. I hadn’t studied real wood grain enough. I saw the grain on my own furniture.
I looked at pictures online. I noticed the subtle color shifts. The way the lines weren’t always straight.
They curved and wavered. They had a soft edge sometimes.
Then, I discovered the magic of dry brushing. And using a darker wash. I learned to layer.
I painted a new base coat. This time, I used a richer, warmer tone. I let it dry fully.
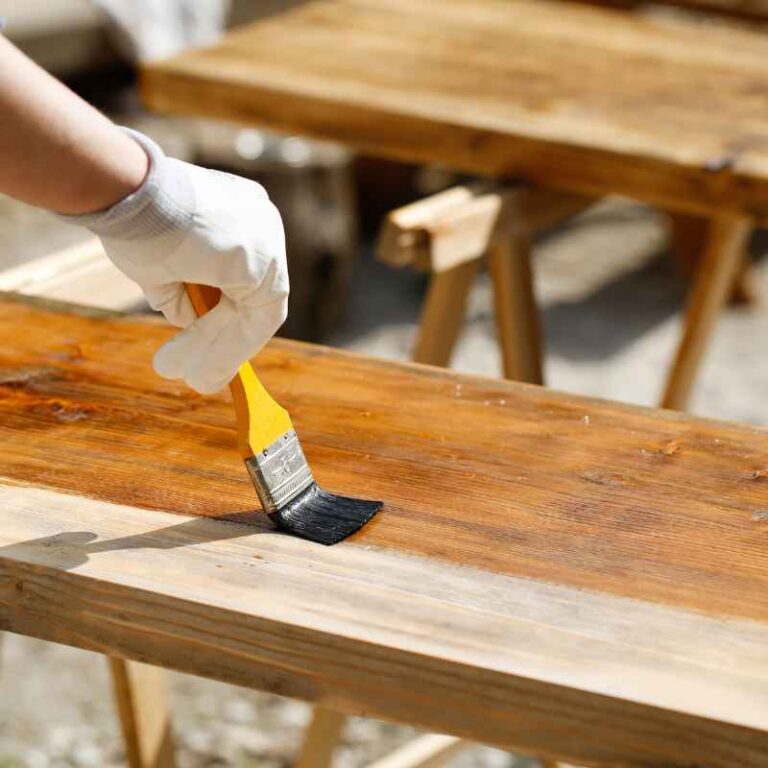
Then, with a much drier brush, I dipped it lightly into a dark brown. I wiped off most of the paint. Then, I lightly brushed it across the surface.
The paint only caught on the raised parts. It left faint, broken lines. It started to look like wood.
It wasn’t perfect that second time. But it was a huge improvement. It taught me patience.
It taught me to observe. It taught me that painting wood grain is a process. It’s not just one step.
It’s about building layers. It’s about creating texture and depth. That initial mistake made me a better painter.
Essential Tools and Materials
You don’t need much to start. Here’s what helps:
- Acrylic Paints: You’ll need a base color and a darker shade for the grain.
- Brushes: A flat brush for the base coat. A smaller, fine-tipped brush for grain lines. A fan brush or stiff-bristled brush can also work well.
- Water Cup: For rinsing brushes.
- Paper Towels or Rag: For wiping brushes. This is super important!
- Surface: Whatever you are painting.
- Optional: Glaze medium, a sponge, a comb, or a wood grain tool.
Getting Started: The Base Coat
The first step is always the base coat. This is the main color of your wood. Pick a color that matches the wood you want to copy.
For example, if you want to paint oak, choose a warm beige or light brown. If you want to paint walnut, use a richer, darker brown.
Use a flat brush for this step. Apply the paint smoothly. Make sure to cover the entire surface.
You want an even layer. It’s like prepping a canvas for a regular painting. This base color sets the stage.
It’s the foundation of your wood effect.
Let this base coat dry completely. This is very important. If you try to add the grain lines too soon, they will blend.
They won’t look like separate lines. Patience here pays off. You want a solid, dry surface to work on.
You might need two coats of the base color. This depends on the paint. It also depends on the color you are using.
If the first coat looks streaky, add a second. Again, let it dry fully. A good base coat makes the whole effect much more believable.
Consider the sheen. Most natural wood has a slight sheen. Some acrylic paints dry matte.
Others dry satin or gloss. You can adjust this later with a topcoat. For now, just focus on an even color application.
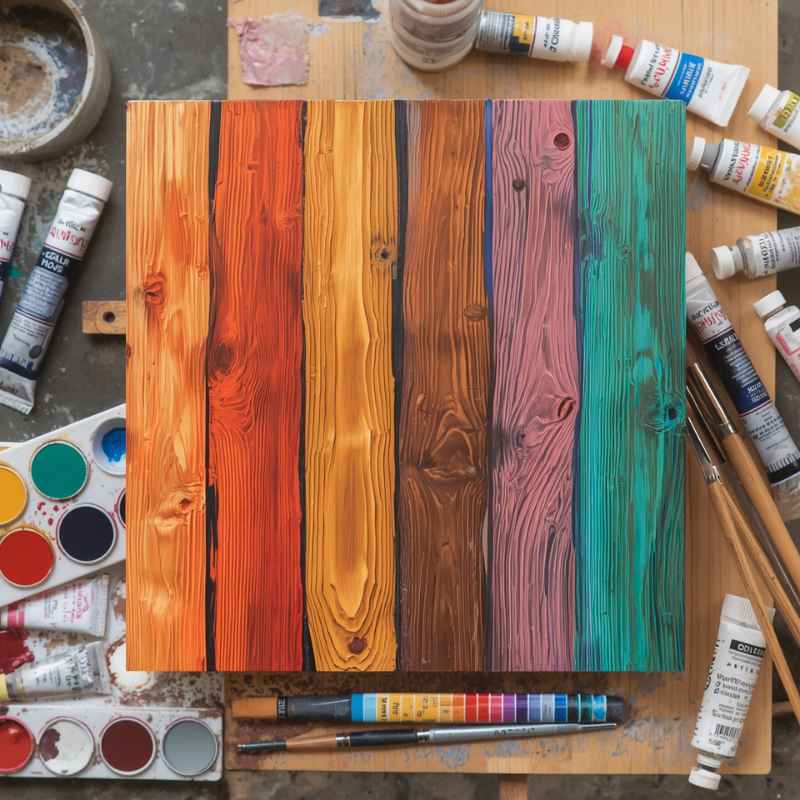
Choosing Your Wood Color Palette
Think about the wood type:
- Light Woods (Pine, Maple): Use light tans, creamy yellows, or soft greys as a base. Grain lines can be light brown or grey.
- Medium Woods (Oak, Cherry): Use warm browns, reddish-browns, or golden tans. Grain lines in darker browns or deep reds.
- Dark Woods (Walnut, Mahogany): Use deep browns, rich burgundies, or almost black colors. Grain lines can be a slightly lighter shade of brown or black.
Creating the Grain Lines
This is where the magic happens. You’ll use a darker color to paint the grain lines. The type of brush you use matters here.
A fine-tipped brush is good for delicate lines. A slightly wider, stiffer brush can create broader strokes.
You can use a fan brush. Or a brush with splayed bristles. Dip the brush into the darker paint.
Wipe off most of the paint on a paper towel. You want the brush to be almost dry. This is called dry brushing.
It helps create broken, natural-looking lines.
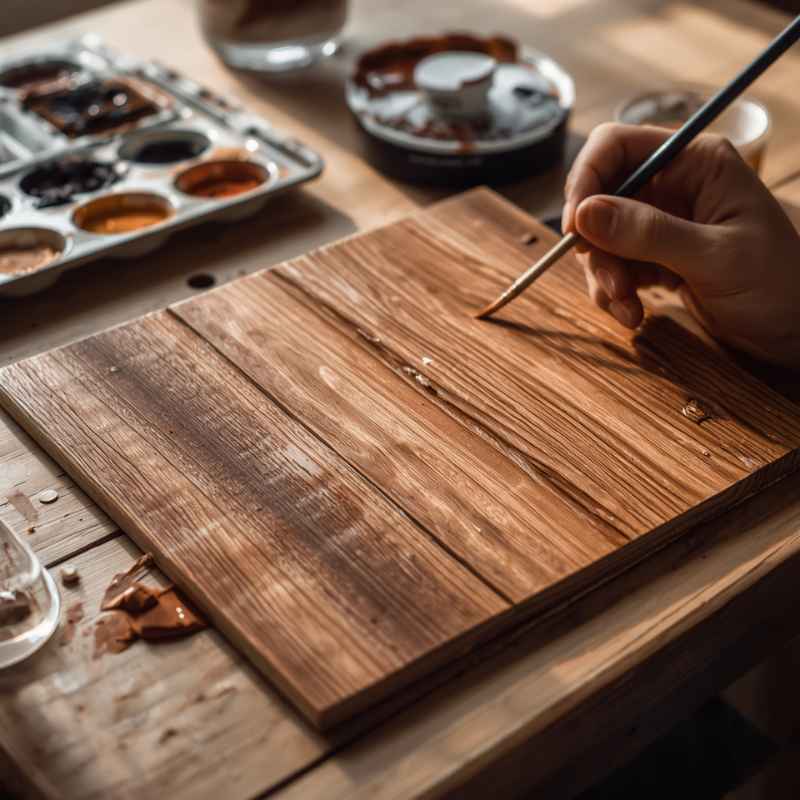
Start painting your lines. Follow the direction of your base coat. Don’t make them perfectly straight.
Wood grain has curves. It has bumps. It has variations.
Try to mimic natural patterns. Look at real wood for inspiration. You can do this on scrap wood first.
Think about the pattern. Is it a tight grain? Or a wide grain?
This affects how close your lines are. How thick they are. Most people miss this.
They paint lines that are too uniform. Real wood is not uniform.
You can also use a wood grain tool. These tools have rubber tips. They create grooves.
They make patterns look more realistic. Or, use a comb. Drag it through a wet layer of paint.
This can create wavy lines. It’s all about experimenting.
Don’t be afraid to add imperfections. A knot in the wood might look like a swirl. A split might be a jagged line.
These details make it look more authentic. They add character. They make your painted wood look less like a painting.
The color of your grain lines should be darker than your base. But not too dark. You want contrast.
But not a harsh, black line on a white background. Unless that’s the look you’re going for. Most natural wood has softer transitions.
You can also use a glaze. A glaze is a transparent medium. You mix it with paint.
It makes the paint flow better. It gives you more time to work. This is very helpful for blending.
It lets you soften the lines. It makes them look like they are part of the wood. Not just painted on top.
Techniques for Realistic Grain
- Dry Brushing: Use a nearly dry brush with dark paint. Lightly drag it across the surface. This creates soft, broken lines.
- Wiping Method: Apply a dark wash over a wet base coat. Then, use a rag or paper towel to wipe away paint in lines. This mimics lighter grain features.
- Stippling: Use a stiff brush and dab paint. This can create textured areas like knots.
- Using a Comb: Drag a comb through a wet layer of paint. This creates wavy, parallel lines.
Adding Depth and Highlights
Once your main grain lines are dry, you can add more detail. This is how you make it look truly dimensional. Think about light.
Where does it hit the wood? Where are the shadows?
You can add lighter highlights. Use a very light shade of your base color. Or even a touch of white.
Use a dry brush again. Lightly go over some areas. This mimics the way light catches the raised grain.
It makes the wood look more rounded.
You can also deepen shadows. Use a darker shade than your grain lines. Or a bit of black.
Use a very fine brush. Add subtle dark lines in the gaps between the main grain. This adds depth.
It makes the grain look more carved in.
Consider using a glaze. Mix a little darker paint with a glaze medium. Brush this over your painted grain.
Then, wipe some off with a soft cloth. This can unify the colors. It can make the grain look more integrated.
It softens any harsh edges.
Some people like to add a subtle yellowish or reddish tint. This mimics natural wood oils. Or the way wood ages.
You can do this with a very thin glaze. Apply it over the whole piece. Wipe off the excess.
It adds a final layer of realism.
The key is to build up layers. Don’t try to do it all at once. Each layer adds something.
Each layer makes it look more like real wood. Step back often. Look at your work.
Compare it to pictures of real wood.
Contrast Matrix: Myth vs. Reality
Painting on Different Surfaces
The technique can work on many things. You can paint on wood, of course. But also on metal.
Or plastic. Or even old plaster. The surface preparation is key.
Make sure it’s clean. Make sure it’s smooth. If it’s glossy, you might need to lightly sand it.
For metal, use a primer made for metal. For plastic, use a plastic primer. This helps the paint stick.
It stops the paint from peeling. It ensures your beautiful wood grain lasts. Always check the paint manufacturer’s advice.
If you are painting on a very smooth surface, like glass or laminate, adhesion can be tricky. You might need a special bonding primer. Acrylics adhere well to most porous surfaces.
That’s why wood is a great base.
The texture of the surface can also affect the final look. A slightly rough surface might give the paint more to grab onto. This can create a more textured grain.
A very smooth surface will look flatter. You can often add texture with your paint. Or with your tools.
For furniture, you’ll want a durable finish. After the paint is dry, you’ll need a sealant. A clear coat or varnish.
This protects your work. It makes it easy to clean. It adds to the overall look.
Choose a finish that matches your desired sheen. Matte, satin, or gloss.
When painting on fabric, the weave of the fabric will show. This can add an interesting dimension. You might need fabric medium.
Mix it with your acrylics. This makes the paint more flexible. It stops it from cracking when the fabric bends.
Surface Preparation Checklist
- Clean: Remove all dust, dirt, and grease.
- Smooth: Sand down any rough spots. Fill any holes or cracks.
- Prime: Use an appropriate primer for the material (wood, metal, plastic).
- Dry: Ensure the surface and primer are completely dry before painting.
Real-World Context: Where You’ll See This
This technique is incredibly versatile. You’ll see painted wood grain everywhere. Think about interior design.
Old cabinets can get a new life. Just paint them to look like dark oak or light maple. It’s much cheaper than replacing them.
Craft projects are a big one. Wooden signs. Picture frames.
Decorative boxes. Even small furniture pieces like side tables. Adding a wood grain effect makes them look more expensive.
More handmade and special.
Home renovations often use this. If you have a door that doesn’t match. Or trim that looks dated.
Painting it to match existing wood can be a quick fix. It blends things together. It makes the room feel more cohesive.
What about faux finishes? Artists use this to create realistic backdrops. Or to add texture to sculptures.
It’s a skill that artists use for many purposes. It’s not just for beginners. Experienced painters use it for subtle effects too.
You might see it on theatrical props. Or in movie sets. Creating the look of expensive wood without the cost.
It’s a practical skill for many trades. It shows how creative you can be with paint. It’s a way to transform the ordinary.
Think about musical instruments. Some guitars have beautiful wood finishes. You can recreate that look on other items.
Or on repair jobs. It’s about understanding the grain pattern. And then applying that knowledge.
Even DIY home decor items benefit. Shelves. Bookcases.
Decorative panels. A simple piece of plywood can look like rich hardwood. With just a few colors and some patience.
This is why it’s so popular. It’s accessible. It’s effective.
Quick Scan Table: Step-by-Step Summary
| Step | Action | Key Tip |
|---|---|---|
| 1 | Base Coat | Apply evenly. Let dry completely. |
| 2 | Grain Lines | Use dry brush technique. Vary line direction and shape. |
| 3 | Depth/Highlights | Add lighter strokes for light. Darker for shadows. |
| 4 | Seal | Apply a clear topcoat for protection. |
What This Means for You
When is this effect totally normal? It’s normal anytime you want something to look like real wood. This is especially true if you’re on a budget.
Or if you’re working with a material that doesn’t naturally look like wood. For example, you might have a laminate countertop. You want it to look like butcher block.
This is how you do it.
When should you worry? You should worry if the paint looks obviously fake. If the lines are too uniform.
If the colors are flat and muddy. If it looks like you just drew lines on with a marker. That’s a sign it needs more work.
It needs more depth and variation.
What if your base coat is uneven? That’s okay. Sometimes a slightly uneven base can add to the wood effect.
It mimics natural wood variations. But if it’s truly patchy and bad, you might need another coat. Always let paint dry between layers.
Simple checks: Look at your work in different lights. Does it hold up? Does it look convincing from a distance?
Step back. Squint your eyes. Does the pattern read as wood grain?
Or as lines?
If you’re not happy with the grain lines, you can often paint over them. With a new base coat. Or with a darker wash to hide them.
Don’t be afraid to try again. This is a forgiving technique.
Consider the texture. Is it too smooth? Too slick?
You might need to add more dry brushing. Or use a slightly rougher tool. The goal is to break up the surface.
To create visual interest. Like real wood has.
The most important thing is observation. Look at actual wood. See how the grain flows.
See the color changes. The subtle details. The more you look, the better you’ll be able to paint it.
It’s like learning a new language. You learn by immersion.
Quick Tips for Success
Always test your colors and techniques on scrap material first. This lets you see how the paint behaves. It helps you get the look right before you commit to your project piece.
Don’t be afraid to layer. This is key to creating depth. Start light and build up.
You can always add more. It’s harder to take away.
Use a good quality water-based sealant. This protects your painted finish. It makes it durable and easy to clean.
Choose matte, satin, or gloss based on your preference.
Clean your brushes thoroughly after each use. Dried acrylic paint can ruin good brushes. Keep your tools in good shape.
They will help you create better art.
Work in good light. Natural light is best. This helps you see colors accurately.
It prevents mistakes caused by poor lighting conditions.
Vary your brush strokes. Don’t paint every line the same way. Some can be thicker, some thinner.
Some wiggly, some more direct. This mimics natural variation.
If you are using a glaze, mix enough for the whole project. Trying to match a glaze color later can be difficult. Consistent glaze makes a consistent finish.
Consider the size of your project. A small jewelry box needs finer detail than a large tabletop. Adjust the size of your brushes and strokes accordingly.
Quick Fixes When It Goes Wrong
- Too Flat: Add more contrast. Use darker shadows and lighter highlights.
- Too Uniform: Introduce more variation in line shape, thickness, and spacing.
- Color is Off: Apply a thin glaze of a corrective color. Or paint a new base coat.
- Paint Streaky: Ensure your base coat is smooth. Let layers dry fully.
Frequently Asked Questions
Can I use oil-based paint for wood grain effects?
While oil-based paints can be used for wood grain, acrylics are generally easier for beginners. Acrylics dry faster. They clean up with water.
Oil paints take longer to dry. This gives you more working time for blending. But the cleanup requires solvents.
For most DIY projects, acrylics are a more practical choice.
How do I make the wood grain look like it’s recessed or raised?
To make grain look recessed, add darker lines and shadows between the grain. This makes it look like the surrounding wood is higher. To make it look raised, add lighter highlights on top of the grain lines.
This suggests light hitting the peaks of the grain. Layering is key here.
What is the best brush for painting wood grain lines?
A fine-tipped liner brush is excellent for thin, detailed grain lines. A flat brush with slightly splayed bristles, or a fan brush, is great for broader strokes and dry brushing. Experiment with different brushes to see what gives you the effect you want.
Your technique with the brush is often more important than the brush itself.
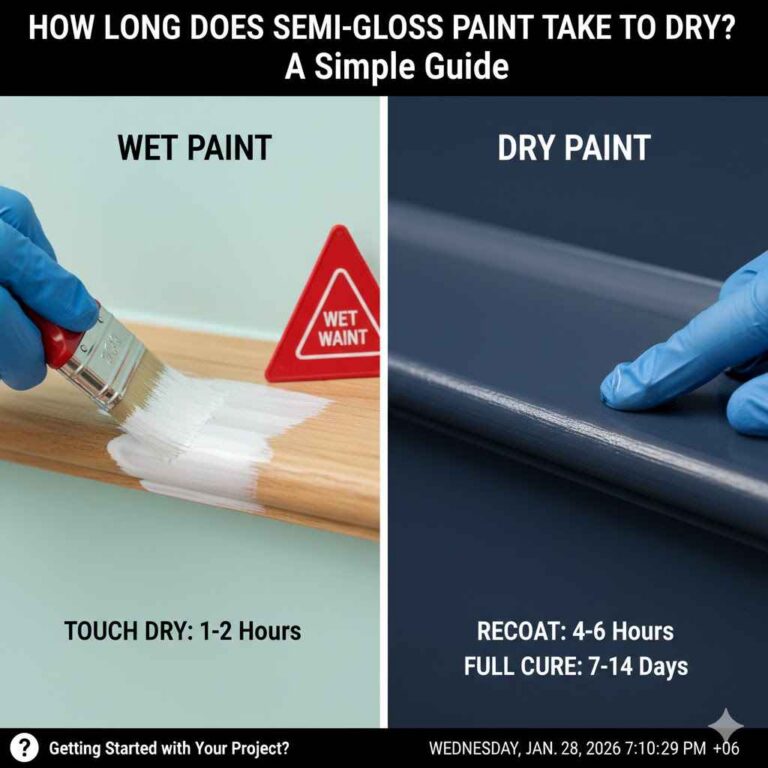
How long does it take for acrylic paint to dry?
Acrylic paint dries quite quickly. Usually within minutes. Thicker layers can take longer.
Allow at least 30 minutes to an hour between coats for best results. For complex layering, especially with glazes, ensure each layer is completely dry before adding the next.
Can I paint wood grain over existing laminate or veneer?
Yes, you can paint wood grain over laminate or veneer. First, clean the surface thoroughly. Then, use a good quality primer designed for smooth surfaces.
Sanding lightly after priming can help the paint adhere better. Then, proceed with your base coat and grain painting as usual. A durable topcoat is essential.
What is a glaze medium and why is it used?
A glaze medium is a clear liquid that you mix with acrylic paint. It makes the paint more transparent and extends the drying time. This gives you more time to blend and manipulate the paint.
It’s excellent for creating subtle color shifts and softening harsh lines, which is perfect for realistic wood grain.
Conclusion
Painting a wood grain effect with acrylics is a rewarding skill. It can transform plain surfaces into something beautiful. Remember to start with a good base.
Then, add your grain lines with care. Layers of detail will bring it to life. Don’t be afraid to practice.
Your projects will look amazing.