How to Replace a Ceiling Fan Light Bulb (E12 vs E26 Base Guide)
Replacing a ceiling fan light bulb takes under 10 minutes: cut power at the breaker, remove the glass cover, then match the new bulb to the fan’s base — E12 candelabra or E26 medium — unless the fixture uses a pin-based CFL that must match exactly. A bulb over the printed max-wattage sticker can trip the fan’s thermal fuse or void the warranty. This guide covers cover removal, base and wattage sizing, and fixing a bulb that still won’t light.
- Cut the power: Turn off the wall switch AND the breaker feeding the fan — pull chains alone don’t fully de-energize the fixture.
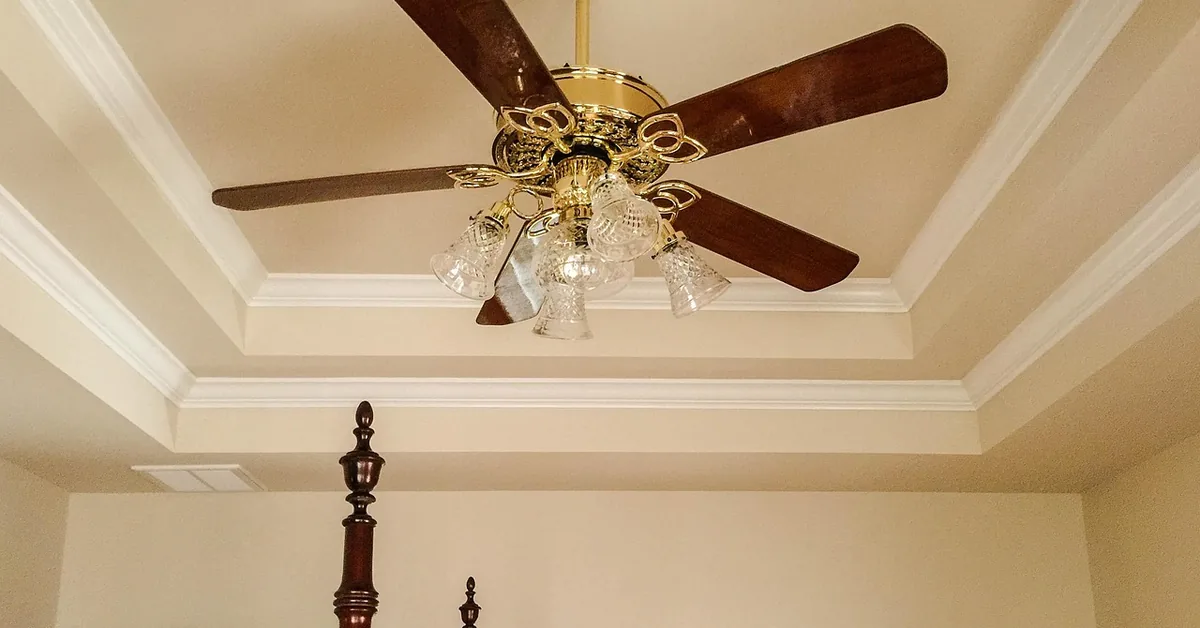
- Remove the light cover: Unscrew the glass globe, unclip the metal tabs, or unscrew the finial nut, depending on your fan’s cover style.
- Take out the old bulb: Twist counterclockwise. If it’s hot, wait a few minutes first.
- Match the new bulb: Confirm the base (E12 candelabra or E26 medium) and stay at or under the wattage printed on the socket.
- Install the new bulb: Twist clockwise until snug — do not overtighten.
- Reattach the cover and test: Restore power and confirm the light turns on without flickering.
Tools And Materials Needed
Replacing a light bulb is easy once you have the right tools gathered. A ladder is essential to reach the ceiling fan safely. A screwdriver may be necessary since some covers are held by screws. Have a new light bulb ready that fits your fan, and check its wattage against the old bulb before you climb up.
Use a soft cloth to handle the bulb and keep it clean, plus a dust cloth for the fan blades and housing. A small container is useful for holding any screws you remove so they don’t get lost.
Safety Precautions
Always turn off the power at the breaker before starting, not just the wall switch. Use a sturdy ladder and have someone hold it steady. Wear gloves to protect your hands — bulbs can be hot right after use, and incandescent and halogen bulbs get hot enough to burn skin on contact. Check that the floor beneath the ladder is dry, and keep children away from the work area during the process.
“Exceeding the wattage limit marked on the MAX wattage sticker affixed to the light socket(s) may result in fire hazard or improper operation.”
Make sure the new bulb matches the old one in wattage — using a bulb rated higher than the socket’s printed maximum can overheat the fixture and damage the fan. Read the fan’s manual if you’re unsure of the rating.
📊 LED bulbs produce roughly a quarter of the heat of an incandescent bulb at the same brightness — Source: ENERGY STAR, Learn About LED Lighting, 2026
Identifying Bulb Type
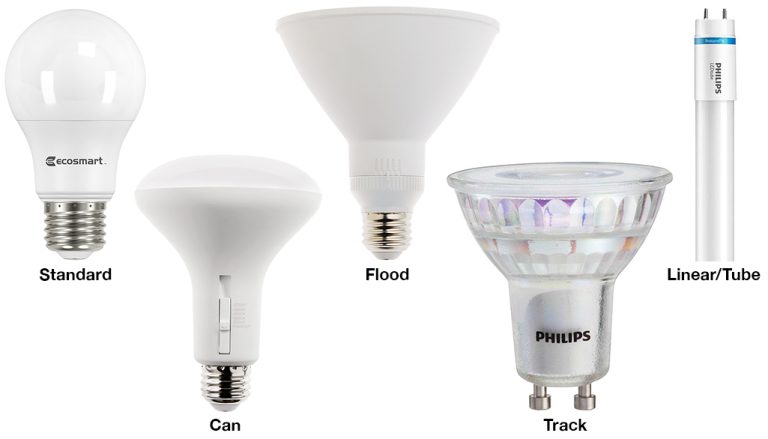
First, check the bulb currently in your ceiling fan. Is it a screw-in type or a pin-based type? Look at the shape and size — small bulbs are usually candelabra base, while larger ones are medium base. Check for markings on the bulb showing its wattage or base type, and compare it with new bulbs at the store before buying.
Some fans need special pin-based CFL bulbs. Check the fan’s manual for this info, or look up the model online if you don’t have the manual — don’t guess the base type, since a mismatched bulb won’t fit or make contact.
Candelabra (E12) vs Medium (E26): Which Base Does Your Fan Use?
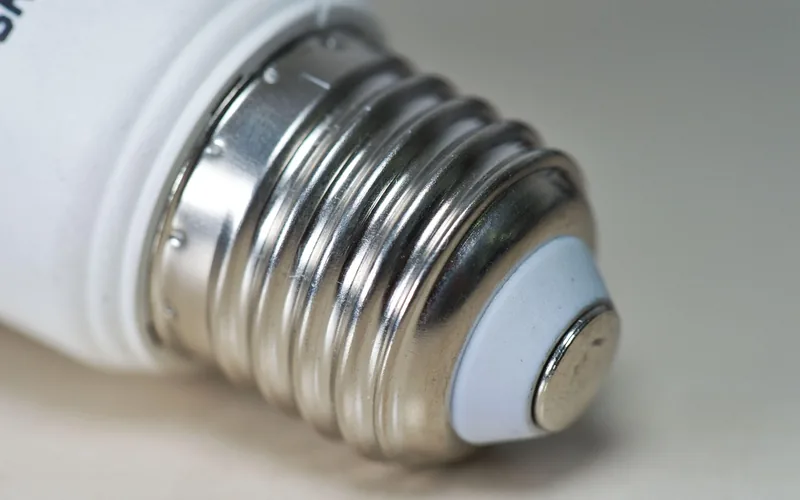
A candelabra base is a small screw fitting, code E12, that measures about 0.47 inches across the threads — most fan makers switched to it after the 2007 federal energy standards phased out 60W+ incandescent bulbs in the old, larger fixtures. A medium base, code E26, is the standard household screw fitting at roughly 1.05 inches across, still used on older fans and fans with a single large glass globe.
| Base | Thread Size | Common On | Best For |
|---|---|---|---|
| E12 Candelabra | ~0.47 in. | Newer fans with small glass shades or multiple sockets | Decorative multi-light kits |
| E26 Medium | ~1.05 in. | Older fans, single large glass globe | Standard household fixtures |
Whichever base your fan uses, always check the wattage sticker printed on the socket itself before buying a replacement — see our full wattage guide by fan type for the typical ranges across popular brands.
Best Candelabra LED Ceiling Fan Bulb Pick
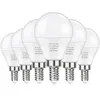
MAXvolador E12 LED 60W-Equivalent Ceiling Fan Bulbs (6-Pack) – $7.99
A 6W E12 candelabra bulb rated as a 60W incandescent equivalent — matches the small-base sockets this guide’s comparison table describes on most newer fan light kits.
- Best for: Multi-socket decorative fan light kits with E12 candelabra bases
- Why we picked it: 60W-equivalent output at 6W actual draw, well under most fans’ printed wattage caps
- Main drawback: Not dimmable — skip it if your fan light is on a dimmer switch
Compare more ceiling fan bulb options
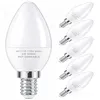 Option 1 PARTPHONER B11 E12 LED Bulb (6-Pack) – $7.98
|
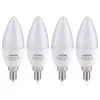 Option 2 GIOVAR LED Ceiling Fan Bulb (4-Pack) – $9.99
|
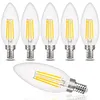 Option 3 comzler Dimmable E12 LED Bulb – $12.99
|
As an Amazon Associate we earn from qualifying purchases.
Removing Light Fixture Cover
First, find the screws or clips holding the cover. Look around the edge of the light fixture — sometimes they are hidden, so use a flashlight if needed. If your fan’s cover has no visible screws at all, see our guide on removing a ceiling fan light cover with no screws for the twist-and-release and hidden-clip methods.
Check for small metal clips or plastic tabs. Gently feel with your fingers, and be careful not to apply too much force.
Support the cover with one hand while you unscrew or unclip with the other — glass covers can be slippery. Lower the cover slowly and place it on a soft surface to prevent breaking it.
Unscrewing The Old Bulb
With the power off and the ladder steady, hold the old bulb gently and twist it counterclockwise — it should come out easily. If it’s stuck, don’t force it. If the bulb is broken, wear gloves and be extra careful. Dispose of the old bulb properly (recycle if your area accepts bulbs), then move on to the new bulb, remembering the exact size and base type your fan needs.
Choosing The Right Replacement Bulb
Check the bulb’s wattage before buying — too much power can trip the fan’s built-in wattage limiter. Look at the old bulb for its type: is it LED, incandescent, or CFL? Match the new bulb to the same type for guaranteed fit and safety, unless you’re intentionally upgrading to LED.
Can You Use an LED Bulb Instead of Incandescent?
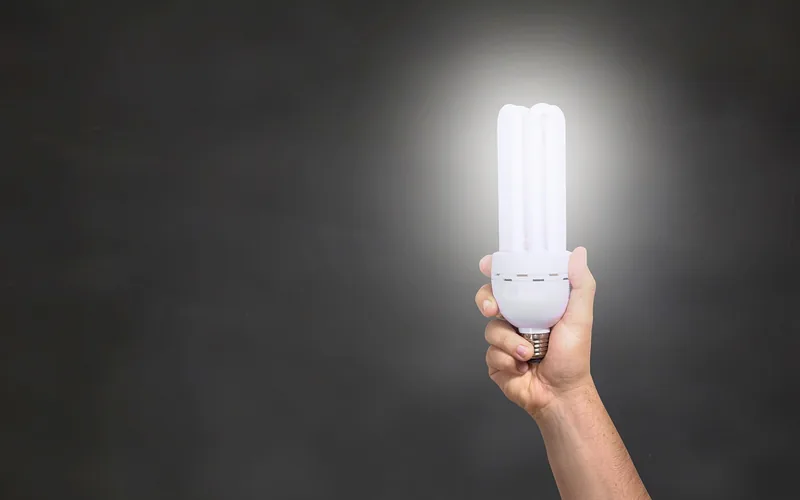
Yes — a 40W incandescent bulb is typically replaced by a 5–7W LED, and a 60W incandescent by a 7–9W LED, at the same brightness. LEDs also run far cooler, so they’re a safer choice for enclosed fan light kits that trap heat. The one exception: a standard LED bulb will flicker or hum on a dimmer-switch circuit unless it’s labeled “dimmable” — see the FAQ below for what to check.
Choose bulbs that save energy when possible. LED bulbs use less power and last far longer than incandescent bulbs, which helps on replacement frequency and on your energy bill.
Installing New Bulb
Hold the new bulb by its base, align it with the socket, and gently twist it in. Stop when it feels snug — overtightening can crack the bulb or the socket. Make sure the bulb is secure and doesn’t wobble; if it does, twist it slightly more. Always confirm the bulb is cool before touching it.
Turn on the fan light switch and observe the light. If it doesn’t turn on, check the bulb’s fit and confirm the power is on. If the bulb flickers, check the fit again — a stable, steady light means success.
Reattaching Fixture Cover
Place the cover back on the ceiling fan, align it with the holes, and hold it steady while you insert and tighten the screws. Do not over-tighten — the cover should sit firm and flush with no visible gaps. If gaps remain, adjust the cover until it seats properly.
Troubleshooting Common Issues
Check if the bulb is tightly screwed in — a loose bulb won’t light. Confirm the bulb isn’t burnt out and replace it if needed. Check that the switch is functioning and inspect the socket for damage; a damaged socket can cause the light to fail even with a good bulb. If all else fails, consult an electrician.
Flickering lights have a different cause than a bulb that won’t turn on at all — see our dedicated guide to ceiling fan light flickering if your new bulb lights up but flickers or hums, especially on a dimmer switch.
Maintenance Tips
Dust settles on ceiling fan blades and makes the motor work harder. Clean the blades every month with a soft cloth, and check the fan body for cobwebs and dust. Avoid water near electrical parts to keep the fan safe.
Inspect the fan twice a year: look for loose screws and tighten them, check the fan’s balance, and listen for strange noises that might signal a repair is needed. Examine the light bulbs and replace any that are burnt out right away.
Frequently Asked Questions
How Do I Change A Light Bulb In A Ceiling Fan?
Turn off the power at the breaker, then unscrew or unclip the light cover. Remove the old bulb by twisting it counterclockwise, insert the new bulb by twisting clockwise until snug, then reattach the cover and restore power. Test the light before climbing down.
How To Remove Ceiling Fan Light Cover?
Turn off the power first. Locate the screws or clips around the edge of the light cover, then unscrew or gently unclip them. Support the cover with your other hand as you remove it, since glass covers can be slippery.
Can The Light On A Ceiling Fan Be Replaced?
Yes, the light on a ceiling fan can always be replaced. Confirm the bulb base and wattage match the fan model first, remove the old bulb or fixture carefully, then install the new light per the manufacturer’s instructions. Always turn off the power before starting any electrical work.
How To Remove A Broken Light Bulb From A Ceiling Fan?
Turn off the power to the ceiling fan first. Wear gloves, then use pliers to gently unscrew the broken bulb base, or use a dedicated bulb extractor tool for better grip. Dispose of the broken glass safely, and recheck that the power is off before inserting the new bulb.
Can You Put an LED Bulb in a Ceiling Fan?
Yes — most ceiling fans accept standard E12 candelabra or E26 medium LED bulbs. Choose an LED rated at the same or lower wattage-equivalent as your old incandescent bulb (typically 40–60W equivalent, 5–9W actual draw), and confirm the base size matches before buying.
Does a Ceiling Fan Need a Dimmable LED Bulb?
Only if the fan light is wired to a dimmer switch. A standard non-dimmable LED bulb on a dimmer circuit will often flicker, buzz, or fail early — check the bulb packaging for a “dimmable” label before installing it on a dimmer-controlled fan.
Why Won’t My Ceiling Fan Light Turn On After I Replace the Bulb?
Start by confirming the bulb is fully seated and the breaker (not just the wall switch) is on. Test the new bulb in another fixture to rule out a defective bulb, and inspect the socket’s contact tab for corrosion or damage. If the bulb lights elsewhere but not in the fan, the socket itself likely needs an electrician’s inspection.
Conclusion
Replacing a light bulb on a ceiling fan is easy once you know your fan’s base and wattage limit. Cut the power first, remove the cover carefully, match the replacement bulb’s base and wattage, then reattach the cover and test.
With the right bulb size on hand, the whole swap takes a few minutes. If you’re also due to update other fixtures, our guide to replacing a recessed lighting bulb covers that process, and our Lighting & Ceiling Fan hub has more troubleshooting guides for your fan.
Sponsored / affiliate links. As an Amazon Associate I earn from qualifying purchases. I may earn additional commission from eligible campaigns.