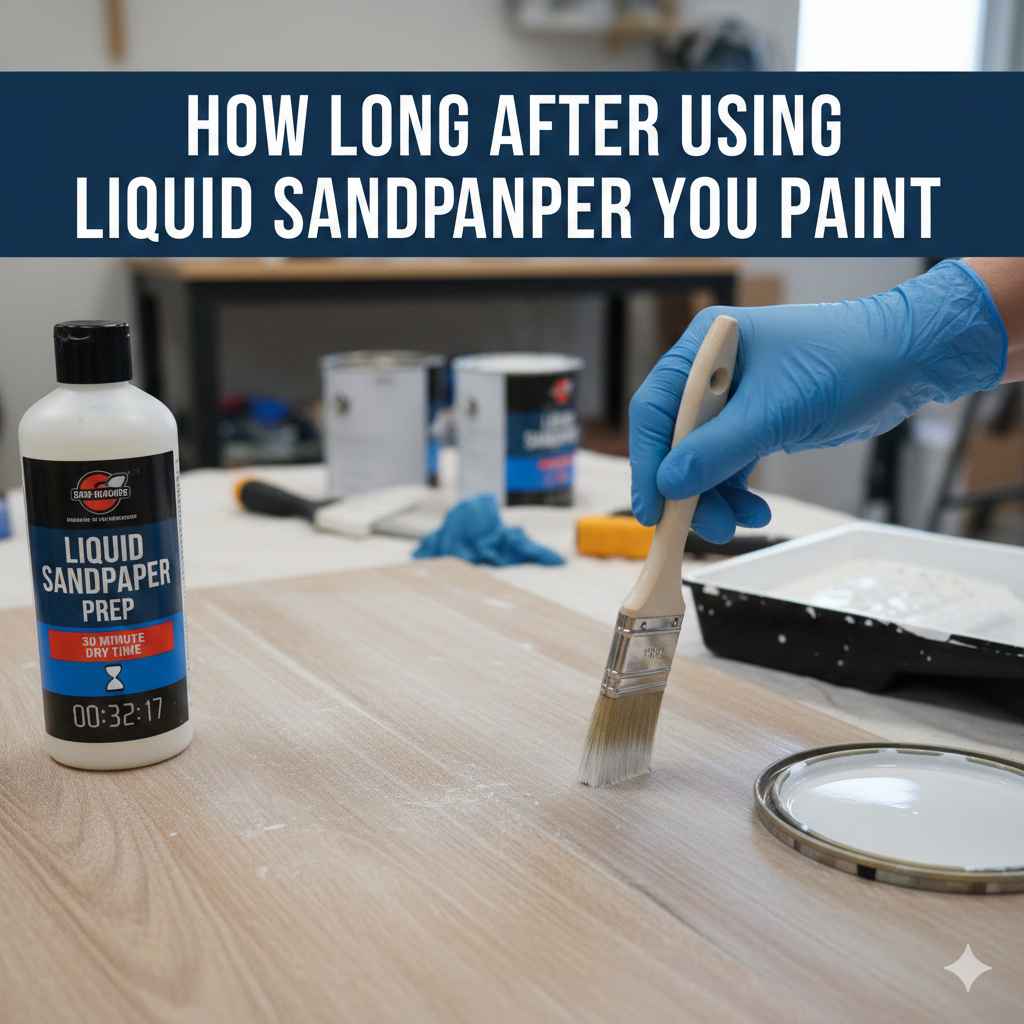
How Long After Using Liquid Sandpaper You Paint
Wait at least 30 minutes, but ideally one hour, after using liquid sandpaper (or chemical deglosser) before applying your first coat of paint. This short waiting time allows the solvents to fully evaporate and ensures the surface is dry and ready for optimal paint adhesion without streaks.
Welcome to the workshop! If you’ve ever used liquid sandpaper—that handy chemical solution that scuffs up slick surfaces without all the dust—you’re probably eager to get to the fun part: painting. It’s frustrating staring at a freshly prepped surface, wondering if you can jump straight to the roller. Waiting too long wastes time, but painting too soon ruins the whole project. Don’t worry! I’m Md Meraj, and I’ve been there. We are going to walk through exactly how long you need to wait, why that time matters, and how to know for sure your surface is ready. Let’s make sure your paint job sticks perfectly the first time!
Understanding Liquid Sandpaper: Your Secret Weapon for Smooth Finishes
Liquid sandpaper, often called a chemical deglosser or surface conditioner, is a lifesaver, especially when dealing with tricky surfaces like old varnish, laminate, or glossy tile. It’s not actually sand; it’s a mild solvent designed to lightly etch (or “dull”) the surface sheen.
Why do we use it? Traditional sanding creates dust, can be hard on curved surfaces, and might damage delicate materials. Liquid sandpaper chemically attacks the very top layer of the finish. This micro-roughening gives your new paint something microscopic to “grab onto.”
When the solvent does its job, it breaks down the slickness. But here’s the crucial part: once the solvent has done its etching work, it must completely evaporate before you can introduce paint. If you paint while the solvent is still active, you risk:
- Paint not curing correctly.
- The new paint softening or dissolving the deglosser, leading to lifting or peeling.
- Streaks and an uneven finish.

The Official Answer: How Long Should You Wait?
The golden rule in most situations comes down to balancing effectiveness and safety (for your paint job, that is!).
For most standard liquid sandpaper products used on common household surfaces (like cabinets, trim, or metal), the recommended minimum waiting time is usually 30 minutes. However, aiming for a full hour is the safest bet for beginners.
This wait time isn’t arbitrary. It’s based on the chemical makeup of the deglosser and the environmental factors present during application. Think of it like letting glue dry—it needs time to set up before you put stress on the joint.
Factors That Change Your Wait Time
If you are getting that “just right” feeling about waiting, you are already thinking like an experienced DIYer! Several things influence how quickly that chemical evaporates. We need to adjust our timeline based on the environment in the room.
Here is a breakdown of what speeds up or slows down the drying process after you wipe on that deglosser:
| Environmental Factor | Impact on Evaporation Time | What to Expect |
|---|---|---|
| Temperature | Higher is Faster | Warm rooms (70°F+) speed up evaporation. |
| Humidity | Higher is Slower | Humid days mean waiting longer; moisture interferes with solvent evaporation. |
| Airflow/Ventilation | Good Airflow is Faster | Use fans! Fresh air pulls the vapors away, speeding up the dry time significantly. |
| Product Thickness | Thicker Application is Slower | If you over-apply or don’t wipe excess, it will take much longer to flash off. |
Because environment matters so much, let’s focus on the tools we use to ensure the surface is perfect.
Step-by-Step: Prepping for Paint After Liquid Sandpaper Application
Getting the timing right is easier when you follow a structured prep process. Here are the exact steps, ensuring you hit that sweet spot before the paint goes on. Remember, liquid sandpaper should always be the very last step before priming or painting.
Step 1: Application and The Initial Wait (The “Flash Off” Period)
Apply the liquid sandpaper according to the manufacturer’s directions, usually wiping it on with a clean, lint-free rag. You only need a thin coat—it’s not supposed to look thick.
- Wipe the product across the surface evenly.
- Watch it work—you’ll see the surface dull slightly.
- Wait the minimum time specified on the can (usually 10–20 minutes) just for the initial chemical action to occur. This is often called the “flash off.”
Step 2: Creating Optimal Drying Conditions
This is where we actively speed things up, safely. Good airflow is your best friend when dealing with solvents.
- Turn on any exhaust fans in the room (especially important in kitchens or bathrooms).
- Set up a standard box fan positioned to blow air across the surface you prepped, not directly at it, to encourage movement over the surface.
- Keep windows open, weather permitting.
Step 3: The Mandatory Wait Time (The “Cure” Period)
This is the crucial waiting time we discussed earlier. Even if it looks dry to the touch after 30 minutes, we recommend an hour.
Why wait the full hour? This allows the residual solvents to fully dissipate into the air. Paint chemistry requires a completely inert, dry substrate (your surface) to bond to properly. For more detail on paint adhesion science, resources like the National Park Service often details the importance of substrate preparation in conservation work.
Step 4: The Touch Test (Confirming Dryness)
Before you dare open that can of primer, you need to confirm the surface is not just dry, but completely cured from the solvent.
Do NOT use the back of your hand or your fingertip directly on the freshly treated area. If there is any residue, it could feel tacky or potentially cause a minor skin reaction from residual solvents.
Instead, use a clean, dry, white cotton cloth (an old T-shirt works great). Gently wipe the cloth across the surface in a small, inconspicuous area. If any residue transfers onto the white cloth, wait longer.
Step 5: Wiping Down (The Clean Sweep)
Once you are confident the surface is fully dry (the cloth remains clean), you must remove any microscopic dust particles that may have settled during the waiting time.
- Use a tack cloth or a cloth lightly dampened with mineral spirits (if the paint manufacturer approves of the surface being wiped with spirits after deglossing). Check your deglosser instructions here!
- Wipe gently. This final pass removes any lingering dust or microscopic oil residue that might have evaporated off the surface.
- Allow this final wipe-down to dry completely—this usually takes just 5 to 10 minutes if you used a barely damp cloth.
Step 6: Painting!
Now you are ready. The surface has been chemically etched, the chemicals have vanished, and the surface is clean. Prime and paint away with confidence!
Liquid Sandpaper vs. Traditional Sanding: When to Choose Which
As a homeowner tackling DIY projects, you have choices. Liquid sandpaper is great, but it’s not always the right tool for every job. Understanding the trade-offs helps you decide when you absolutely must wait an hour versus when you could have used sandpaper and moved on faster.
| Method | Pros (Why it’s Good) | Cons (Potential Drawbacks) | Time to Wait Before Paint |
|---|---|---|---|
| Liquid Sandpaper (Deglosser) | No Dust; Excellent on curved surfaces; Chemically bonds to old finish. | Requires ventilation; Must wait for solvent to evaporate; Cannot fix deep imperfections. | 30–60 Minutes |
| Traditional Sanding (Medium Grit) | Removes imperfections quickly; Fast physical drying time (instant). | Creates significant dust; Harder on intricate details; Requires protective gear. | 10–15 Minutes (for dust settling and a quick wipe) |
The Case for Waiting Longer
If you are painting something high-contact or high-gloss, like a kitchen cabinet or an exterior door, always lean toward the longer wait time. If the deglosser hasn’t fully evaporated, the paint won’t create a strong molecular bond. This leads to what we call “soft adhesion,” where the paint peels off easily after just a few months, especially when exposed to moisture or temperature changes.
For these critical, high-use areas, wait a full hour, and if you are feeling humid or chilly, stretch that to 90 minutes. A little patience now saves you the headache of doing the whole job again next year.
Dealing with Different Substrates After Deglossing
The material you are working on changes how the liquid sandpaper behaves and, consequently, how long you need to wait.
1. Wood Cabinets (Varnished or Painted)
Wood is porous. The liquid sandpaper opens up those pores slightly to etch the old finish.
You must ensure the solvent doesn’t wick too deep into the wood grain itself.
Wait Time: 30 minutes minimum, 1 hour recommended. Good ventilation is key.
2. Laminate or Melamine
These are non-porous plastics. The deglosser works purely on the surface sheen. It dries very quickly because there’s nothing porous to soak it up.
Wait Time: 30 minutes is often sufficient, but err on the side of 45 minutes if humidity is high.
3. Ceramic or Plastic Items (Craft Projects)
For smaller, non-structural items, the evaporation rate is much faster due to the smaller surface area.
Wait Time: 20–30 minutes. If you can smell the chemical strongly, wait longer; if the smell is nearly gone, you are likely safe.
4. Metal Surfaces
When deglossing metal, you are usually prepping for direct-to-metal (DTM) paint or a specialty primer. Metal transfers heat and cools quickly, which affects evaporation. Make sure you use a product rated for metal deglossing.
Wait Time: 45–60 minutes. Ensure no residue is left that could react with a reactive metal primer.
Troubleshooting Common Waiting-Time Mistakes
Even with the best instructions, things can go sideways. Here are the most common errors related to waiting time after using liquid sandpaper and how to fix them before the paint can.
Mistake 1: The Surface Feels Tacky Even After an Hour
What happened: You likely applied the liquid sandpaper too heavily, or your ventilation was poor. The solvents are trapped, creating a sticky surface that won’t accept paint.
The Fix: Do not paint! Grab a clean rag dipped lightly in mineral spirits or the solvent recommended by the product manufacturer. Wipe the tacky area down again to “reset” the surface, then wait an additional hour with maximum fan usage and ventilation before re-testing.
Mistake 2: I Accidentally Smudged the Surface
What happened: You leaned against it, or maybe you touched it too soon while wiping down dust.
The Fix: If it’s a small smudge, and you’ve waited the full hour, gently go over that small area again with a fresh swipe of the liquid sandpaper (just a quick wipe, not a soak). Let that area flash off for 15 minutes, and then wait the remaining time until the whole surface matches the required total wait time. If the whole area is smeared, you might have to reapply the deglosser to the entire surface, wiping it on thinly, and restart the clock.
Mistake 3: I Used the Product and Then Went to Lunch (4 Hours Later)
What happened: You waited a long time—too long, perhaps?
The Fix: This is generally safe! If you waited four hours in normal indoor conditions, the solvent is long gone. However, extremely dry conditions (like in winter with forced-air heating) can sometimes leave a faint, dry residue that needs removal. Always do a final wipe with a tack cloth or a very slightly damp cloth (water or mineral spirits) just before painting to ensure a perfectly clean slate.
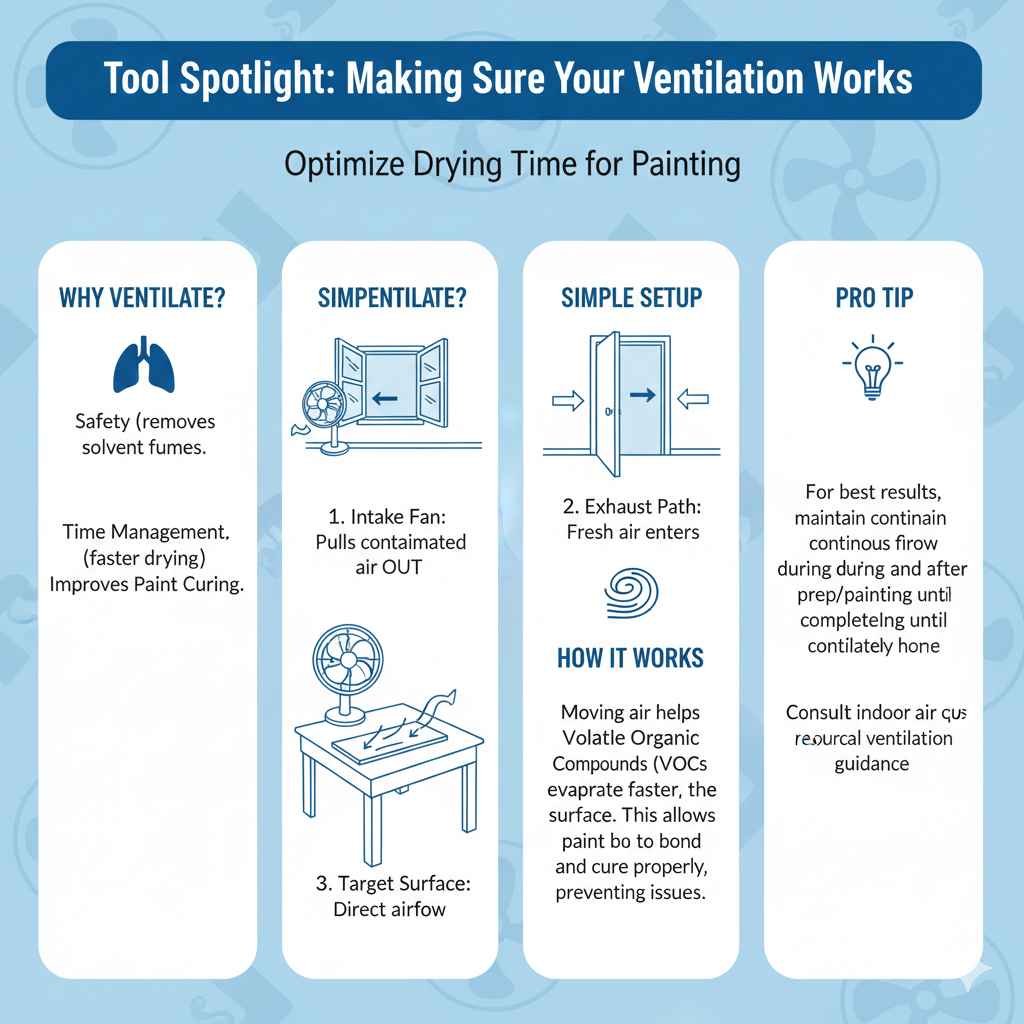
Tool Spotlight: Making Sure Your Ventilation Works
Ventilation isn’t just about safety (though that’s important when using solvents); it’s about time management. The faster the air moves across the surface, the faster the volatile organic compounds (VOCs) leave the area, allowing you to paint sooner.
Here’s a simple setup to optimize drying time:
- The Intake Fan: Place a standard box fan in a window pointing out of the room. This pulls the contaminated air out.
- The Exhaust Path: Open a door or window on the opposite side of the room. This creates a gentle, clean flow of fresh air across your workspace toward the exhaust fan.
- Targeting the Surface: If possible, place a small personal fan pointing across the surface being prepped. This direct airflow over the treated area is the fastest way to dissipate solvents.
For more general home ventilation tips that help any painting project succeed, resources focused on indoor air quality often provide great guidance on achieving proper airflow, which applies directly here.
Frequently Asked Questions (FAQ) for Beginners
Q1: Can I paint immediately after using liquid sandpaper if the surface looks completely dry?
A: No, you shouldn’t. Even if it looks dry, the solvent needs time to fully evaporate (cure). Painting too soon causes the new paint to lift or become soft. Wait at least 30 minutes, but 60 minutes is better.
Q2: Does humidity affect how long I have to wait?
A: Yes, significantly. High humidity slows down the evaporation of solvents. If it’s a muggy day, extend your waiting time past the standard 60 minutes until you are sure the surface feels totally dry to the touch.
Q3: What should I do if I forget to wait and paint over a tacky surface?
A: Stop painting immediately. You need to remove the fresh paint using the appropriate remover (check your paint can instructions) and wipe down the underlying surface with mineral spirits or a fresh light application of the deglosser to remove the trapped solvent. Then, restart the waiting process.
Q4: Can I use a heat gun to speed up the drying time after liquid sandpaper?
A: Be very cautious. If your surface is wood or plastic, direct heat can melt the plastic or scorch the wood grain. Gentle, warm airflow from a fan is much safer than intense heat from a gun.
Q5: Do I need to rinse off the liquid sandpaper before painting?
A: Generally, no. Most modern liquid sandpaper products are designed to flash off completely. Rinsing might reintroduce moisture or leave residue. Only rinse if the specific product instructions explicitly tell you to do so.
Q6: If I wait four hours, do I still need to use a tack cloth before painting?
A: It’s highly recommended. Four hours is usually plenty of time for evaporation, but dust settles quickly. A final light wipe with a tack cloth removes any airborne debris that landed while you were waiting, ensuring the absolute best adhesion for your primer or paint.
Conclusion: Confidence in the Cure Time
I know waiting is the hardest part of any DIY project. We want results now! But when it comes to preparing a surface with chemical solutions like liquid sandpaper, patience pays huge dividends. Remember our main takeaway: Aim for 30 minutes minimum, but always shoot for a full 60 minutes of quality drying time with good airflow.
By respecting that waiting window, you guarantee that the chemical deglossing did its job—creating microscopic anchors for your new paint—and that the surface is stable, clean, and ready for a flawless finish. Go ahead and check that surface with your white cloth one last time. When it comes away clean, you’ve earned the right to start painting. You’ve got this! Happy painting!