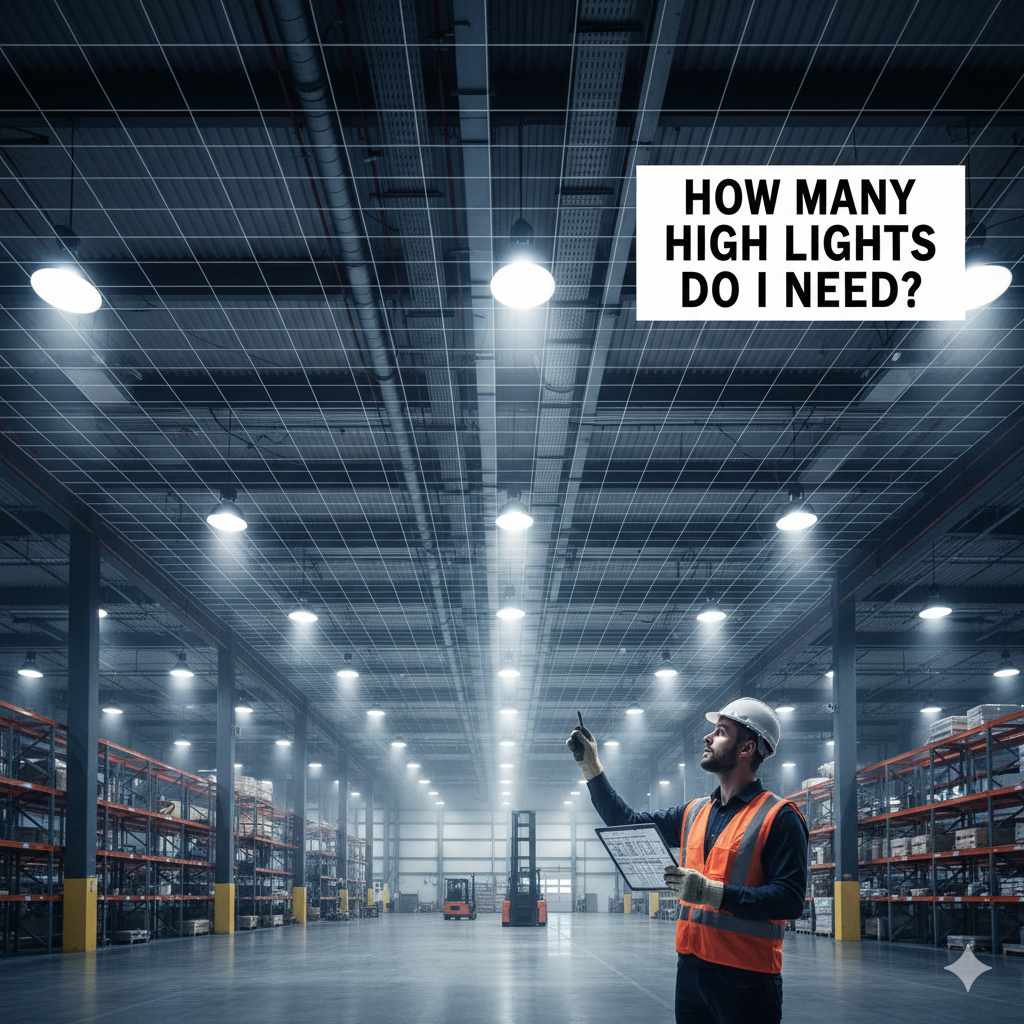
How Many High Bay Lights Do I Need? Essential Guide
Quick Summary: To determine how many high bay lights you need, consider your space’s size, ceiling height, and the required brightness (lux or foot-candles). A simple calculation involves dividing the total square footage by the average coverage area per fixture, factoring in mounting height and light output.
Ever stared up at a large workshop, garage, or warehouse and wondered, “How do I even begin to light this place up properly?” It’s a common question, especially when you’re tackling a big DIY project or setting up a new workspace. Getting the lighting just right can make a huge difference – too little, and you’re squinting; too much, and it’s blindingly bright and costs a fortune. Don’t worry, figuring out how many high bay lights you need isn’t rocket science. We’ll walk through it step-by-step, making it simple and stress-free. By the end of this guide, you’ll feel confident about lighting up your space perfectly.
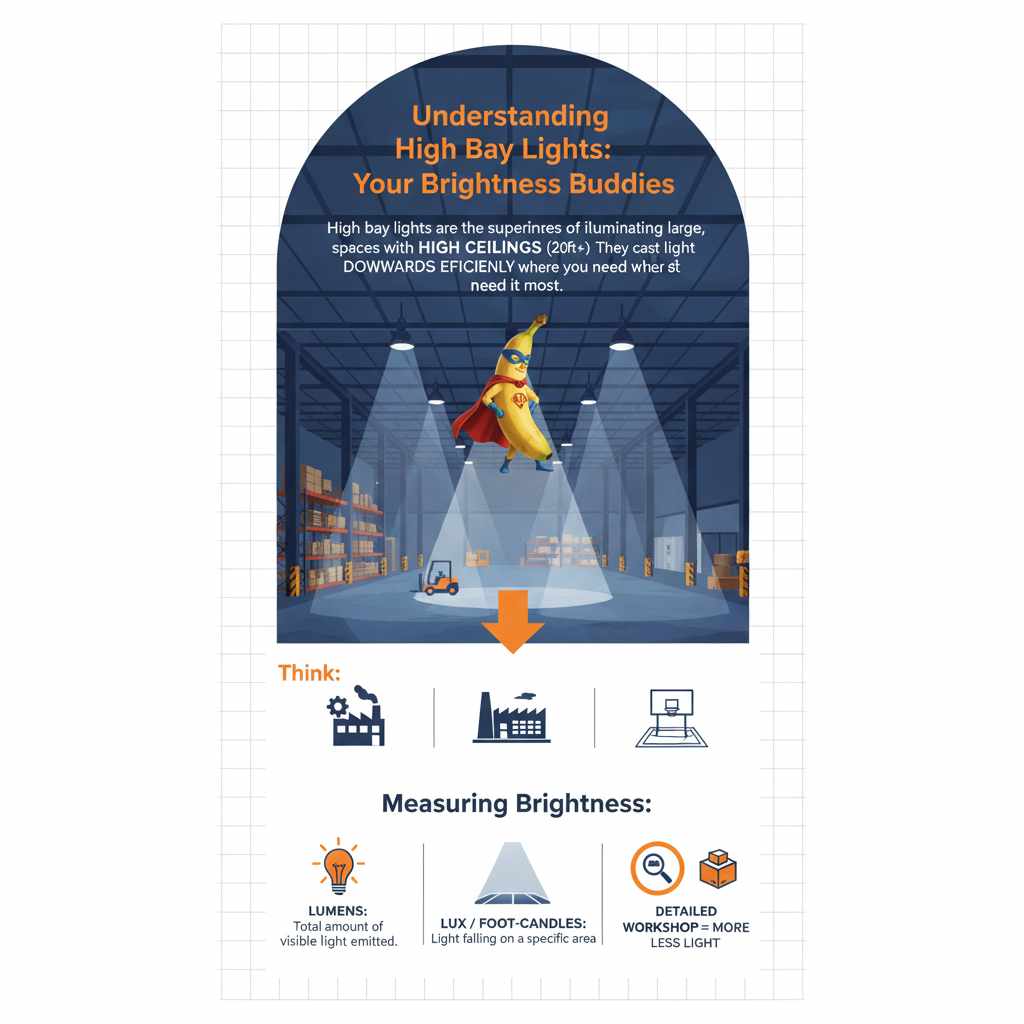
Understanding High Bay Lights: Your Brightness Buddies
High bay lights are the superheroes of illuminating large, open spaces with high ceilings, typically 20 feet and above. Think factories, warehouses, gymnasiums, large retail stores, and even spacious garages. They’re designed to cast light downwards efficiently, ensuring that even from a high perch, the light reaches the floor where you need it most. Unlike regular ceiling lights, high bays have a focused beam, meaning they don’t just scatter light everywhere. This focus is key to effective lighting in tall spaces.
When we talk about how bright a light is, we usually use terms like lumens, lux, or foot-candles. Lumens measure the total amount of visible light a bulb emits. Lux and foot-candles measure how much light falls on a specific area. For lighting calculations, we often focus on lux or foot-candles because they tell us how bright a surface will be. Different activities and spaces require different levels of brightness. For example, a workshop where you’re doing detailed work will need more light than a storage area.
Why Proper Lighting Matters (More Than You Think!)
Getting your high bay lighting right isn’t just about aesthetics; it’s about function, safety, and even your wallet.
- Safety First: Well-lit spaces reduce the risk of accidents. You can see tripping hazards, moving machinery, or obstacles clearly, preventing injuries. This is especially crucial in busy workshops or warehouses.
- Productivity Boost: In workspaces, adequate lighting can improve focus and reduce eye strain, leading to better performance and fewer errors.
- Energy Efficiency: Choosing the right number and type of high bay lights, especially modern LED options, can save a significant amount on your electricity bills. Over-lighting wastes energy and money.
- Task Appropriateness: Different tasks require different light levels. Fine detail work needs brighter light than general storage. Proper planning ensures you have the right brightness where it’s needed.
Key Factors for Calculating High Bay Lights
Before we dive into the numbers, let’s look at the main things that influence how many lights you’ll need. Think of these as the ingredients for our lighting recipe:
1. Space Dimensions: The Foundation
This is the most straightforward part. You need to know the length, width, and height of your space. The total square footage (length x width) is essential for calculating the overall light requirement, while the ceiling height dictates the type of high bay fixture and how it will perform.
2. Ceiling Height: The Big Factor
As mentioned, high bay lights are for spaces with high ceilings. The height directly impacts how wide a beam of light each fixture can cover effectively and how much light actually reaches the floor. A fixture mounted higher will have a broader coverage area but might need to be more powerful to deliver the same brightness at floor level compared to one mounted lower.
3. Required Light Level (Foot-Candles or Lux): The Brightness Goal
This is critical. What will you be doing in this space? Different applications have different recommended light levels:
- General Storage/Warehousing: 10-20 foot-candles (fc) or 100-200 lux.
- Light Assembly/Manufacturing: 30-50 fc or 300-500 lux.
- Detailed Work/Inspection: 50-100+ fc or 500-1000+ lux.
- Gymnasiums/Sports Halls: 30-75 fc or 300-750 lux (can vary by sport).
- Retail Showrooms: 20-50 fc or 200-500 lux (can be higher in specific display areas).
You can find official recommendations from organizations like the Illuminating Engineering Society (IES). For DIY projects, consider the primary use of your space. If it’s a home workshop for general woodworking, you might aim for the mid-range. If you do intricate model building, you’ll want more.
4. Type of High Bay Fixture: The Tool Itself
High bay lights come in different shapes and sizes, and importantly, with different beam angles and lumen outputs. A fixture with a narrow beam angle will concentrate light in a smaller area, while a wide beam angle spreads it out more. The lumen output (total light produced) is a key specification. You’ll typically see LEDs, but older metal halide or fluorescent options still exist (though LEDs are far more efficient and durable).
5. Maintenance Factor (Optional but Good to Know)
Lights don’t stay at 100% brightness forever. Dust and dirt accumulate on lenses, and bulbs naturally degrade over time. The maintenance factor accounts for this light loss. For clean environments, it might be around 0.8-0.9. For dusty areas, it could be 0.5-0.7. This means you might need slightly more initial light to compensate for future dimming. For simplicity in this guide, we’ll often assume a maintenance factor close to 1, but it’s good to be aware of.
The Basic Calculation: Step-by-Step
Ready to crunch some numbers? Here’s a simplified approach to figure out how many high bay lights you need. This method gives you a good starting point.
Step 1: Calculate Your Space’s Square Footage
Measure the length and width of your space and multiply them together.
Example: A workshop that is 50 feet long and 40 feet wide has a square footage of 50 ft x 40 ft = 2000 sq ft.
Step 2: Determine Your Target Foot-Candles (fc)
Decide on the brightness level needed for your space based on its intended use. Let’s say your workshop needs 30 fc for general work.
Step 3: Estimate the Coverage Area of a Single High Bay Light
This is where it gets a bit tricky, as it depends heavily on the fixture’s mounting height and beam angle. A common rule of thumb for high bay lights mounted at 20-30 feet is that a single fixture can effectively cover an area of about 10×10 feet to 15×15 feet, providing adequate and uniform light. For simplicity in our basic calculation, let’s assume one high bay light covers roughly 100 to 150 square feet effectively.
Note: This is a simplified estimate. More precise calculations use photometric data specific to each fixture, which is provided by the manufacturer. For a more accurate understanding, you can refer to resources like the Illuminating Engineering Society (IES), which provides standards and guidelines for lighting design.
Step 4: Calculate the Total Lumens Needed
This is where we bridge the gap between area and brightness. The formula is
Total Lumens Needed = Square Footage x Target Foot-Candles
Example: For our 2000 sq ft workshop needing 30 fc
Total Lumens Needed = 2000 sq ft x 30 fc = 60,000 lumens
Step 5: Determine Lumens Per Fixture
Now, look at the high bay lights you’re considering. They will have a lumen output specified. For example, a common 150W LED high bay might produce around 20,000 lumens. If you’re using multiple fixtures, you’ll want them to provide a combined total that meets your needs.
Step 6: Calculate the Number of Fixtures
This is the final step! Divide the total lumens needed by the lumens per fixture.
Number of Fixtures = Total Lumens Needed / Lumens Per Fixture
Example: If you need 60,000 lumens total, and each of your chosen LED high bays provides 20,000 lumens
Number of Fixtures = 60,000 lumens / 20,000 lumens/fixture = 3 fixtures
Wait, that seems too simple! This calculation is a good starting point, but it doesn’t account for uniformity or the specific coverage area. A more practical approach often uses the coverage area per fixture.
A More Practical Approach: Coverage Area Method
This method focuses on how much floor space each light can illuminate well. It’s often easier for beginners to visualize.
Step 1: Determine Your Space’s Square Footage
Same as before: Length x Width = Total Square Footage.
Example: 2000 sq ft.
Step 2: Estimate the Effective Coverage Area Per Fixture
This is the crucial number. It depends on your ceiling height and the fixture’s beam angle. For high ceilings (20ft+):
- Narrow Beam (less than 90 degrees): Might cover a 10×10 ft area (100 sq ft) effectively. Good for focused tasks or aisles.
- Wide Beam (90 degrees or more): Might cover a 15×15 ft area (225 sq ft) effectively. Better for general illumination.
Let’s assume you’re using a fixture with a moderately wide beam that effectively covers about 12×12 feet (144 sq ft) at your ceiling height.
Step 3: Calculate the Number of Fixtures
Divide your total square footage by the estimated coverage area per fixture.
Number of Fixtures = Total Square Footage / Coverage Area Per Fixture
Example: For our 2000 sq ft space with a 144 sq ft coverage per fixture
Number of Fixtures = 2000 sq ft / 144 sq ft/fixture = 13.88 fixtures
Since you can’t install a fraction of a light, you’d round up to 14 fixtures.
Step 4: Consider Layout and Spacing
Once you have a number, you need to plan where they’ll go. The goal is even light distribution. A common method is to space fixtures in a grid pattern. Divide the length of your space by the number of fixtures along the length, and do the same for the width. The ideal spacing aims for a ratio of about 1:1 to 1.5:1 between mounting height and spacing between fixtures for good uniformity.
Example: If you have 14 fixtures for a 50×40 ft space, you might arrange them in a 4×3.5 grid. You’d likely do a 4×4 grid (16 fixtures) or adjust to 14 fixtures in a slightly uneven but effective layout. For a 4×4 grid (16 fixtures):
- Spacing along 50ft length: 50 ft / 4 fixtures = 12.5 ft apart
- Spacing along 40ft width: 40 ft / 4 fixtures = 10 ft apart
This gives you a good idea of how to position them.
Using a Lighting Calculator (The Smart Way)
While manual calculations are helpful for understanding, the most accurate way to plan is often by using specialized lighting calculators. Many high bay light manufacturers offer these on their websites, or you can find independent tools.
These calculators typically ask for:
- Room dimensions (length, width, height)
- Target illuminance level (lux or foot-candles)
- Mounting height of the fixtures
- Reflectance of surfaces (walls, ceiling, floor – affects how light bounces)
- Maintenance factor
- Photometric data of the specific fixture you’re considering (often uploaded as a file or selected from a database)
These tools use complex algorithms to simulate light levels across your space and ensure uniformity. They can be invaluable for ensuring you get the best results. You can often find excellent resources and calculators through professional lighting suppliers or manufacturer websites.
Example Scenarios
Let’s apply these methods to a couple of common DIY situations.
Scenario 1: The Home Woodworking Shop
- Space: 30 ft x 25 ft, 15 ft ceiling height.
- Target Brightness: 50 fc (for detailed work).
- Fixture: Let’s assume a moderately wide beam LED high bay that covers about 10×10 ft (100 sq ft) effectively at this height.
Calculation (Coverage Area Method):
- Square Footage: 30 ft x 25 ft = 750 sq ft.
- Number of Fixtures = 750 sq ft / 100 sq ft/fixture = 7.5 fixtures.
- Round up to 8 fixtures.
Layout: You might space these 8 fixtures in a 3×3 grid (9 positions, with one unused or used for a central fixture). Or a 4×2 grid. For a 4×2 grid:
- Spacing along 30ft length: 30 ft / 4 fixtures = 7.5 ft apart.
- Spacing along 25ft width: 25 ft / 2 fixtures = 12.5 ft apart.
This layout ensures good coverage and brightness for detailed work.
Scenario 2: The Large Garage/Carport
- Space: 60 ft x 20 ft, 12 ft ceiling height.
- Target Brightness: 20 fc (for general parking and occasional tinkering).
- Fixture: A wider beam LED high bay, covering about 15×15 ft (225 sq ft) at this height.
Calculation (Coverage Area Method):
- Square Footage: 60 ft x 20 ft = 1200 sq ft.
- Number of Fixtures = 1200 sq ft / 225 sq ft/fixture = 5.33 fixtures.
- Round up to 6 fixtures.
Layout: A 3×2 grid would work well.
- Spacing along 60ft length: 60 ft / 3 fixtures = 20 ft apart.
- Spacing along 20ft width: 20 ft / 2 fixtures = 10 ft apart.
This provides ample light for parking and basic maintenance without being overly bright or costly.
Choosing the Right High Bay Lights
Beyond just the number, consider these factors when buying your lights:
- LED vs. Other Technologies: LEDs are the clear winner for efficiency, lifespan, and durability. They also turn on instantly and don’t contain mercury like fluorescent or HID bulbs.
- Wattage and Lumen Output: Don’t just go by wattage. Look at the lumen output. A 100W LED high bay might produce 13,000 lumens, while a 150W might produce 20,000 lumens or more.
-
Color Temperature (CCT): Measured in Kelvin (K).
- 3000K (Warm White): Cozy, good for retail or areas where ambiance matters.
- 4000K (Cool White/Neutral): Versatile, good for workshops and general use.
- 5000K-6500K (Daylight): Bright, crisp, good for detailed tasks and mimicking natural light.
- Beam Angle: As discussed, wider beams cover more area but might be less intense directly below. Narrower beams are more focused.
- IP Rating: If your space is dusty or damp (like a car wash bay or certain industrial settings), look for a good IP (Ingress Protection) rating to ensure the fixture is sealed against contaminants. For most workshops, IP20 or IP40 is sufficient.
- Warranty: A longer warranty (e.g., 5 years) indicates manufacturer confidence in the product’s longevity.
Common Mistakes to Avoid
Even with a guide, it’s easy to slip up. Here are a few pitfalls to watch out for:
- Under-lighting: This is the most common mistake. People underestimate how much light is needed, leading to dim, unusable spaces.
- Over-lighting: Installing too many lights or lights that are too powerful wastes energy and creates glare.
- Poor Spacing: Placing lights too far apart creates dark spots and uneven illumination, making the space feel unprofessional and potentially unsafe.
- Ignoring Beam Angle: Using a fixture with a beam angle that’s too narrow for general illumination or too wide for focused tasks.
- Not Considering Ceiling Height: Using a fixture designed for lower ceilings in a high bay space, where the light will be too diffuse by the time it reaches the floor.
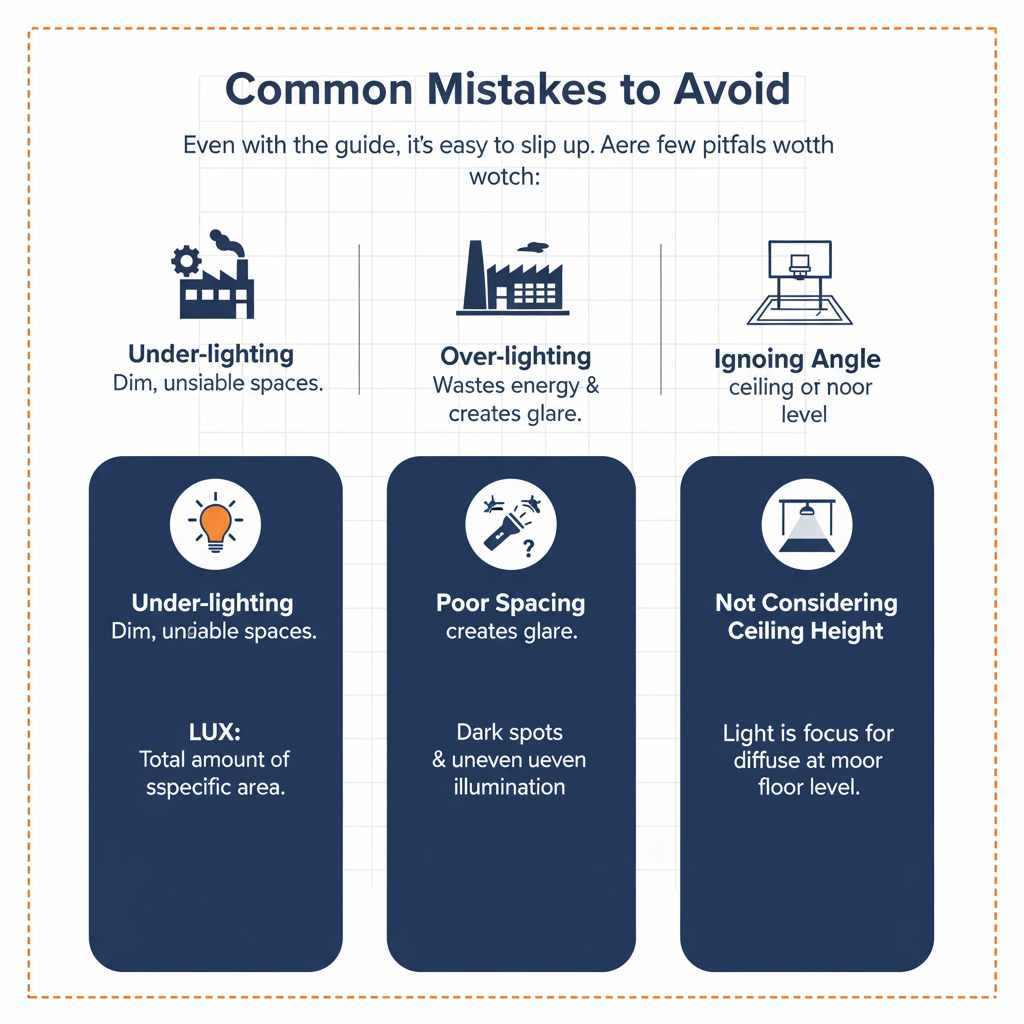
Table: Light Level Recommendations by Application
Here’s a quick reference table to help you choose the right brightness:
| Application | Recommended Illuminance (Foot-Candles) | Recommended Illuminance (Lux) | Typical Fixture Lumens (per fixture, example) |
|---|---|---|---|
| General Storage / Warehouse | 10 – 20 fc | 100 – 200 lux | 10,000 – 15,000 lm |
| Light Assembly / Manufacturing | 30 – 50 fc | 300 – 500 lux | 15,000 – 20,000 lm |
| Detailed Work / Inspection | 50 – 100+ fc | 500 – 1000+ lux | 20,000 – 30,000+ lm |
| Gymnasium / Sports Hall | 30 – 75 fc | 300 – 750 lux | 15,000 – 25,000 lm |
| Retail Showroom | 20 – 50 fc | 200 – 500 lux | 12,000 – 20,000 lm |
Frequently Asked Questions (FAQ)
Q1: How high should high bay lights be mounted?
High bay lights are designed for ceilings 20 feet and higher. The exact mounting height depends on the fixture’s specifications and the desired light distribution. Generally, they are mounted from the ceiling structure itself, with suspension kits or direct mounting.
Q2: Can I use regular LED shop lights instead of high bay lights?
For ceilings under 15 feet, regular LED shop lights or linear fixtures might be sufficient. However, for higher ceilings (20ft+), high bay lights are specifically engineered to direct light downwards effectively. Standard shop lights would struggle to provide adequate illumination at floor level from such heights.
Q3: What’s the difference between lumens and foot-candles?
Lumens measure the total light output of a fixture. Foot-candles (or lux) measure how much of that light actually falls on a specific surface area. Think of lumens as the total water produced by a hose, and foot-candles as how wet the ground is under the spray.
Q4: How do I ensure even lighting distribution?
Even lighting is achieved through proper spacing of fixtures. The general rule is to aim for a spacing-to-mounting-height ratio between 1:1 and 1.5:1. Using lighting design software or calculators can help achieve optimal uniformity.
Q5: What’s the best color temperature for a workshop?
For workshops, 4000K (Cool White) or 5000K (Daylight) is often recommended. These provide a neutral to bright, crisp light that is excellent for visibility and reducing eye strain during detailed tasks.
Q6: Do I need a professional electrician to install high bay lights?
For safety and code compliance, it’s highly recommended to have a qualified electrician install high bay lights, especially if you’re dealing with new wiring, high voltages, or complex circuits. They can ensure the installation is safe and up to standard.
Conclusion
Figuring out how many high bay lights you need might seem daunting at first, but by breaking it down into simple steps, it becomes manageable. Remember to consider your space’s size, ceiling height, and the specific activities that will take place there to determine the required brightness. Whether you use the coverage area method, the lumen calculation, or a professional lighting calculator, the goal is to achieve a well-lit, safe, and functional space. Don’t be afraid to round up slightly to ensure adequate coverage, and always prioritize safety by consulting with a professional electrician for installation. With the right planning and the correct number of lights, you can transform any large space into a brightly lit, productive area.