How to Build a Shed Door: Genius Plywood Guide
Build a sturdy, budget-friendly shed door using simple plywood techniques. This guide breaks down the process into easy steps, perfect for beginners. You’ll learn to measure, cut, assemble, and finish a durable shed door that adds both function and appeal to your outdoor space.
Is your shed door looking a little worse for wear? Maybe it’s warped, difficult to open, or just doesn’t quite fit anymore. Replacing an old shed door can seem like a big job, especially if you’re new to DIY projects. You might think you need fancy materials or specialized tools. But I’m here to tell you that building a great shed door is totally achievable, even for beginners! And the best part? We’re going to use a fantastic, affordable material: plywood. With just a few basic tools and some clear steps, you can craft a shed door that’s strong, looks good, and will last for years. Ready to give your shed a much-needed upgrade?
Frequently Asked Questions
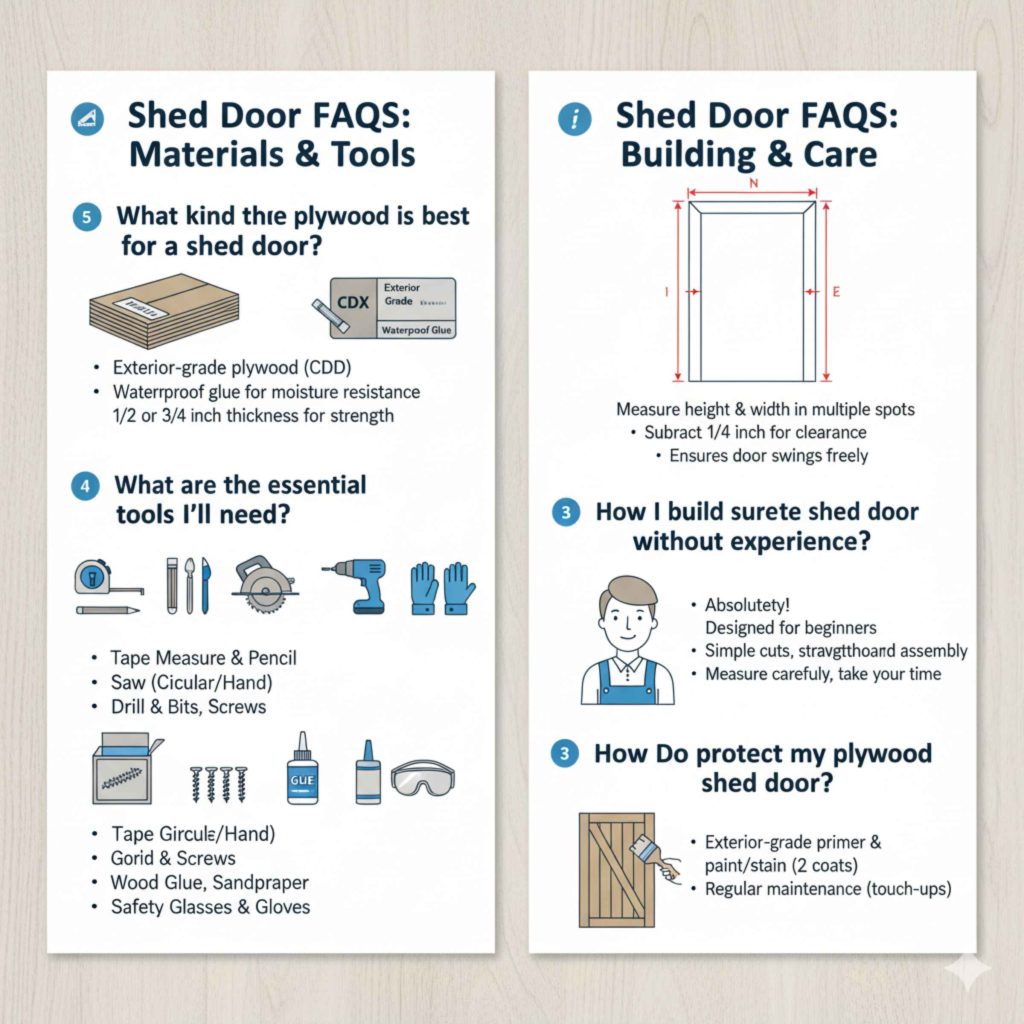
What kind of plywood is best for a shed door?
For a shed door, exterior-grade plywood is your best bet. Look for labels like “exterior” or “CDX.” This type of plywood is made with waterproof glue, so it can handle moisture and weather much better than interior plywood. A thickness of 1/2 inch or 3/4 inch is usually ideal for strength and stability.
What are the essential tools I’ll need?
You won’t need a huge workshop! For this project, you’ll want a tape measure, a pencil, a straight edge or speed square, a saw (a circular saw or even a handsaw can work), a drill with drill bits, screws, sandpaper, and safety gear like safety glasses and gloves. Wood glue is also a great addition for extra strength.
How do I make sure the door fits my shed opening correctly?
Accurate measuring is key! You’ll want to measure the height and width of your shed opening in a few places. It’s best to measure the opening at the top, middle, and bottom for width, and at the sides and center for height. Then, subtract a small amount (usually about 1/4 inch) from both the width and height measurements to ensure the door has a little bit of clearance to swing freely without rubbing.
Can I build a shed door without a lot of woodworking experience?
Absolutely! This guide is designed specifically for beginners. We’ll focus on simple cuts and straightforward assembly methods. Plywood is forgiving, and the steps are broken down so you can follow along with confidence. The most important things are to measure carefully and take your time.
How do I protect my plywood shed door from the weather?
Once your door is built and assembled, you’ll want to seal and paint or stain it. Use an exterior-grade primer and then at least two coats of good quality exterior paint or stain. Pay special attention to sealing the edges of the plywood, as these are the most vulnerable spots for moisture absorption. Regular maintenance, like touching up paint as needed, will extend its life significantly.
What if I don’t have a perfectly square shed opening?
Don’t worry, most shed openings aren’t perfectly square! The trick is to measure the opening in multiple places (top, middle, bottom for width; left, center, right for height) and use the smallest measurement for your door’s dimensions, or slightly less. You can also add a wooden frame or trim around the door opening on the shed itself to create a more uniform and forgiving frame for your new door.
How to Build a Shed Door: Genius Plywood Guide
Building your own shed door from plywood is a smart, cost-effective DIY project. It’s a fantastic way to give your shed a fresh look and ensure it’s secure and functional. Forget about expensive pre-made doors; with a few sheets of plywood and some basic tools, you can create a durable, custom-fit door that’s perfect for your needs. This guide will walk you through every step, making it simple and straightforward, even if you’re a complete beginner. Let’s get started on transforming your shed!
Why Plywood is a Smart Choice for Shed Doors
Plywood might not sound as fancy as solid wood, but for a shed door, it’s often the perfect material. Here’s why:
- Affordability: Plywood is significantly less expensive than solid wood planks, making it a budget-friendly option for any DIYer.
- Stability: Good quality exterior plywood is engineered to resist warping and cracking, which is crucial for a door that’s exposed to the elements.
- Ease of Use: It’s easy to cut, drill, and work with, making it ideal for beginner woodworkers.
- Versatility: You can cut plywood into various shapes and sizes to create a door that fits your shed perfectly.
- Durability: When properly sealed and maintained, plywood doors can last for many years.
Gather Your Materials and Tools
Before you start cutting, make sure you have everything ready. Having your materials and tools organized will make the building process much smoother and safer.
Materials:
- Exterior-grade Plywood: One or two sheets of 1/2-inch or 3/4-inch thick exterior-grade plywood (like CDX). The amount depends on the size of your door. A standard shed door is usually around 30-36 inches wide and 60-72 inches tall.
- Wood Screws: Exterior-grade wood screws, about 1 1/4 inches and 2 inches long.
- Wood Glue: Exterior-grade wood glue for added strength.
- Sandpaper: Medium-grit (e.g., 100-120 grit) and fine-grit (e.g., 180-220 grit).
- Primer: Exterior-grade wood primer.
- Exterior Paint or Stain: Your choice of color and finish.
- Optional: Wood for bracing (e.g., 1×3 or 1×4 lumber), hinges, and a latch/handle.
Tools:
- Tape Measure: For accurate measurements.
- Pencil: To mark your cuts.
- Straight Edge or Speed Square: To ensure straight lines for cutting.
- Saw: A circular saw is ideal for straight cuts on plywood. A jigsaw can be used for curves if needed, and a handsaw is an option if power tools aren’t available. For best results, consider a circular saw.
- Drill: With drill bits for pilot holes and driving screws.
- Clamps: Useful for holding pieces together while gluing or screwing.
- Safety Gear: Safety glasses, gloves, and a dust mask.
- Optional: Router (for rounding edges), measuring tape for precise door fit.
Step 1: Measure Your Shed Opening Accurately
This is the most crucial step! A door that’s too big won’t fit, and one that’s too small will have drafts and look sloppy. Precision here saves you headaches later.
- Measure the Width: Measure the width of the opening at the top, middle, and bottom. Write down all three measurements.
- Measure the Height: Measure the height of the opening on the left side, in the middle, and on the right side. Write down all three measurements.
- Determine the Door Size: Use the smallest measurement for both width and height. Now, subtract about 1/4 inch from these smallest measurements. This 1/4-inch gap will allow the door to swing freely without rubbing against the frame. This is your target door size.
Pro Tip: If your shed opening is significantly out of square, you might consider adding some simple trim around the opening on the shed itself to create a more uniform frame for your new door.
Step 2: Cut Your Plywood Panels
Now it’s time to cut the plywood. Remember, measure twice, cut once!
- Lay Out Your Plywood: Place your plywood sheet on a stable surface, like sawhorses or a workbench.
- Mark Your Cut Lines: Using your tape measure, pencil, and straight edge or speed square, carefully mark the dimensions of your door onto the plywood. Double-check your measurements.
-
Make Your Cuts:
- For a simple flat door: You’ll typically cut one large panel to your determined door size.
- For a more robust door: You can cut two panels to size. These will be the front and back of your door. You can also cut strips of plywood or thinner lumber (like 1x3s) to create a frame around the edges.
- Cut Safely: If using a circular saw, ensure the plywood is securely supported. Wear your safety glasses! Follow the marked lines as accurately as possible.
Cutting Options for Different Door Styles
Here are a couple of common ways to construct a plywood shed door:
| Door Style | Construction Method | Pros | Cons |
|---|---|---|---|
| Simple Flat Panel | Cut one large piece of plywood to the exact door dimensions. | Easiest and fastest to build. Very budget-friendly. | Least rigid; can be prone to warping over time if not reinforced. |
| Reinforced Flat Panel | Cut one large piece of plywood. Glue and screw strips of plywood (or 1×3 lumber) around the edges on one side to create a thicker, more rigid perimeter. | Adds significant rigidity and strength. Still relatively simple. | Slightly more material and time. |
| Sandwich Panel | Cut two identical pieces of plywood to your door dimensions. Cut strips of plywood or 1×3 lumber to create a frame around the inside edges of one panel. Glue and screw these frame pieces to the inside of one panel. Then, glue and screw the second plywood panel on top, creating a hollow-core door. | Very strong and resistant to warping. Can be made lighter than solid wood. | Most complex and time-consuming of the simple methods. Requires more precise cutting of frame pieces. |
Step 3: Assemble Your Shed Door
Now it’s time to put the pieces together. The method depends on the style you chose in Step 2.
For a Reinforced Flat Panel Door:
- Prepare the Frame Pieces: If you’re adding a frame around the edges for extra rigidity, cut strips of plywood or 1×3 lumber to fit around the perimeter of your main door panel.
- Apply Glue: Apply a generous bead of exterior wood glue along the edges of the main door panel where the frame pieces will attach.
- Attach Frame Pieces: Position the frame pieces onto the glued edges.
- Screw in Place: Predrill pilot holes through the frame pieces into the main door panel to prevent splitting. Then, drive exterior wood screws to secure the frame pieces firmly. Space screws about every 6-8 inches.
- Wipe Excess Glue: Wipe away any excess glue that squeezes out with a damp cloth.
For a Sandwich Panel Door:
- Cut Frame Pieces: Cut strips of plywood or 1×3 lumber. These will form the internal frame of your door. They should fit around the inside perimeter of one of your plywood panels, leaving a border.
- Glue and Screw Frame to First Panel: Apply wood glue to the back of the frame pieces. Position them onto the inside face of one plywood panel, about 1/2 inch to 1 inch in from the edges. Predrill pilot holes and screw the frame pieces to the plywood panel.
- Glue the Second Panel: Apply a generous amount of wood glue to the top edges of the internal frame pieces.
- Close the Sandwich: Carefully place the second plywood panel on top of the glued frame, aligning all the edges perfectly.
- Clamp and Screw: Clamp the two panels together firmly. Predrill pilot holes through the top panel into the internal frame pieces and drive screws every 6-8 inches to secure them. If you don’t have clamps, you can use heavy objects to apply pressure.
- Wipe Excess Glue: Clean up any squeezed-out glue.
Step 4: Sand and Prepare for Finishing
A smooth finish not only looks better but also helps your paint or stain adhere properly and protects the wood.
- Initial Sanding: Using medium-grit sandpaper, sand all surfaces of the door, paying attention to any rough edges or splinters. If you have a router, you can use it to slightly round over the edges for a more finished look and to prevent snagging.
- Smooth the Surfaces: Switch to fine-grit sandpaper and sand all surfaces again until they are smooth to the touch.
- Clean Off Dust: Wipe the entire door down with a clean, dry cloth or a tack cloth to remove all sanding dust. For best results, you can also vacuum any dust.
Step 5: Prime and Paint or Stain
This step is crucial for protecting your plywood door from moisture and UV rays, extending its life considerably.
- Apply Primer: Apply a coat of exterior-grade primer to all surfaces of the door, including the edges. Primer helps paint adhere better and provides a uniform base color.
- Allow to Dry: Let the primer dry completely according to the manufacturer’s instructions.
- Sand Lightly: Once dry, lightly sand the primed surface with fine-grit sandpaper to create an even smoother finish. Wipe away dust again.
- Apply Top Coat: Apply your first coat of exterior paint or stain. Use long, even strokes.
- Second Coat (and Third!): Allow the first coat to dry completely, then apply a second coat. For maximum protection, especially on the edges and end grain, a third coat is highly recommended.
Important Note on Edges: The edges of plywood are the most vulnerable to moisture. Ensure you apply extra primer and top coats to all edges, making sure they are fully sealed.
Step 6: Install Your New Shed Door
With your door built, sanded, and painted, it’s time to hang it!
- Position the Door: Place your new door into the shed opening. Ensure the 1/4-inch gap you planned for is consistent around the edges.
- Mark Hinge Locations: Decide where you want your hinges. Typically, two or three heavy-duty exterior hinges are used for shed doors. Mark the position of the hinges on the door edge and the shed frame.
- Attach Hinges to Door: Predrill pilot holes and attach the hinges to the edge of your new shed door using appropriate screws.
- Attach Hinges to Shed Frame: With the door held in place (you might need a helper or some shims to support it), mark the corresponding positions on the shed frame. Predrill pilot holes and attach the hinges to the shed frame.
- Test the Swing: Carefully open and close the door a few times to ensure it swings smoothly without binding. Make any necessary adjustments.
- Install Latch/Handle: Install your chosen latch or handle hardware according to the manufacturer’s instructions.
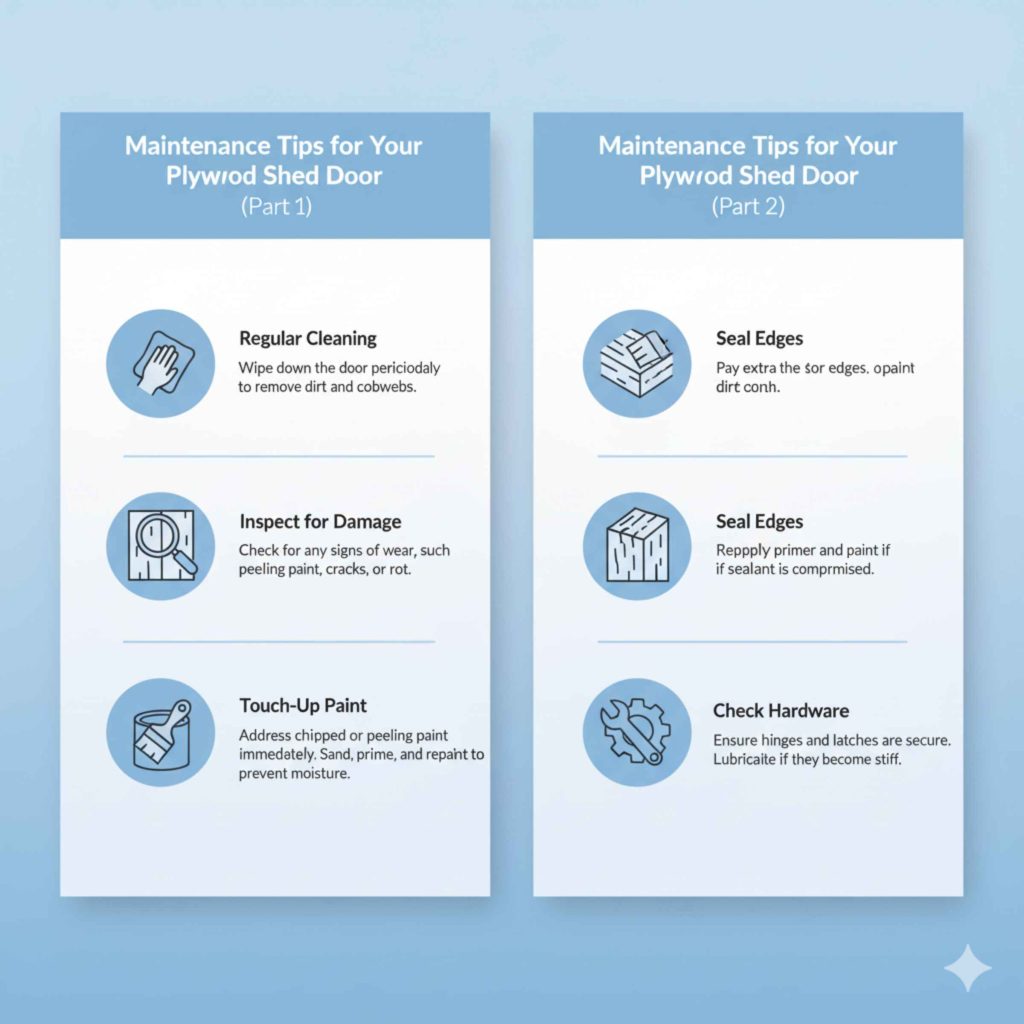
Maintenance Tips for Your Plywood Shed Door
To keep your new shed door looking great and functioning well for years to come, follow these simple maintenance tips:
- Regular Cleaning: Wipe down the door periodically to remove dirt and cobwebs.
- Inspect for Damage: Check for any signs of wear, such as peeling paint, cracks, or rot.
- Touch-Up Paint: Address any chipped or peeling paint immediately by sanding the affected area, priming, and repainting. This prevents moisture from getting into the wood.
- Seal Edges: Pay extra attention to the edges. If you notice any areas where the sealant might be compromised, reapply primer and paint.
- Check Hardware: Ensure hinges and latches are still secure and functioning properly. Lubricate them if they become stiff.
Conclusion: Your New Shed Door Awaits!
See? Building a sturdy and attractive shed door from plywood is a very achievable DIY project. You’ve learned how to measure precisely, make clean cuts, assemble with confidence, and protect your creation from the elements. This skill not only saves you money but also gives you a real sense of accomplishment. Your shed is now more secure, looks better, and functions perfectly, all thanks to your own hard work. Don’t hesitate to tackle your next home improvement project – you’ve got this!