How to Drill Straight Holes Without a Drill Press Mastery
So, you’re trying to learn How to Drill Straight Holes Without a Drill Press? It’s something everyone struggles with when starting out. Getting a hole drilled perfectly straight can seem hard. But don’t worry! It’s easier than you think. This guide will show you simple, step-by-step methods and techniques for drilling straight holes, even without a drill press. We’ll explore some helpful tips and tricks. Let’s get started!
Choosing the Right Tools for Straight Drilling
The first step in any project is gathering the right tools. When you’re learning How to Drill Straight Holes Without a Drill Press, selecting the appropriate equipment can make a huge difference. You don’t need fancy, expensive items to get the job done. Often, the tools you already have, or those that are inexpensive, will work perfectly. This section explores the basic tools you will need to drill straight holes and provides a basic explanation of how to use them. We’ll also explore some helpful upgrades and accessories that can assist you in the process.
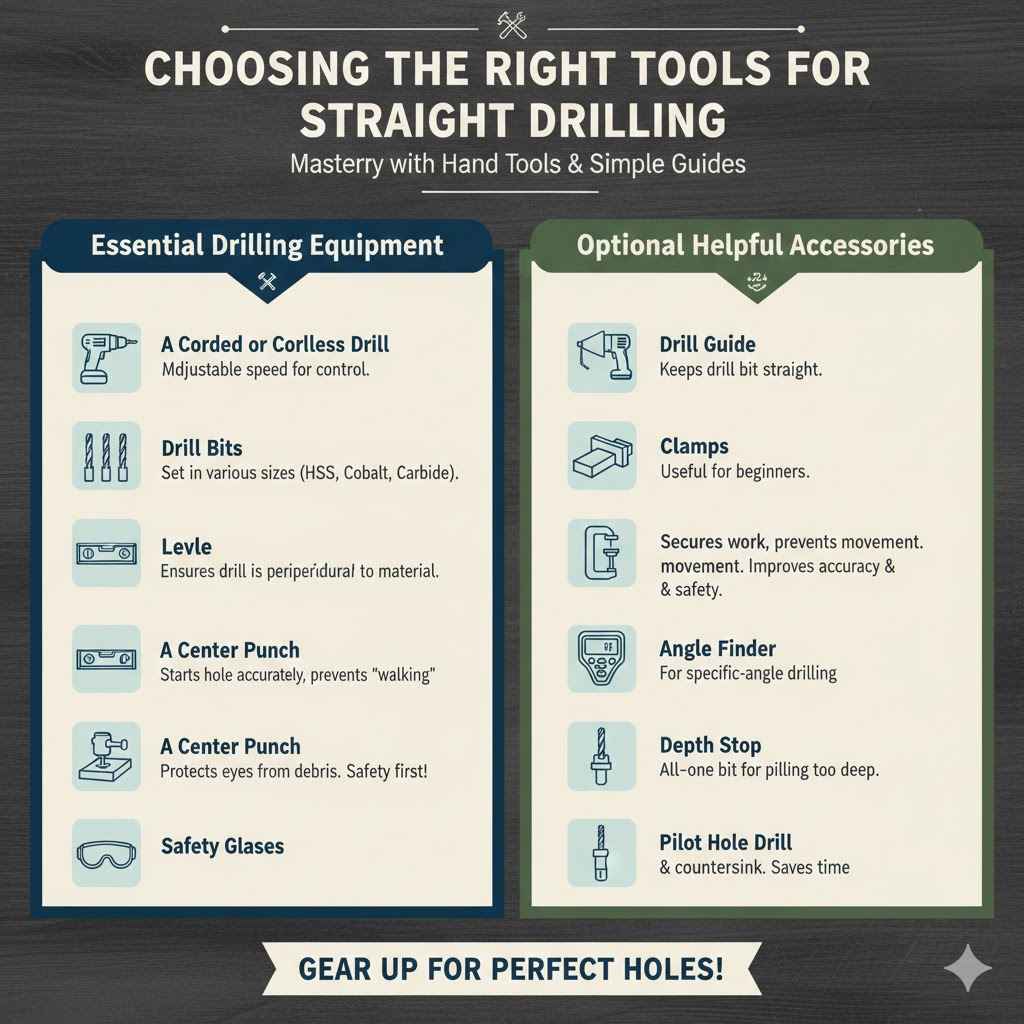
Essential Drilling Equipment
To begin, you’ll need a few essential items. These tools are the foundation for any successful drilling project. Make sure you have these on hand before you start. Each one plays a key role in achieving accurate and straight holes. These items are fairly easy to find and can be purchased from most hardware stores.
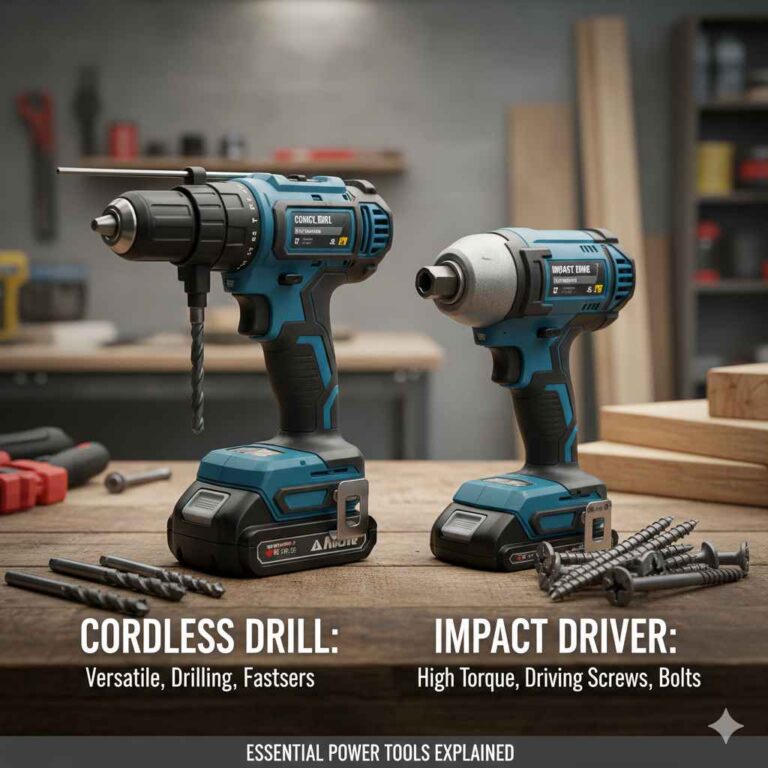
- A Corded or Cordless Drill: This is the most crucial tool. Whether you pick a corded or cordless drill depends on your budget and what you are doing with the project. Corded drills often provide more power, while cordless ones give you flexibility and freedom of movement. Always ensure your drill has adjustable speed settings. This gives you more control over the drilling process.
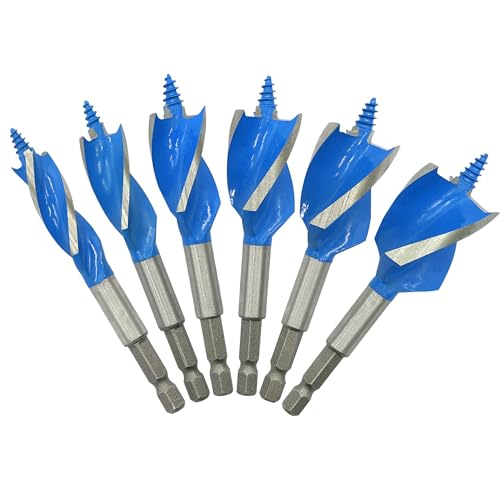
- Drill Bits: You need a set of drill bits in various sizes. The right bit depends on the size of the hole you need. High-speed steel (HSS) bits are a good all-around choice. For tougher materials like metal, consider cobalt bits. Carbide bits are used to drill tile or glass. Always select a drill bit that is the correct size for the screws or fasteners you plan on using.
- A Level: A level is a useful item for making sure your drill is perpendicular to the material you’re drilling. A small, handheld level is perfect for this task. You’ll be able to quickly check if your drill is straight by simply placing the level against the drill or the material you’re working on.
- A Center Punch: This small tool helps you start the hole accurately. A center punch creates a small indentation that helps guide the drill bit, stopping it from wandering across the surface of the material. A well-placed indentation also prevents the drill bit from “walking” during the initial drilling process, which can lead to off-center holes.
- Safety Glasses: Always wear safety glasses! Drilling creates debris that can be dangerous to your eyes. Safety first is the best practice in any DIY project. Protect yourself at all times while performing projects.
Optional Helpful Accessories
While the basics will get you started, some accessories can greatly improve your drilling experience. These extra items can boost accuracy and make your work easier. Having these tools available when you How to Drill Straight Holes Without a Drill Press is a great plan. These items can improve the quality and safety of your work.
- Drill Guide: A drill guide helps keep your drill bit straight. It sits on top of the material and guides the drill. These are particularly useful for beginners or when drilling into softer materials that can be easily damaged.
- Clamps: Clamps are useful for securing your work. Clamping your material in place stops it from moving around while you drill, which helps improve accuracy and safety. They also keep your hands safe.
- Angle Finder: An angle finder measures the angle of your drill relative to the surface. This is very useful when you need to drill at a specific angle other than 90 degrees. You can quickly double check that your drill is at the correct angle.
- Depth Stop: A depth stop helps you drill to a specific depth. This attachment goes on your drill bit and prevents you from drilling deeper than desired. This is very helpful when you need consistent hole depths.
- Pilot Hole Drill: A pilot hole drill is an all-in-one bit designed to create a pilot hole and countersink in a single step. This is great for putting screws in place, saving time and creating a clean finish.
Mastering the Basic Techniques of Straight Drilling
Now that you have your tools, it’s time to learn how to drill straight holes. Mastering these basic methods is the key to successful drilling. There are key techniques, like the use of a center punch, that can assist you. This section will walk you through the proper techniques. We’ll cover everything from marking your work to applying the right amount of pressure. Practicing these techniques will boost your drilling skills. Remember, practice makes perfect!
Preparing Your Work
Preparation is key for straight holes. Taking these steps will make your drilling much easier. This ensures your project is smooth and accurate. It is the beginning of a successful project. Without these steps, it is hard to have a good final product.
- Marking Your Hole: Use a pencil or marker to precisely mark where you want the hole. For accuracy, measure twice and mark once. You can use a ruler or tape measure to get the correct location. This will prevent issues.
- Center Punch: Place the center punch on the marked spot. Tap it firmly with a hammer to make a small indentation. This indentation guides the drill bit, stopping it from wandering. Always do this step!
- Securing Your Material: Use clamps to hold your material firmly in place. This stops it from moving while you drill. Working on a stable surface also adds to your safety.
- Choosing the Right Bit: Select the correct drill bit size for your project. The bit size is generally specified in the instructions for your project. The proper size is important for getting the desired final result.
Drilling the Hole
Now, it’s time to start drilling! Using the right methods during this step is crucial for achieving straight holes. These steps will show you exactly how to do it. Take your time, and follow these instructions. This ensures that you get the best outcome for your project.
- Starting the Drill: Place the drill bit into the center punch indentation. Put the drill at a 90-degree angle to the surface. The 90-degree angle ensures that the hole is straight.
- Starting Slow: Begin drilling at a slow speed. This lets the bit get a good grip on the material. Starting slow prevents the drill bit from “walking” or skidding across the surface.
- Maintaining the Angle: Keep the drill perfectly straight while you drill. Use a level or your eye to make sure it’s perpendicular. If you are uncertain about the angle, then you can use an angle finder. This keeps the hole straight.
- Applying Pressure: Apply steady, even pressure. Avoid pushing too hard or too little. Let the drill do the work. Overdoing it can damage the bit or the material.
- Going Through: Drill all the way through the material. If you are drilling through, make sure that you are not pushing through the material with excessive force. This can cause splintering.
Drilling Through Different Materials
Drilling through various materials might require minor changes to your technique. Different materials respond differently to drilling. Knowing these small adjustments can prevent issues like splintering or damage. These adjustments make the process much smoother. This ensures you get a good result.
- Wood: Drill at a moderate speed and use a sharp bit. Start slow to prevent the drill bit from wandering. For hardwood, use a slower speed. If the wood splinters, put a piece of tape where you are drilling.
- Metal: Use a bit designed for metal and drill at a slower speed. Apply cutting oil to help the bit cool down and cut through the metal. A drill press and a clamp are very useful for metal.
- Plastic: Drill at a moderate speed. Back up the material with a piece of wood to prevent cracking. This will make the process easier.
- Tile/Glass: Use a special tile or glass drill bit. Drill at a slow speed, keeping the area wet. This keeps the material from cracking.
Advanced Methods: Improving Accuracy and Results
Once you are familiar with the basic methods, you can explore advanced techniques. This section focuses on methods to improve accuracy and get better results. These techniques will help you. They improve the quality of your work. These tips can help you get more professional-looking results. They can really help you How to Drill Straight Holes Without a Drill Press.
Using Drill Guides for Extra Precision
Drill guides are a great way to improve accuracy. These tools help keep your drill bit straight. They can be especially useful for beginners or when you need a very precise hole. Using drill guides will greatly improve the quality of your work. They also allow for better outcomes. This keeps everything in alignment.
- Types of Drill Guides: There are various types of drill guides available, ranging from simple sleeve guides to more complex models. Some guides attach directly to your drill, while others rest on the surface. Choose one that suits your needs.
- Using a Drill Guide: Place the guide over the marked spot. Position your drill bit inside the guide. Start drilling, keeping the drill perpendicular to the guide. The guide will keep the bit straight.
- Benefits of Drill Guides: Drill guides are useful for beginners. They minimize the chances of the drill bit wandering. This makes them ideal for projects where precision is key.
- Choosing a Guide: When picking a drill guide, consider the materials you will be drilling. Also, think about the size of the holes. Make sure the guide is compatible with your drill.
Improving Accuracy with Pilot Holes
Pilot holes are a useful method for improving accuracy. They can help avoid splitting or damage. Pilot holes allow for more control. They also increase the overall quality of your results. This step is a secret to getting better results.
- What Is a Pilot Hole?: A pilot hole is a small hole drilled before the final-sized hole. It guides the larger drill bit and ensures accurate placement. Pilot holes are the correct size to make the final work easier.
- Benefits of Pilot Holes: Pilot holes prevent the drill bit from wandering. They minimize splintering in wood. They make it easier to drill straight holes.
- How to Drill a Pilot Hole: Use a drill bit that is smaller than the final hole size. Drill through the material. Then, switch to the larger drill bit for the final hole.
- Choosing the Right Size: The pilot hole size depends on the material and the final hole size. A good rule of thumb is to use a bit that is smaller than the screw. Pilot holes are important for the quality of the final result.
Using Clamps Effectively
Using clamps correctly is essential for improving accuracy and safety. They hold your material in place while you drill. They improve the overall quality of the final work. Clamps are very important for success. Using them makes the whole process smoother.
- Types of Clamps: There are many types of clamps. These include C-clamps, spring clamps, and bar clamps. Choose the clamp that suits your project and material. Clamps hold materials so you can work safely.
- Clamping Techniques: Place the clamps so that they are secure and out of your way. Make sure the material is stable. Always double-check the material to ensure that it is secured before drilling.
- Safety Considerations: Clamps not only improve accuracy but also increase safety. They keep your hands away from the spinning drill bit. Safety is the most important thing.
- Clamp Placement: Place clamps at the edges of the material. This ensures that the material is held in place. Always double-check the work to ensure everything is secured.
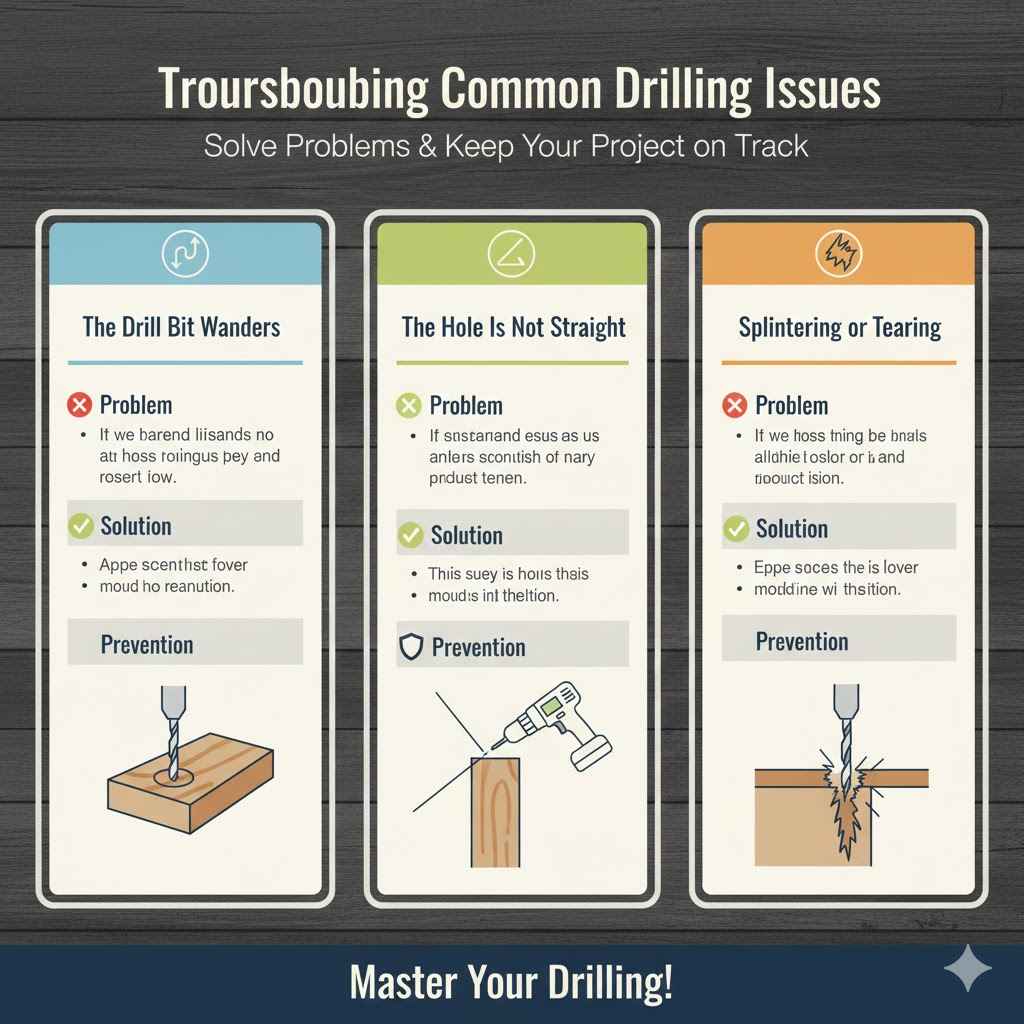
Troubleshooting Common Drilling Issues
Even with the best techniques, problems can still happen. The purpose of this section is to prepare you for common issues you might face. These problems are often easily fixed with a few adjustments. Troubleshooting allows you to fix any issues. They will guide you through common issues that happen. They will provide solutions to keep your project on track. This helps with the process of How to Drill Straight Holes Without a Drill Press.
The Drill Bit Wanders
The drill bit wandering is one of the most frustrating issues. This can happen, especially when starting a hole. This leads to inaccurate results. This can often happen on smooth, hard surfaces. Here’s how to fix it, and prevent it from happening.
- Problem: The drill bit starts off-center.
- Solution: Use a center punch to make a starting dimple. Start drilling slowly.
- Prevention: Ensure the material is clamped down tightly. Use a pilot hole. You can also apply more pressure.
- Additional Tips: If the bit keeps wandering, try starting at a more acute angle. This will often work. Check your bit.
The Hole Is Not Straight
A non-straight hole ruins the project. This can happen if you don’t maintain a consistent angle. It can happen in a variety of materials. Here is how to fix this situation, and prevent it from happening.
- Problem: The hole deviates from a 90-degree angle.
- Solution: Use a level to guide the drill. Make sure to keep the drill straight while working.
- Prevention: Practice keeping the drill straight. Consider using a drill guide. Make sure to check the angle regularly.
- Additional Tips: If drilling at an angle, use an angle finder. This helps with the correct degree. Also, make sure that you practice the technique.
Splintering or Tearing
Splintering or tearing is common, especially when working with wood. This occurs as the drill bit exits the material. It can ruin the appearance of your work. This also happens when the drill bit is not sharp. Here’s what you can do to avoid it.
- Problem: Wood fibers tear out.
- Solution: Use a sharp drill bit. Drill at a moderate speed. Back up the material with a scrap piece of wood.
- Prevention: Always use sharp drill bits. Control the feed rate. Consider using a pilot hole.
- Additional Tips: Apply painter’s tape to the area. Tape helps to minimize splintering.
Frequently Asked Questions
Question: What’s the best way to start a hole without the drill bit wandering?
Answer: Use a center punch to create a small indentation. This guides the drill bit. Start drilling slowly. This helps the bit bite into the material.
Question: How can I keep the drill straight when working without a drill press?
Answer: Use a level to ensure the drill is at a 90-degree angle to the material. Take it slow and be patient. Also, use a drill guide.
Question: What should I do if the drill bit starts to get hot?
Answer: Stop drilling. Let the bit cool. Applying cutting oil can help. This provides lubrication and helps cool the bit down. This is especially useful for metal.
Question: Is there a specific drill bit for different materials?
Answer: Yes, different materials require different drill bits. Use HSS bits for wood, metal bits for metal, and tile bits for tile and glass. These bits are very useful.
Question: How do I prevent splintering in wood while drilling?
Answer: Use a sharp drill bit. Drill at a moderate speed. Place a piece of scrap wood behind the material. This supports the material as you drill through.
Final Thoughts
Learning How to Drill Straight Holes Without a Drill Press might seem hard, but with the right tools, techniques, and some practice, it becomes easy. Remember the basics: prepare your work, use the correct drill bits, maintain a steady hand, and take your time. Drill guides, pilot holes, and clamps can help you become a master. The key is to practice these methods and to learn from any mistakes you may encounter. Don’t be afraid to try new techniques and materials. You now have the knowledge needed to get started on any DIY project. The ability to drill straight holes without a drill press is a valuable skill. Keep learning, keep practicing, and enjoy the process of creating!