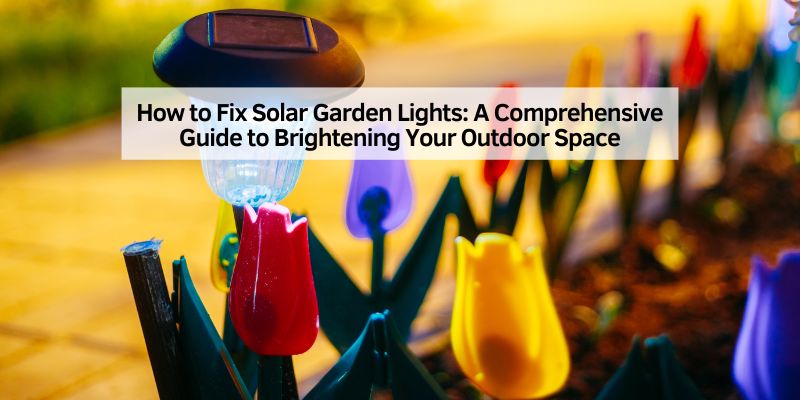
How to Fix Solar Garden Lights: A Comprehensive Guide to Brightening Your Outdoor Space
Hey there! If you’re reading this, chances are your solar garden lights aren’t shining as brightly as they used to—or maybe they’ve stopped working altogether. I’ve been there, standing in my backyard, wondering why my once-glowing pathway looks so dim.
Solar garden lights are a fantastic way to add charm and safety to your outdoor space, but they can be a bit finicky. Don’t worry, though—I’ve spent plenty of time tinkering with these lights, and I’m excited to share everything I’ve learned about fixing them. Whether it’s a flickering bulb, a dead battery, or a grimy panel, I’ve got you covered with practical, step-by-step solutions. Let’s dive in and get those lights glowing again!
Understanding How Solar Garden Lights Work
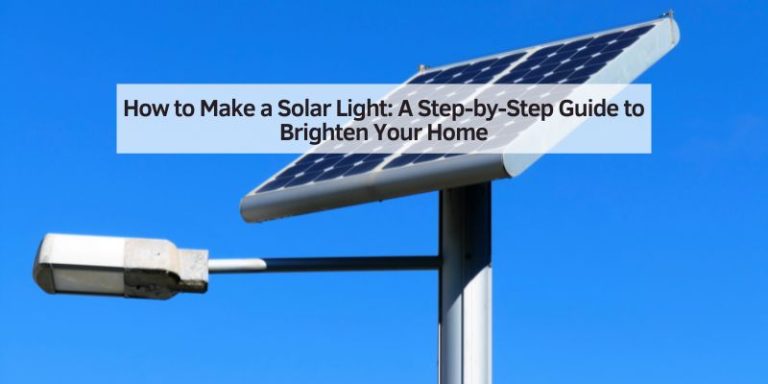
Before we start fixing anything, let’s talk about how solar garden lights actually work. Knowing the basics makes troubleshooting so much easier. These lights are pretty simple. They have a small solar panel that captures sunlight during the day and converts it into electricity. This energy gets stored in a rechargeable battery. When the sun goes down, a sensor detects the darkness and triggers the light to turn on, using the stored energy to power an LED bulb.
The main components are the solar panel, battery, LED bulb, and a light sensor. If any of these parts fail, your light won’t work properly. Over time, I’ve realized that most issues come down to a few common problems: dirty panels, worn-out batteries, faulty wiring, or a broken sensor. Once you understand these parts, fixing the lights feels less like a mystery and more like a fun DIY project.
Common Problems with Solar Garden Lights
I’ve fixed dozens of solar garden lights over the years, and the problems usually fall into a few categories. Here’s a quick rundown of what might be going wrong with yours:
- Dim or No Light: The light is either super faint or doesn’t turn on at all.
- Flickering Lights: The light turns on and off randomly, which can be annoying.
- Lights Not Charging: The solar panel isn’t storing energy, so the light doesn’t work at night.
- Short Runtime: The light turns on but dies after just a few hours.
- Physical Damage: Cracked panels, water damage, or loose wiring can cause issues.
Each of these problems has a solution, and I’ll walk you through how to diagnose and fix them. Most of the time, you won’t need fancy tools—just a bit of patience and maybe a screwdriver.
Tools and Supplies You’ll Need
Before we get started, let’s gather some basic tools and supplies. I keep these in my toolbox for any solar light repair:
| Item | Purpose |
|---|---|
| Screwdriver (Phillips or Flathead) | To open the light’s casing |
| Multimeter | To test battery voltage and connections |
| Replacement Batteries (AA or AAA NiMH) | To replace old or dead batteries |
| Cleaning Supplies (Soft Cloth, Water, Mild Soap) | To clean solar panels and lenses |
| Soldering Iron (Optional) | For fixing loose wires |
| Waterproof Sealant | To seal cracks or prevent water damage |
| Replacement LED Bulbs | For lights with burnt-out bulbs |
You probably have most of these at home already. If not, they’re easy to find at hardware stores or online. I always keep a stash of NiMH batteries because they’re the most common type for solar lights.
Step-by-Step Guide to Fixing Solar Garden Lights
Now, let’s get to the fun part—fixing those lights! I’ll break this down into clear steps based on the most common issues I’ve encountered. Follow along, and we’ll troubleshoot together.
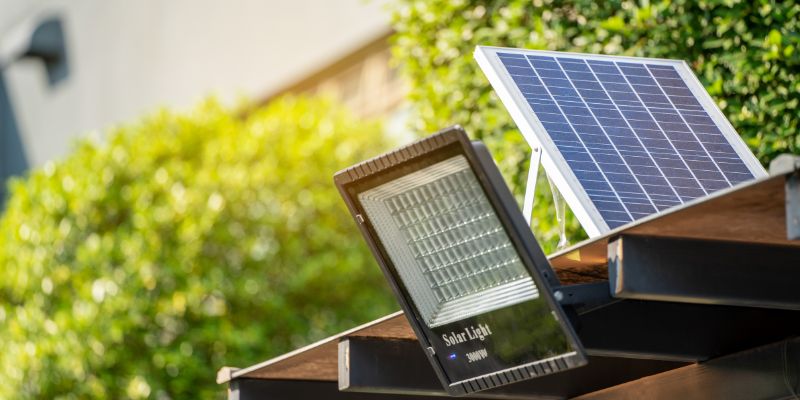
Step 1: Inspect the Solar Panel
The solar panel is the heart of your light, so let’s start there. If it’s dirty, it can’t absorb sunlight properly. I’ve seen panels so covered in dust and bird droppings that they barely worked! Grab a soft cloth, some water, and a bit of mild soap. Gently clean the panel, making sure not to scratch it. If the panel is cracked or faded, it might need replacing, but that’s rare. Most of the time, a good cleaning does the trick.
After cleaning, place the light in direct sunlight for a full day. I usually set mine on a sunny spot in the yard and check it the next night. If it’s still not working, move to the next step.
Step 2: Check the Battery
Batteries are often the culprit when solar lights fail. Most solar garden lights use rechargeable NiMH batteries, which can wear out after a year or two. Here’s how I check mine:
- Open the light’s battery compartment. This usually requires a small screwdriver.
- Remove the battery and check for corrosion. If you see white or green gunk, clean it with a cotton swab and some vinegar.
- Use a multimeter to test the battery’s voltage. A good NiMH battery should read around 1.2 volts when fully charged. If it’s below 1 volt, it’s probably dead.
- Replace the battery with a new NiMH battery of the same size (usually AA or AAA). Make sure it’s rechargeable—regular alkaline batteries won’t work.
After replacing the battery, let the light charge in the sun for a day. Test it at night to see if it’s brighter. This fixes about 80% of the issues I’ve had with my lights.
Step 3: Test the Light Sensor
The light sensor tells the light when to turn on. If it’s faulty, the light might stay off or flicker. To test it, cover the sensor (usually a small clear or black dot near the panel) with your hand or a piece of tape. If the light turns on, the sensor is working. If not, it might be defective. Unfortunately, sensors are hard to replace without technical know-how. In my experience, if the sensor is broken, it’s often cheaper to replace the whole light. But don’t give up yet—let’s check a few more things.
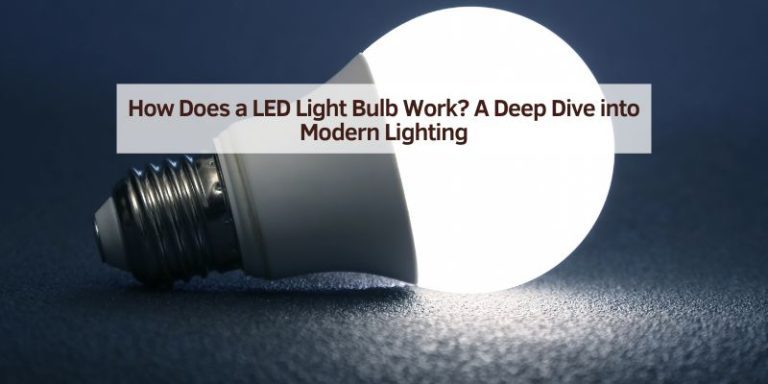
Step 4: Inspect the LED Bulb
If the panel and battery are fine, the LED bulb might be the issue. LEDs are durable, but they can burn out. Open the light and check if the bulb is loose or damaged. If it’s replaceable, swap it with a new one that matches the voltage and size. I’ve found that some cheaper lights have non-replaceable LEDs, so you might need to replace the entire unit if this is the case. Before you do, though, double-check the wiring.
Step 5: Examine the Wiring
Loose or damaged wires can cause all sorts of problems. Look inside the light for any wires that seem frayed, disconnected, or corroded. If you’re handy with a soldering iron, you can reattach loose wires. I’ve fixed a few lights this way, and it’s satisfying to see them light up again. If the wiring looks fine but the light still doesn’t work, water damage might be the issue.
Step 6: Check for Water Damage
Solar lights are outdoor devices, so they’re exposed to rain and humidity. Over time, water can seep into the casing and damage the electronics. Check for signs of rust or water inside the light. If you find any, dry everything thoroughly and apply a waterproof sealant around the seams. I learned this the hard way after a rainy season left half my lights dead. Sealing them properly can prevent future issues.
Step 7: Test and Adjust Placement
Sometimes, the problem isn’t the light itself but where it’s placed. If your light is under a tree or in a shady spot, it might not be getting enough sunlight to charge. I once spent hours troubleshooting a light only to realize it was in the shadow of my neighbor’s garage all day! Move the light to a sunnier spot and test it for a couple of days. Also, make sure the sensor isn’t near other light sources, like porch lights, which can trick it into staying off.
Maintenance Tips to Keep Your Lights Shining
Fixing your lights is great, but keeping them in good shape is even better. Here are some tips I’ve picked up over the years:
- Clean Regularly: Wipe down the solar panels every few months to keep them free of dirt and debris.
- Replace Batteries Annually: Even if the battery seems fine, replacing it once a year can prevent issues.
- Store in Winter: If you live in a cold climate, bring your lights indoors during winter to protect them from freezing temperatures.
- Check for Damage: After storms, inspect your lights for cracks or water damage.
- Upgrade When Needed: If your lights are old and keep breaking, consider investing in higher-quality models with better components.
By following these tips, I’ve kept my solar lights working for years, and they still make my garden look magical at night.
When to Replace Instead of Repair
Sometimes, fixing a light isn’t worth the effort. If the solar panel is cracked beyond repair, the sensor is dead, or the light is super cheap, it might be better to buy a new one. I’ve found that higher-end solar lights (around $20-$50 each) last longer and are easier to repair than bargain-bin models. Look for lights with replaceable batteries and durable materials. It’s a bit of an upfront cost, but it saves money and hassle in the long run.
My Personal Experience with Solar Garden Lights
I’ve been using solar garden lights for over a decade, and they’ve transformed my backyard into a cozy, inviting space. But I’ve had my fair share of frustrations—dim lights, flickering bulbs, and even a few that gave up after a big storm. Through trial and error, I’ve learned that most issues are fixable with a little patience. There’s something so satisfying about bringing a dead light back to life and seeing it glow again. Plus, it’s eco-friendly and saves on electricity bills, which is a win-win in my book.
Conclusion
Fixing solar garden lights doesn’t have to be a headache. With a few simple tools and some know-how, you can troubleshoot and repair most issues in an afternoon. Whether it’s cleaning the solar panel, swapping out a battery, or checking the wiring, these steps will help you bring your outdoor space back to life. I love the soft glow of my garden lights at night—it makes every evening feel a little more special. So grab your screwdriver, roll up your sleeves, and give those lights some TLC. You’ll be amazed at how easy it is to make them shine again!
FAQs
Why do my solar garden lights only work for a few hours?
This usually happens when the battery isn’t holding a full charge. Try replacing the battery with a new NiMH one. Also, make sure the solar panel is clean and getting enough sunlight during the day.
Can I use regular batteries in solar garden lights?
No, regular alkaline batteries won’t work. Solar lights need rechargeable NiMH batteries because they’re designed to charge and discharge repeatedly.
How do I know if my solar panel is broken?
Clean the panel and place it in direct sunlight for a day. If the light still doesn’t work, use a multimeter to check if the panel is producing voltage (usually around 1.5-2 volts in sunlight). If it’s not, the panel might be faulty.
Why do my lights flicker on and off?
Flickering is often caused by a loose wire, a dying battery, or a faulty sensor. Check the wiring and replace the battery first. If that doesn’t help, the sensor might be picking up interference from nearby lights.
How often should I clean my solar panels?
I clean mine every 2-3 months, especially after pollen season or storms. A quick wipe with a damp cloth keeps them working efficiently.
Can I repair a cracked solar panel?
If the crack is small, you can seal it with clear waterproof sealant. But if it’s badly damaged, the panel won’t charge properly, and you might need to replace the light.
What’s the best way to store solar lights in winter?
Take the batteries out and store the lights in a dry, cool place indoors. This prevents damage from freezing temperatures and moisture.