How to Hardwire LED Strip Lights: A Beginner’s Guide to Bright Ideas
I love bright, colorful lights! A few years ago, I wanted to make my kitchen glow. I tried plug-in LED strip lights, but the cords looked messy. So, I learned how to hardwire LED strip lights. It was easier than I thought! This guide will show you how to hardwire LED strip lights step by step. You’ll learn what tools you need, how to stay safe, and cool ways to use these lights. Whether you’re a beginner or a pro, I’ll make it simple and fun. Let’s light up your space!
What Are LED Strip Lights?
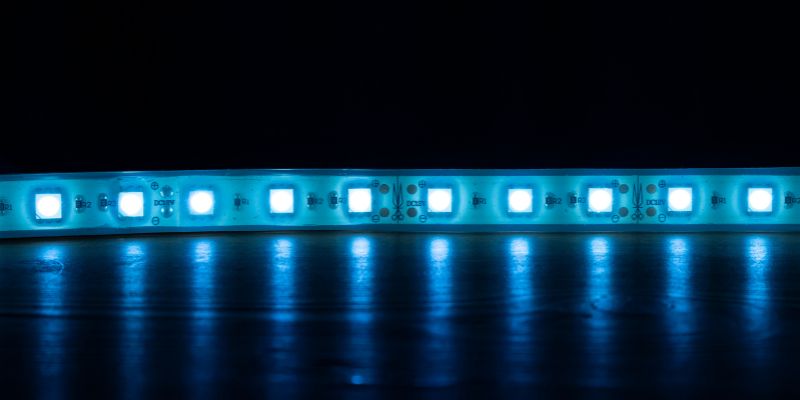
LED strip lights are thin, flexible strips with tiny lights. They’re bright, save energy, and come in many colors. You can stick them under cabinets, along walls, or even on ceilings. Hardwiring means connecting them to your home’s electrical system. This makes them look neat with no visible plugs. It’s perfect for a clean, professional look in your kitchen or bedroom.
Why Hardwire LED Strip Lights?
Hardwiring LED strip lights has big benefits. It hides wires, so your space looks tidy. You can control the lights with a wall switch or dimmer. Plus, it’s more reliable than plug-in lights. No cords to trip over! But it takes some work and care. You need to know basic electrical skills. If you’re unsure, ask an electrician for help.
Tools and Materials You Need
Before you start, gather your tools and materials. Here’s a simple list to make it easy:
- LED strip lights: Pick 12V or 24V strips that match your project.
- Power supply: Must match your LED strip’s voltage (12V or 24V).
- Wire connectors: Use wire nuts or lever nuts for secure connections.
- Wire strippers: To cut and prepare wires.
- Screwdriver: For mounting and securing connections.
- Voltage tester: To check if the power is off.
- Electrical tape: To cover connections safely.
I suggest buying quality LED strips from trusted brands like Philips Hue or Govee. Cheap strips might burn out fast. A good power supply is key too. Check the wattage to make sure it fits your strip’s needs.
Table 1: Tool Comparison for Hardwiring LED Strip Lights
| Tool | Purpose | Cost (Approx.) | Recommended Brand |
|---|---|---|---|
| Wire Strippers | Cut and strip wires | $10-$20 | Klein Tools |
| Voltage Tester | Check if power is off | $15-$30 | Fluke |
| Screwdriver Set | Secure connections and mounts | $10-$25 | Craftsman |
Caption: This table compares essential tools for hardwiring LED strip lights, including their purpose and approximate cost.
Step-by-Step Guide to Hardwire LED Strip Lights
Hardwiring LED strip lights is fun if you follow these steps. I’ll make it super simple, like I’m sitting next to you. Always turn off the power at your circuit breaker before starting. Safety first!
Step 1: Plan Your Lighting
Decide where you want the lights. I put mine under kitchen cabinets for a cozy glow. Measure the area to know how much LED strip you need. Most strips have cut marks every few inches. Don’t cut randomly, or you’ll break the circuit!
Step 2: Check Your Power Supply
Your LED strip needs a power supply that matches its voltage. A 12V strip needs a 12V power supply. I learned this the hard way when I fried a strip with the wrong voltage! Check the wattage too. Multiply the strip’s watts per foot by its length. Add 20% extra to be safe.
Step 3: Turn Off the Power
Go to your circuit breaker and switch off the power. Use a voltage tester to make sure the wires are safe. I always double-check to avoid shocks. It only takes a second!
Step 4: Run the Wires
Run wires from your power supply to the LED strip location. I hid mine behind cabinets for a clean look. Use conduits or cable clips to keep wires tidy. Connect the wires to your home’s electrical system or a junction box.
Step 5: Connect the LED Strip
Cut the LED strip at the marked points. Connect the strip’s positive (red) and negative (black) wires to the power supply. Use wire connectors or solder for a strong bond. I prefer lever nuts because they’re easy for beginners. Double-check polarity to avoid problems.
Step 6: Mount the Strip
Peel the adhesive backing and stick the strip where you want it. Smooth surfaces work best. I had trouble with a textured wall once, so I used extra adhesive tape. Press firmly to make it stick.
Step 7: Test the Lights
Turn the power back on. If the lights glow, you did it! If not, check your connections. I once forgot to tighten a wire nut, and it caused flickering. Test dimmers or controllers if you’re using them.
Visual Idea
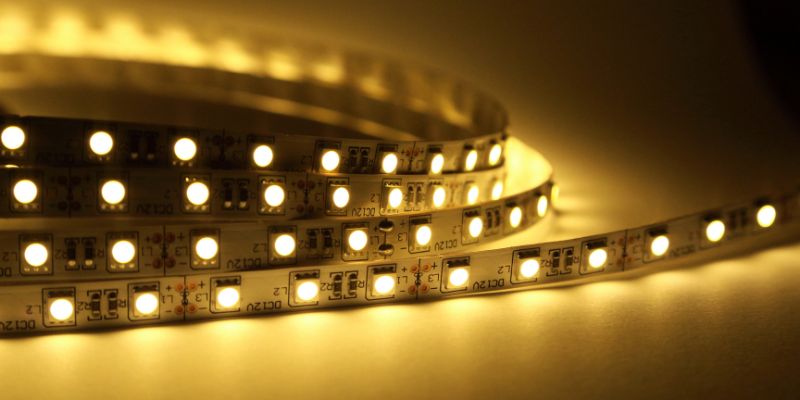
A simple diagram showing the LED strip connected to a power supply and wall switch would help. It could show red and black wires, labeled clearly. Another idea is a photo of LED strips under cabinets, glowing softly.
Benefits of Hardwiring LED Strip Lights
Hardwiring makes your lights look professional. Here are some cool benefits:
- Clean look: No messy cords or plugs.
- Better control: Use a wall switch or dimmer for easy adjustments.
- Energy savings: Hardwired setups are steady and efficient.
But there are drawbacks. It’s more work than plug-in lights. You might need an electrician, which costs money. If you move, it’s hard to take the lights with you.
Alternatives to Hardwiring
Not ready to hardwire? Try plug-in LED strips. They’re easy to install and move. Battery-powered strips are another option for small projects. I used battery strips for a bookshelf once. They’re less permanent but still fun.
Table 2: Hardwired vs. Plug-In LED Strip Lights
| Feature | Hardwired | Plug-In |
|---|---|---|
| Installation | Needs electrical skills | Simple, no wiring needed |
| Look | Clean, no visible cords | Cords may be visible |
| Cost | Higher (may need electrician) | Lower, DIY-friendly |
Caption: This table compares hardwired and plug-in LED strip lights for ease, aesthetics, and cost.
Common Mistakes to Avoid
I’ve made mistakes hardwiring LED strips. Here’s how to avoid them:
- Wrong voltage: Always match the power supply to the strip’s voltage.
- Loose connections: Tighten wire nuts or use quality connectors.
- Skipping safety: Never work with live wires. Use a voltage tester.
One time, I didn’t check the voltage, and my lights flickered. It was a quick fix once I matched the power supply.
My Personal Tips for Success
After many projects, I’ve learned some tricks. Use a dimmer for mood lighting. It’s great for bedrooms! Plan your wire path before starting. I sketch mine on paper. Also, buy extra LED strips. You might cut one wrong or want to expand later. For outdoor projects, use weatherproof strips. I learned this after rain ruined my patio lights!
Table 3: Cost-Saving Tips for Hardwiring LED Strip Lights
| Tip | How It Saves Money |
|---|---|
| Buy quality strips | Lasts longer, fewer replacements |
| Use a dimmer | Saves energy by lowering brightness |
| Plan wire length | Avoids buying extra wire |
Caption: This table shares cost-saving tips for hardwiring LED strip lights.
Frequently Asked Questions
How to Hardwire LED Strip Lights Safely?
Turn off the power at the circuit breaker. Use a voltage tester to check wires. Connect the LED strip to a matching power supply. Use wire connectors for secure links. If you’re new, ask an electrician for help. Always follow electrical codes. This keeps you safe and makes your lights work well.
Can I Hardwire LED Strip Lights Without a Switch?
Yes, but it’s not ideal. You can connect them directly to a power source. This means they’re always on when powered. A switch or dimmer gives you control. I tried this once, and it was annoying to unplug the lights every time. A switch is worth the extra step.
What Voltage Do LED Strip Lights Need?
Most LED strips use 12V or 24V. Check the strip’s label or manual. Match the power supply to the voltage. I burned out a strip using a 24V supply on a 12V strip. Always double-check to avoid damage. A good power supply makes your lights last longer.
Can I Hardwire LED Strip Lights Outdoors?
Yes, but use weatherproof LED strips and power supplies. Seal connections with waterproof tape. I put strips on my patio, but rain ruined them until I used outdoor-rated gear. Check the IP rating (like IP65) for water resistance. This keeps your lights safe outside.
How Do I Fix Flickering LED Strip Lights?
Flickering means loose connections or wrong voltage. Check all wire connections. Tighten wire nuts or re-solder if needed. Ensure the power supply matches the strip’s voltage. I fixed flickering by swapping a faulty connector. Test everything before mounting the strips.
Do I Need an Electrician to Hardwire LED Strip Lights?
Not always, but it helps if you’re new. Basic setups are DIY-friendly with simple tools. If you’re wiring to a main panel or unsure, hire a pro. I did my kitchen myself, but a complex ceiling job needed an electrician. Safety is more important than saving a few bucks.
How Long Do Hardwired LED Strip Lights Last?
Quality LED strips last 30,000-50,000 hours. Hardwiring keeps connections steady, so they last longer. Cheap strips die faster, so spend a bit more. I’ve had my kitchen lights for three years with no issues. Proper installation and ventilation help them shine for years.
Conclusion
Hardwiring LED strip lights is a fun way to brighten your home. You can make your kitchen, bedroom, or patio glow with a clean, professional look. Follow the steps, stay safe, and use quality materials. My kitchen lights still make me smile every day! Try a small project, like under-cabinet lighting, to start. Share your ideas or ask questions in the comments. Let’s make your space shine! For more tips, check out Inspired LED or Electrical Safety Foundation.