How to Fix an LED Light Bulb: Driver, Flicker & Wiring Fixes
An LED bulb that flickers, dims, or won’t turn on is usually a loose connection, a failed driver, or the wrong dimmer switch — not a dead LED chip, which rarely fails on its own. Skipping the driver check and just replacing the bulb wastes a fixture that’s otherwise fine. This guide covers safety steps, diagnosing the problem, fixing loose connections, swapping a bad driver, and knowing when to stop repairing and replace the bulb.
Quick Answer
Turn off the power first. Remove the bulb, check the base and socket for dirt or looseness, and reseat it. If it still won’t light, the driver — the small circuit inside the base that converts AC to DC — has likely failed, especially in enclosed fixtures where heat shortens driver life. Flickering that persists after reseating usually means an incompatible dimmer or unstable voltage, not the bulb itself.
Safety Precautions
Turn off the power at the switch before touching the bulb or fixture, and unplug any lamp rather than relying on the switch alone. Wait for the bulb to cool if it was recently on — LED bases can still hold heat from the driver even though the glass stays cooler than an incandescent bulb.
- Wear gloves and safety glasses before handling a bulb you suspect is cracked
- Never test a fixture’s wiring with wet hands or standing on a wet floor
- If you’re unsure whether a circuit is dead, confirm with a non-contact voltage tester before touching any wire
Identifying the Problem
Start with the socket, not the bulb. With the power off, remove the bulb and check the base and socket contacts for dirt, corrosion, or bent contacts — a poor connection here causes the same symptoms as a failed bulb. Reseat the bulb with a firm quarter-turn and restore power to test.
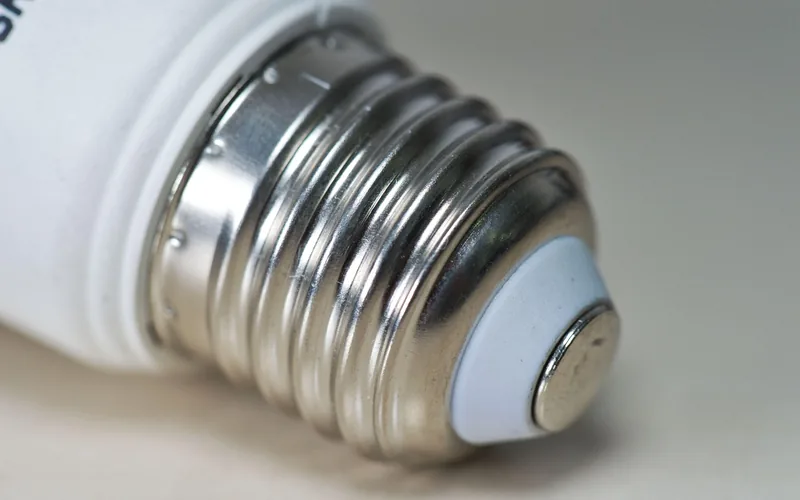
If the socket looks clean and the bulb still doesn’t light, examine the bulb itself for cracks, burnt marks near the base, or a rattling sound when shaken gently — a rattle usually means an internal component has broken loose and the bulb needs replacing, not repairing.
Fixing Loose Connections
A bulb that flickers only when the fixture is bumped almost always has a loose connection, either at the bulb base or inside the fixture itself. Turn off the power, twist the bulb snugly into the socket, and check that the socket’s center contact tab has enough spring tension to press firmly against the bulb base — gently bend it up slightly with the power off if it looks flattened.
If the fixture itself wobbles, tighten its mounting screws with a screwdriver. A loose fixture flexes the wiring connections every time it’s touched, which reproduces the same flicker as a loose bulb even after the bulb has been reseated correctly.
Best Replacement LED Bulb Pick
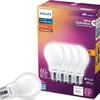
PHILIPS LED A19 60W Equivalent Soft White (4-Pack) – $10.99
If the bulb rattles or the driver has failed — the two “stop repairing, replace it” signs covered above — this is the same A19 shape and soft white color most household fixtures already use.
- Best for: Standard lamps and ceiling fixtures needing a same-size swap
- Why we picked it: Widely stocked replacement size, rated 25,000+ hours per ENERGY STAR minimums for LEDs
- Main drawback: Not dimmable — check the dimmable option below if your fixture uses a dimmer switch
Compare more options for testing and replacing
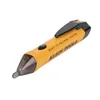 Diagnostic Pick Klein Tools Non-Contact Voltage Tester – $16.94
|
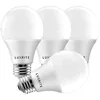 Dimmer-Compatible Pick LUXRITE A19 Dimmable LED, 3000K – $11.99
|
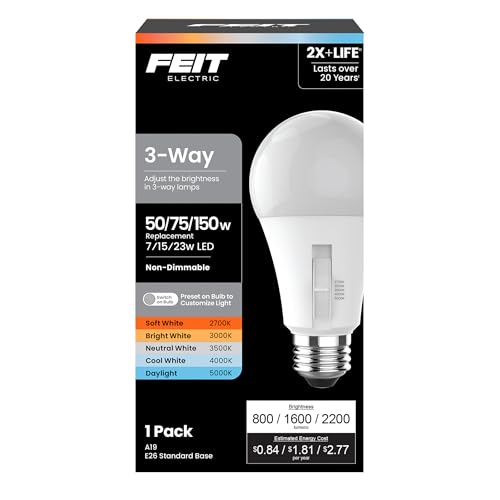
 Budget 4-Pack Feit Electric A19 LED, Bright White (4-Pack) – $13.20
|
As an Amazon Associate we earn from qualifying purchases.
Replacing a Faulty Driver
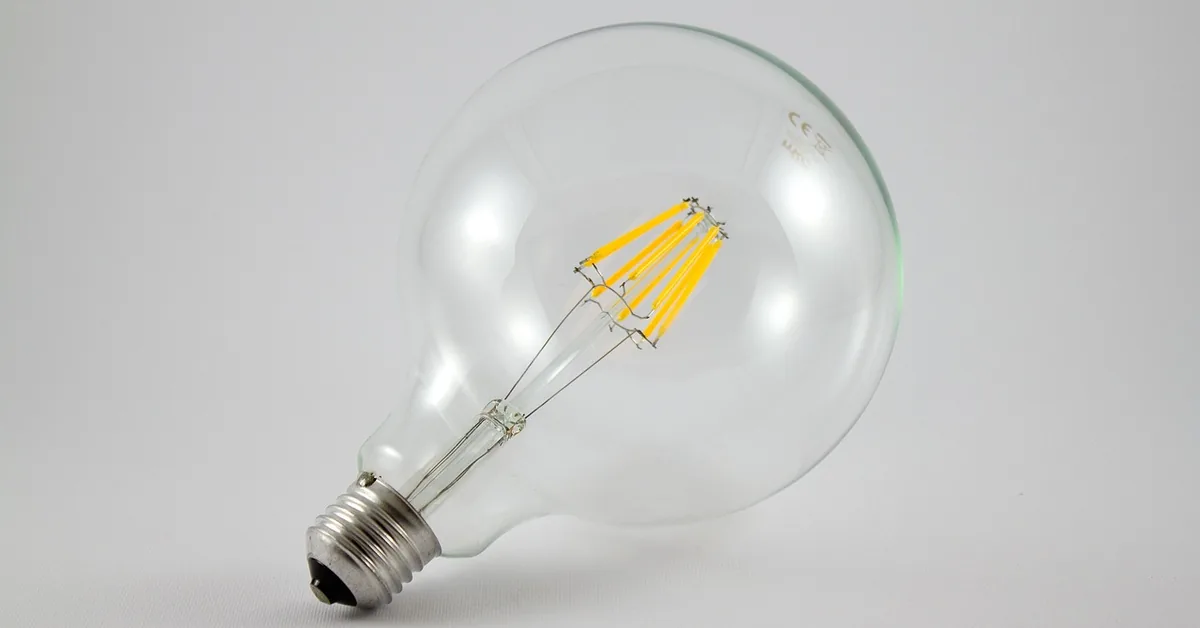
An LED driver is the small circuit board inside the bulb base that converts household AC power into the low-voltage DC current the LED chips need. It’s the most common failure point in an LED bulb, especially in enclosed fixtures where trapped heat breaks down the driver’s capacitors faster than the LED chips themselves degrade. Before opening anything, confirm the driver is actually the problem — see how to tell if an LED driver is bad for the multimeter test.
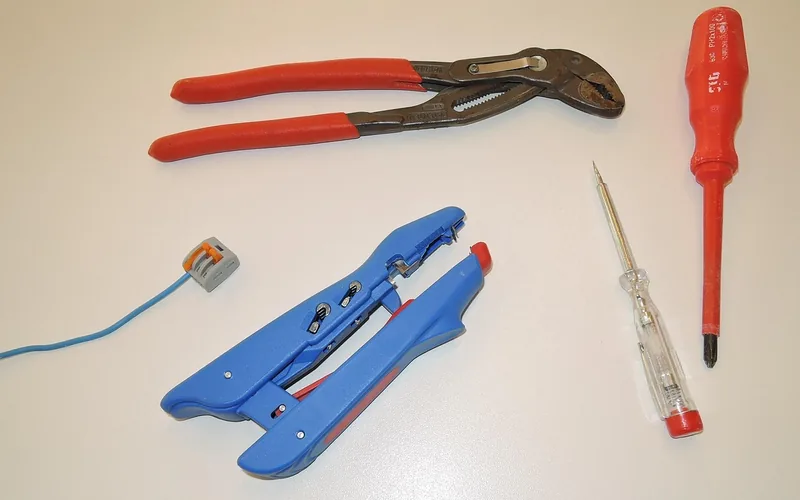
- Confirm power is off: switch off the circuit and verify with a non-contact voltage tester before opening the fixture.
- Open the base: use a screwdriver to separate the bulb’s outer casing from the base without forcing the diffuser.
- Locate the driver: it’s the small rectangular circuit board wired between the base contacts and the LED chip array.
- Note the wiring, then disconnect it: photograph the connections before removing wires so the replacement goes in the same way.
- Swap in a compatible driver: match the voltage and current rating printed on the old driver — not just the physical size.
- Reassemble and test: close the casing, restore power, and confirm the bulb lights without flickering.
If the bulb still doesn’t light after a driver swap, the LED chip array itself has failed. At that point, replacing the whole bulb is faster and often cheaper than sourcing individual LED chips. See our full guide on how to change an LED light bulb for step-by-step instructions by fixture type.
Addressing Flickering Issues
Flickering that survives a reseated bulb usually comes down to one of four causes: an incompatible dimmer, voltage fluctuation, a failing driver, or loose wiring. If a dimmer switch is involved, swap in an LED-rated dimmer — older phase-cut dimmers built for incandescent bulbs are a common mismatch. If flickering happens on multiple fixtures at once, the cause is likely house wiring or voltage, not any single bulb.
For a full diagnostic walkthrough of flickering specifically — including which of the four causes is most likely based on the pattern you’re seeing — see our dedicated guide to fixing flickering LED lights.
Dealing With Overheating
LED bulbs need airflow around the base to keep the driver cool — the LED chips themselves run cool, but the driver’s capacitors degrade faster under trapped heat. Avoid fully enclosed fixtures unless the bulb is specifically rated for enclosed use, and choose a lower-wattage-equivalent bulb if a fixture runs noticeably warm to the touch after an hour on.
LED vs Incandescent vs CFL: Lifespan Comparison
Knowing where an LED bulb sits on the lifespan curve helps decide whether a repair is worth the time versus simply replacing it.
| Bulb Type | Typical Lifespan | Common Failure Point |
|---|---|---|
| Incandescent | ~1,000 hours | Filament burnout |
| Halogen | ~2,000 hours | Filament burnout |
| CFL | 8,000–10,000 hours | Ballast failure, mercury tube wear |
| LED | 25,000–50,000 hours | Driver capacitor failure (chips rarely fail first) |
📊 ENERGY STAR requires a minimum rated life of 25,000 hours for LED bulbs (15,000 for decorative LEDs) — roughly 10–17 years at 8 hours of daily use. — Source: 1000Bulbs, ENERGY STAR Rated Light Bulb Factors
“The driver inside an LED bulb converts AC power into DC power. Poor-quality drivers may struggle to regulate current smoothly, especially when dimmed.”
This is also why a bulb’s printed “hours” rating is technically an L70 lifespan — the point at which the bulb has dropped to 70% of its original brightness, not the point it stops working entirely. A name-brand bulb with a published L70 rating and real heat-sinking will typically hit that number; an unbranded bulk-pack bulb with a bare-minimum driver often won’t.
Testing the Repairs
With the switch off and the lamp plugged back in, turn the power on and watch the bulb closely. It should light immediately without flickering, at a brightness that matches its rating. Feel the base after a few minutes — it should be warm, not hot. If it’s hot to the touch, turn the power off and recheck the driver connections before using the fixture again.
- Turn on the power: switch on and watch for immediate, steady light.
- Check for flicker or dimming: both indicate a connection or driver issue that survived the repair.
- Feel the base: warm is normal; hot means stop and recheck the connections.
When to Replace the Bulb
Stop repairing and replace the bulb if you see black spots inside the glass, hear a buzzing sound when it’s on, or find a crack anywhere on the housing — all three indicate internal damage that a socket cleaning or driver swap won’t fix. A bulb that’s merely dim but steady, with no buzzing or cracks, is often still safe to keep using.
When buying a replacement, match the wattage-equivalent and base type (typically E26/E27 for standard sockets) to your old bulb, then choose color temperature — soft white (2700–3000K) for living spaces, daylight (5000K+) for task areas — and confirm dimmable vs. non-dimmable matches your fixture’s switch.
Common Mistakes When Fixing an LED Bulb
- Skipping the socket check: assuming the bulb is bad without checking base and socket contacts first.
- Using a non-LED dimmer: older phase-cut dimmers built for incandescent bulbs cause flicker even with a perfectly good LED bulb.
- Ignoring driver ratings when swapping: matching the physical size of a replacement driver without matching its voltage and current rating.
- Sealing the fixture too tightly: using a non-enclosed-rated bulb in a fully enclosed fixture, which shortens driver life through heat buildup.
Frequently Asked Questions
How Do You Diagnose A Faulty LED Bulb?
To diagnose a faulty LED bulb, first check if it flickers or dims. Inspect the bulb for visible damage or discoloration. Test the bulb in another socket to rule out socket issues. If the bulb still doesn’t work, it may be defective and need replacing.
Can You Repair A Non-Working LED Bulb?
Repairing a non-working LED bulb is possible but challenging. Check the connections and the driver for issues, and replace the driver if it has failed. Ensure the power supply is functioning correctly. If the bulb remains non-functional after a driver swap, consider replacing it.
Why Do LED Bulbs Stop Working Suddenly?
LED bulbs may stop working due to a power surge, a failed driver, or overheating from an enclosed fixture. Frequent on-off cycles can also shorten their lifespan. Ensure your LED bulb has adequate ventilation to prevent overheating.
What Are Common LED Bulb Issues?
Common LED bulb issues include flickering, dimming, and color shifts, most often caused by overheating or a failing driver. Check for loose connections and ensure proper ventilation. If these issues persist, the driver or LED chip array may need replacing.
How Long Should An LED Bulb Last Before It Needs Fixing?
ENERGY STAR-rated LED bulbs are rated for a minimum of 25,000 hours — roughly 10–17 years at 8 hours of daily use. If a bulb fails well before that, the driver or an incompatible dimmer is the more likely cause than the LED chips themselves.
Is It Cheaper To Repair Or Replace An LED Bulb?
For most household bulbs, replacing is cheaper than sourcing a matching driver and doing the repair yourself, since a basic replacement bulb often costs less than $3–$5. Repair makes more sense for higher-end fixtures with an expensive integrated driver that isn’t easily swapped.
Conclusion
Fixing an LED bulb comes down to checking the connection before blaming the bulb, then the driver before blaming the LED chips — in that order. Reseat the bulb and clean the socket first, swap a matched-rating driver if the connection checks out, and replace the bulb outright once you see black spots, hear buzzing, or find a crack. Most bulbs that “just stop working” are a $5 driver or a five-minute socket cleaning away from working again.
Sponsored / affiliate links. As an Amazon Associate I earn from qualifying purchases. I may earn additional commission from eligible campaigns.