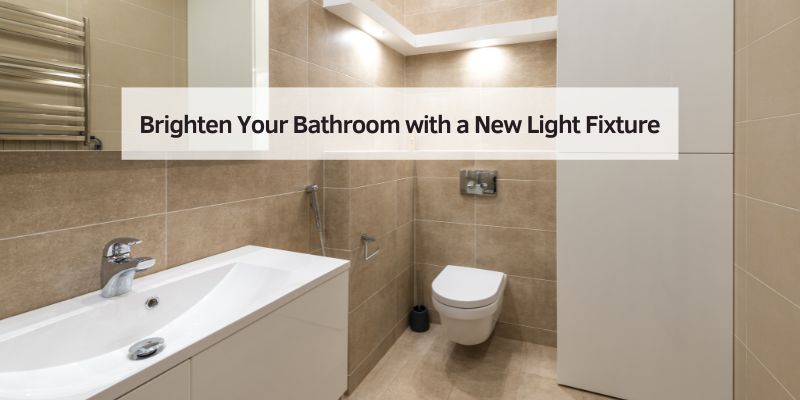
Brighten Your Bathroom with a New Light Fixture
I remember my first time installing a bathroom light fixture. My old vanity light was dim, and I wanted a brighter, modern look. With some tools and patience, I transformed my bathroom! In this guide, I’ll show you how to install a bathroom light fixture step by step. It’s easy, even if you’re new to DIY. I’ll share simple tips, safety advice, and mistakes to avoid. Whether you’re a beginner or a pro, you’ll find clear ideas to light up your space.
What Is a Bathroom Light Fixture?
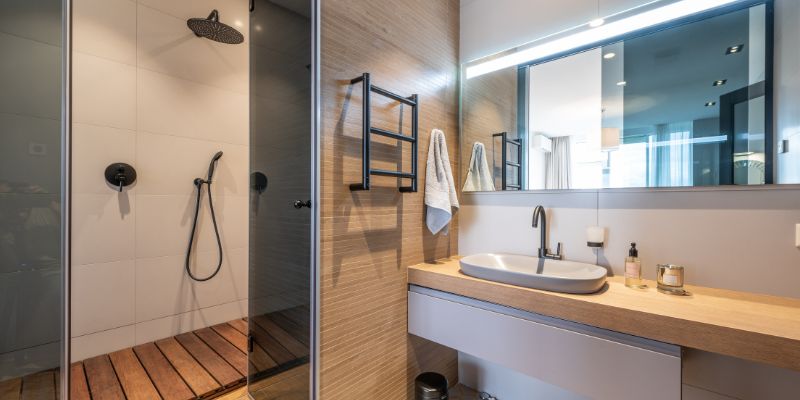
A bathroom light fixture is a device that holds light bulbs to brighten your bathroom. It can be a wall sconce, ceiling light, or vanity light. These fixtures make tasks like shaving or applying makeup easier. They also add style to your bathroom. For example, I chose a sleek vanity light to match my modern sink.
Why Install a New Bathroom Light Fixture?
A new fixture can improve lighting and save energy. LED fixtures, for instance, use less power than old bulbs. They also make your bathroom look fresh and stylish. I once replaced a dated ceiling light, and it felt like a new room! Plus, installing it yourself saves money compared to hiring an electrician.

Tools and Materials You Need
Before you start, gather these tools and materials. I keep mine in a small toolbox for easy access.
- Tools: Screwdriver, wire stripper, voltage tester, ladder.
- Materials: New light fixture, wire nuts, electrical tape, light bulbs.
- Optional: Stud finder, drywall anchors (for heavy fixtures).
Here’s a table to help you choose tools:
Table 1: Tools for Installing a Bathroom Light Fixture
| Tool | Purpose | Where to Buy |
|---|---|---|
| Screwdriver | Tighten screws | Home Depot |
| Voltage Tester | Check for live wires | Hardware stores |
| Wire Stripper | Cut and strip wires | Online retailers |
Visual Idea: A diagram showing a screwdriver, voltage tester, and wire stripper labeled with their uses.
Step-by-Step Guide: How to Install a Bathroom Light Fixture
Here’s my easy guide to install a bathroom vanity light or ceiling fixture. Follow these steps carefully.
- Turn Off the Power: Go to your circuit breaker and switch off the bathroom’s power. Use a voltage tester to confirm the wires are not live. Safety first!
- Remove the Old Fixture: Unscrew the old light fixture from the wall or ceiling. Gently pull it down and disconnect the wires. I always label wires with tape to avoid confusion.
- Check the Junction Box: Make sure the electrical box in the wall or ceiling is secure. If it’s loose, tighten it with a screwdriver.
- Connect the New Fixture: Match the fixture’s wires to the house wires (black to black, white to white, green to ground). Use wire nuts to secure them.
- Mount the Fixture: Attach the new fixture to the junction box with screws. I once struggled with a heavy fixture, so use drywall anchors if needed.
- Install Light Bulbs: Screw in the bulbs. I recommend LED bulbs for bright, energy-saving light.
- Test the Fixture: Turn the power back on and test your new light. If it doesn’t work, double-check the wire connections.
Visual Idea: A step-by-step diagram showing wires being connected and the fixture being mounted.
Benefits of Installing a Bathroom Light Fixture
Installing a new fixture brightens your bathroom and saves energy. LED lights last longer and cut your electric bill. A stylish fixture also boosts your home’s value. For example, my new vanity light made my bathroom look bigger and more inviting.
Drawbacks to Consider
DIY installation takes time and effort. If you’re not careful, you might damage wires or the fixture. Hiring a pro is easier but costs more—around $100-$200, based on my experience getting quotes. Also, heavy fixtures need extra support, like drywall anchors.
Alternative Options
You can hire an electrician if you’re not comfortable with wiring. Another option is a plug-in light fixture, which avoids electrical work. I tried a plug-in sconce in a rental once, and it was super easy! Battery-powered lights are another simple choice but need frequent battery changes.
Table 2: Comparing Installation Options
| Option | Pros | Cons | Cost |
|---|---|---|---|
| DIY | Saves money, fun project | Needs time, skill | $50-$150 |
| Electrician | Safe, professional | Expensive | $100-$300 |
| Plug-in Fixture | No wiring needed | Limited styles | $20-$100 |
My Top Tips for Success
Here are my favorite tips from years of DIY projects:
- Test the power twice with a voltage tester to stay safe.
- Choose a fixture that fits your bathroom’s style and size.
- Keep a flashlight handy for dim areas while working.
- Take a photo of the old wiring before disconnecting—it helps!
Common Mistakes to Avoid
Don’t rush the job. I once forgot to turn off the power and got a small shock—scary! Avoid using the wrong bulb wattage; check the fixture’s label. Also, don’t skip the junction box check—it must be secure.
Table 3: Common Mistakes and Fixes
| Mistake | Fix |
|---|---|
| Forgetting to turn off power | Always use a voltage tester |
| Wrong bulb wattage | Check fixture’s max wattage |
| Loose junction box | Tighten screws or use anchors |
Visual Idea: A table-style infographic comparing correct vs. incorrect wiring setups.
Safety First: Electrical Tips
Working with electricity can be dangerous. Always turn off the power at the breaker. Use a voltage tester to check wires. Wear rubber-soled shoes and avoid wet floors. I always keep a fire extinguisher nearby, just in case. For more safety tips, check This Old House.
Cost-Saving Ideas
Save money by shopping sales at stores like Lowe’s. I found a $100 fixture on clearance for $40! Use LED bulbs to cut energy costs. If you’re a beginner, practice with a cheap fixture before buying a fancy one.
My Personal Story
When I moved into my new home, the bathroom had a flickering old light. I decided to install a modern vanity light myself. It took two hours, but the bright, clear light made my mornings better. I felt proud of my work! You can do this too with patience and the right tools.
Frequently Asked Questions
How Do I Know If My Junction Box Is Safe?
A safe junction box is firmly attached to the wall or ceiling. Check for loose screws or cracks. Use a screwdriver to tighten it. If it’s damaged, call an electrician. I once found a wobbly box and had to replace it for safety.
Can I Install a Bathroom Light Fixture Without Experience?
Yes, beginners can do it! Follow my step-by-step guide and watch simple videos on YouTube. Start with a lightweight fixture to make it easier. I had no experience my first time, and it turned out great!
What Bulbs Should I Use?
Use LED bulbs for energy savings and bright light. Check the fixture’s label for the maximum wattage—usually 60W or less. I prefer 2700K bulbs for a warm glow in bathrooms.
How Long Does Installation Take?
It takes 1-2 hours for most fixtures. Heavy or complex fixtures might take longer. My first installation took 90 minutes because I double-checked everything. Take your time to do it right.
Is It Safe to Install a Light Fixture Myself?
Yes, if you follow safety steps. Turn off the power, use a voltage tester, and avoid wet areas. I always wear gloves for extra protection. If you’re unsure, hire a pro.
What If My Fixture Doesn’t Work?
Check the wire connections—loose wires are a common issue. Ensure the power is on and the bulbs are working. I had a fixture fail once because I missed a wire nut. Tighten everything and test again.
Can I Use a Plug-in Light Instead?
Yes, plug-in lights are great for renters or beginners. They don’t need wiring, just a nearby outlet. I used one in an apartment, and it looked stylish without any hassle.
Conclusion
Installing a bathroom light fixture is a fun, rewarding project. With simple tools, a bit of patience, and my step-by-step guide, you can brighten your bathroom easily. Avoid common mistakes, stay safe, and choose a fixture you love. Try it this weekend—you’ll be amazed at the difference! Share your results or ask questions in the comments. Happy DIY-ing!