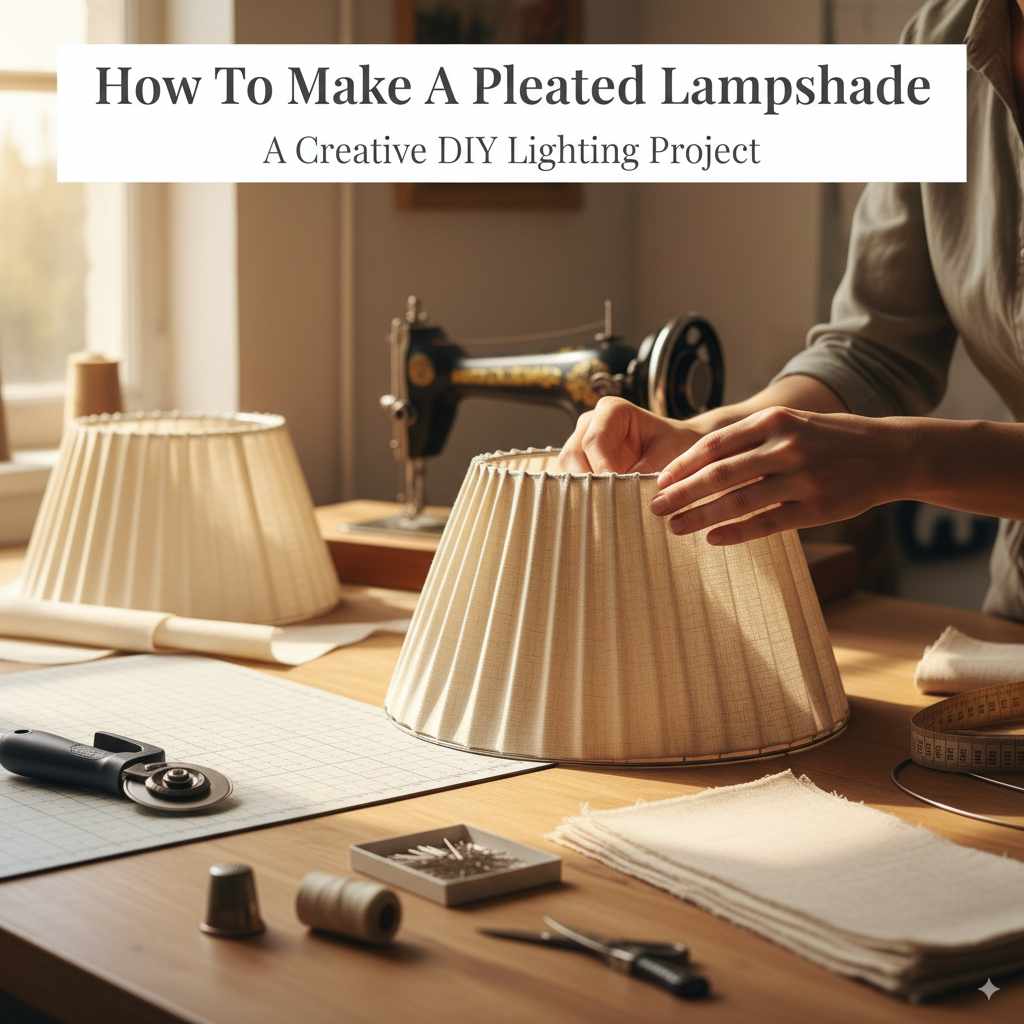
How To Make A Pleated Lampshade: Genius Effortless Guide
Make a beautiful pleated lampshade easily with this step-by-step guide. You’ll learn simple techniques to create a custom, elegant lampshade that adds a professional touch to any room, even if you’re a complete beginner.
Tired of lampshades that look a bit… plain? Maybe you’ve seen those gorgeous pleated designs in stores and thought, “There’s no way I could make that!” Well, I’m here to tell you that you absolutely can! Creating a pleated lampshade might sound tricky, but with the right approach, it’s a wonderfully satisfying DIY project that can transform your lighting.
Many homeowners feel intimidated by fabric crafts or think they need special sewing skills. The truth is, with a few simple tools and a bit of patience, you can achieve stunning results. This guide breaks down the process into easy-to-follow steps, perfect for anyone looking to add a touch of handmade elegance to their home. Get ready to impress yourself and everyone who sees your beautiful, custom-made pleated lampshade!
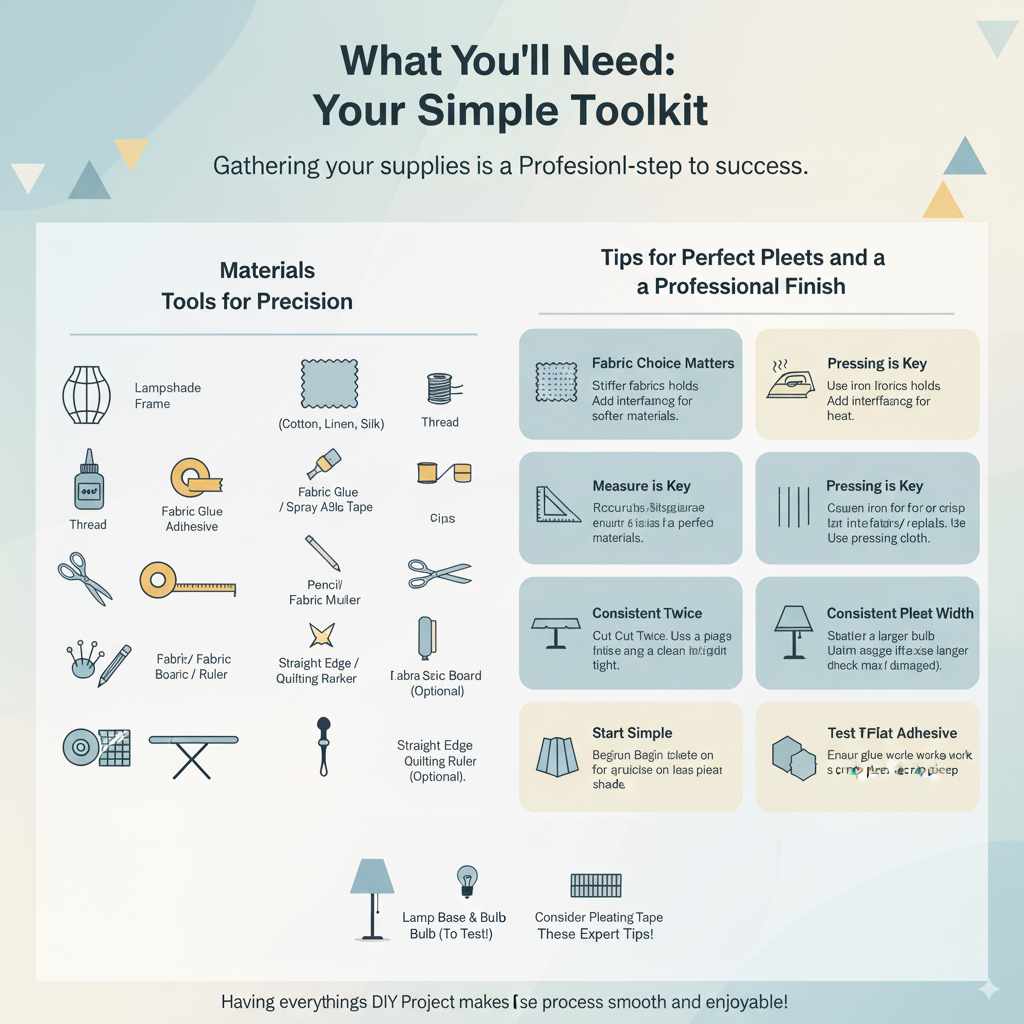
What You’ll Need: Your Simple Toolkit
Gathering your supplies is the first step to success. Don’t worry, you won’t need a fancy sewing machine or a whole craft store! Most of these items are probably already around your house, or they’re easy to find at a local craft or hardware store. Having everything ready makes the process smooth and enjoyable.
Materials:
- Lampshade Frame: You can buy these new at craft stores or repurpose an old lampshade frame. Look for one with clean wires.
- Fabric: Choose a medium-weight fabric that’s not too stretchy. Cotton, linen blends, or even some silks work well. You’ll need enough to cover your frame, plus extra for pleats. A good rule of thumb is to measure the circumference of your shade at its widest point and multiply by 1.5 to 2, then add your desired height plus an inch for top and bottom hems.
- Lining Fabric (Optional): A thin cotton or polyester lining can give a more finished look and hide the frame wires.
- Thread: A neutral-colored thread that matches your fabric.
- Fabric Glue or Spray Adhesive: For securing edges and pleats. Look for acid-free options to protect your fabric.
- Double-Sided Fabric Tape: A great no-sew option for hemming and attaching fabric.
- Measuring Tape or Ruler: For accurate measurements.
- Fabric Scissors: Sharp scissors make a big difference in clean cuts.
- Pencil or Fabric Marker: To mark your fabric.
- Iron and Ironing Board: Essential for pressing seams and pleats neatly.
- Pins or Fabric Clips: To hold fabric in place while you work.
Tools for Precision:
- Rotary Cutter and Cutting Mat (Optional but Recommended): For super straight fabric cuts.
- Straight Edge or Quilting Ruler: To guide your rotary cutter or scissors.
- Awl or Bodkin: To help push thread through fabric or poke small holes.
- Lamp Base and Bulb: To test your finished shade!
Your Genius Effortless Guide: Making the Pleated Lampshade
Let’s get down to business! Follow these steps carefully, and you’ll have a beautiful pleated lampshade in no time. Remember, patience is key, and don’t be afraid to take your time.
Step 1: Prepare Your Frame and Fabric
- Clean the Frame: If you’re reusing an old frame, make sure it’s clean and free of rust or old glue. You might want to give it a quick wipe-down.
- Measure Your Frame: Measure the circumference of your lampshade frame at its widest point. Also, measure the height from the top ring to the bottom ring.
-
Calculate Fabric Size:
- Width: Take your widest circumference measurement and multiply it by 1.5 to 2. This extra fabric allows for the pleats. Let’s say your circumference is 30 inches; you’ll want your fabric width to be around 45-60 inches.
- Height: Add 2 inches to your frame’s height measurement. This gives you 1 inch for a top hem and 1 inch for a bottom hem.
- Cut Your Fabric: Lay your fabric flat and use your measurements to cut a rectangular piece. For example, if your frame circumference is 30 inches and you want 1.5 times fullness, and your frame height is 10 inches, you’d cut a piece approximately 45 inches wide by 12 inches tall.
- Cut Your Lining (if using): Cut the lining fabric to the exact same dimensions as your main fabric.
Step 2: Create the Pleats
This is where the magic happens! There are a few ways to pleat, but for a beginner-friendly approach, we’ll focus on even, consistent pleats.
Method 1: Simple Knife Pleats (Easiest for Beginners)
This method involves folding the fabric over itself to create neat, flat pleats.
- Fold and Press: Lay your main fabric piece flat, wrong side up. Decide on the width of your pleats. A good starting point is 1 inch to 1.5 inches for the folded-over part. Let’s say you choose 1.5 inches.
- First Fold: Fold the fabric over by 1.5 inches, aligning the raw edge with the folded edge. Press this fold firmly with your iron. This creates the first pleat.
- Second Fold: Now, take the edge you just pressed and fold it over again by another 1.5 inches. This second fold should meet the raw edge of the fabric from the first fold. Press this second fold firmly. You’ve now created a pleat that is 1.5 inches deep.
- Continue Pleating: Repeat this process across the entire width of your fabric. You’ll be folding and pressing, folding and pressing, ensuring each pleat is the same size and depth. The goal is to reduce the overall width of your fabric to fit the circumference of your lampshade frame.
- Calculate Finished Width: After pleating, measure the total width of your pleated fabric. This finished width should be slightly larger than your lampshade frame’s circumference (e.g., 1-2 inches more) to allow for a snug fit and overlap for finishing. If it’s too wide, you might need to adjust your pleat size or make them closer together. If it’s too narrow, you’ll need to unpick some pleats and make them smaller.
- Secure the Pleats: Once all pleats are formed and pressed, you can secure them temporarily. You can use a few pins along the top and bottom edges, or run a line of basting stitches (long, loose stitches) along the top and bottom edges to hold them in place. Fabric glue or double-sided tape along the folded edges can also work, but be sure to keep it neat.
Method 2: Box Pleats or Inverted Pleats (Slightly More Advanced)
These pleats offer a different aesthetic but require a bit more precision.
- Box Pleat: For a box pleat, you fold the fabric twice in the same direction, creating a flat, open pleat in the middle. You’ll need to calculate your fabric width to account for the fabric needed for the pleats and the spaces between them.
- Inverted Pleat: An inverted pleat is like two knife pleats folded back-to-back, creating a neat, sharp crease. This also requires careful measurement and folding.
For your first pleated lampshade, I highly recommend sticking with the simple knife pleats. They are the most forgiving and give a beautiful, classic look.
Step 3: Attach the Fabric to the Frame
Now it’s time to bring your pleated fabric to life on the frame.
-
Prepare the Edges:
- Top Hem: Fold the top 1-inch allowance of your pleated fabric over by about 1/4 inch and press. Then, fold it over again by 3/4 inch to create a clean hem. Secure this hem with fabric glue or double-sided fabric tape.
- Bottom Hem: Repeat the hemming process for the bottom edge.
- Position the Fabric: Carefully wrap your pleated fabric around the lampshade frame. Start at one of the vertical supports of the frame.
- Secure the Starting Point: Apply a line of fabric glue or double-sided tape along the raw edge of your hem (where the fabric overlaps itself). Align this edge with the vertical support of the frame and press firmly to adhere.
- Wrap and Secure: Gently wrap the fabric around the frame, ensuring your pleats remain neat and evenly spaced. Work your way around, applying glue or tape to the hem as you go.
- Overlap and Finish: When you reach your starting point, you’ll have an overlap. Trim any excess fabric so that the overlap is neat and clean, about 1 inch. Secure this final overlap with glue or tape.
- Attach to Rings: Carefully attach the fabric to the top and bottom rings of the frame. You can use small dabs of fabric glue to secure the hemmed edges to the inside of the rings. For extra security, you can use a needle and thread to stitch the hem to the wire rings in a few inconspicuous spots.
Step 4: Add the Lining (If Using)
A lining gives a professional finish and diffuses light beautifully.
- Prepare the Lining: Cut your lining fabric to the same dimensions as your main fabric, but without the extra allowance for hemming (unless you prefer a hemmed lining, which is also fine).
- Pleat the Lining: Create pleats in the lining fabric using the same method as your main fabric. The goal is for the lining to be slightly smaller in circumference than the main fabric so it doesn’t peek out.
- Attach Lining to Frame: Wrap the pleated lining around the inside of the lampshade frame. Secure the top and bottom edges of the lining to the inside of the top and bottom rings of the frame using fabric glue or double-sided tape. Ensure the lining hangs smoothly and doesn’t sag.
- Secure to Main Fabric (Optional): For a very neat finish, you can lightly tack the bottom edge of the lining to the bottom edge of the main fabric using a few small stitches or a tiny amount of fabric glue.
Step 5: Final Touches and Inspection
Almost there! A little bit of finessing makes all the difference.
- Press Again: Gently go over your pleats with the iron one last time to ensure they are crisp and sharp. Be careful not to scorch your fabric.
- Trim Loose Threads: Snip away any stray threads for a clean finish.
- Check for Gaps: Look for any areas where the fabric might be pulling away from the frame or where there are gaps. Apply a little more glue or tape as needed.
- Test Fit: Place your new lampshade on your lamp base. Does it fit securely? Does it look balanced?
- Safety Check: Ensure the lampshade is not too close to the light bulb. There should be at least a few inches of clearance to prevent overheating and fire hazards. For safety, always use an LED bulb, as they produce less heat than incandescent bulbs. You can find more information on safe lighting practices from resources like the U.S. Consumer Product Safety Commission.
Tips for Perfect Pleats and a Professional Finish
Even the most straightforward projects can benefit from a few insider tricks. Here are some tips to elevate your pleated lampshade game:
- Fabric Choice Matters: Stiffer fabrics hold pleats better. If you’re using a softer fabric, consider adding a layer of fusible interfacing to the wrong side before cutting your fabric. This will give it more body.
- Pressing is Key: Don’t skimp on pressing! Crisp pleats make a huge difference. Use a pressing cloth if you’re worried about shining or damaging delicate fabrics.
- Measure Twice, Cut Once: This old adage is especially true for fabric projects. Accurate measurements ensure your pleats will fit your frame perfectly.
- Consistent Pleat Width: Use a ruler or a guide on your cutting mat to ensure every pleat is the same width. This creates a professional, uniform look.
- Work on a Flat Surface: Always cut and pleat your fabric on a large, flat, and clean surface.
- Test Your Adhesive: Before committing, test your fabric glue or spray adhesive on a scrap piece of your fabric to ensure it adheres well and doesn’t stain.
- Start Simple: For your very first lampshade, stick to the knife pleat method. Once you’re comfortable, you can experiment with more complex pleating techniques.
- Consider Pleating Tape: For very structured pleats, especially on larger shades, you can use specialized pleating tape. This is more common in upholstery but can be adapted.

Troubleshooting Common Pleated Lampshade Issues
Even with the best intentions, sometimes things don’t go exactly as planned. Here’s how to tackle a couple of common hiccups:
| Problem | Possible Cause | Solution |
|---|---|---|
| Pleats are uneven or wobbly. | Fabric shifted during pressing; pleat width wasn’t consistent. | Carefully unpick the pleats in the affected area. Re-press, using a ruler or guide to ensure consistent width. Secure with pins or basting stitches before attaching to the frame. |
| Fabric is too short or too long for the frame. | Measurement error; pleats were made too wide or too narrow. | If too short, you may need to cut a new piece. If too long, you can carefully unpick some pleats to make them narrower or overlap more. If too short, you might need to add a decorative trim to extend the coverage slightly, or recut. |
| Adhesive is visible or stained the fabric. | Too much glue used; glue seeped through fabric; wrong type of adhesive used. | For slight seepage, try gently dabbing with a damp cloth (test on scrap first). If severe, you may need to start over with a new fabric piece. Always use a small amount of adhesive and test it first. |
| Lining is visible at the bottom or top. | Lining fabric cut too wide; lining not attached securely. | Carefully trim excess lining fabric. Ensure the lining is attached snugly to the inside of the frame rings. For a neat edge, you can fold the lining edge under before attaching. |
| Pleats are flattening out. | Fabric is too soft; not enough pressing; frame is too tight. | Ensure you’ve pressed the pleats firmly. Consider adding interfacing to your fabric next time. Make sure the fabric isn’t stretched too tightly around the frame, which can distort pleats. |
Frequently Asked Questions About Pleated Lampshades
FAQ 1: How much fabric do I really need for pleats?
For a good fullness, aim for 1.5 to 2 times the circumference of your lampshade frame. This extra fabric allows for the folds of the pleats. For example, a frame with a 30-inch circumference might need 45-60 inches of fabric width.
FAQ 2: Can I use any type of fabric for a pleated lampshade?
It’s best to use medium-weight fabrics that hold a crease well, like cotton, linen blends, or heavier silks. Very thin or stretchy fabrics can be difficult to pleat neatly and may sag over time. If you love a lighter fabric, consider adding a fusible interfacing to give it more body.
FAQ 3: Do I have to sew the pleats?
No, you don’t! This guide focuses on no-sew methods using fabric glue or double-sided fabric tape, which are perfect for beginners. You can also secure the top and bottom hems with basting stitches if you prefer, but the main pleating can be done without sewing.
FAQ 4: How do I make sure my pleats are even?
The key is consistency. Decide on the width of your pleat (e.g., 1.5 inches) and stick to it for every fold. Using a ruler, a measuring tape, or even a guide on your cutting mat will help you measure and mark each pleat accurately before pressing. Pressing firmly also helps set the pleats.
FAQ 5: What is the difference between knife pleats and box pleats?
Knife pleats are simple, flat folds that all face the same direction. Box pleats are created by folding two knife pleats back-to-back, creating a flat, open pleat in the center. Inverted pleats are similar but folded in the opposite direction, creating a neat crease. Knife pleats are the easiest for beginners.
FAQ 6: How do I attach the lampshade to the frame securely?
Once your fabric is pleated and hemmed, wrap it around the frame. Use strong fabric glue or double-sided fabric tape along the hemmed edges to adhere the fabric to the inside of the top and bottom wire rings of the frame. For extra durability, you can add a few small stitches where the fabric meets the wire rings.
FAQ 7: Is it safe to use a pleated lampshade with any light bulb?
Always ensure there is adequate clearance (at least a few inches) between the light bulb and the fabric. For maximum safety, it’s highly recommended to use LED bulbs, as they generate much less heat than traditional incandescent bulbs, significantly reducing the risk of fire hazards. Always check the manufacturer’s recommendations for your lampshade and lamp base.
Conclusion: Your New Skill and Beautiful Lampshade
See? You did it! You’ve just learned how to create a stunning pleated lampshade, transforming a plain frame into a piece of decorative art. This project proves that with a bit of guidance and a willingness to try, you can achieve professional-looking results right in your own home.
This skill opens up a world of possibilities for customizing your decor. Imagine making matching shades for different lamps, or creating seasonal designs! You’ve not only gained a beautiful new lampshade but also a confidence boost and a fantastic new DIY skill. Remember to always prioritize safety by ensuring proper bulb clearance and using LED lights.
So, go ahead and admire your handiwork. You’ve taken a simple idea and made it a reality, adding warmth, style, and a personal touch to your living space. Happy crafting, and enjoy the beautiful light your new creation brings!