How to Match Ceiling Paint like a Pro: Foolproof Techniques
To match ceiling paint, first, gather the necessary tools and materials. Then, use a small brush to touch up any imperfections or stains, followed by rolling on the paint in long, even strokes for a seamless finish.
Matching ceiling paint is an important step in maintaining a cohesive and polished look in your living space. Whether you are touching up existing paint or applying a whole new coat, following the correct techniques will ensure an even, consistent color throughout.
By taking the time to match your ceiling paint properly, you can achieve a professional-looking result that enhances the overall aesthetic of your room.

Techniques For Matching Ceiling Paint
Matching ceiling paint can be a challenging task, but with the right techniques, it can be done seamlessly. Whether you are touching up an existing ceiling or trying to match the paint color for a new addition, there are a few key steps you can take to ensure a perfect match. In this article, we will explore some effective techniques for matching ceiling paint.
Obtaining The Original Paint Color Information
Before you can start matching ceiling paint, it is essential to gather information about the original paint color. This information will serve as a valuable reference point throughout the matching process. To obtain the original paint color details, follow these steps:
- Contact the previous property owner, if applicable, to inquire about the paint color used on the ceiling. They may have kept records or can provide you with the necessary information.
- If contacting the previous owner is not possible, consider reaching out to the builder or contractor who worked on the property. They might have access to the paint color details or documentation.
- If all else fails, look for any paint cans, paint swatches, or other remnants that may have been left behind. These can provide clues about the original paint color.
Sampling And Testing Paint Shades
Once you have gathered information about the original paint color, it’s time to sample and test paint shades. This will help you identify the closest match and fine-tune it for a perfect blend. Follow these steps to sample and test paint shades:
- Start by purchasing small sample pots of paint in colors that closely resemble the original shade. Opt for shades that are slightly lighter or darker to allow for adjustments.
- Apply the samples to a discrete area of the ceiling, preferably where it won’t be easily noticeable.
- Allow the samples to dry completely, as the color may change slightly once dried.
- Observe the samples under various lighting conditions to assess their similarity to the original paint color.
- Choose the closest match and use it as a starting point for blending and adjusting.
Adjusting And Blending Paint Shades
Blending and adjusting paint shades is essential for achieving a seamless match. Here are some techniques to ensure your paint shades are finely tuned:
- Gradually adjust the paint color by adding small amounts of tint or pigment to achieve a closer match.
- Apply the adjusted paint to a discreet area and compare it to the original color under different lighting conditions.
- Continue adjusting and blending until the paint shade is indistinguishable from the original color.
- Remember to keep track of the adjustments made, such as the type and quantity of tints used, for future reference.
By following these techniques for matching ceiling paint, you can achieve a seamless finish that is nearly impossible to differentiate from the original color. Take your time, be patient, and test the paint in different lighting conditions to ensure the best results.
Tips And Tricks For A Professional Finish
When it comes to painting a ceiling, achieving a professional finish is the ultimate goal. The right techniques, tools, and attention to detail can make all the difference in creating a seamless, polished look. Whether you are repainting your ceiling or starting from scratch in a new room, these tips and tricks will help you match your ceiling paint flawlessly.
Preparing The Ceiling Surface
To ensure a professional finish, proper preparation of the ceiling surface is crucial. Follow these steps to get your ceiling ready for a fresh coat of paint:
- Start by removing any dust or debris from the ceiling using a soft-bristled broom or vacuum cleaner. This will ensure a smooth and even paint application.
- Inspect the ceiling for any cracks, dents, or imperfections. Fill these areas with spackling compound and allow it to dry completely. Sand the patched areas gently using fine-grit sandpaper to create a smooth surface.
- Cover any furniture or fixtures in the room with plastic sheets or drop cloths to protect them from paint splatters.
- Apply painter’s tape along the edges of the ceiling where it meets the walls. This will create clean lines and prevent paint from bleeding onto the walls.
Using The Right Tools And Techniques
Having the right tools and using the correct techniques will make the painting process much easier and give you a professional finish. Consider the following:
- Choose a high-quality paint roller with a medium nap length, ideally between 1/2 to 3/4 inches. This will ensure even coverage and prevent any streaks or lines on the ceiling.
- Attach a roller extension pole to the roller for easy reaching and to avoid straining your arms and back.
- Before starting, dampen the roller slightly with water and remove any excess moisture. This will help the roller to distribute the paint more smoothly.
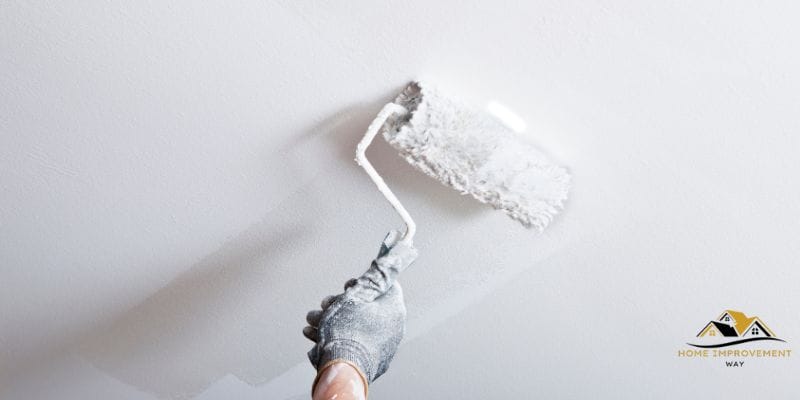
- Start painting from one corner of the room and work your way across, using long, overlapping strokes. This will ensure an even and consistent finish.
Applying The Paint With Precision
When it comes to applying the paint, precision is key to achieving a professional finish. Keep the following tips in mind:
- Pour a sufficient amount of paint into a paint tray and dip the roller into the paint, ensuring it is evenly coated but not overloaded.
- Start by rolling the paint onto the ceiling in a “W” or “M” shape, covering small sections at a time. This cross-rolling technique will help to distribute the paint evenly and avoid streaks or lines.
- Avoid pressing too hard on the roller, as this can cause the paint to splatter or create an uneven texture.
- If necessary, apply a second coat of paint once the first coat has dried completely. This will help to ensure full coverage and a seamless finish.
By following these tips and tricks, you can achieve a professional finish when matching your ceiling paint. Remember to always work patiently and attentively, and the end result will be a beautifully painted ceiling that complements your room’s overall aesthetics.
Conclusion
Matching ceiling paint can be a daunting process, but with the right techniques and tips, it can be easier than you think. From considering lighting conditions to using color samples, the key is to ensure a seamless blend with your existing ceiling.
By following the steps outlined in this blog post, you can achieve a flawless result that enhances the overall aesthetics of your space. Happy painting and enjoy your perfectly matched ceiling!